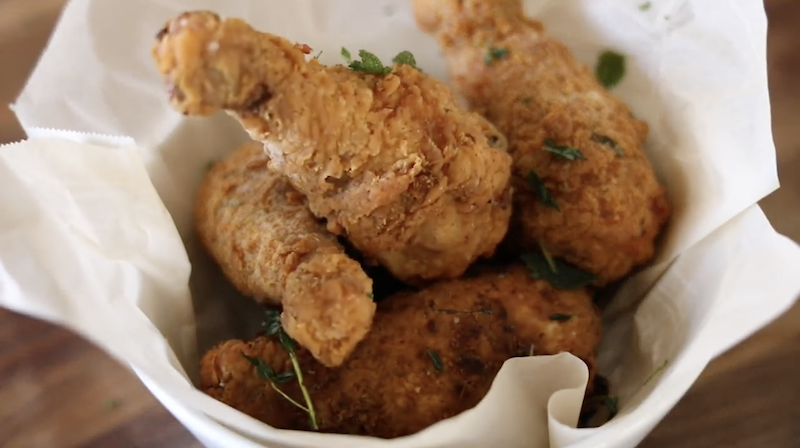
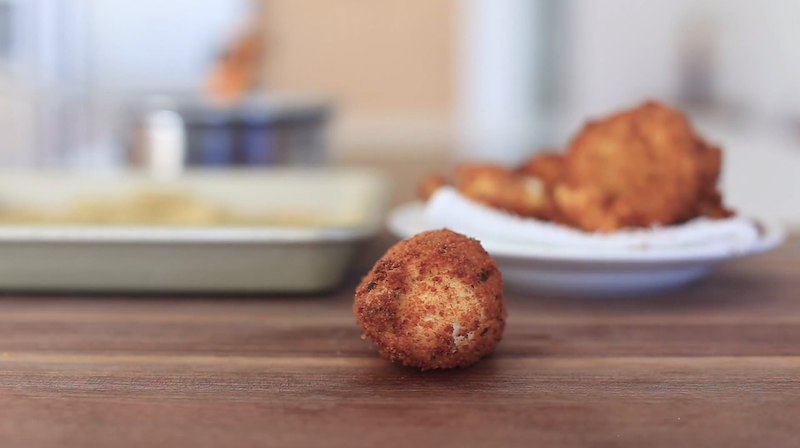
Whats up foodies?!?! This recipe has been something I’ve been trying to do for a long waaayy overdue time and finally its here! This literally took me an hour to make (if you omit all the filming and camera stuff) and it probably could take even less if I put some hustle behind it. The sauce is perfect for this if you’re a spicy lover otherwise a simple drizzle of honey will do the trick. Hope you guys enjoyed and please let me know any of your tricks to perfect fried chicken.
There’s a reason for everything—if not most things. Breakfast is no exception. There’s a reason why bacon and eggs rule the morning roost, and it goes back to Victorian England. During a time when the industrial revolution was roaring and England was at it’s richest. People needed new ways of “Keeping Up With The Joneses,” and there-in the traditional english breakfast was born! Breakfast became an opportunity for people to flaunt there riches by showing a range of their available abundances: eggs, meats, grains, potatoes, fresh fruit. This type of luxurious morning meal became habit, breakfast became “the most important meal of the day,” and tradition of having a well-balanced breakfast spread globally.
To much surprise, bacon and eggs were not a part of the tradition that was immediately embraced by the American culture. Americans adapted a lighter version of the english breakfast that mainly consisted of grains, toast, fruit and coffee. It wasn’t until a man by the name of Bernay, Sigmund Fraud’s nephew and pretty much the king of what we know as “PR,”was hired by the Beech-Nut Packing Company to help move one of their lowest sellers—bacon. Bernay convinced thousands of doctors to state that a heavier breakfast was beneficial to the American diet. Sold on the idea, bacon and eggs became as ordinary in the American Breakfast as the English. Bacon, even more so, became a staple for all meals of the day! BLT’s, bacon bits, bacon burgers, bacon this, bacon that, bacon, Bacon, BACON!
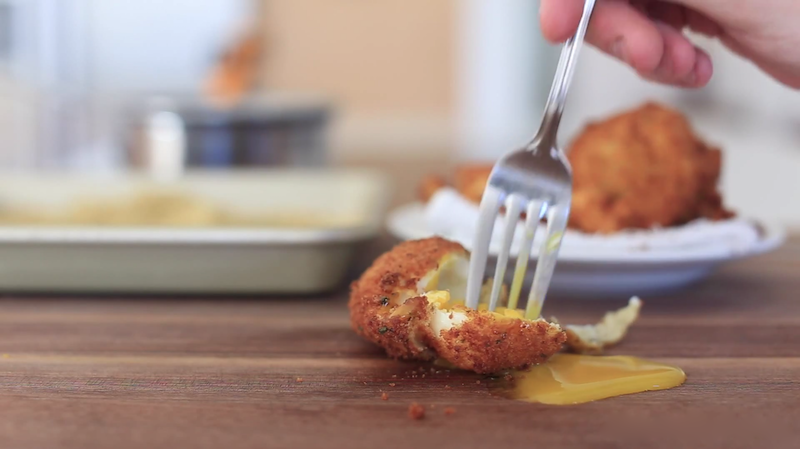
Lucky for us, eggs have also joined the category of the constantly redefined. We all know the question well: “How to you like your eggs?” Do you like them scrambled—that is with the whites and yolk whipped together and then cooked—or do you you like to keep the two parts separated by cooking them sunnyside up, with only the the exposed egg whites being cooked against a hot pan, while the majority of the yolk on top remain runny? Or you could flip it, cook it on both sides, and you have a fried egg.
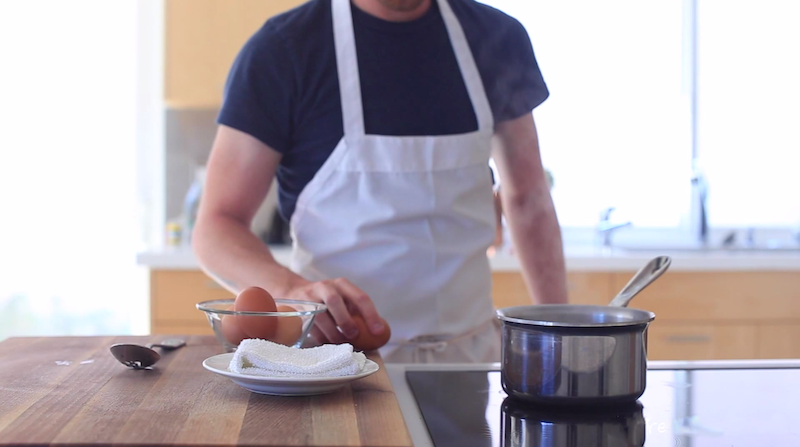
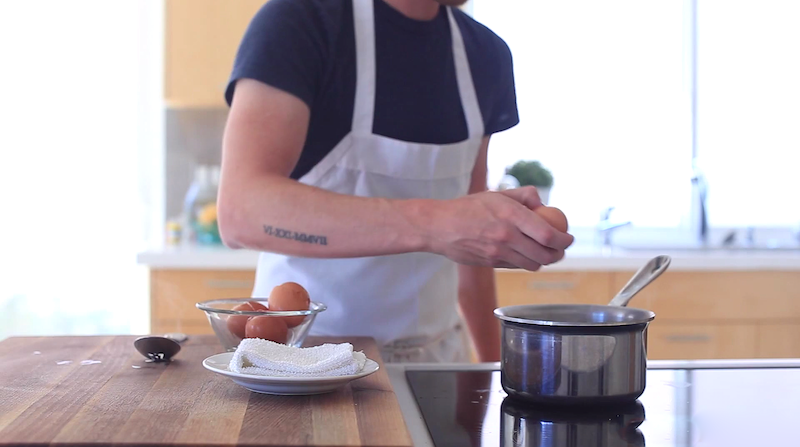
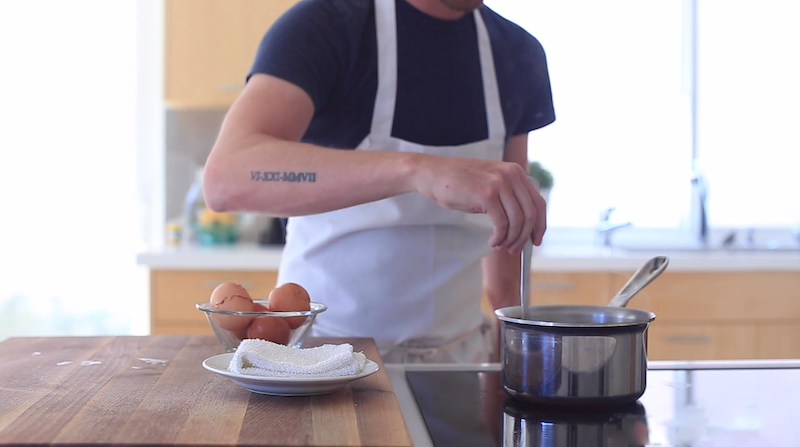
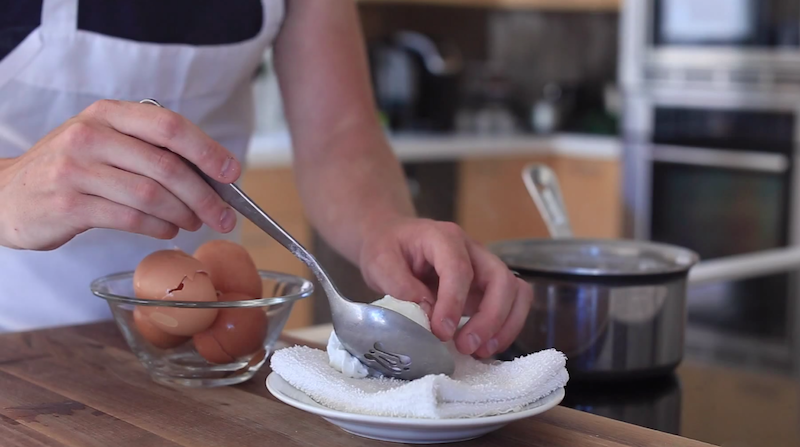
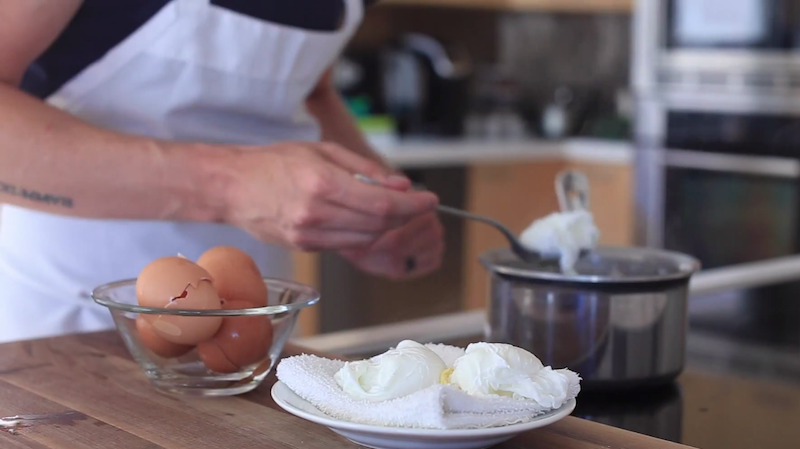
Perhaps you don’t want the fuss of frying at all and you want a simple boiled egg. Options there are a hard boiled egg, with the egg boiled whole (shell included) and then pealed once the egg has cooked through entirely, or maybe you want a poached egg, where the egg is cracked into a pot of boiling water, while the outside of the yolk cooks and capsulates the runny yolk inside. Maybe you want a entirely egg breakfast? There’s always the ever-classic eggs benedict, a poached egg topped with ham or bacon, hollandaise sauce, and closed between two english muffin halves—or the crowd pleasing omelette. Made a million ways to sunday, it can be any scramble of eggs mixed with cheeses, onions, peppers, bacon, ham, you name it!
With so many killer choices out there—what ‘s your favorite breakfast combo?
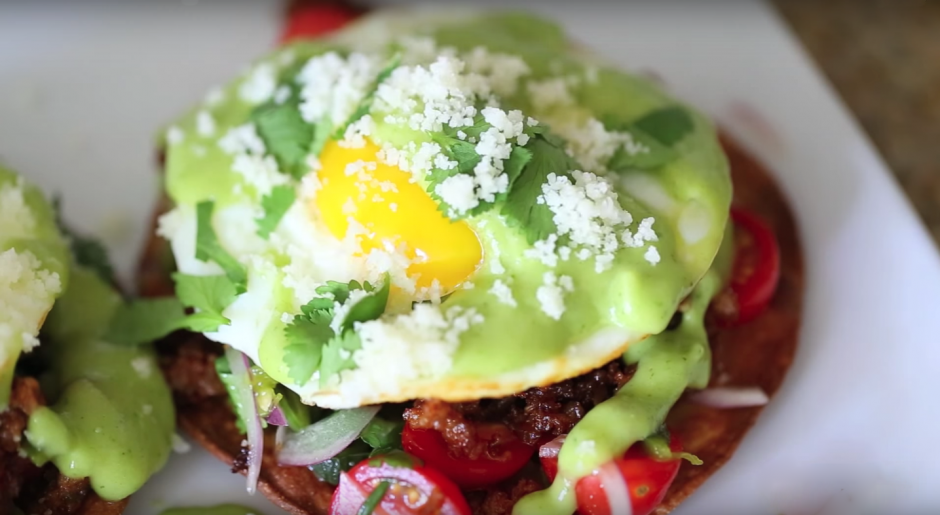
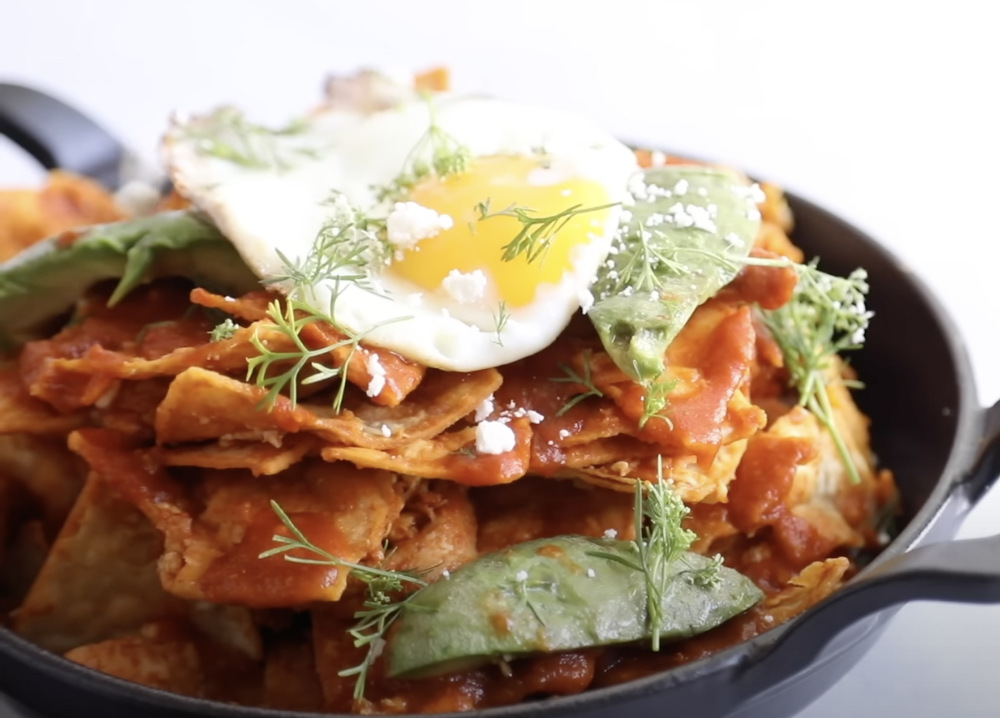
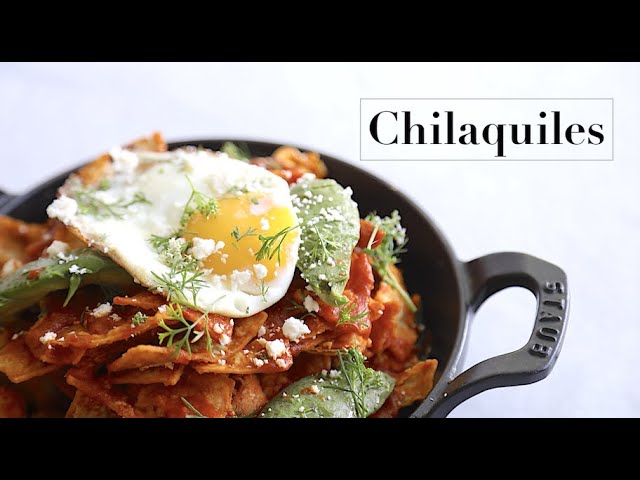
This recipe gives me some serious flashbacks to my kitchen days. A little extra tortilla chips, red sauce from a few days before, avocados from garde manger station, fry up some eggs and boom your lunch is now off the charts and you’re ready to tackle the rest of your day with a belly full of chilaquiles. Hope you enjoyed the recipe and make sure to like and subscribe!
This recipe gives me some serious flashbacks to my kitchen days. A little extra tortilla chips, red sauce from a few days before, avocados from garde manger …
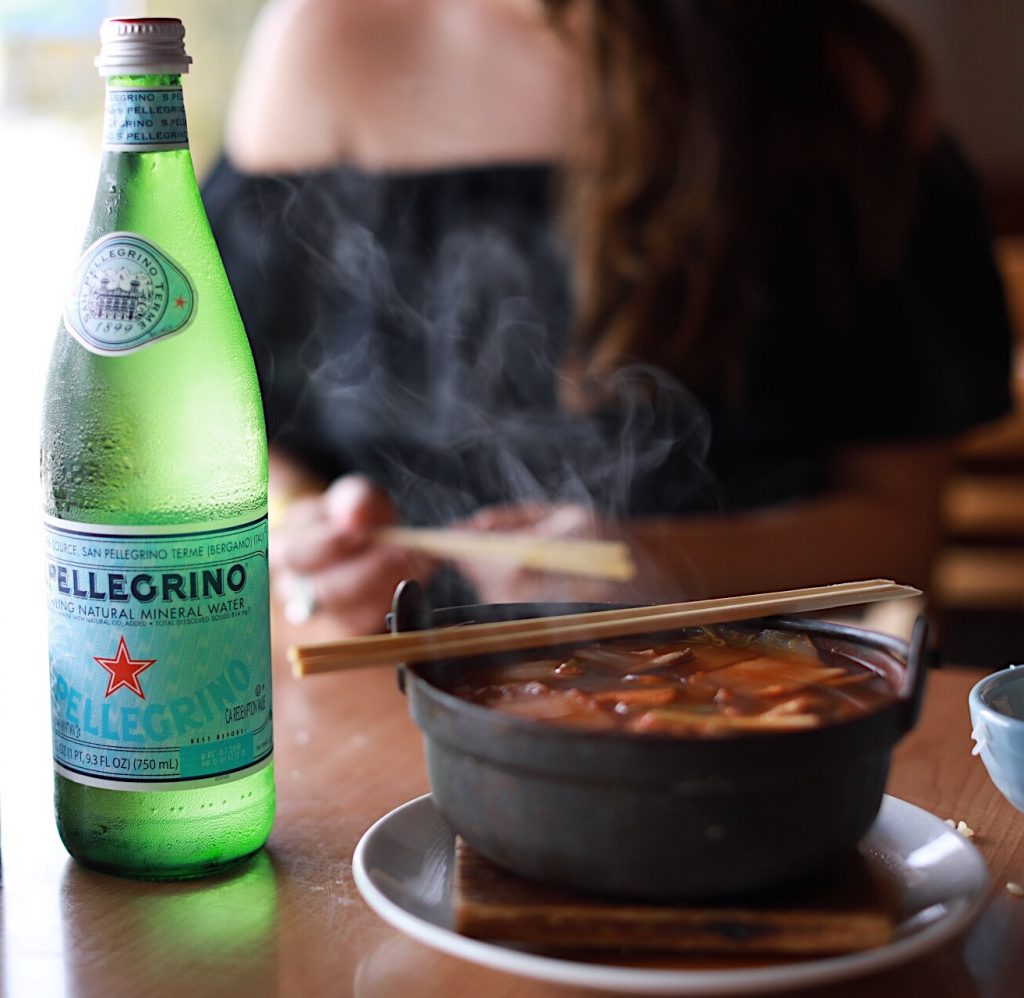
Smack dab in the middle of San Fernando Valley lies the long and diverse Ventura Blvd. It’s full of old and new billboards, people of all walks, and up-and-coming shops that ebb and flow with the community. Undoubtedly, this neighborhood is one of the biggest melting pots in Los Angeles, and because of this it has become a testing ground for new restaurant concepts while remaining a street to come for all the classics. I’ve partnered with my friends at S.Pellegrino®to bring you my take on the places you can’t miss on Ventura Blvd. as part of the S.Pellegrino® Taste Guide to L.A. This is where my guide begins…
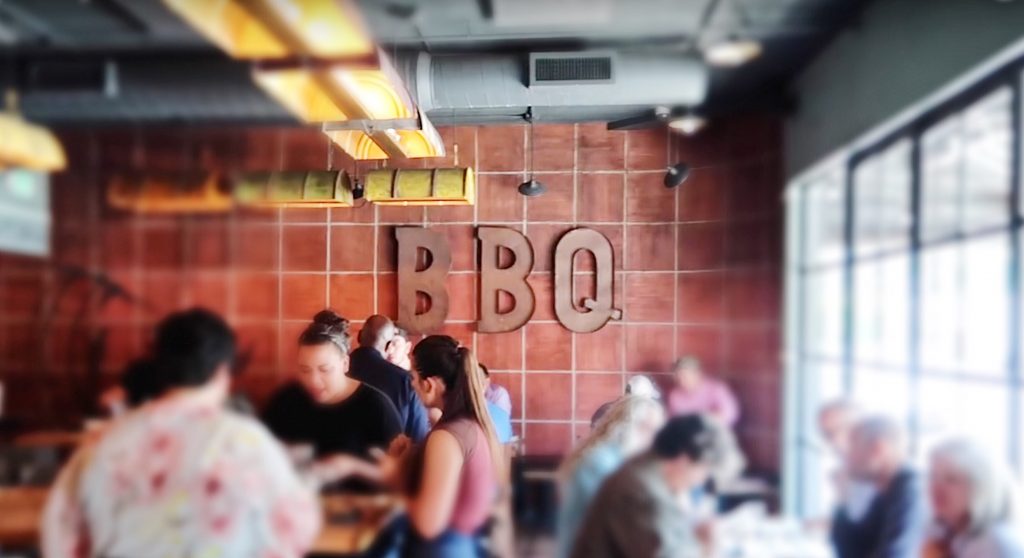
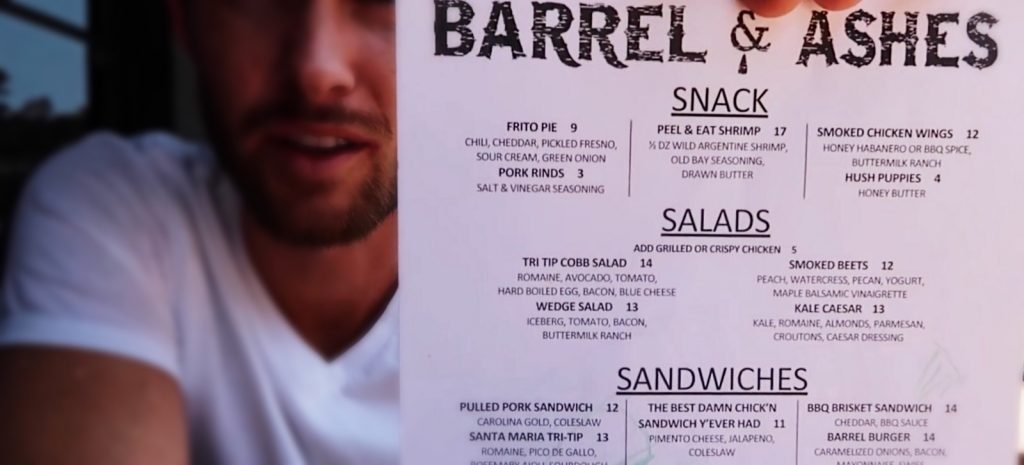
This restaurant is all about Southern barbecue executed by top-tier chefs with some serious culinary pedigree. Chef de cuisine Michael Kahikina is the man in charge of all the sweet, smoky, and stick-to-your-ribs dishes you’ll find here. Having worked with him at Thomas Keller’s Bouchon in Beverly Hills, I can say that he has a fundamental love for the food he prepares. This place offers a plethora of meats that are all smoked with red oak, then finished with white oak for a balanced BBQ flavor. If you’re looking for an authentic pulled pork sandwich that will stick with you long after the last bite—this is the spot.
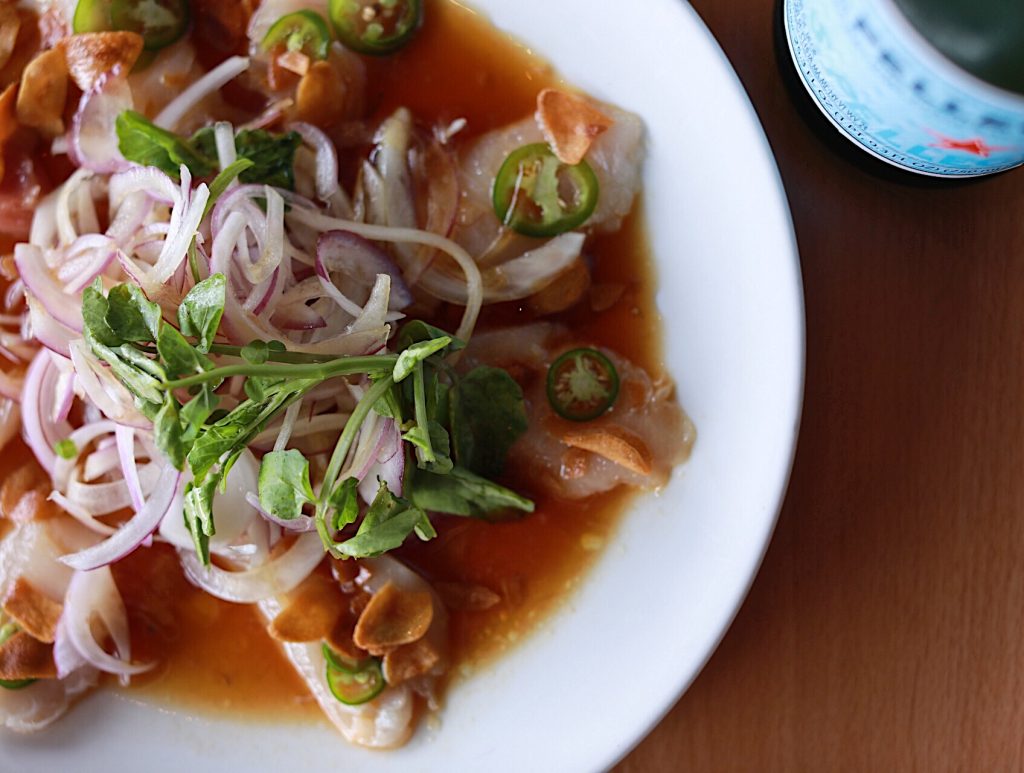
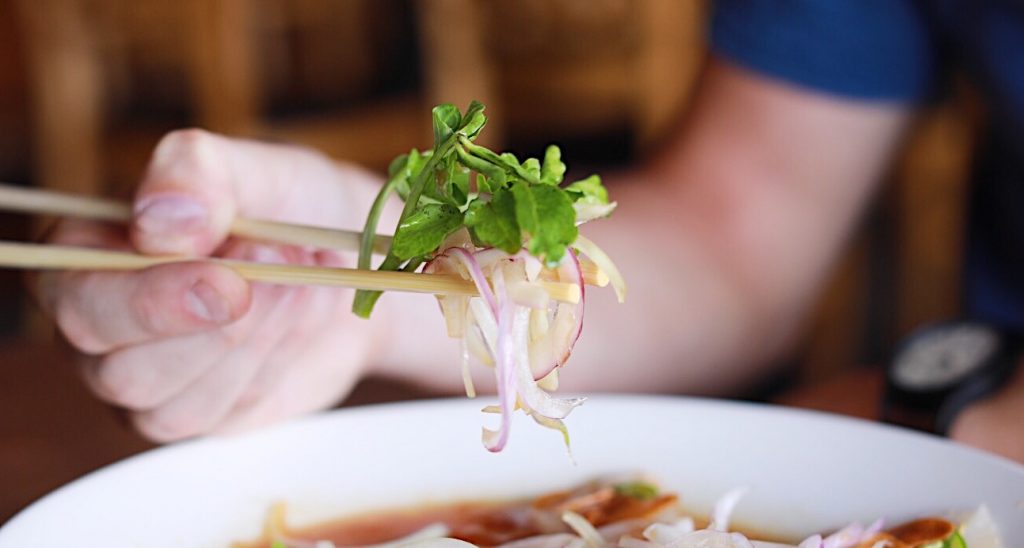
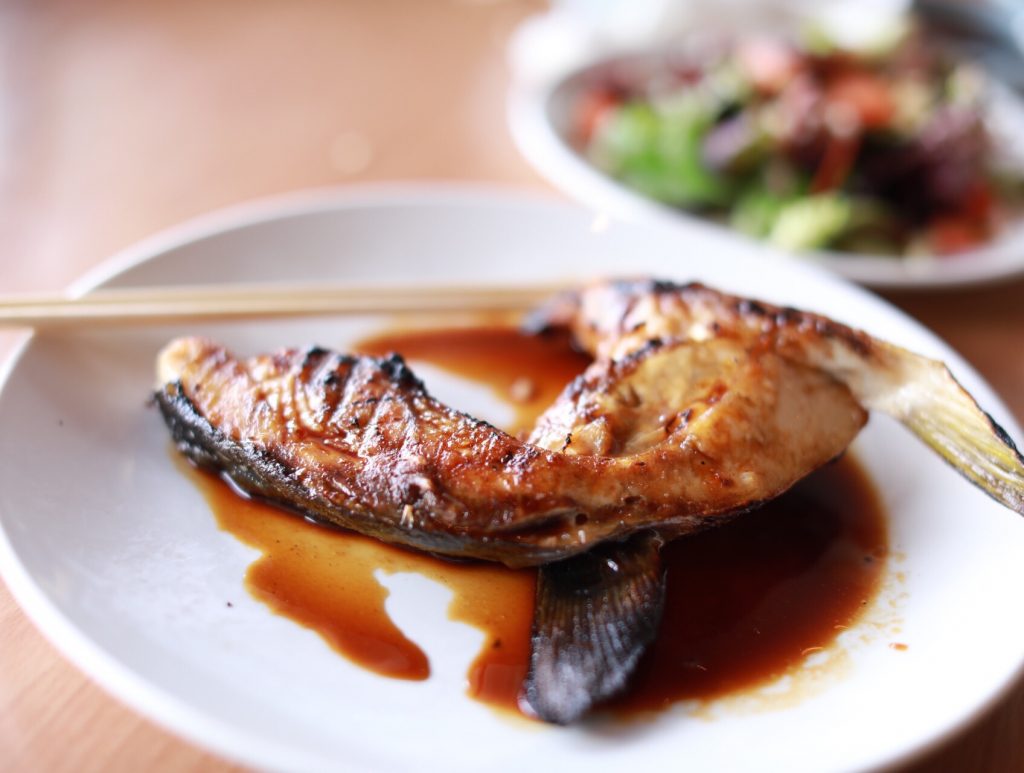
The unassuming look of Kushiyu might prevent most passersby from noticing it—and that’s probably what’s kept it a local secret. This place offers fantastic sushi and has the best kushiyaki (Japanese coal grilling) in the San Fernando Valley, and maybe even all of L.A. The sushi chefs at the bar never change one bit, and to me that’s an incredible sign of a love for and consistency in their craft. My order always includes their spicy albacore special roll (there’s a salad version too) and the yellowtail collar off of the grill, or if it’s a little chilly outside, the nikomi nabe (spicy flavored seafood pot) will warm both body and soul.
*Nakomi Nabe (spicy seafood soup)
Albacore Special Salad (albacore, fried garlic, serrano peppers, ponzu)
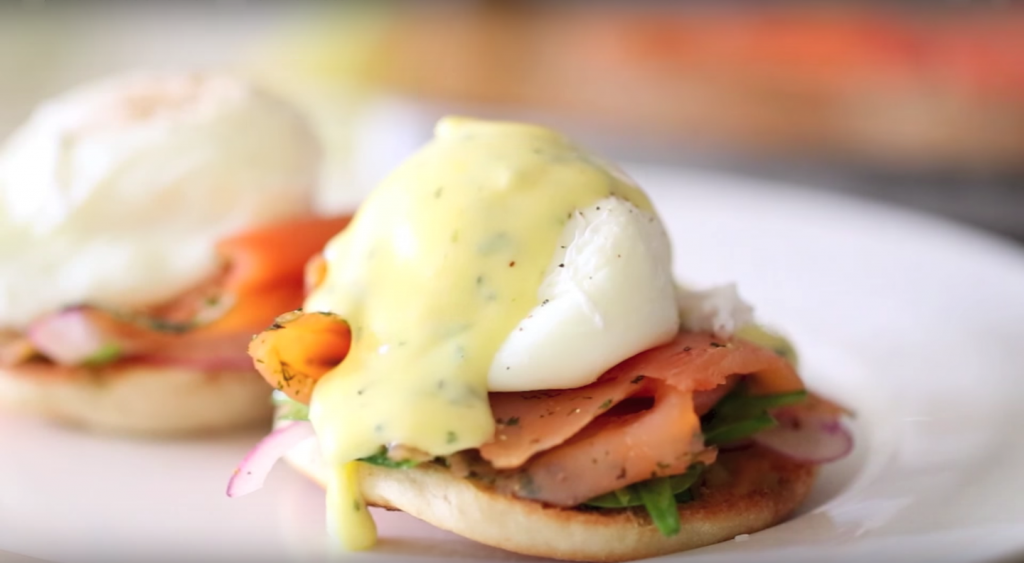
This can’t-miss breakfast house is fueled by a smart variety of organic and vegan menu options, as well as the nostalgic favorites we all crave. And it’s the kind of place that’s hard to leave, thanks to their cozy, living-room-inspired environment. I’m traditional in my breakfast tastes, so the eggs Benedict are my go-to here—and they’re everything you want them to be; sliced ham and crispy bacon, a toasty English muffin, custard-like poached eggs, and an always-perfect hollandaise.
*Blue Jam Benedict
*Crunchy French Toast, vanilla sauce, fresh berries
Dominique Ansel is the mastermind behind the Cronut®, the chocolate chip cookie shot, and the frozen s’more, as well as many other pastries that have changed the way we experience sweets. Being that the most influential pastry chef in the world is setting up his first restaurant and bakery in L.A., I couldn’t help but share it…even if it will be a little drive from Ventura Blvd. Will it be worth it? Just ask someone about the line every morning at his downtown bakery in NYC and you’ll have your answer. Even if it is a 45 minute drive from my place, this place will definitely be a “local” favorite of mine very soon..
I hope you enjoyed my guide through a few of my local eats on Ventura Blvd. and please let me know if you happen to pay one of these locations a visit!
For more of the best places to dine in Los Angeles and other U.S. cities, see the full S.Pellegrino® Taste Guide at sanpellegrino.com
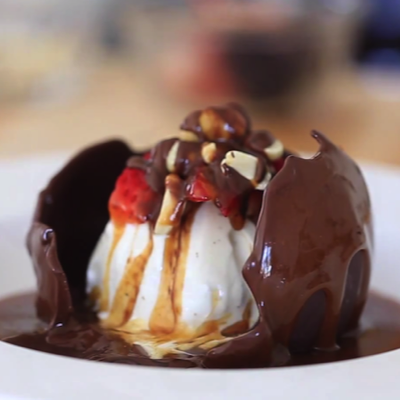
Chocolate Ball:
1 Cup Dark Callebaut
Chocolate Chips
Optional: Ice cream
Fresh Berries
Walnuts
Topping
Start off by bringing 1 cup dark callebaut chocolate chips to 101°F, using the double broiling method. Gently mix the chocolate as it slowly melt to ensure all of the solids liquify.
Once the chocolate is throughly melted and up to temperature, remove it from the stove and mix in a few chocolate chips to cool the mixture.
Gently stir in the chocolate chips until the mixture is smooth and approximately 89-90°F.
Once the chocolate is tempered to 89-90°F, pour the liquid into your chocolate mold about a quarter of the way up. Be sure to coat all sections of your mold. Then allow it to cool in the fridge for 30 minutes. Flip every 2-3 minutes to ensure is cools evenly.
Once cooled, remove from the mold.
I like to smooth out the middle seam with a warm spatula, but this is optional. If you prefer a shiny sphere, skip this step.
Next you will want to heat up a plate or pyrex container and gently press the sphere onto the dish, in order to melt the bottom of the chocolate globe. This should leave you with a perfect cavity to fill the sphere with whatever you desire.
Once the sphere is filled to your liking, heat your favorite topping and pour on top of the chocolate sphere. All that is left to do is enjoy!
Salted Chocolate
1/2 cup dark chocolate
1/2 cup heavy cream
1 tbsp butter
2 tbsps irish whiskey
2 tsps sea salt Funnel Cake Batter
1 cup milk
1 cup all purpose flour
1 whole egg
2 tsps kosher salt
2 tsps baking powder
2 tbsps irish whiskey
1 tsp vanilla extract
Start by melting 1/2 cup of 60% dark chocolate, using the double boiler method, for about 5 mins or until it reaches 120°F.
Next emulsify 1/2 cup of heavy whipping cream and 1 tbsp of cold butter into the heated chocolate, constantly stirring to thoroughly mix these ingredients.
Once the mixture is emulsified add 1 tbsp of Irish Whiskey and 2 tsps of sea salt. Mix well and pour mixture into a squeeze bottle for later use.
In a separate mixing bowl add 1 whole egg, 1 cup of milk, 2 tsps kosher salt, 1 tsp vanilla extract and 2 tbsps of Irish whiskey. Give this a good whisk.
Add 1 cup of all purpose flour and 2 tsps of baking powder. Continue whisking until the batter is completely smooth. Then transfer the batter into a squeeze bottle.
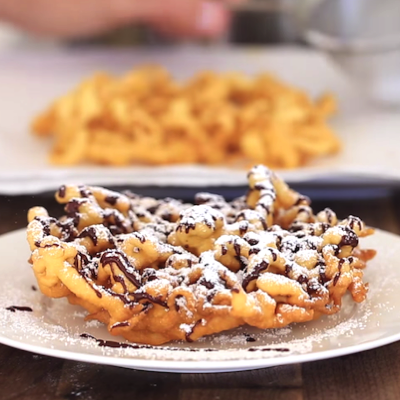
Slowly squeeze the batter into a pan of frying oil (heated to 350°F), making small circular motions. Fry the funnel cake on both sides for about 2-3 mins.
Once the funnel cake is golden brown, transfer it to a paper towel and/or rack to drain any excess oil.
When you are ready to plate simply top the funnel cake with your salted chocolate, add a generous topping of powdered sugar, and there you have it, a delicious Irish Whiskey Funnel Cake with Salted Chocolate. Enjoy!
1 whole egg
1/2 cup whole milk
4 tbps granulated sugar
2 tsps dry active yeast
1 cup all purpose flour
4 tbps melted butter
pinch of salt
1 tbsp vanilla extract (optional)
In a medium mixing bowl add 1 egg, 1/2 cup of whole milk, 4 tbsp granulated sugar and 2 tsp of dry active yeast. Whisk for 2-3 minutes, until thoroughly combined.
Add a 1/2 cup of flour and mix until the lumps dissipate.
Add another 1/2 cup and continue mixing until there are no remaining lumps.
Mix in 4 tbsp of melted butter.
Once you have a smooth mixture, cover the mixing bowl in plastic wrap and allow the batter to rest for about 1.5 hours.
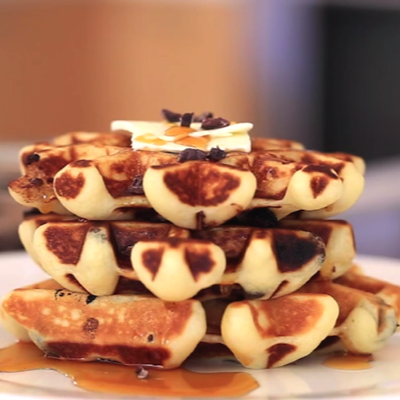
Once the batter is proofed, add a few handfuls of dark chocolate chips and gently mix.
Add 1 generous scoop of batter to a preheated waffle iron at 450 degrees fahrenheit. Cook for 8 minutes, or until golden brown, flipping the waffle one time in between.
Add some butter, syrup, and all that’s left to do is ENJOY!
Ingredients:
1/2 cup milk
1 tsp dry active yeast
1/4 cup sugar
2 cups flour
4 tbsp melted butter
1 whole egg
3/4 cup whole milk
2 egg yolks
1/4 cup sugar
1 tbsp vanilla extract
2 tbsp cornstarch
1/4 cup dark chocolate chips
3-4 tbsp whole milk
1 cup powdered sugar
2 tsp vanilla extract or paste
Warm up the milk in the microwave (or on the stove) to about 95°F then add it to the bowl on an electric mixer along with the granulated sugar and dry active yeast. Let this mixture sit for 20 minutes until it creates a layer of bubbles or foam on the surface.
Add the melted butter and egg to the bubbling yeast mixture and stir for a minute or so. Attach the dough hook to the mixer and turn on low speed. Slowly start to add the flour a 1/4 cup at a time. Once all the flour has been added, scrap down the sides of the bowl then continue mixing until the dough has formed into a silky smooth ball. This will take approximately 5-6 minutes.
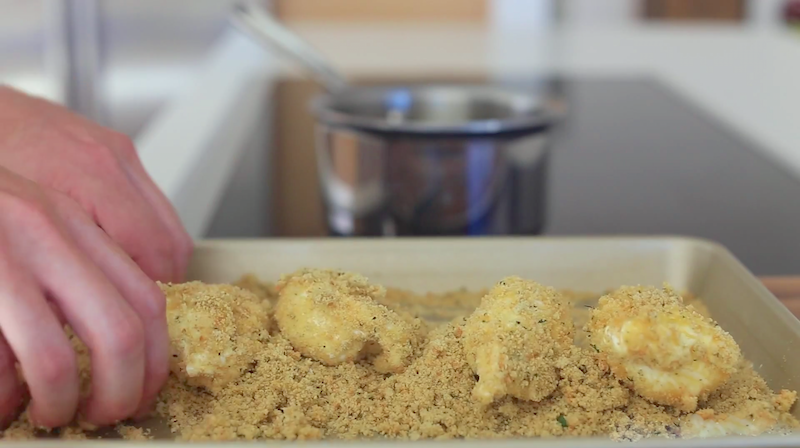
Flour the surface of your working surface then take the dough out of the mixture, put into on the floured surface and begin rolling it out. Occasionally flour the top of the dough so it doesn’t stick to the rolling pin. Punch the dough out with a large ring cutter, remove the excess dough, then cover with a damp cloth. Allow the dough to double in size which will take approximately 45 mins to an hour.
In a small sauce pan on low heat add the milk, egg yolks, vanilla extract, and sugar and bring up to 160°F making sure to constantly stir as its heat up. Once the it’s reached 160°F add the cornstarch and turn the heat up to low-medium and begin to cook the custard until it get very thick. It should take about 5-6 minutes. Once it has thickened to a pudding consistency turn the heat off and scoop the custard into a piping bag fitted with a metal tip. Refrigerate for 30-45 minutes.
In a mixing bowl add the milk, vanilla extract, and powdered sugar and whisk until thoroughly combined.
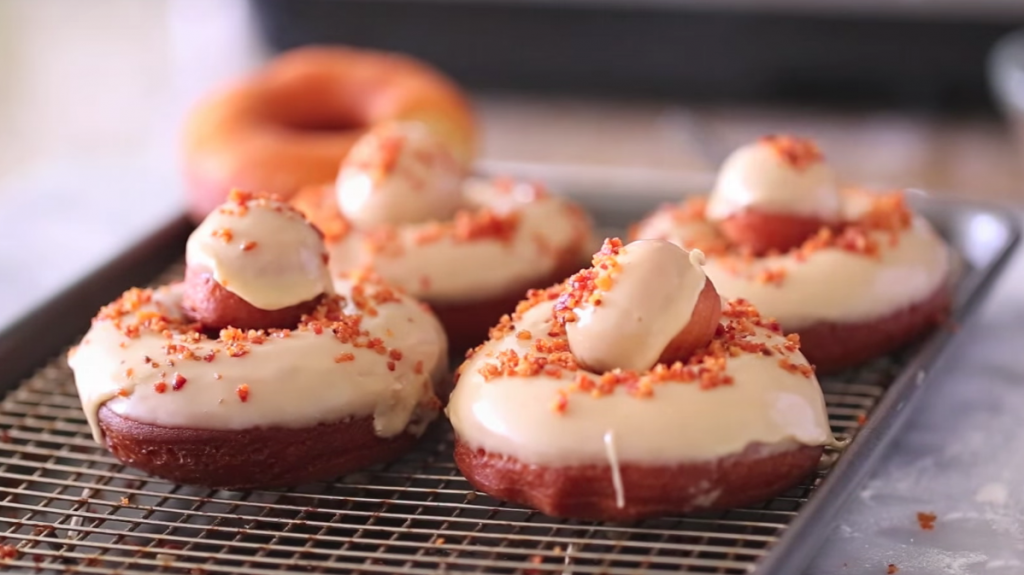
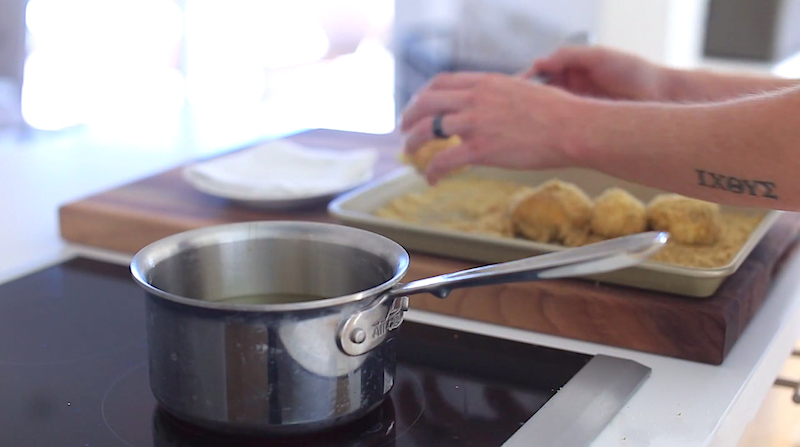
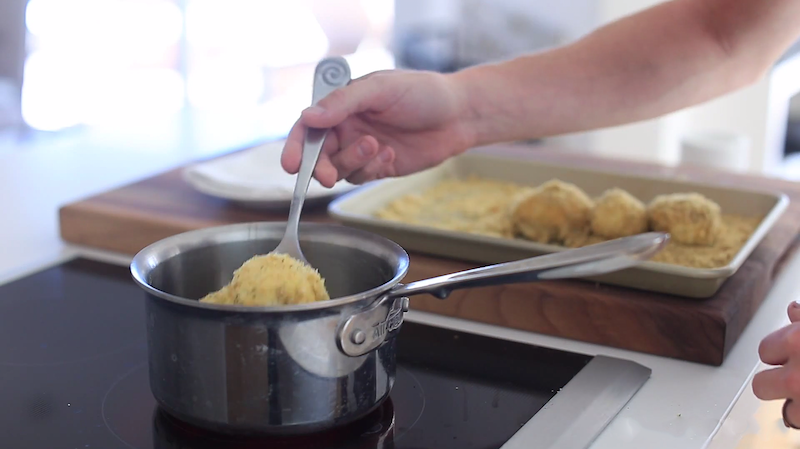
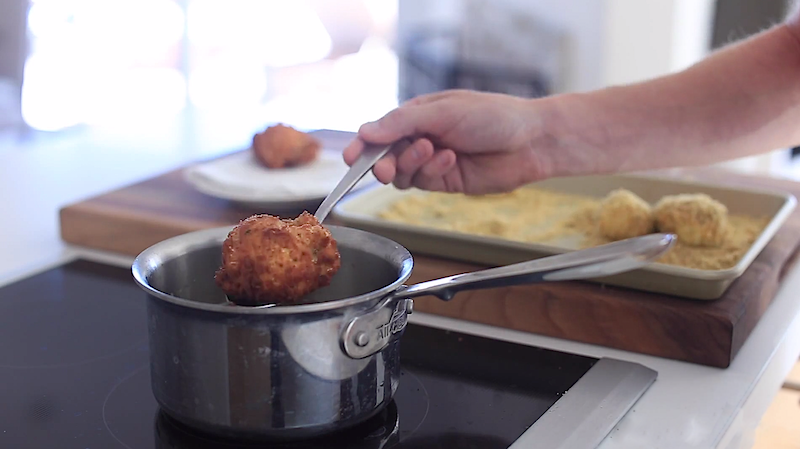
Once the dough has doubled in size and is ready to fry fill a pot half way up with canola oil to 350°F, and begin frying the donuts. They’ll take 4-5 minutes to cook and you should flip them at least 2-3 times during the cooking process to insure an evenly cooked donut. Once they’re golden brown remove them from the oil and rest on a few dry paper towels or a wire rack to get rid of any excess grease. Let them cool down for 5-10 minutes before filling and glazing.
Pull the chocolate cream filling out of the fridge and begin to pipe it into the center of each donut. You’ll have to get a little rough with the donut in order to really fill them up, so don’t be to shy when shoving the tip of the pastry bag into the middle of the fried dough. Next, dip the tops of the warm filled donuts in the vanilla glaze and return them to the wire rack (or paper towels). Let these sit for 10-15 minutes in order for the glaze to set up then ENJOY!!!
Ingredients: 2 whole eggs
1/2 cup sugar
1/3 cup all purpose flour
3-4 tbsp whole milk
1/4 cup melted butter
1 tbsp vanilla extract
pinch of salt
1 cup melted dark chocolate
1/4 cup chopped roasted peanuts
1 qt of store-bought ice cream
Add two whole eggs and 1/2 a cup sugar to a medium mixing. Give it a good whisk.
Mix in 3-4 tbsp whole milk, 1 tbsp vanilla extract, 1/4 cup melted butter, 1/3 cup all purpose flour, and pinch of salt.
Continue to whisk for until there are no lumps. Preheat your waffle iron and coat it with a bit of canola oil—so the batter doesn’t stick. Once the waffle iron is hot, pour a small scoop of the batter into the center of the mold (about 4 in. in diameter). Close the machine and cook until the batter is a deep golden brown. While hot, mold the waffle cone into taco form. Repeat process for desired amount of choco waffles (recipe is for 3 servings).
Allow them to cool and become firm before handling. Once cool coat the inside of each shell with a good serving of melted dark chocolate. This will keep the shells from becoming soggy when you fill them with ice cream.
Allow the shells to set up in the freezer for about 10-15 mins.
Once the chocolate is set, pipe a generous portion of your choice of ice cream. I enjoy a rich and creamy vanilla. Use a pastry spatula to gently smooth the excess ice cream evenly across the top of the waffle shells. Put these back into the freezer and allow it to set up for about 2 hours.
When the ice cream is set, remove from freezer and dip the tops of the waffle tacos with the remainder of the melted dark chocolate.
Sprinkle with chopped peanuts and return to freezer to for about 20 mins.