Desserts

Passion Fruit Creme Brûlée

October 9, 2014

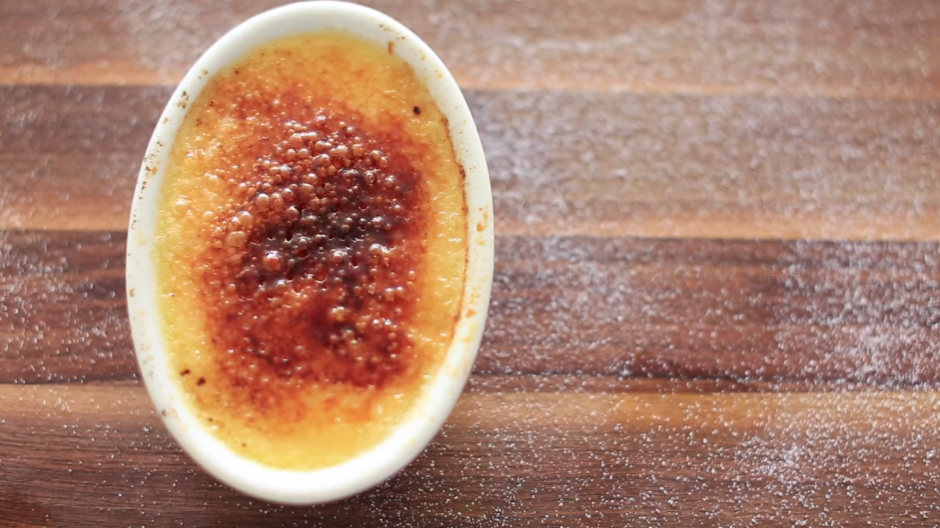
Creme Brûlée is a perfect example of simplistic cooking at its best.  It holds a special place in my heart as it was one of the first desserts I ever made my wife. To most others, it holds a place in their heart as a reliable, classic, delectable, sweet treat enjoyed international!

I hope you enjoy my take on the dish.

Cream

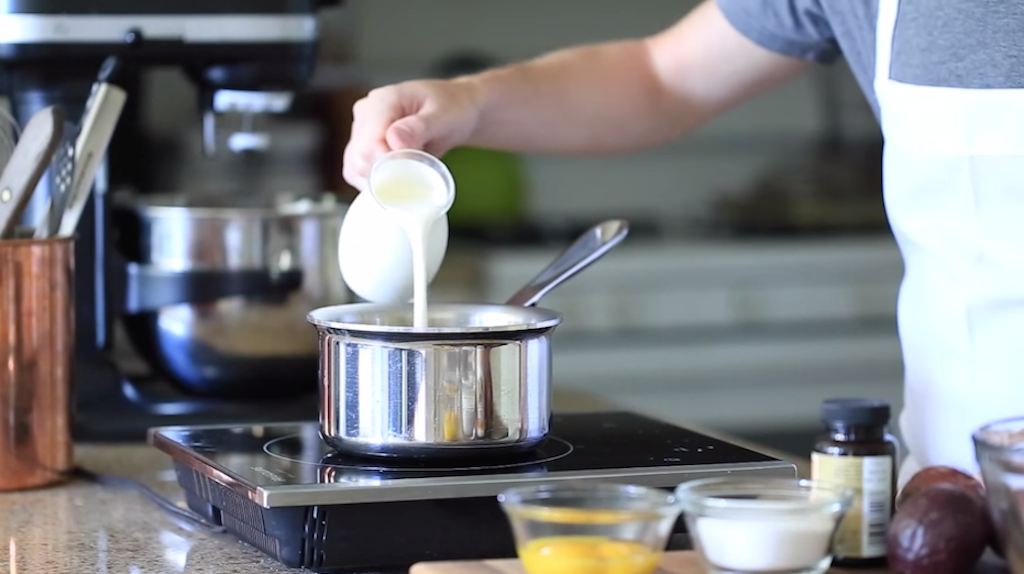
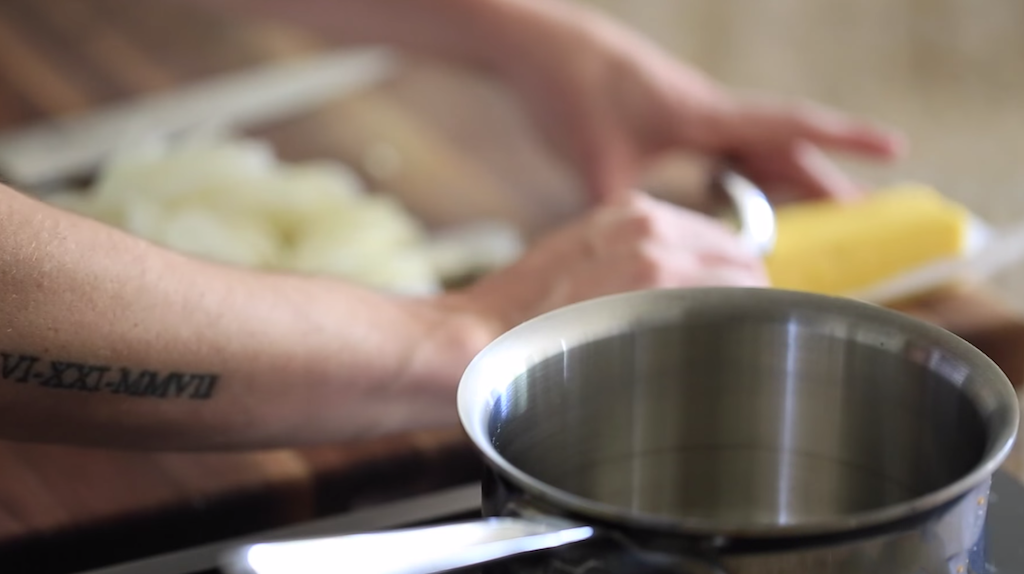
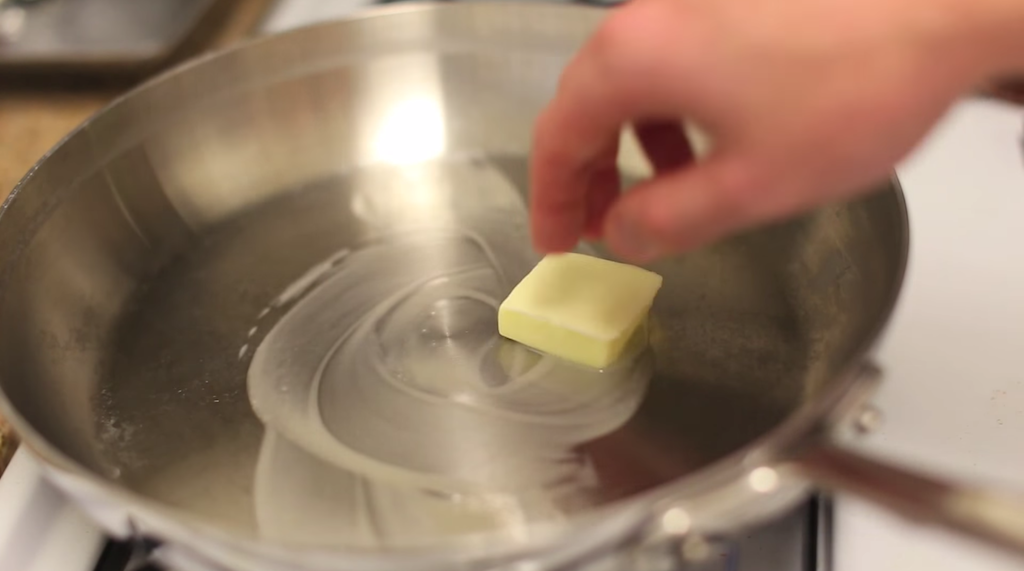
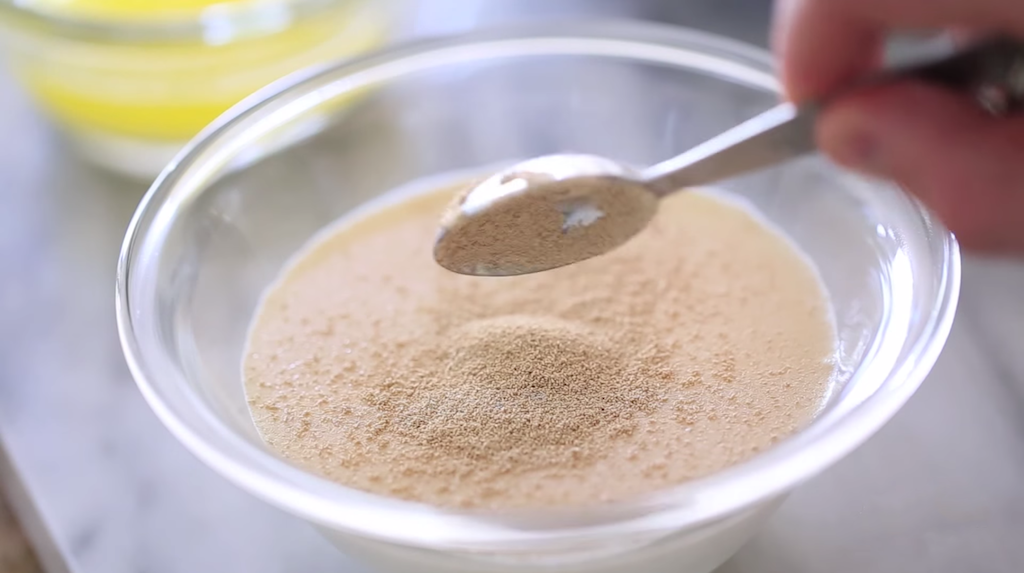
In a sauce pan on medium heat add 1 1/2 cups cream…
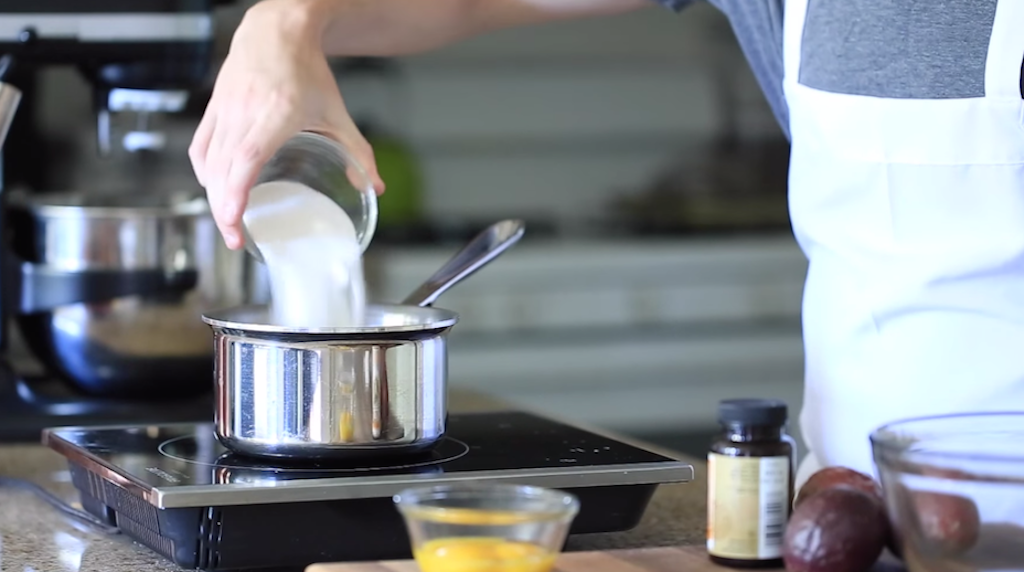
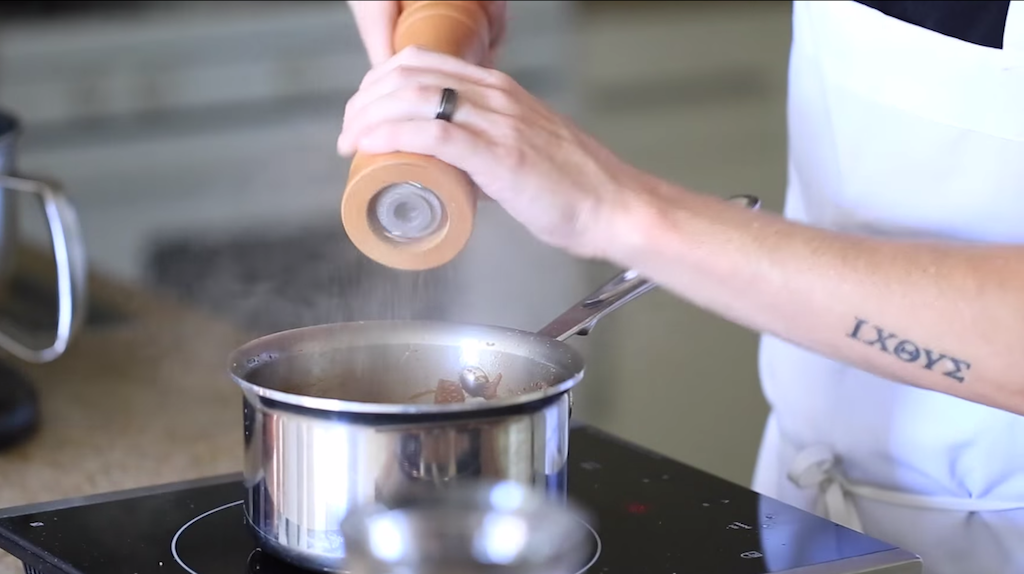
Sugar

…1/4 cup sugar…

Vanilla

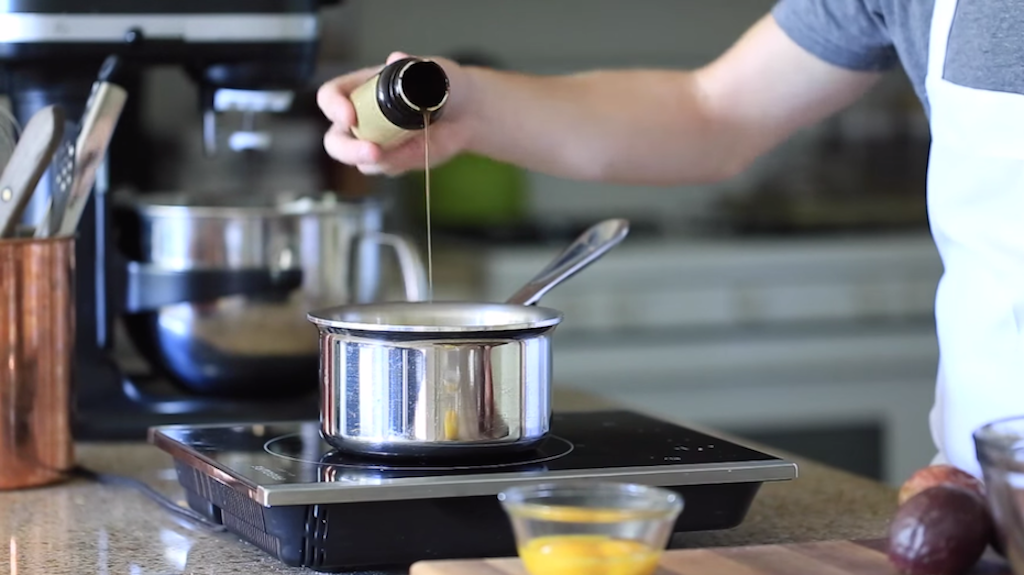
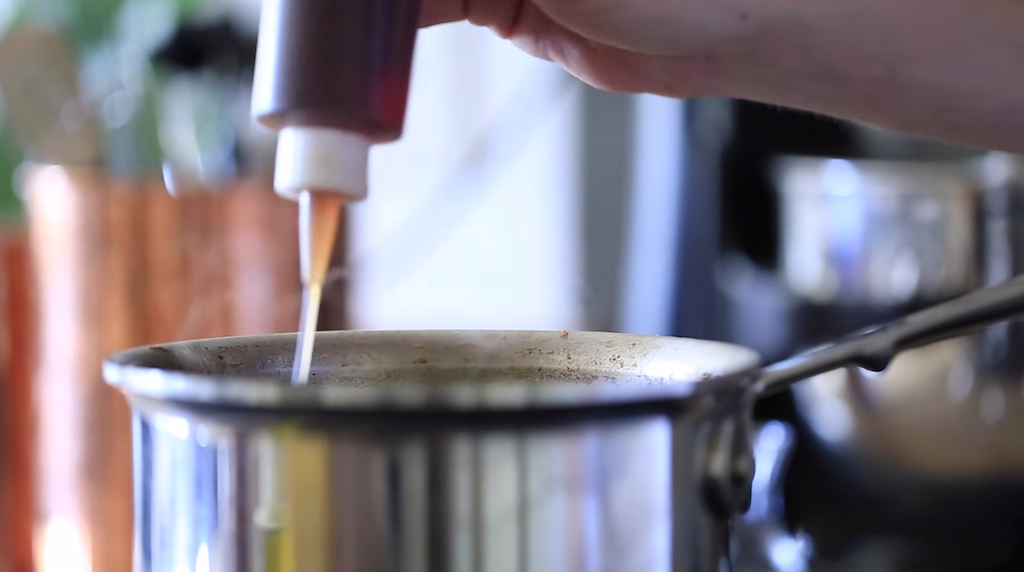
…1 tbsp vanilla paste…

Passion Fruit

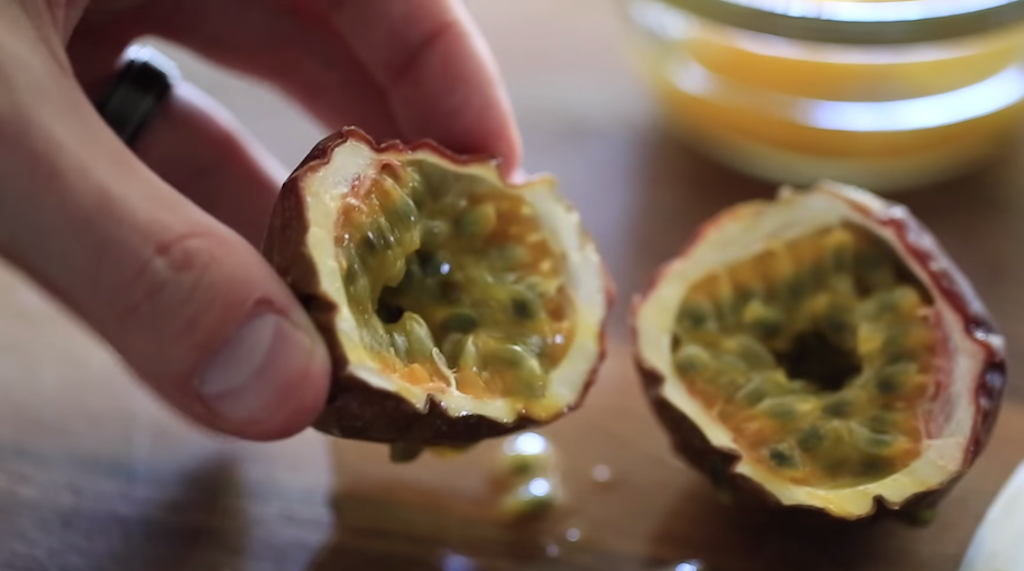
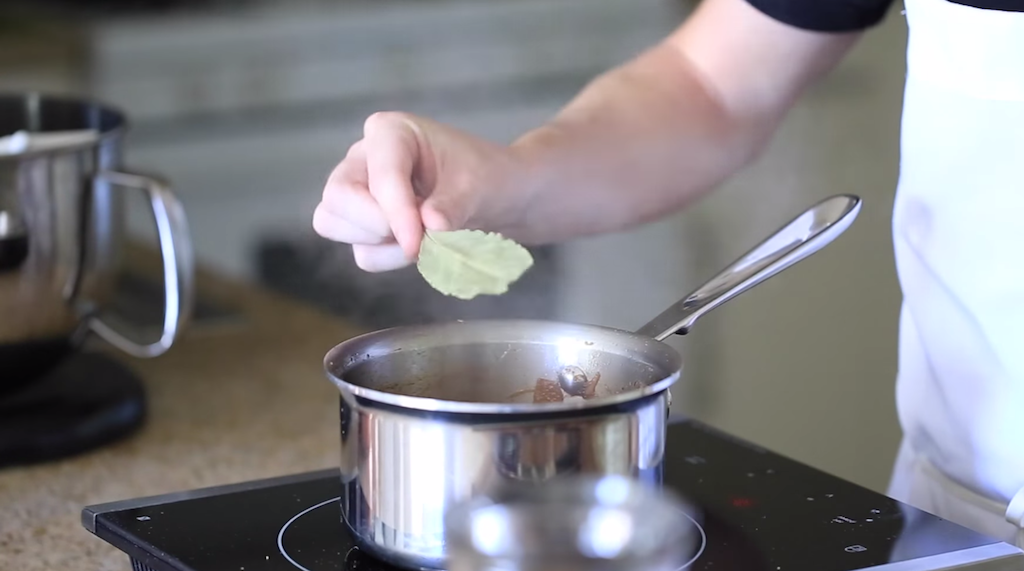
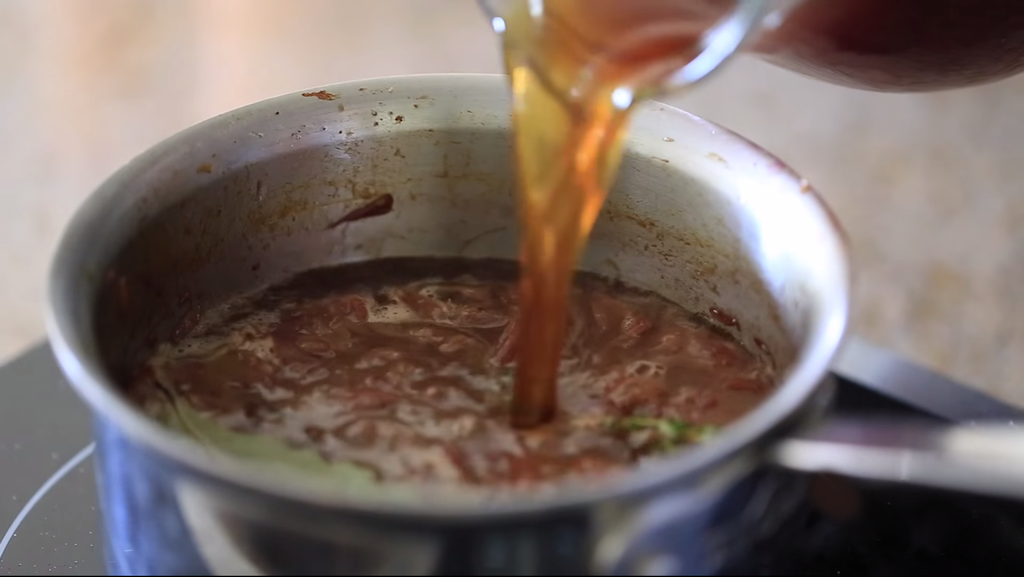
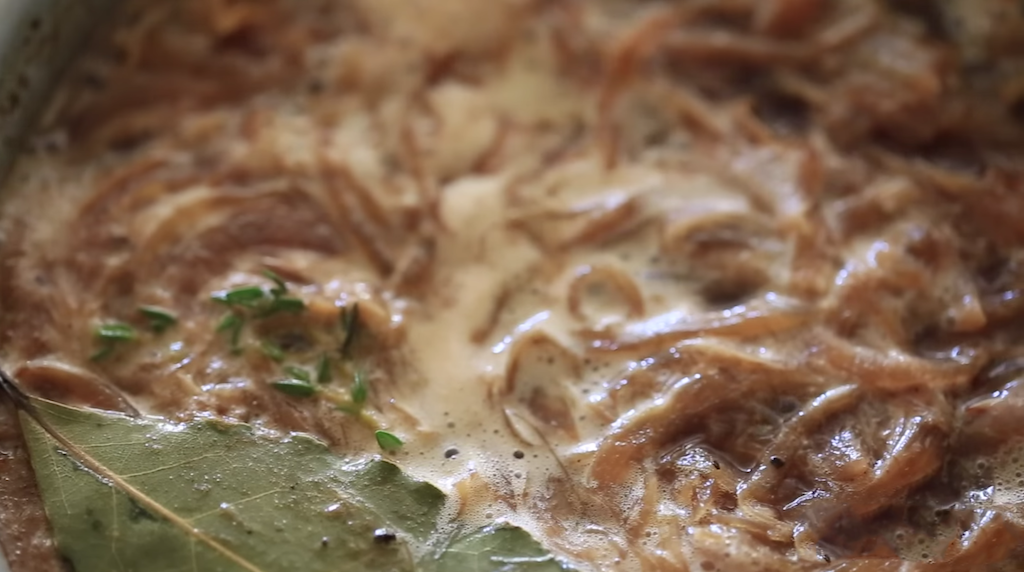
…and 2-3 tbsp fresh passion fruit.  Give it a stir and cook for 7-10 minutes.

Egg Yolks

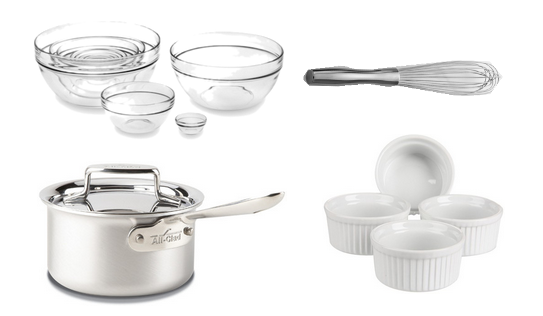
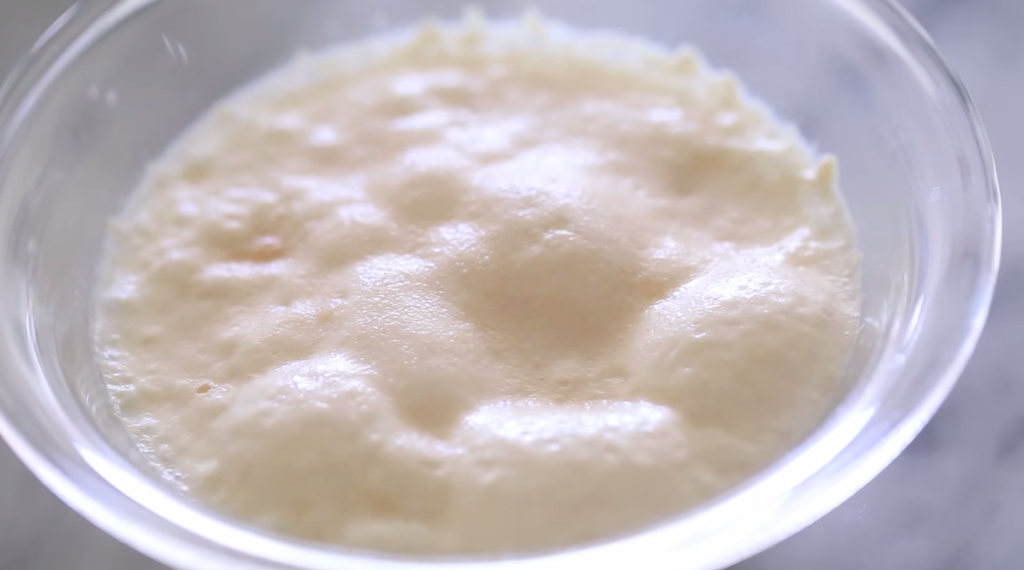
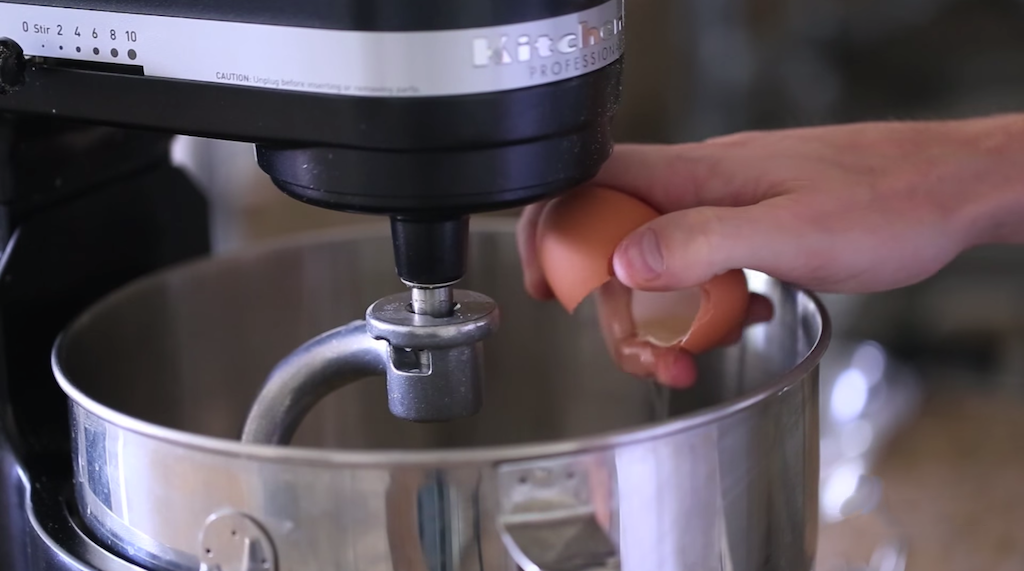
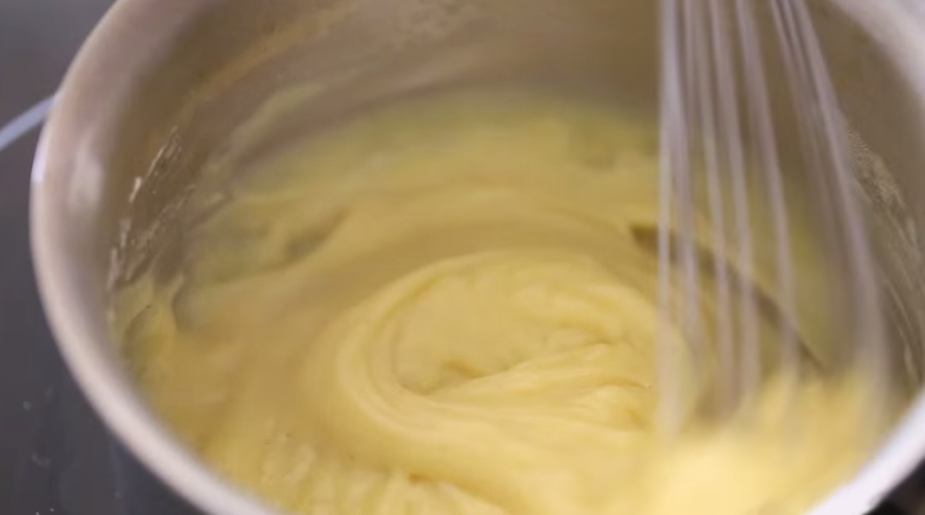
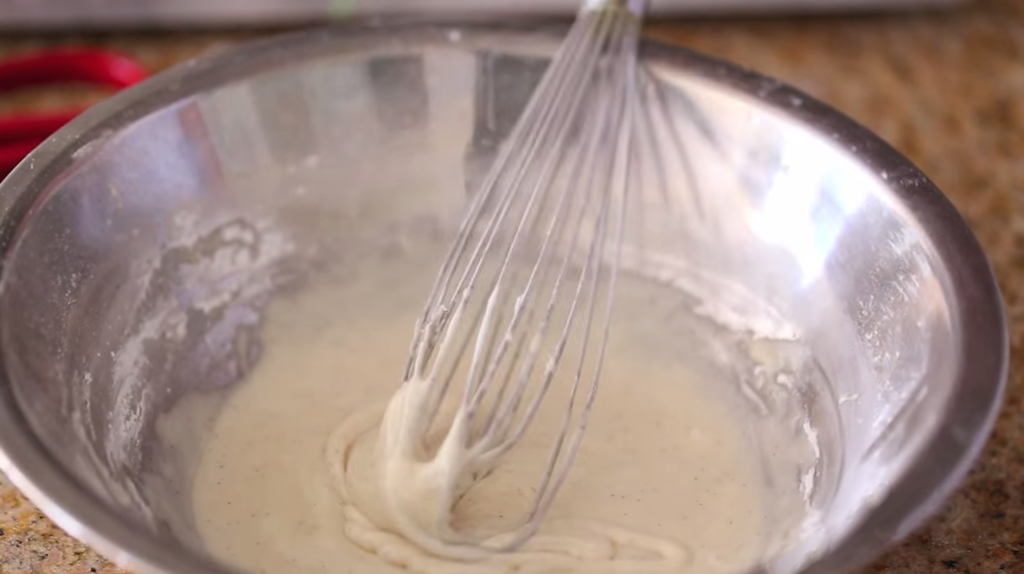
While the cream is heating up, add the egg yolks to a medium size mixing bowl and whisk for 5 minutes.

Egg and Cream

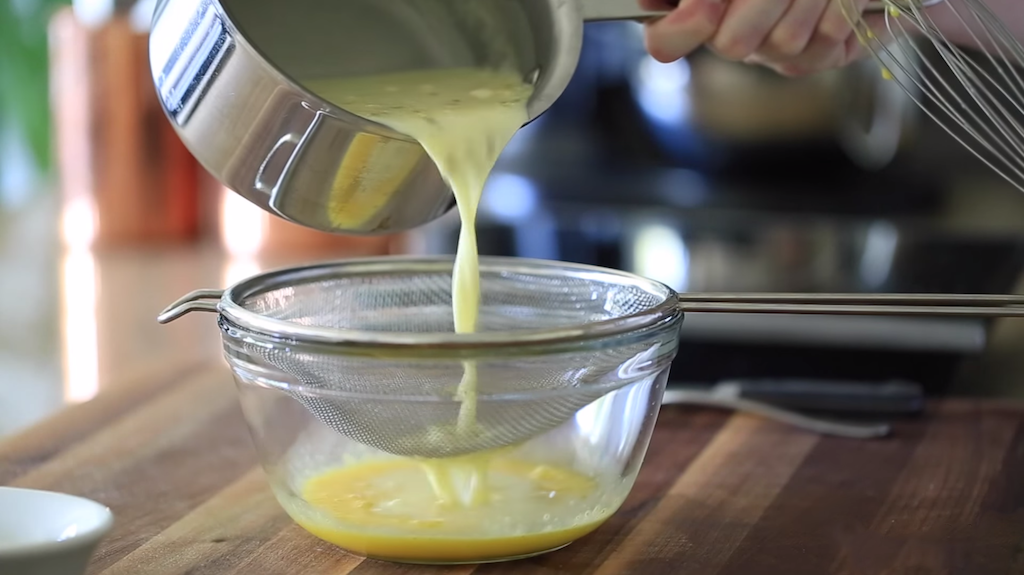
Once the cream is hot, very slowly strain about a 1/2 cup of the cream into the whipped egg yolks, then quickly stir it in.

Cream and Egg

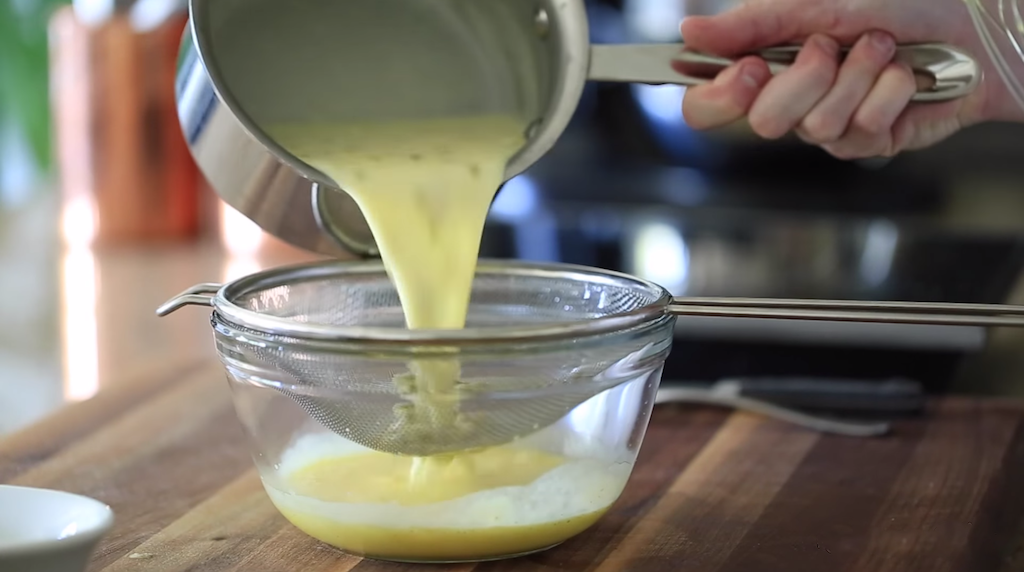
Once the eggs are tempered, strain the rest of the hot cream into the egg mixture and quickly whisk it in once again.

Custard

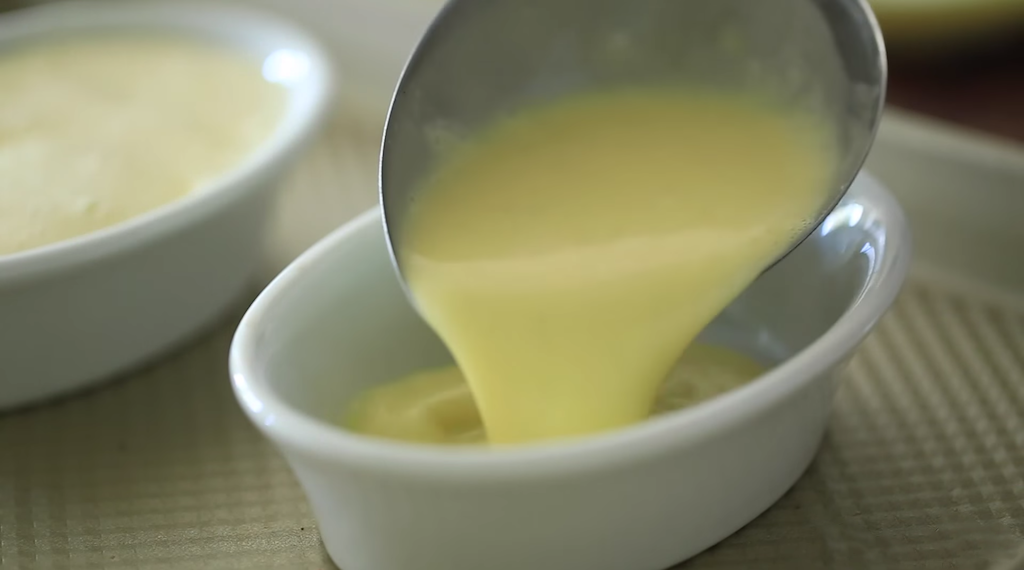
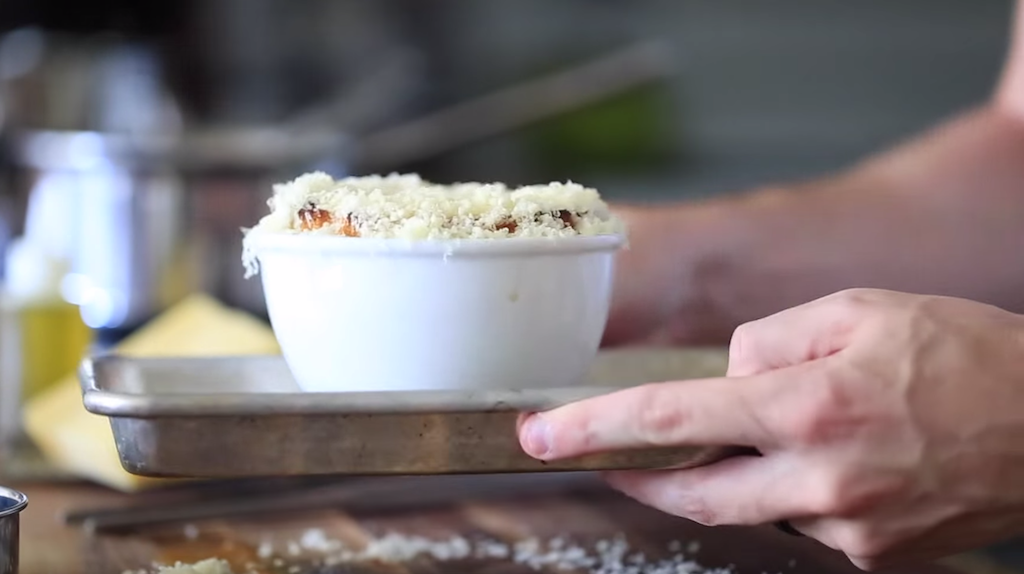
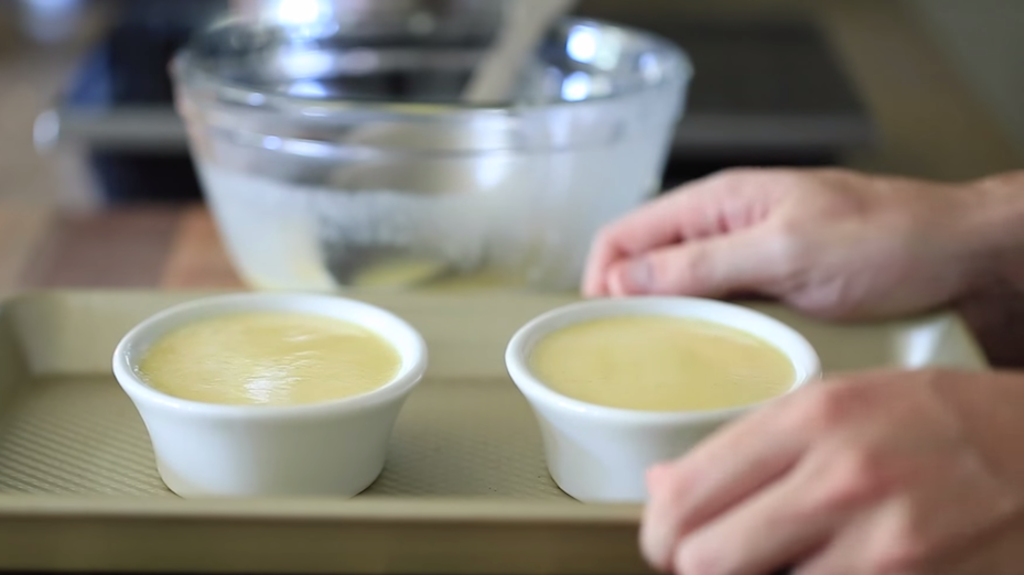
Place a few ramekins on a baking tray and fill them to the top with the passion fruit custard.

Tray

Place the baking tray into a 375f oven…

Water

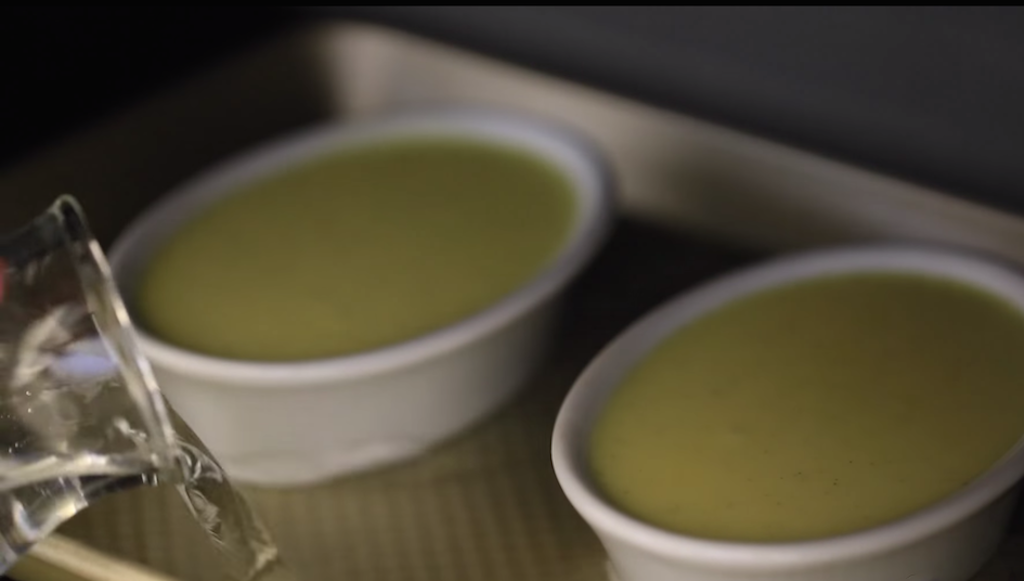
….and fill the baking tray with 1-2 cups of water depending on the depth of the tray.

Out of Oven

Once the the outer portion of the custard is set pull them out of the oven and allow to cool.

Screen Shot 2014-10-08 at 3.35.02 PM

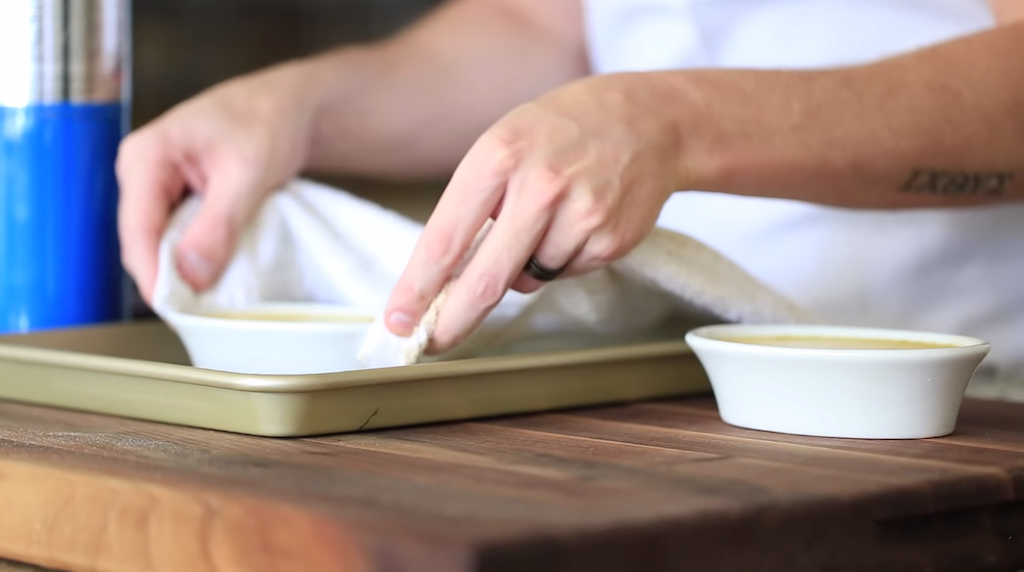
When the ramekins are cool enough to handle, place them into the fridge to set up.

Sugar

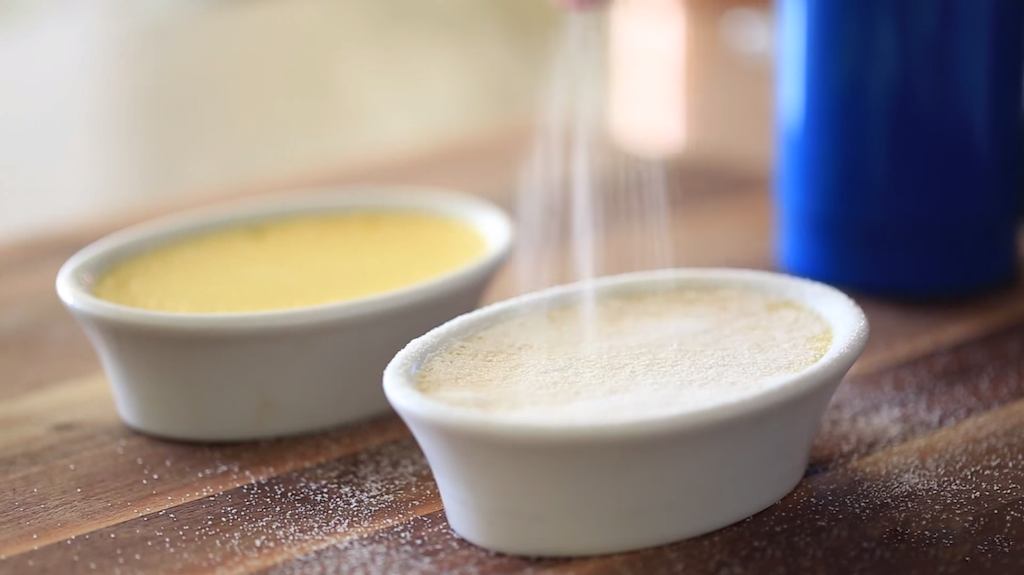
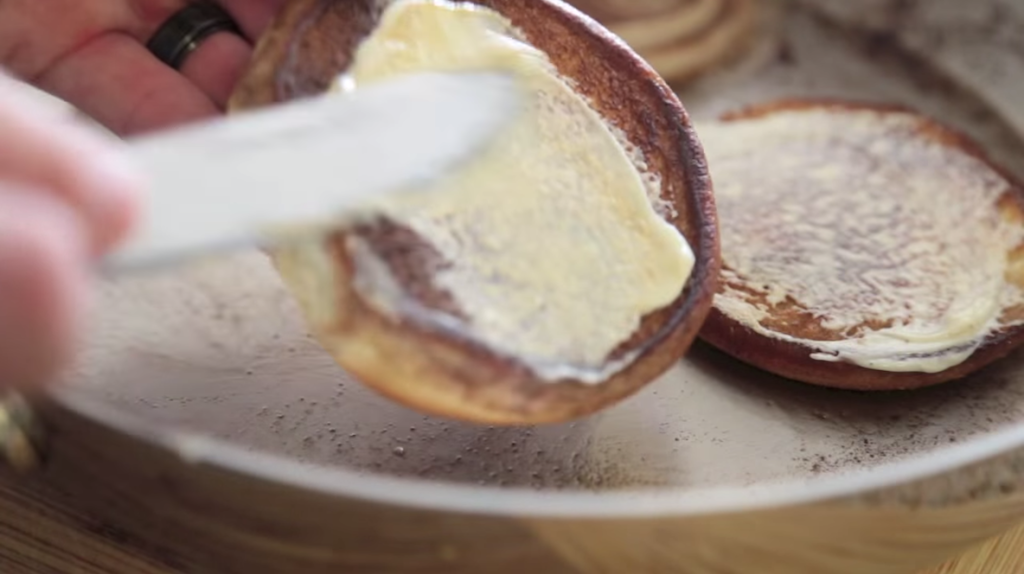
After the custard has set, take a few out of the fridge and generously dust the top of them with several tablespoons of granulated sugar…

Torch

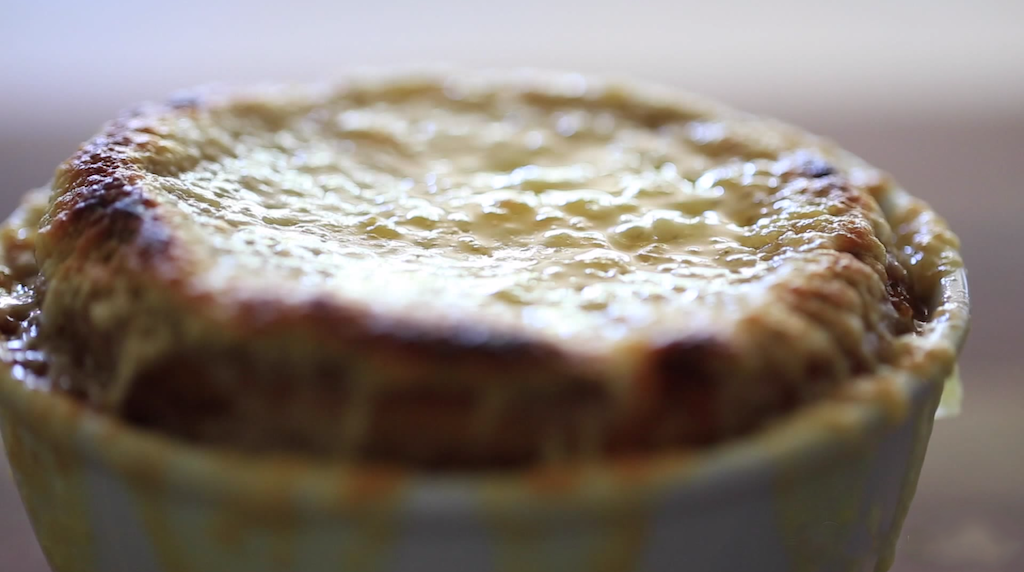
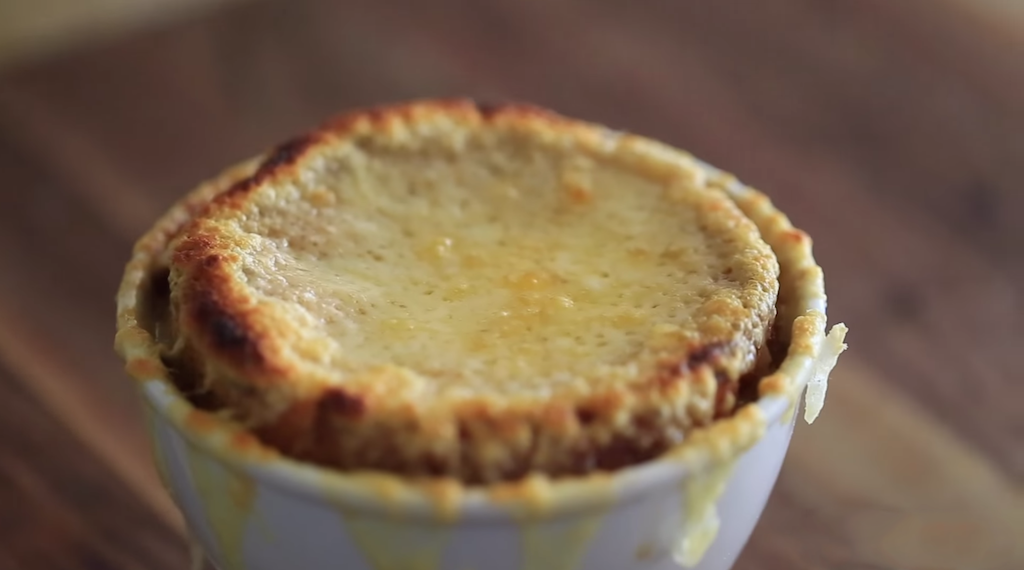
…then broil until the tops are a dark amber, bubbling syrup of sugar.

Sugar

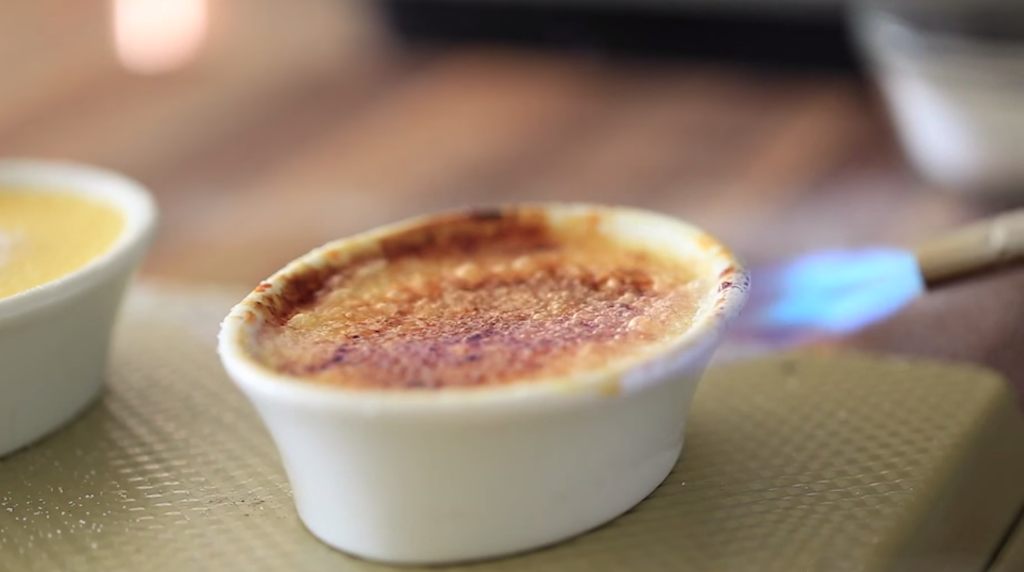
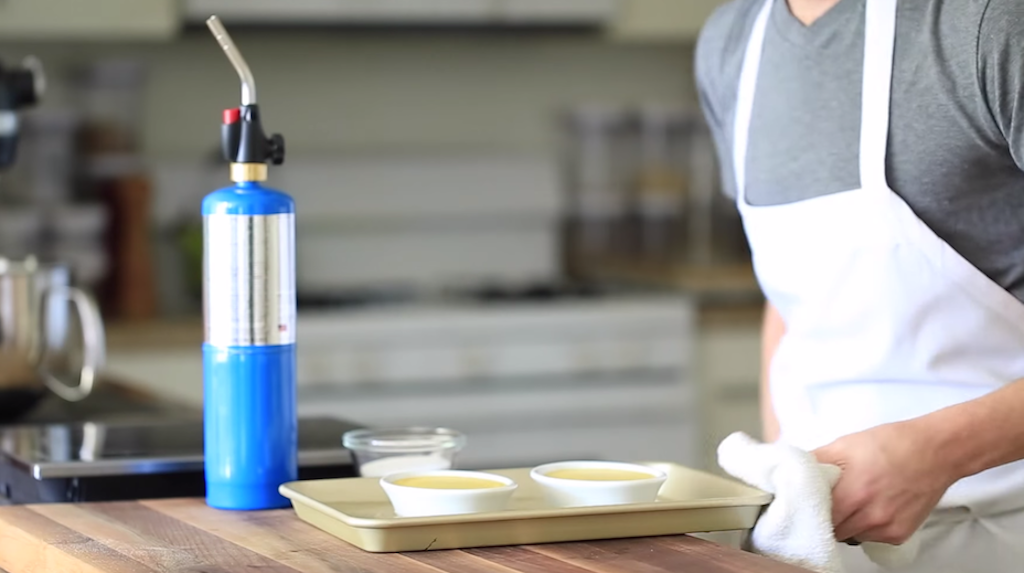
Of course, if you have a torch on hand, that’s the easiest and funnest way to achieve a crispy sugary topping!

Creme Brulee

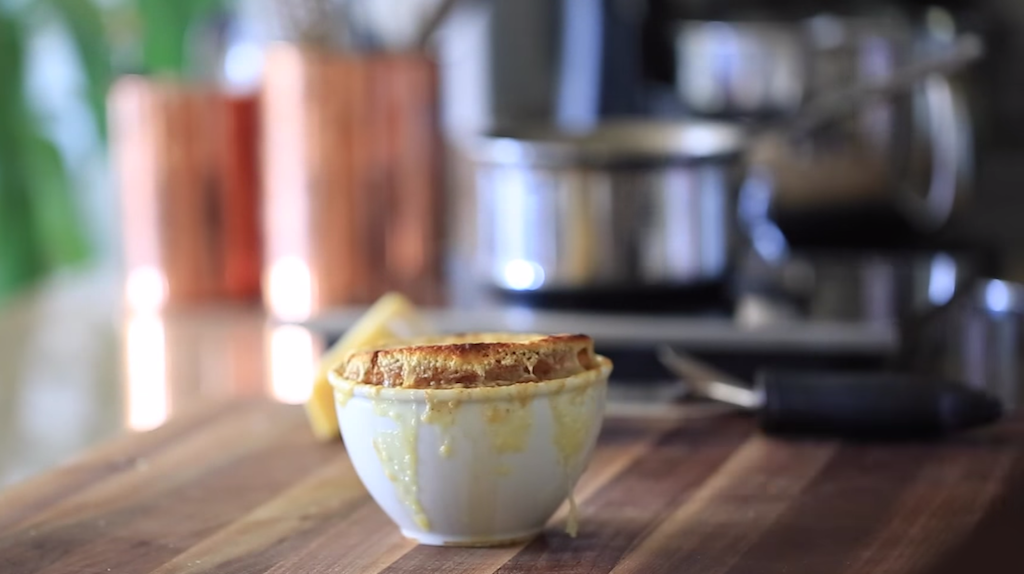
Let the sugar cool down for a few minutes, then ENJOY!!

[amd-zlrecipe-recipe:19]

Tools Used

| Top Left: Glass Bowl Set |Bottom Left: Whisk |  Bottom Left: All-Clad Sauce Pan | Bottom Left: Ramekins 
 
Food for Thought

The Importance of Vinegar

October 7, 2014
http://www.bbc.co.uk/food/white_wine_vinegar

Photo Credit: BBC

The creation of vinegar is simple enough. First, yeast feeds on the sugar of grapes or rice and ferments it into alcohol; second, innocuous bacteria feed on the alcohol and ferment it into acid. This simple acid, aka Vinegar (or “sour-wine” as it was once referred), took no time in becoming a staple ingredient to the culinary world and a truly remarkable component to cooking.

When it comes to cooking, vinegar can improve flavor, preserve food, replace or substitute ingredients, and so on…  It can chemically alter not only the taste of food, but the color and physicality of it as well.  This allows for a lot of “culinary experimentation.”

http://mysciquest.wordpress.com/

Photo Credit: MySciQuest

Some interesting examples of the powerful and ingenious uses of vinegar are:

-No heat cooking. Its strong acidity helps to “cook” raw foods, turning fish meat, for example, from clear to opaque, cooking the fish with no heat!  Most often seen in dishes like ceviche.

-The acid content can tenderize tough cuts of meat by breaking the chemical bonds that hold protein strings in a twist, causing the proteins to unravel and “tenderize.”

http://en.wikipedia.org/wiki/Structural_genomics

Photo Credit: Wikipedia

-When mixed with milk, vinegar will cause the milk to curdle resulting in products such as sour cream and cottage cheese.

-Vinegar maintains red and white produce colors by slowing down the enzyme activity, which prevents vegetables from browning as quickly.  For example, when making mashed potatoes, adding vinegar keeps the potatoes white.

-It can keep gelatins from melting in hot environments by adding a teaspoon per a box of gelatin.

-It can freshen wilted vegetables by soaking them in cold water containing a spoonful or two of white distilled vinegar. Great for keeping leafy greens from sagging.

-Vinegar can act as a salt neutralizer. For example, if you’ve added too much salt to a recipe, you can add a spoonful of white distilled vinegar and sugar to neutralize the taste.

-You can use to vinegar to replace an ingredient altogether. If you’re short an egg for a recipe, replace it with a tablespoon of white wine vinegar. Although, this will only work if there is another rising agent present such as baking powder.

-To keep eggs from cracking, add two tablespoons of white vinegar per quart of water before you boil. Your cooked eggs will stay intact and be easy to peel.

-AND lastly, Vinegar is infamous for neutralizing odor. By placing a small bowl of vinegar next to the stove, it will absorb pungent odors from cooking items such as fish.

These are just a few ingenious ways vinegar can be used outside the norm of putting together a tangy and delicious salad dressing.  Be sure to experiment on your own and have always fun!

Hope you enjoyed this post.

| SOURCES: FineCooking.com | VinegarTips.com | FineDiningLovers.com |

Main Course

French Onion Soup

October 4, 2014
French Onion Soup

The myth surrounding the invention of French Onion Soup is just that, myth, but legend has it that King Louis the XV of France invented it when all he had in his pantry was butter, onions and champagne. Taking a leap of faith, he combined these ingredients resulting in the first French Onion Soup!

My take on the dish is a bit more evolved and current than that of King Louis, but keeps with the same classic flavors. Hope you enjoy this treat of a meal.

Slicing Onions

Start by thinly slicing 3-4 medium white onions.

Adding Butter

Using a medium-large sauce pan on medium heat, add 2 tbsp of butter.

Onions in pan

Add the sliced onions to the pan.

Cooking ONions

Cook for 20-30 minutes.

Adding Water

Make sure to add some liquid (water, wine, or vinegar) to deglaze and slightly cool the pan every 10 minutes or so.

Add Wine

Once the onions are sweet, sticky, and dark, add the red wine…

Black Pepper

…black pepper and salt…

Bay Leaf

…a bay leaf…

Sprig

…thyme…

Screen Shot 2014-10-03 at 9.19.35 AM

…and sherry vinegar.

Beef Broth

 Soup

Reduce for 5 minutes until the alcohol cooks off, then add the beef broth and continue cooking for 10-15 minutes.

Bread Mold

While the soup base is reducing, slice a baguette to fit the shape of your bowl and trim the edges off to form a circle.

Olive Oil

Season it with olive oil…

SAlt

…some salt…

pepper

… and black pepper.  Toast the slices of seasoned bread until they’re golden brown.

Soup

Once the bread is toasted up and the soup is ready to go, fill a thick bake safe porcelain bowl with the soup base.

toast

Top it off with the seasoned crouton (toasted bread)…

Shredded Cheese

 …and a healthy portion of shredded cheese.

Baking Sheet

 Place the bowl onto a baking tray and into a 500f oven or broiler until the cheese is bubbling over the sides and the top has a light amber color.

French Onion Soup

Take the bubbling soup out of the oven…

French Onion Soup

…allow to cool for 10 minutes…

French Onion Soup

…and please ENJOY this classic dish!

[amd-zlrecipe-recipe:20]

ToolsUsed

| Top Right: All-Clad Sauce Pan| Bottom Left: White Bowl Set |
| Middle Left: Tweezer Tongs | Middle Right: Shun Knife |
| Bottom Left: Baking Sheet | Bottom Right: Williams-Sonoma Maple Cutting Board | 
 
Sides

Green Beans Almondine

August 23, 2014

This is a perfect side dish to any meal and it couldn’t be any easier to make.

Blanching Green Beans

Start by adding your green beans to boiling water and blanching them until they turn bright green. They should be tender, but still have a little bite to them.

Cold Rinsing Green Beans

When the green beans are cooked perfectly, quickly take them out of the boiling water, strain, and put them into an ice water bath or rinse them under cold water. This is to stop the cooking process and to keep our green beans in perfect form.

Add Butter to Pan

Add butter to a medium sauté pan on low heat.

Add Butter to Pan

Mix in green beans, salt & pepper, and a little water.

Toss the Grean Beans in Butter

Warm the green beans, giving them a few tosses to evenly coat them in butter.

Warm Butter in Small Pan

In a different small sauté pan on medium heat add the rest of the butter until in is lightly browned and then add your sliced almonds.

Screen Shot 2014-09-04 at 9.58.59 AM

Toast the almonds until they turn a light golden brown.

Warm Butter in Small Pan

Place the buttered green beans on a serving dish and generously top them with the toasted almonds and brown butter.

GREEN BEANS ALMONDINE

And there you have it. An easy and delicious dish to share with your friends and family. Enjoy!!

[amd-zlrecipe-recipe:21]

Tools Used

| Top Left: All-Clad Small Saute Pan | Top Right: All-Clad Medium Saute Pan | Bottom Left: All-Clad Stock Pot | Bottom Right: All-Clad Strainer 
 
Breakfast, Desserts

Chocolate Cream Filled Donut

August 23, 2014

Epically decadent, this donut is probably the most delicious donut you will ever eat!  I dare you to eat just one. Can’t be done!

Adding yeast.

To kick this off start by adding warmed milk to an electric mixer along with granulated sugar and dry active yeast.

Bubbles Forming on Surface

Let this mixture sit until you can clearly make out a layer of bubbles or foam on the surface.

Adding egg to mixture

Add the melted butter and egg to the bubbling yeast mixture and stir for a minute or so.

Adding Flour

With your mixture on low speed, slowly add the flour a ¼ cup at a time. Don’t forget to take breaks from mixing to scrape down the sides of the bowl. Continue mixing until the dough has formed into a silky smooth ball.

Rolling Out Dough

 Roll out the dough on a floured surface and occasionally flour the top of the dough so it doesn’t stick to the rolling pin.

Punch out dough

Now it’s time to form your donut! Punch the dough out with a large ring cutter.

Cover dough

Place the perfectly formed dough under a damp cloth and allow them to double in size.

Mixing Custard

While you wait on the dough you can make the delicious chocolate cream filling by adding the milk, egg yolks, vanilla extract, and sugar to a saucepan on low heat and stirring consistently. Once it’s reached 160°F add the cornstarch and increase the heat to a low-medium to begin thickening the custard.

Adding Chocolate Chips

As soon as it has thickened you can add the chocolate chips to the mixture.

Put custard in bag

Once all the chocolate is melted, and mixed into the custard, turn the heat off and scoop the custard into a piping bag to refrigerate.

Vanilla Frosting Mix

If chocolate cream filling wasn’t quite enough, we’ll top this guy off with a homemade vanilla glaze using a mixture of milk, vanilla extract, and powdered sugar.

Frying Donut

 Begin frying the double-sized dough, flipping them at least 2-3 times during the cooking process to insure an evenly cooked donut.

Donuts on rack

Once they’re golden brown, remove them from the oil and rest on a few dry paper towels or a wire rack to get rid of any excess grease.

Piping Donuts

Pull the chocolate cream filling out of the fridge and begin to pipe it into the center of each donut. You’ll have to get a little rough with the donut in order to really fill them up, so don’t be to shy when digging the tip of the pastry bag into the middle of the fried dough.

Applying Frosting

Next, dip the tops of the custard filled donuts in the vanilla glaze and give them a minute to set.

Chocolate Cream Filled Donut

When the frosting is set, dig in and ENJOY this decadent treat!!!

[amd-zlrecipe-recipe:22]

Tools Used

| Top Left: KitchenAid Mixer | Top Middle: All-Clad Sauce Pan | Top Right: Piping Bag and Tip Set | Bottom Left: Whisk |
| Bottom Middle: Mixing Bowls | Bottom Right: Wooden Rolling Pin |


Main Course

10 Layer Burger

August 23, 2014

Making this behemoth of a burger is a true labor of love. With 10 layers total, a good amount of prep goes into making this staple of the American Cuisine. That said, the result of your labor should end with you devouring the best burger you’ve ever made!

Patty Forming

Start off by forming the burger. Use a circular mold to yield an almost perfect crack free even patty.

Pickles

If you’re a pickle fan like myself, know that they couldn’t be easier produce. All you need is a bit of hot white wine vinegar, sugar, salt, and coriander poured over thinly sliced cucumbers.

Broiled Jalapenos

After you’ve removed the broiled jalapenos from the oven, deseed them as best you can to avoid an overly spicy burger. A little heat goes a long way.

Blotting Bacon

Blot your sizzling bacon on a paper towel to remove excess grease.

Sliced Onions

Sauté some sliced onions…

Sliced Avacado

…and thinly cut an avocado into a few slices.

Veggie Plate

Creating an assembly line like this with will make the construction of this colossal burger quick and efficient.

Patty on Pan

Season your patty with salt and pepper and place it in a sauté pan on high heat.

Swiss Cheese

Top with your favorite cheese. I enjoy swiss on my burger.

Egg

Crack one egg into a pan at low heat and slowly cook until all of the whites slightly firm and the yolk is still runny.

Egg

Flip the egg over (unless you want a sunny egg) and remove from the heat.

Spreading Mayo

Spread some mayo and dijon mustard to both sides of your toasted bun and then it’s time to layer!

10-Layer Burger

I like to start with the cheesy burger patty, followed by the lettuce, tomato, homemade pickles, sliced avocado, roasted jalapeño, pan-fried egg, caramelized onions, crispy bacon, then finally the top of the bun. Now it’s time to enjoy the best burger of you life!

[amd-zlrecipe-recipe:23]

Tools Used

| Top Left: Mixing Bowls | Top Right: All-Clad Medium Saute Pan | Middle Left: Tweezer Tongs | Middle Right: Shun Knife | Bottom Left: Baking Sheet | Bottom Right: William-Sonoma Maple Cutting Board