Food for Thought

Who, What, When, Where, & Why: PUMPKIN SPICE

November 4, 2014
Photo Credit: bostoncommoncoffee.com

Photo Credit: bostoncommoncoffee.com

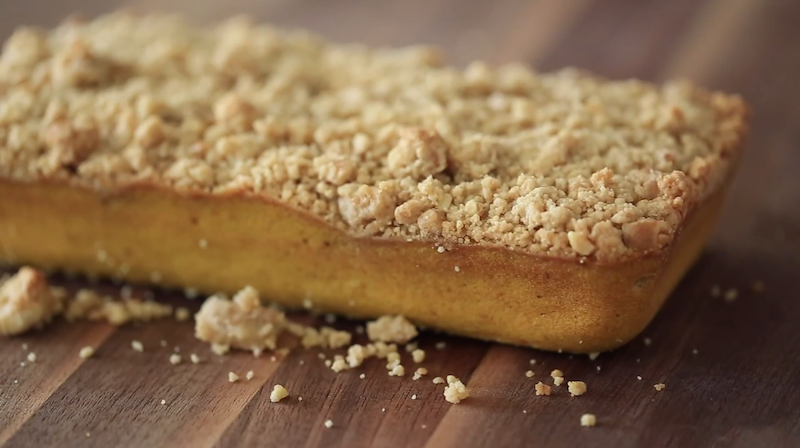
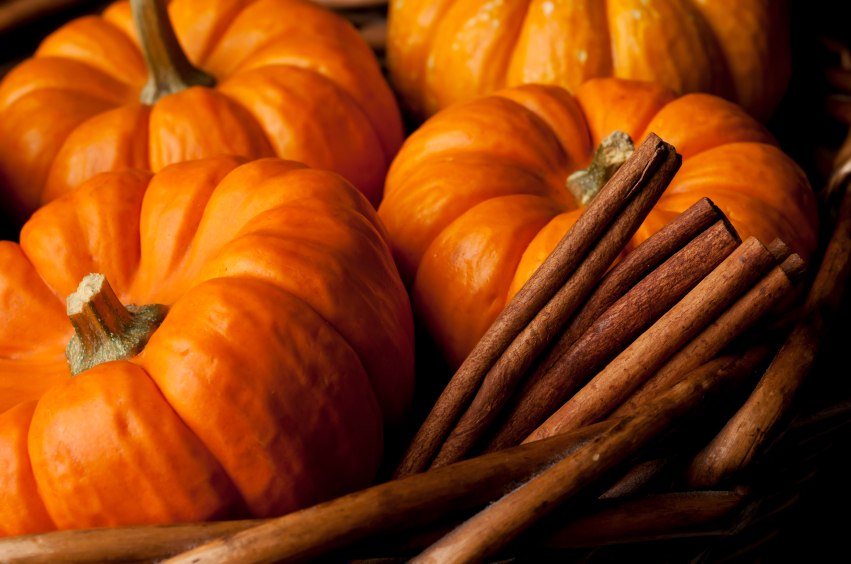
What: Pumpkin Spice, the seasonal favorite of many, is being used in EVERYTHING! Coffee, lattes, teas, cakes, candles, it’s taking the world by storm. If you’re like me, of the inquisitive nature, you ask yourself “the 5 W’s,” WHO, WHAT, WHEN, WHERE, WHY did Pumpkin Spice come to be? After a bit of mid-day digging I think I have the answers.

Who: A collaboration of Native Americans and Early American Settlers.

When: The First Thanksgiving.

Where: United States of America

Pumpkin Spice

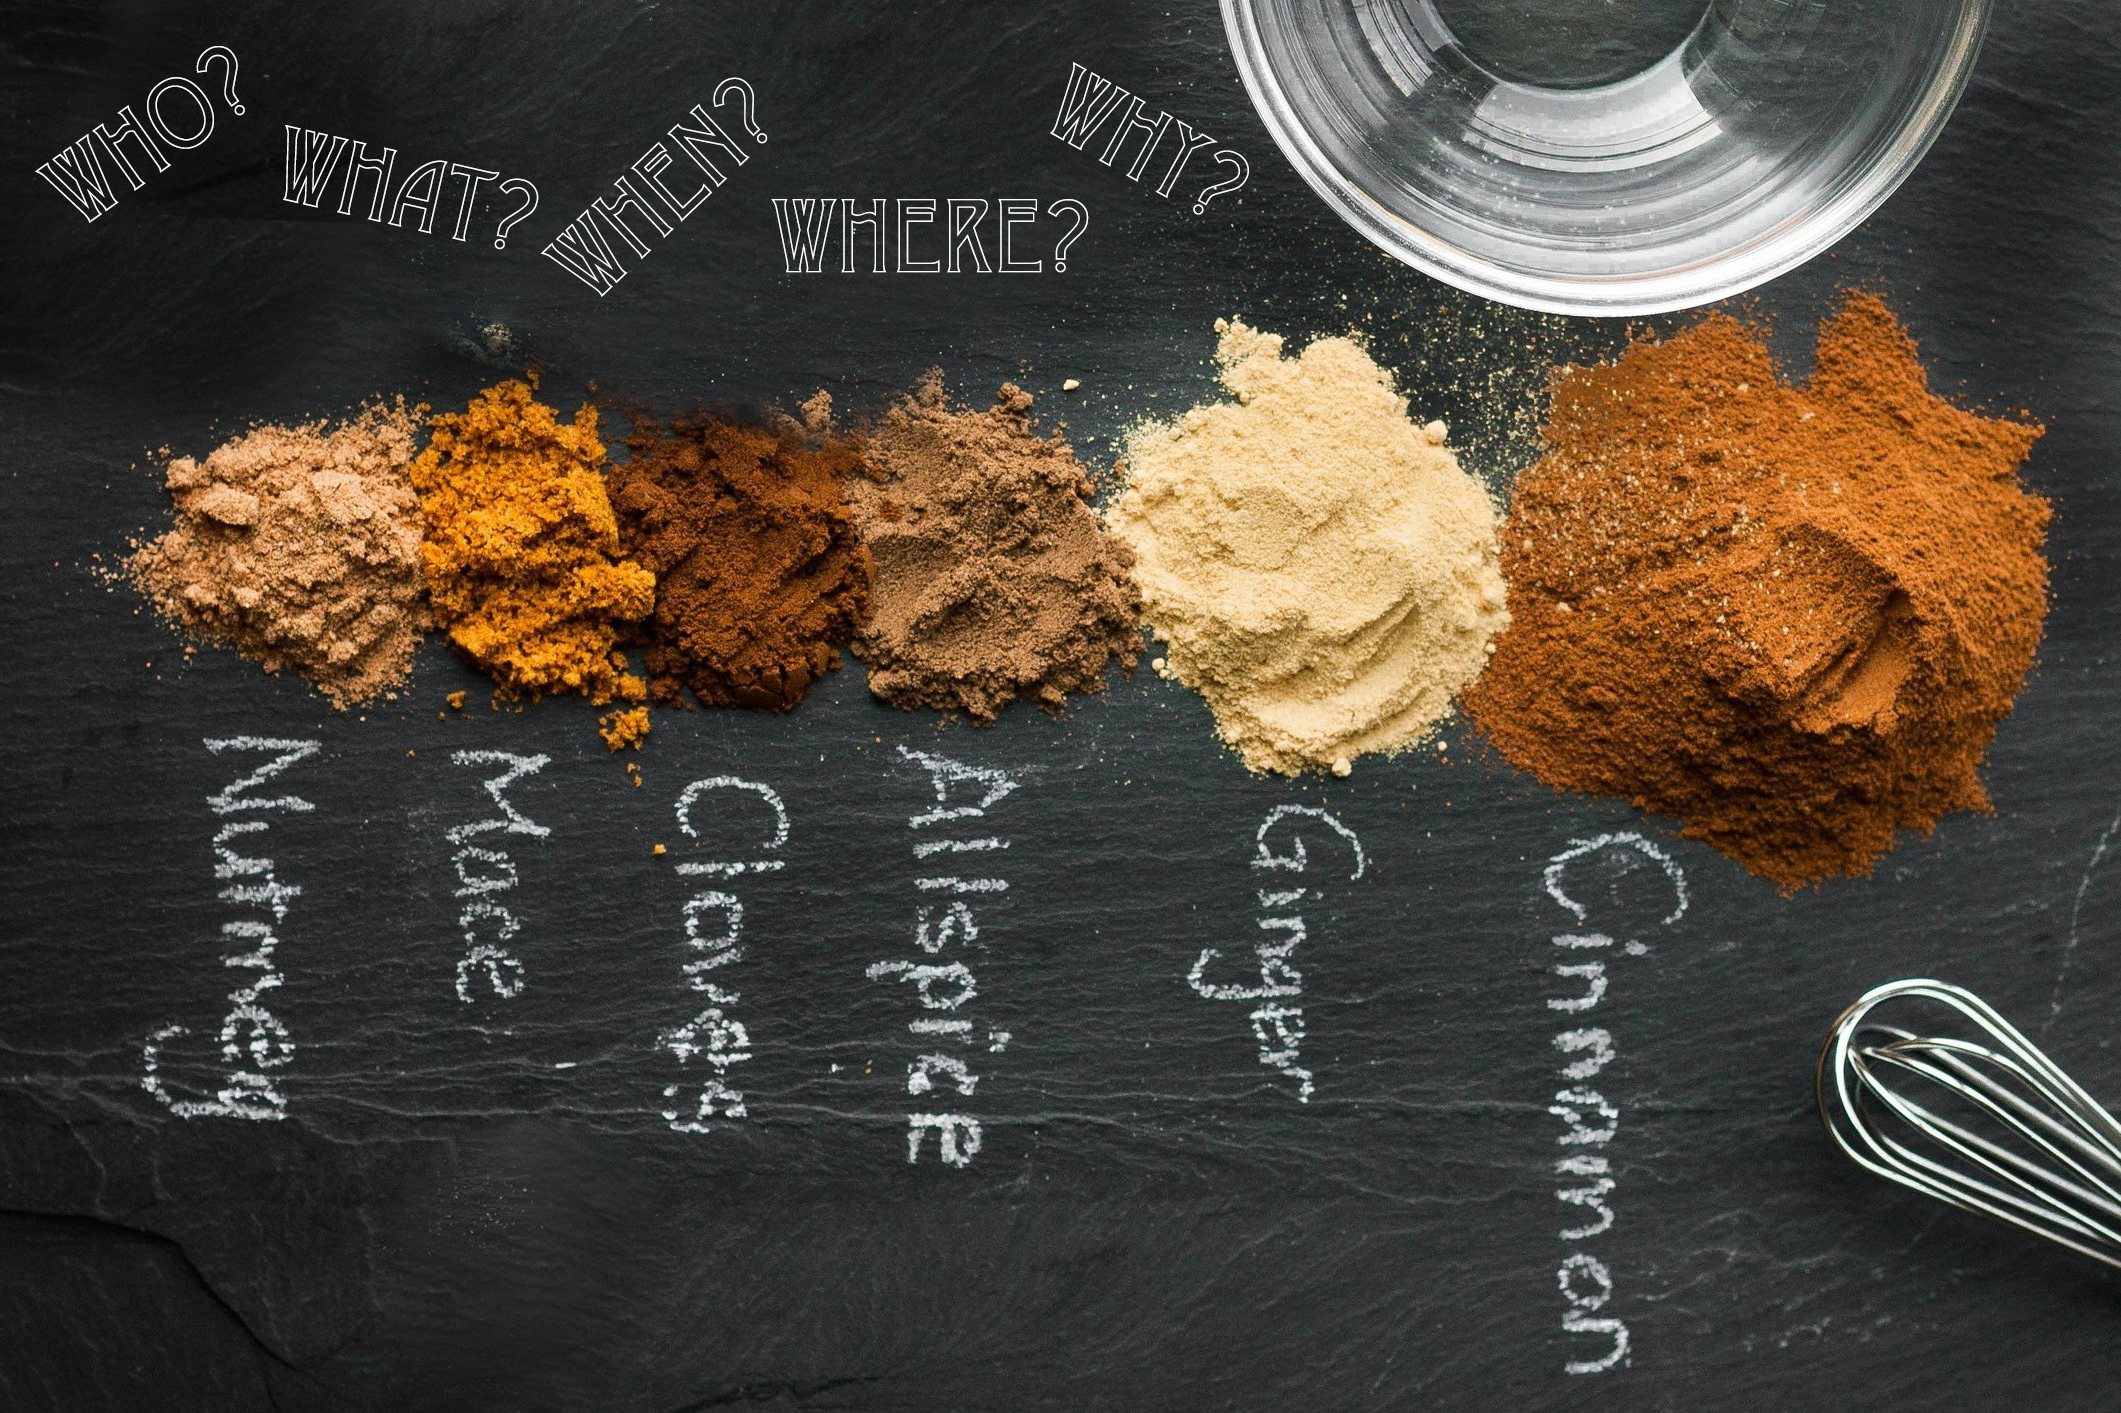
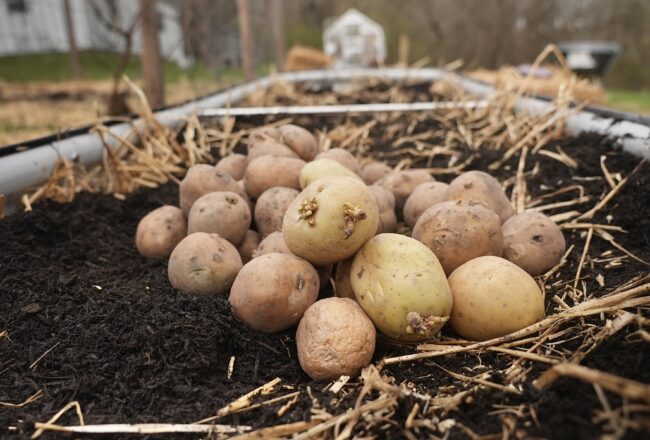
Why: Though the exact date of creation may be speculative, the cause behind the coining of “Pumpkin Spice” is curiously factual.  The curious notion being, Pumpkin Spice does NOT contain PUMPKIN! It is simply the “lazy name” for the combination of spices commonly used to season pumpkin; spices such as: Cinnamon, Ginger, Nutmeg, & Allspice. All of the spices which have been used in conjunction with pumpkin since the First Thanksgiving, though, we can only trace the coining of the phrase “Pumpkin Spice” back to the mid 20th century.

It is safe to say that the Pumpkin Spice we know and love is simply an evolved recipe of many generations, past and present.  It is more recently, though, that Pumpkin Spice has escaped the world of pastries, and joined forces with manufactures of all types.

So, next time you’re sipping an Octoberfest brew, or enjoying the scent of autumn candles with your Pumpkin Spiced Latte, remember all the people that helped evolve this one crucial fall ingredient, and ask yourself how you can contribute…Pumpkin-Spiced-Bourbon-BBQ-Sauce anybody?

Just some Food for Thought


Desserts

Pumpkin Coffee Cakes

October 31, 2014

I’ve been waiting for an excuse to make coffee cake for some time now, and with the fall weather and festivities I couldn’t think of a better moment.  To add an appropriate twist on this classic treat, I made a Pumpkin Coffee Cake.

Hope you enjoy my take on coffee cake  as much as I did, and tune in for more #PumpkinWeek to come!

Mixing Bowl

In a medium mixing bowl, add 1/4 cup cold diced butter and a 1/2 cup of brown sugar.

Flour Add 3/4 cup all purpose flour…

Salt

…a pinch of salt…

Syrup

…1 tbsp maple syrup…

Walnuts

…and 1/4 cup crumbled or chopped walnuts.

Mix

Mix with a wooden spoon for 5 or so minutes until the ingredients start to form small mealy “crumbles.”

Fridge

Keep it in the fridge until you’re ready to top the batter.

Butter

In a separate medium mixing bowl, add 1/4 cup soft butter…

Sugar

…and 1/2 cup of brown sugar.

Whisk

Whisk for 5 minutes.

Eggs

Add 2 eggs and continue whisking until they’re well blended.

Puree

Next, whisk in 1/4 cup of pumpkin puree.

Flour

Add 1 cup all purpose flour (or cake flour)…

Salt

…a pinch of salt…

Teaspoon

…1 tsp baking powder, 1/4 tsp of ground clove, nutmeg, allspice, cinnamon, and ginger.

Cream

Then add 1/4 cup of whole milk.

Whisk

Whisk for 7-10 minutes until the batter is smooth.

Pour Generously coat a 9×5 nonstick bread pan with butter and fill it half way up the sides with the batter.

Topping

Top the batter with 1/2 cup or so of the walnut crumble.

Bake

Bake in a 325f oven for 40-45 minutes.

Topping Once the topping starts to turn a golden brown, pull it out of the oven and let it cool down for 30 minutes.

Cake

After its cooled down, run a butter knife around the edges and remove from the pan.

Cut

Cut the “cake” into any shape or size…

Done

…and enjoy it with a steaming hot beverage!

[amd-zlrecipe-recipe:12]

Tools

| Top Right: Individual Carafe | Top Middle: Glass Bowl Set | Top Right: Whisk | Top Right: Icing Spatula |
| Bottom Left:Williams-Sonoma Maple Cutting Board |Bottom Middle: Baking Pan |

Breakfast, Desserts, Snack

Mini Strawberry Tart

October 27, 2014

In honor of the Truvia Baking Star Competition, which I will be judging along with several other chefs, I took a breakfast favorite and gave it a healthier twist using the Truvia Brown Sugar Blend.  I couldn’t be more pleased with the results.

Breakfast tarts bring back so many childhood memories for me and probably you as well, so I hope you enjoy my contemporary twist on this classic treat.

Flour

Add 1 1/4 cups of all purpose flour to a large mixing bowl, along with a 1/4 tsp salt and 1 tsp baking powder.

Butter

Add 8 tbsp cold diced butter…

Water

…and 2 to 3 tbsp cold water.

Dough Blend

Begin to blend the dough just until the flour starts to develop large dough “flakes.”

Dough

Once the majority of the flour and butter are combined, transfer the dough onto a lightly floured surface.

Roll

Roll the dough into a small rectangle.

Wrap

Wrap with plastic film and allow to chill in the fridge.

Strawberries

While that chills, add 15-20 large cut strawberries to a large sauté pan thats on medium heat.

Sugar

Add 2 tbsp vanilla extract and 1 cup of Truvia Brown Sugar Blend.

Water

Pour in 1/2 cup of water.

Syrup

Cook the strawberries for 20 minutes until they soften and the liquid becomes a thick red syrup.

Blend

 Transfer to a blender or food processor and blend until smooth.

Fridge

Transfer the strawberry filling to the fridge to cool down for 30 minutes.

Roll

Start rolling out the chilled dough on a floured working surface, to about a 1/8″ thickness.

Cut

 Cut the dough into an even number of equally sized pieces.

Transfer

Transfer the cut out dough onto a baking tray lined with parchment paper or a silpat.

Brush

Then brush a little egg wash (50/50 blend of water and egg yolk) on half of the dough cut outs.

Spread

Add 1-2 tbsp of the chilled strawberry filling in the center of the same egg washed cut outs.

Dough

Gently cover the prepared tart dough with the unbrushed dough.

Crimp

Crimp the edges with your fingers making sure that there aren’t any holes for the filling to escape from.

Cut

Finish it off by cutting a few steam slits and give it one more brush of egg wash and put it into a 375f oven for 20 minutes.

Blender

In the meantime add 1 cup of Truvia Brown Sugar Blend to a blender and blend on high speed until it becomes powdery.

Sift

Sift the powdered Truvia Brown Sugar Blend into a medium mixing bowl.

Cream Cheese

Add 1/2 cup whipped cream cheese…

Starch

…1 tbsp cornstarch…

Whole Milk

…1 tbsp whole milk…

Vanilla Extract

…and 1 tbsp vanilla extract.

Mix

Mix until very smooth, then transfer to a pastry bag and set aside until it’s time to use.

Cool

After the mini tarts are done baking, pull them out of the oven.

Cool

Allow to cool for 15-20 minutes before frosting.

Frosting

Once they’re cooled down, generously cover the the tarts with the frosting and enjoy!

Enjoy

[amd-zlrecipe-recipe:14] 

Screen Shot 2014-10-22 at 3.47.01 PM


| Top Left: Mixing Bowls | Top Right: All-Clad Strainer |  
| Bottom Left:All-Clad Sauce Pan  | Bottom Middle: KitchenAid Food Processor | Bottom Right: Piping Bag and Tip Set | 
 
Main Course

Duck Confit

October 17, 2014

Duck Confit is a very popular french dish, developed during a time when preserving meat was a seasonal necessity.  The word “Confit” is derivative of the French verb confire, “to preserve.” To confit, is to slow cook meat it in it’s own fat, leaving you with EXTREMELY tender meat.

Traditionally, and still common in parts of France and other regions, the confit was preserved in glass jars and saved for winter consumption.  For my take on the dish I won’t make you wait until Christmas to consume, unless, that is, you absolutely want to.

Hope you enjoy!

Taragon

Begin by adding 2-3 tbsps of chopped tarragon to a mixing bowl.

Parsley

Add 2-3 tbsp chopped italian parsley…

Star Anise

…1 crushed star anise…

Garlic

…1 crushed clove of garlic…

Pepper

…1 tbsp of fresh cracked black pepper…

Salt

…1/4 cup of salt…

Sugar

…and 2 tbsps of sugar.

Crushed Ingredients

“Crush” the ingredients together, releasing loads of flavor from the herbs and spices.

Salt Mix

Add the duck legs to the seasoned salt mixture (curing salt) and thoroughly rub the flavorings into the skin and flesh sides.

Cover

After 5 minutes or so of rubbing, cover the duck legs with the remaining curing salt…

Covered

…and cover with plastic or a damp towel, and set in the fridge for 30 minutes.

Rinse

Remove the lightly cured duck legs from the fridge and lightly rinse off the excess salt and flavorings.

Blot

Place the duck legs onto a dry towel to blot off excess moisture.

Duck Fat

Place the cured duck legs into a 2-3 inch deep baking tray and cover the legs with rendered duck fat.

Bake

Cover with a lid or aluminum foil and bake in a 300f oven for 2 hours.

Cool

Once the duck legs are very tender, take them our of the oven and allow to cool in the baking container for 30 minutes – 1 hour.

Duck

Once cool enough to handle, take them out of the fat and onto a plate or tray, cover with plastic, and refrigerate for 1 hour.

Pan

Once the duck has chilled completely, get a medium sautee pan on medium-high heat and add one of the duck legs skin side down into the pan.

Crisp

Crisp the skin on one side and turn it over to cook for another 5 minutes until the duck starts to become tender and hot in the center….

Turn

Take it out of the pan and place onto dry paper towel to blot of excess grease.

Watercress

In a small mixing bowl add watercress and shaved fennel.

Mustard

Mix in whole grain mustard…

Sherry

…sherry vinegar…

Olive Oil

… and olive oil.

Salt

Season with a little salt and pepper.

Duck

Place the salad into a bowl and top with the crispy duck leg and ENJOY!!!

Duck

[amd-zlrecipe-recipe:15] 

Tools Used

| Top Left: Glass Bowl Set | Top Right: Baking Dish |
| Bottom Left: All-Clad Saute Pan| Bottom Middle: Plastic Bottle | Bottom Right: Shun Knife |

Food for Thought

The Bullet Point History of French Cuisine

October 15, 2014

If only one thing could be said about French Cuisine, from it’s origination to now, it has always strived to be better than its predecessors; both technically and creatively.  The most distinguishable concept of French Cuisine goes back as far as the 1700’s when introduced at Versailles by King Louis XIV and his wife. Apparently a very trending family, as they also introduced Madeleines, they insisted the servers bring one dish at a time, creating not only the widespread use of silverware, but the concept of courses.  Prior, food had been traditionally served on large platters at the center of the table; basically, “family style.”

This was just the beginning of French Cuisine evolving the way we prepare and consume food.

Plates

In the early 1800’s, Chef Carême changed the way we serve food, by serving each guest at the table an esthetically pleasing, course specific plating.  A renown “food architect,” he plated in a way that made food edible art.  He was the first of his kind to present food in this way and went on to contrive many elaborate dishes and recipes.

Dessert

Then we had Auguste Escoffier (1846-1935), who simplified the recipes of his predecessor, Carême, in a way that made French cooking more achievable and modernized the way kitchens are run, to make cooking more efficient.  He was “a French chef, restaurateur and culinary writer who popularized and modernized traditional French cooking methods,” by perfecting “Haute Cuisine,” also know as “high dining,” or fine dining.  It was the beginning of chefs joining forces commercially, to give fine diners an experience they would not soon forget; that is, several courses of expertly prepared and artistically plated dishes.

As part of making this “Haute Cuisine” a reality, Escoffier developed the Brigade System, which divided the kitchen into five prep sections; ‘the “garde manger” that prepared cold dishes; the “entremettier” prepared starches and vegetables, the “rôtisseur” prepared roasts, grilled and fried dishes; the “saucier” prepared sauces and soups; and the “pâtissier” prepared all pastry and desserts items.’  This gave chefs the responsibility of preparing a component of the meal, rather than the whole meal.  This method allows for the chef preparing meat to give his whole focus to preparing the best possible meat, and allows the sauce chef to prepare the best sauces and soups, and so on…The chefs then combine their feat to compose one dish made of immaculately, and separately prepared components.  This process surprisingly cuts down prep time and has become the mainstream way of running a kitchen.

Composing

Even this brief history should shed light on just how much French Cuisine has evolved the way we prepare food worldwide.  Obviously the catalyst of many other cuisines and cooking techniques, it is a vital component to cooking as we know it and has made fine dining accessible.

As chefs, making great food easily accessible is an everlasting goal.

Desserts

Pumpkin Spice Madeleines

October 11, 2014
Mandeleine

Supposedly, madeleines came about at the Chateau Commercy in Lorraine, France in the mid 1700’s.  Louis XV then honored his father in-law’s cook, Madeleine Paulmier, by naming the sponge cake after her.  Louis’s wife, Marie, in turn introduced them to the court in Versailles and the madeleine fad quickly spread; and I can see why.

Wherever the truth of the origin lies, one thing cannot be denied…they are delicious! And in honor of the season, I gave them a fall twist.

I hope you enjoy!

Two Eggs

In a large mixing bowl add 2 whole eggs…

Sugar

…and 1/3 cup of granulated sugar.

Whisk

Begin to whisk for 10 minutes until it triples in volume.

Spice

Add 1/2 tsp ground cinnamon, ground nutmeg, ground clove, ground allspice.

Pumpkin

…baking powder, pumpkin puree, and a pinch of salt to the whipped eggs.

Whisk

Whisk for 5 minutes until all the ingredients are thoroughly mixed.

Butter

Pour in the melted butter and whisk for several minutes.

Flour

Add the all purpose flour and continue to whisk until it has properly absorbed into the wet ingredients.

Piping

Transfer to a piping bag and refrigerate.

Butter

While the batter is chilling in the fridge, generously butter the nonstick madeleine molds.

Pipe

Once the batter has chilled, take it out of the fridge and begin filling the molds as best as you can.

Filled

Just keep in mind, the more detailed you are when filling the molds, the more pronounced the pattern will be on the finished cake.

Oven

After the madeleine molds are filled, place them into the oven.

Edge

The edges of the cakes will start to turn a dark golden brown and the center might have a small lump once the cakes are almost finished.

Edge

Pull the madeleines out of the oven and allow to cool for 5 minutes before removing from the molds.

Dust

Lightly dust the top with a little powdered sugar and ENJOY!!

Mandeleine

 [amd-zlrecipe-recipe:18]

Tools Used

| Top: All-Clad Strainer |  | Top Middle: Whisk | Top Right: Piping Bag and Tip Set | 
| Bottom Left: Mixing Bowls | Bottom Right: Madeleine Mold |