Food for Thought

Plating Techniques

February 27, 2015

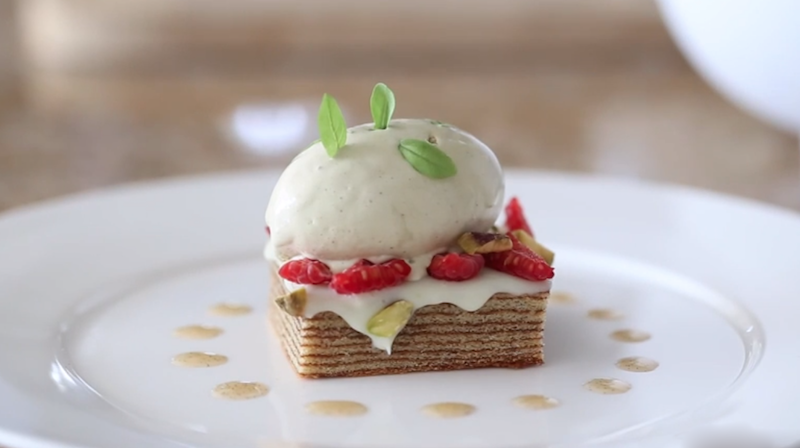
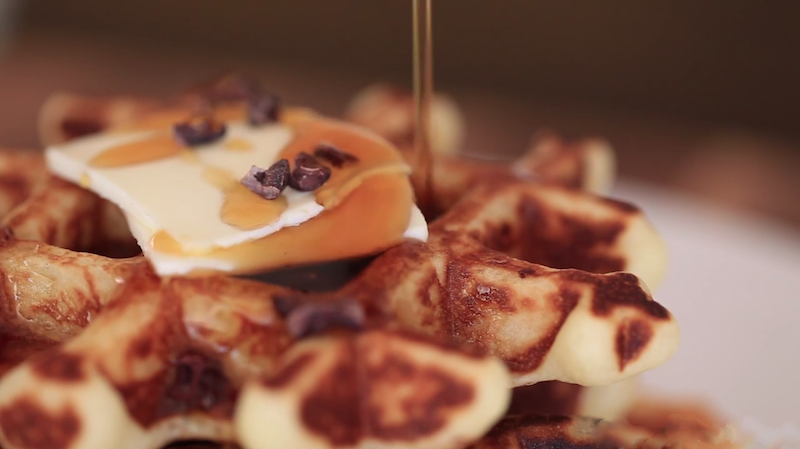
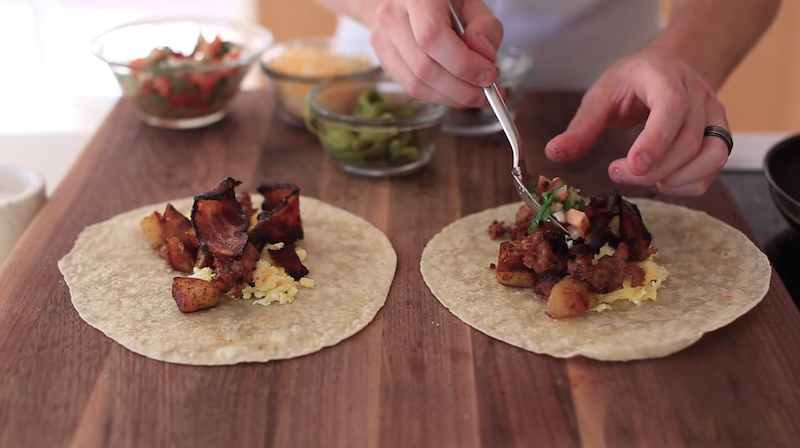
It’s no surprise that every chef has their own signature style of presentation. We eat first with our eyes, and every chef can attest to the importance of presentation. Presentation, presentation, presentation!

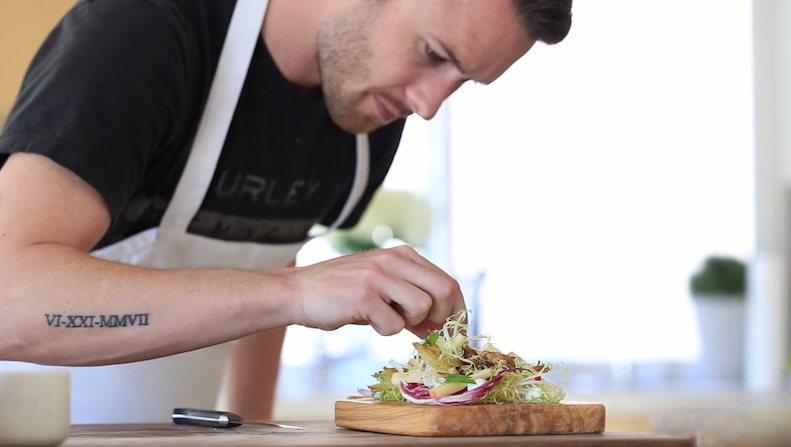
I thought I would share some personal tips on how I typically plate. These tips are easy to follow and can transform any tasty dish into a work of art.

Screen-Shot-2015-01-12-at-3.58.11-PM1

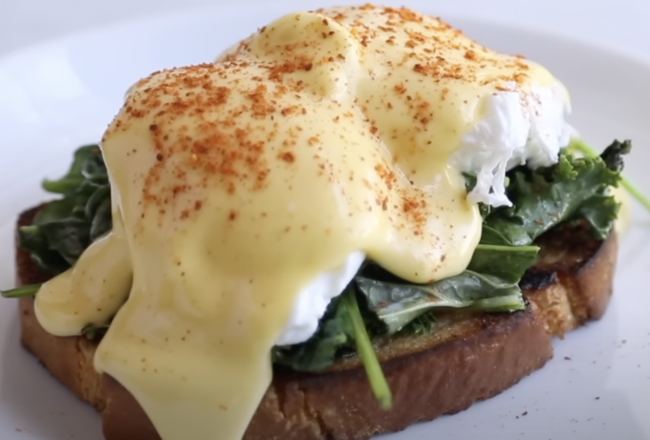
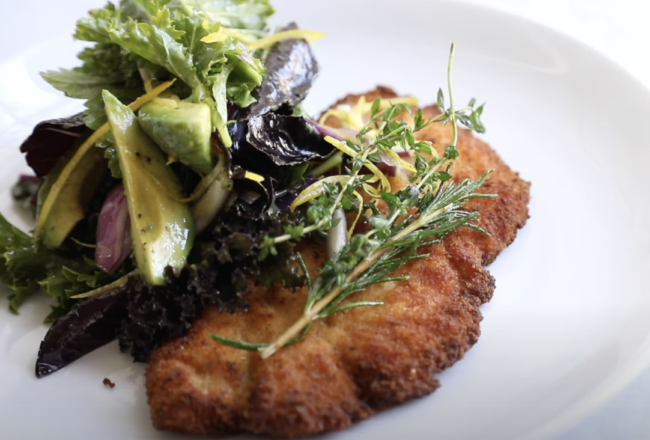
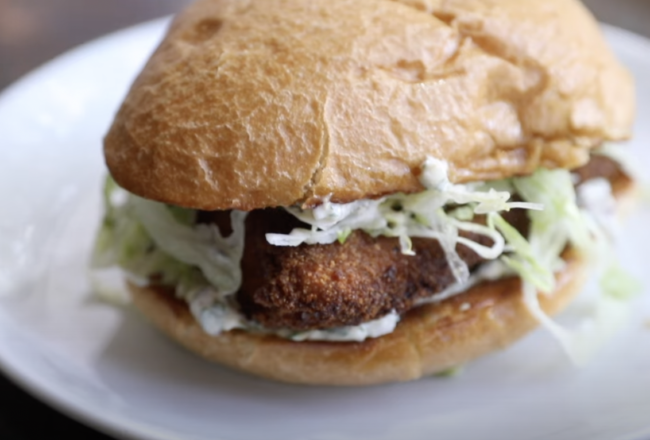
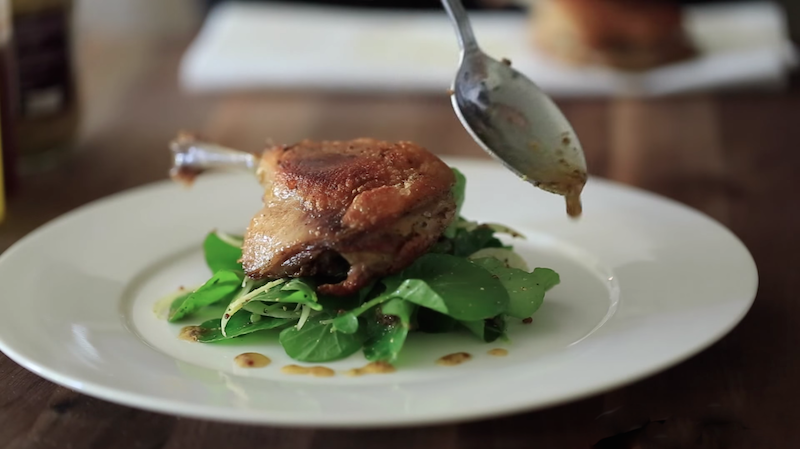
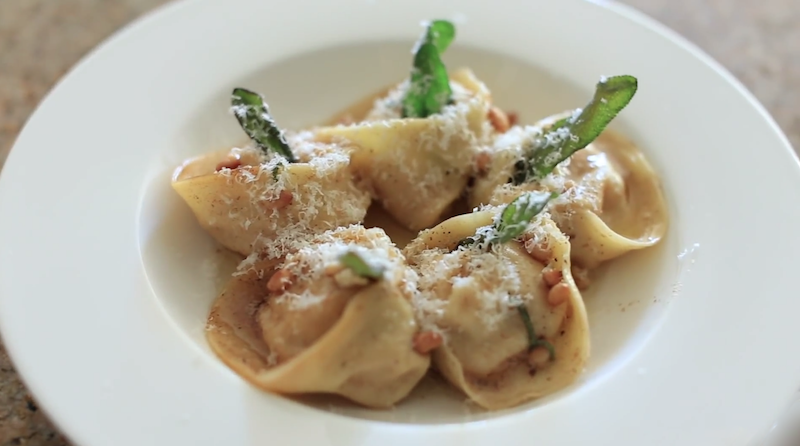
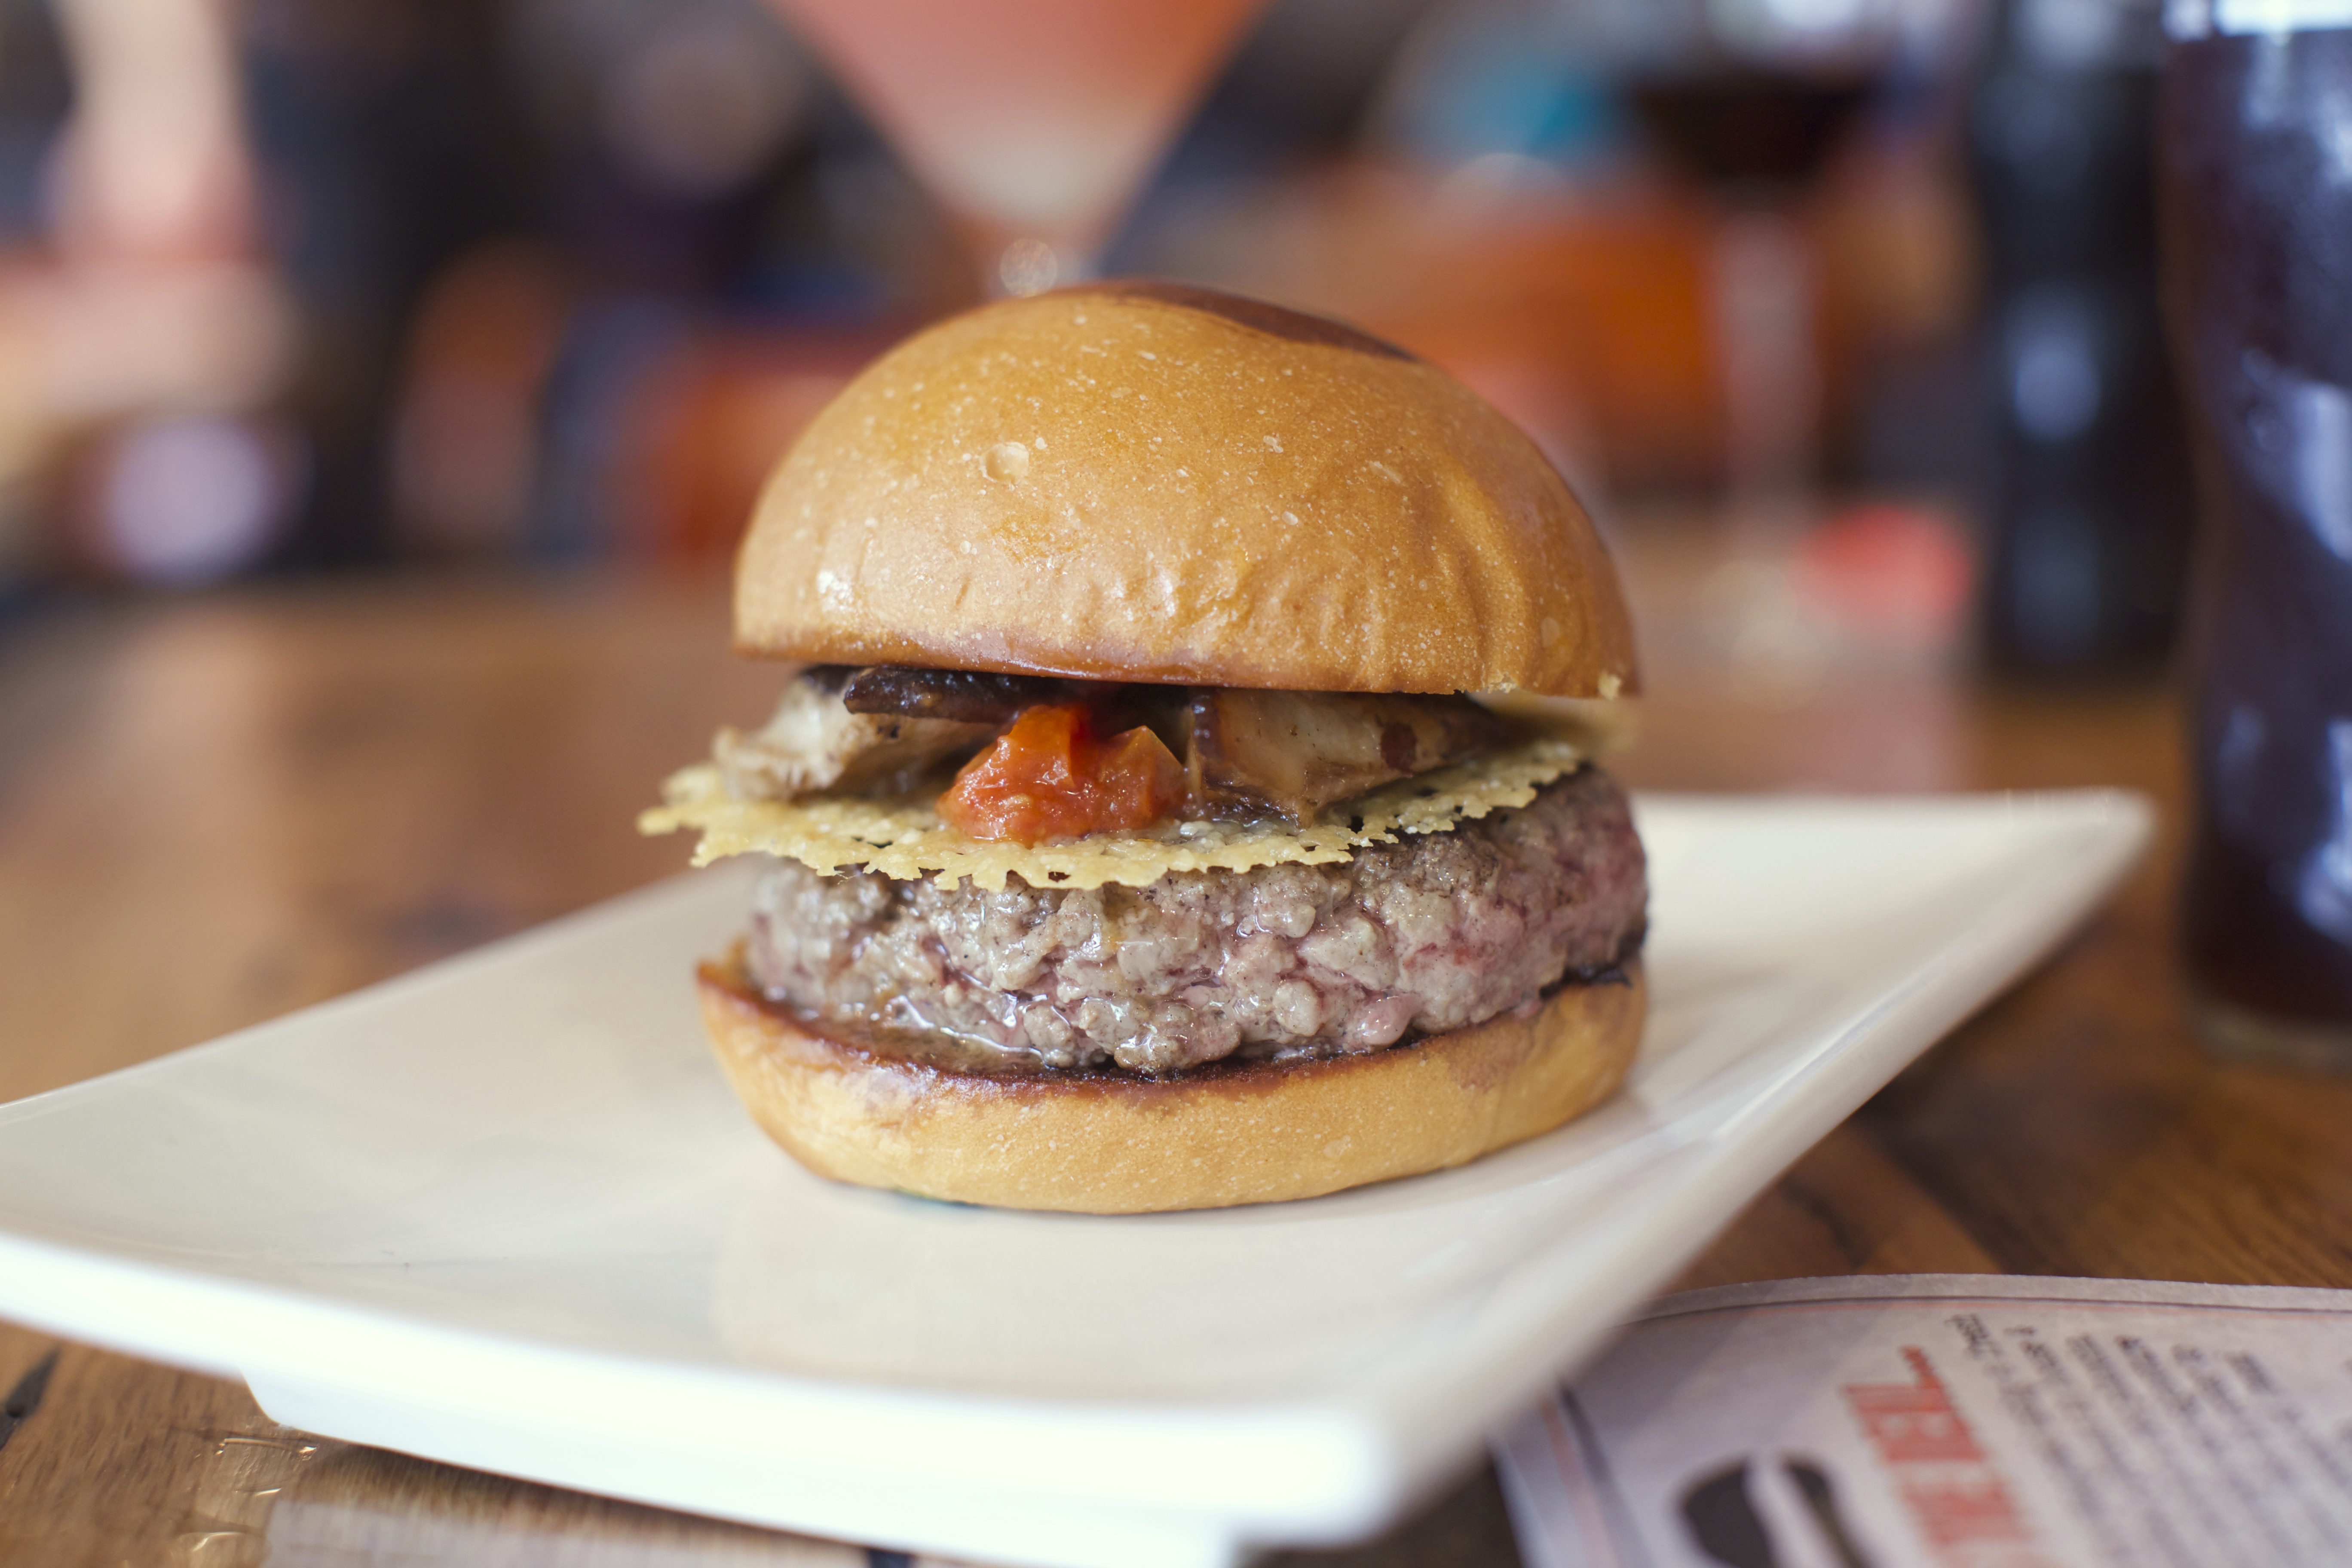
1. First things first. The focal point of the plate should be all about the main ingredient (i.e. the largest portion of food on the plate). EVERY garnish, sauce, or vegetable should be there to highlight the main ingredient.

Screen Shot 2015-02-26 at 11.45.32 AM

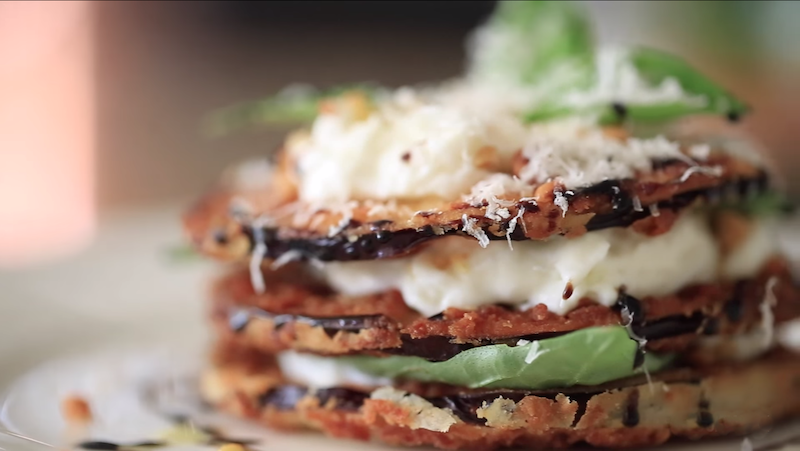
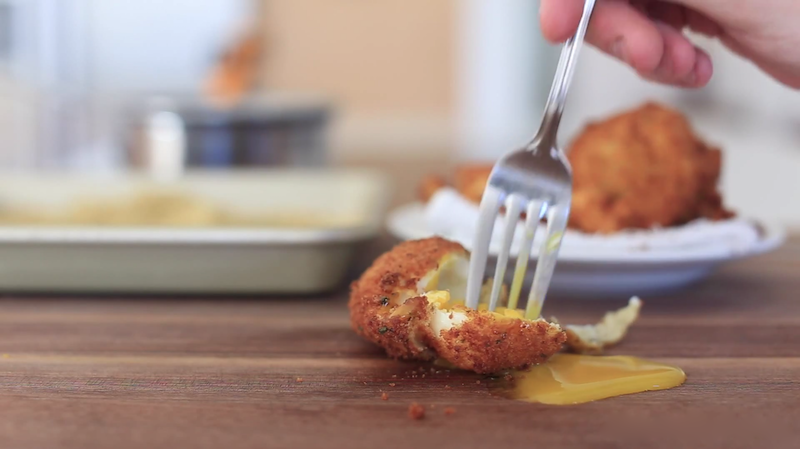
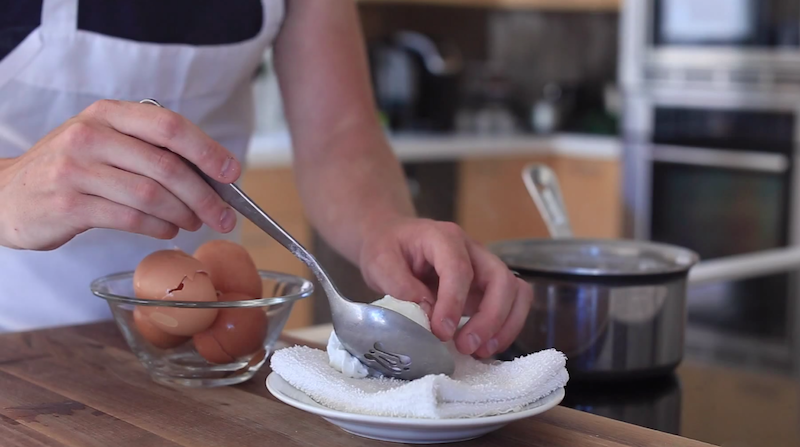
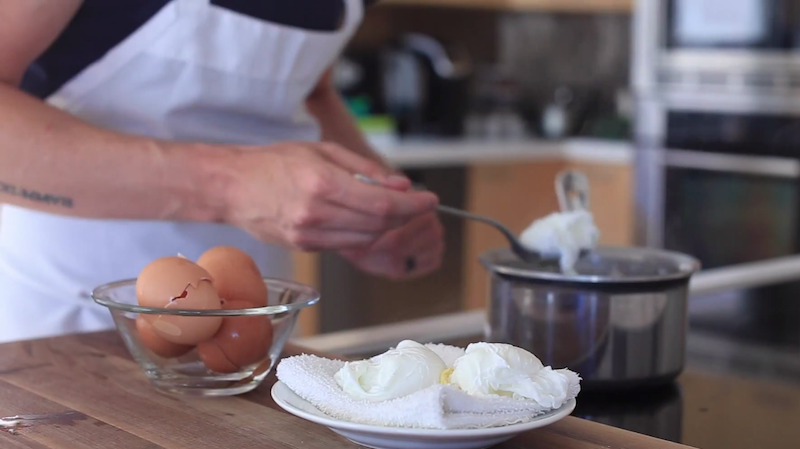
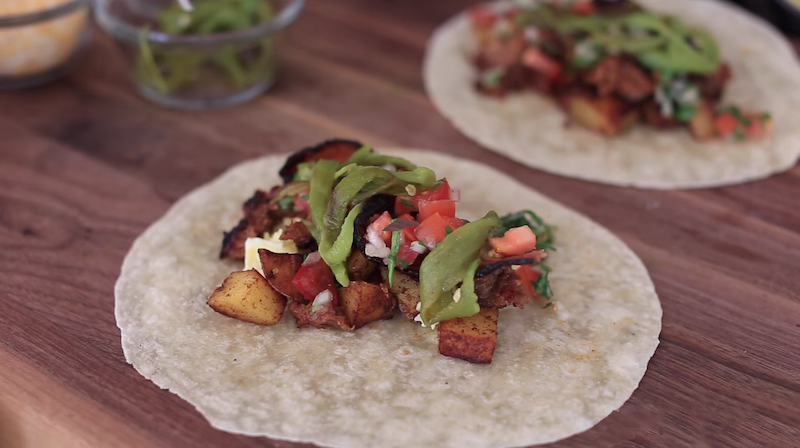
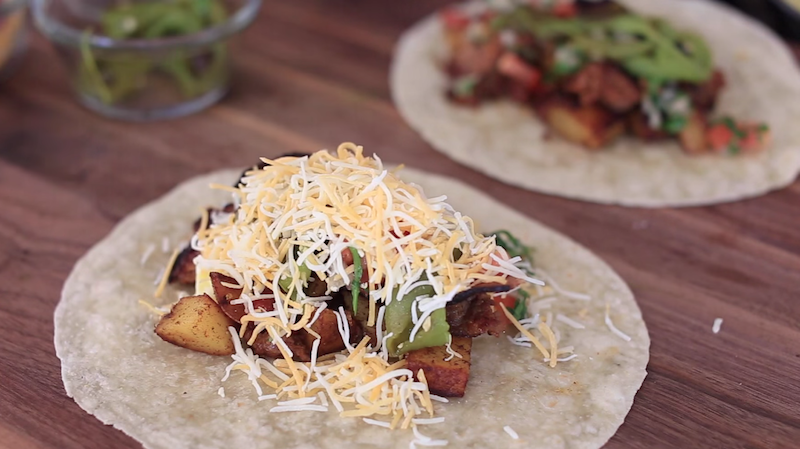
 2. Try to use different shapes and textures of food to garnish the plate that contrast the shape and texture of the main ingredient.  Since the fried eggplant below has a crispy/crunchy texture, I figured the creaminess of the bur rata cheese added a much needed layer to the plate.

Screen Shot 2015-02-26 at 11.46.34 AM

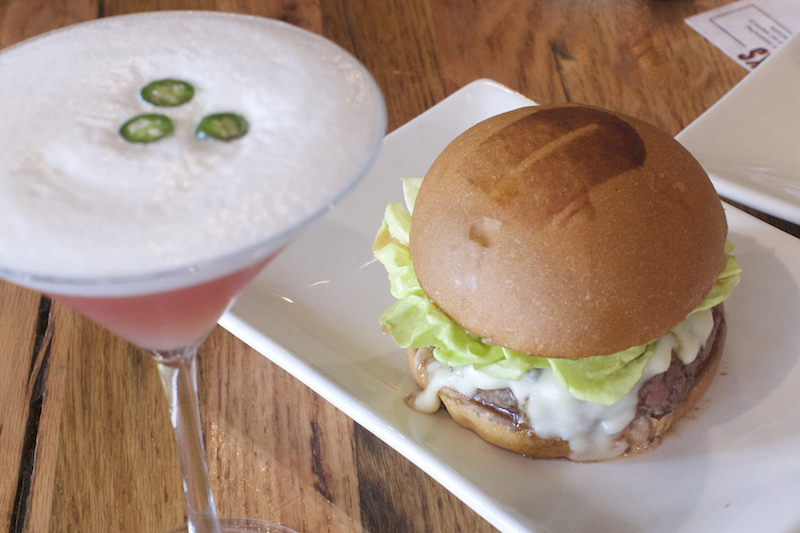
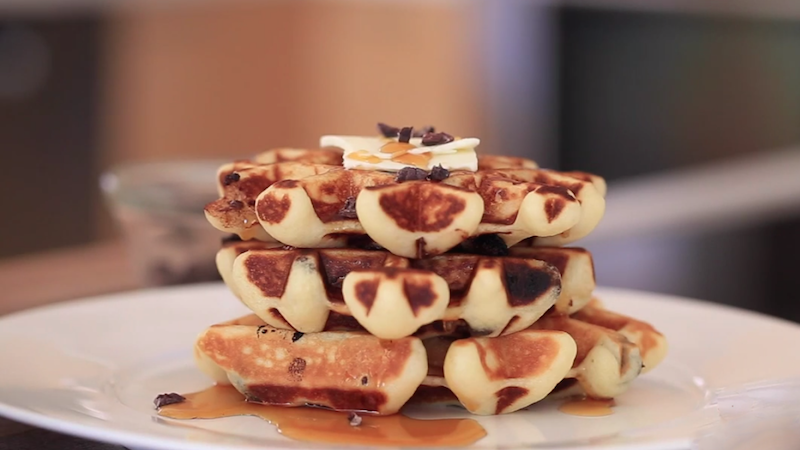
 3. Contrasting colors are necessary for a lively looking plate.  Plates usually look appealing when they have 2 neutral colors and 2-3 bright contrasting colors.

Screen Shot 2015-02-26 at 11.37.06 AM

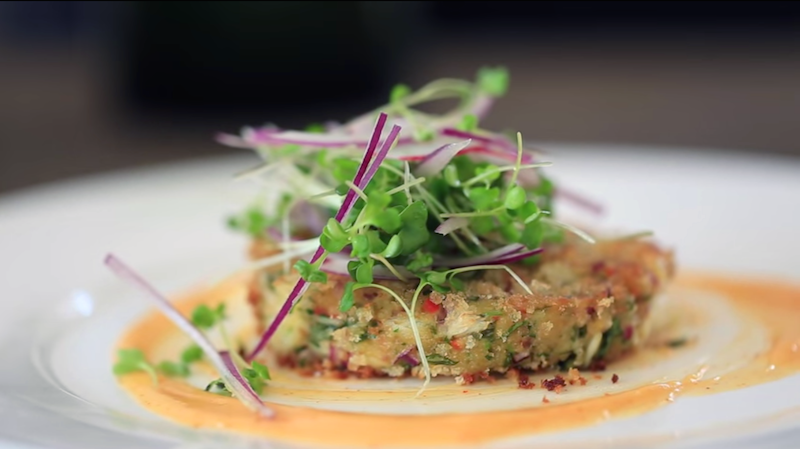
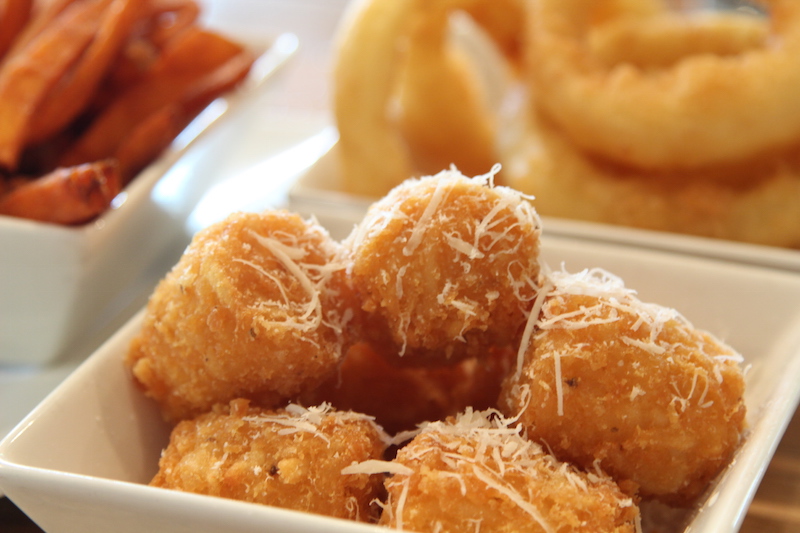
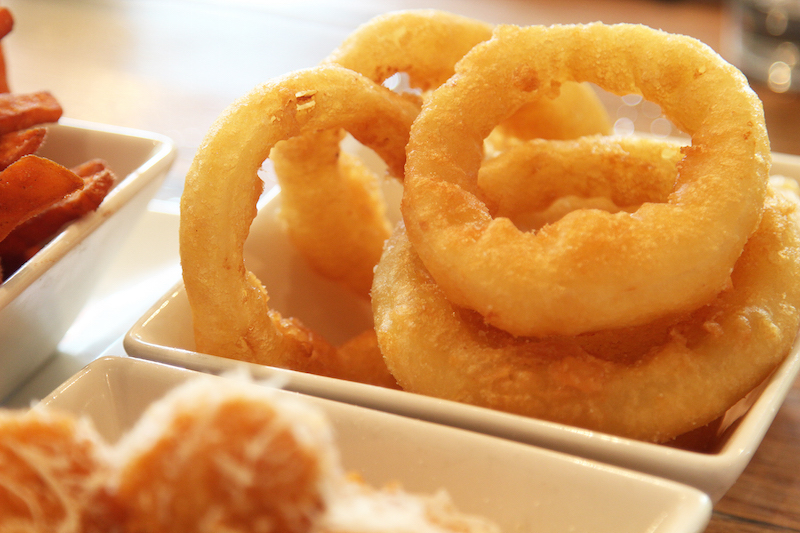
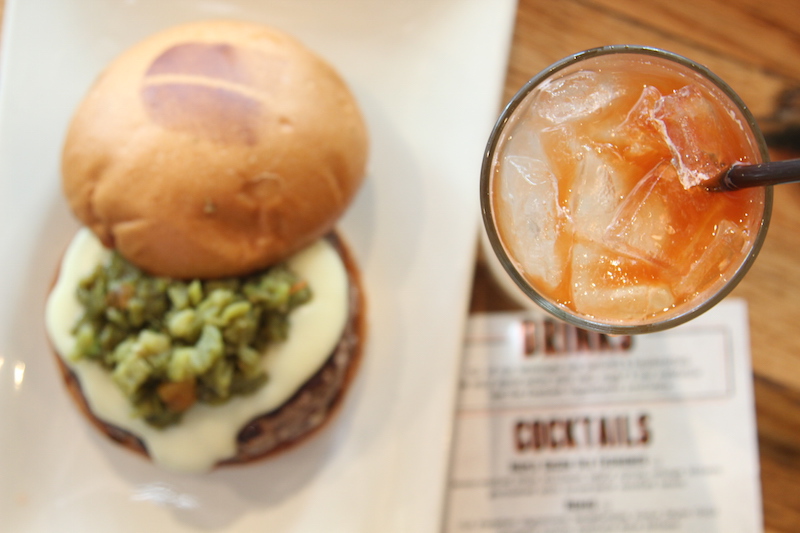
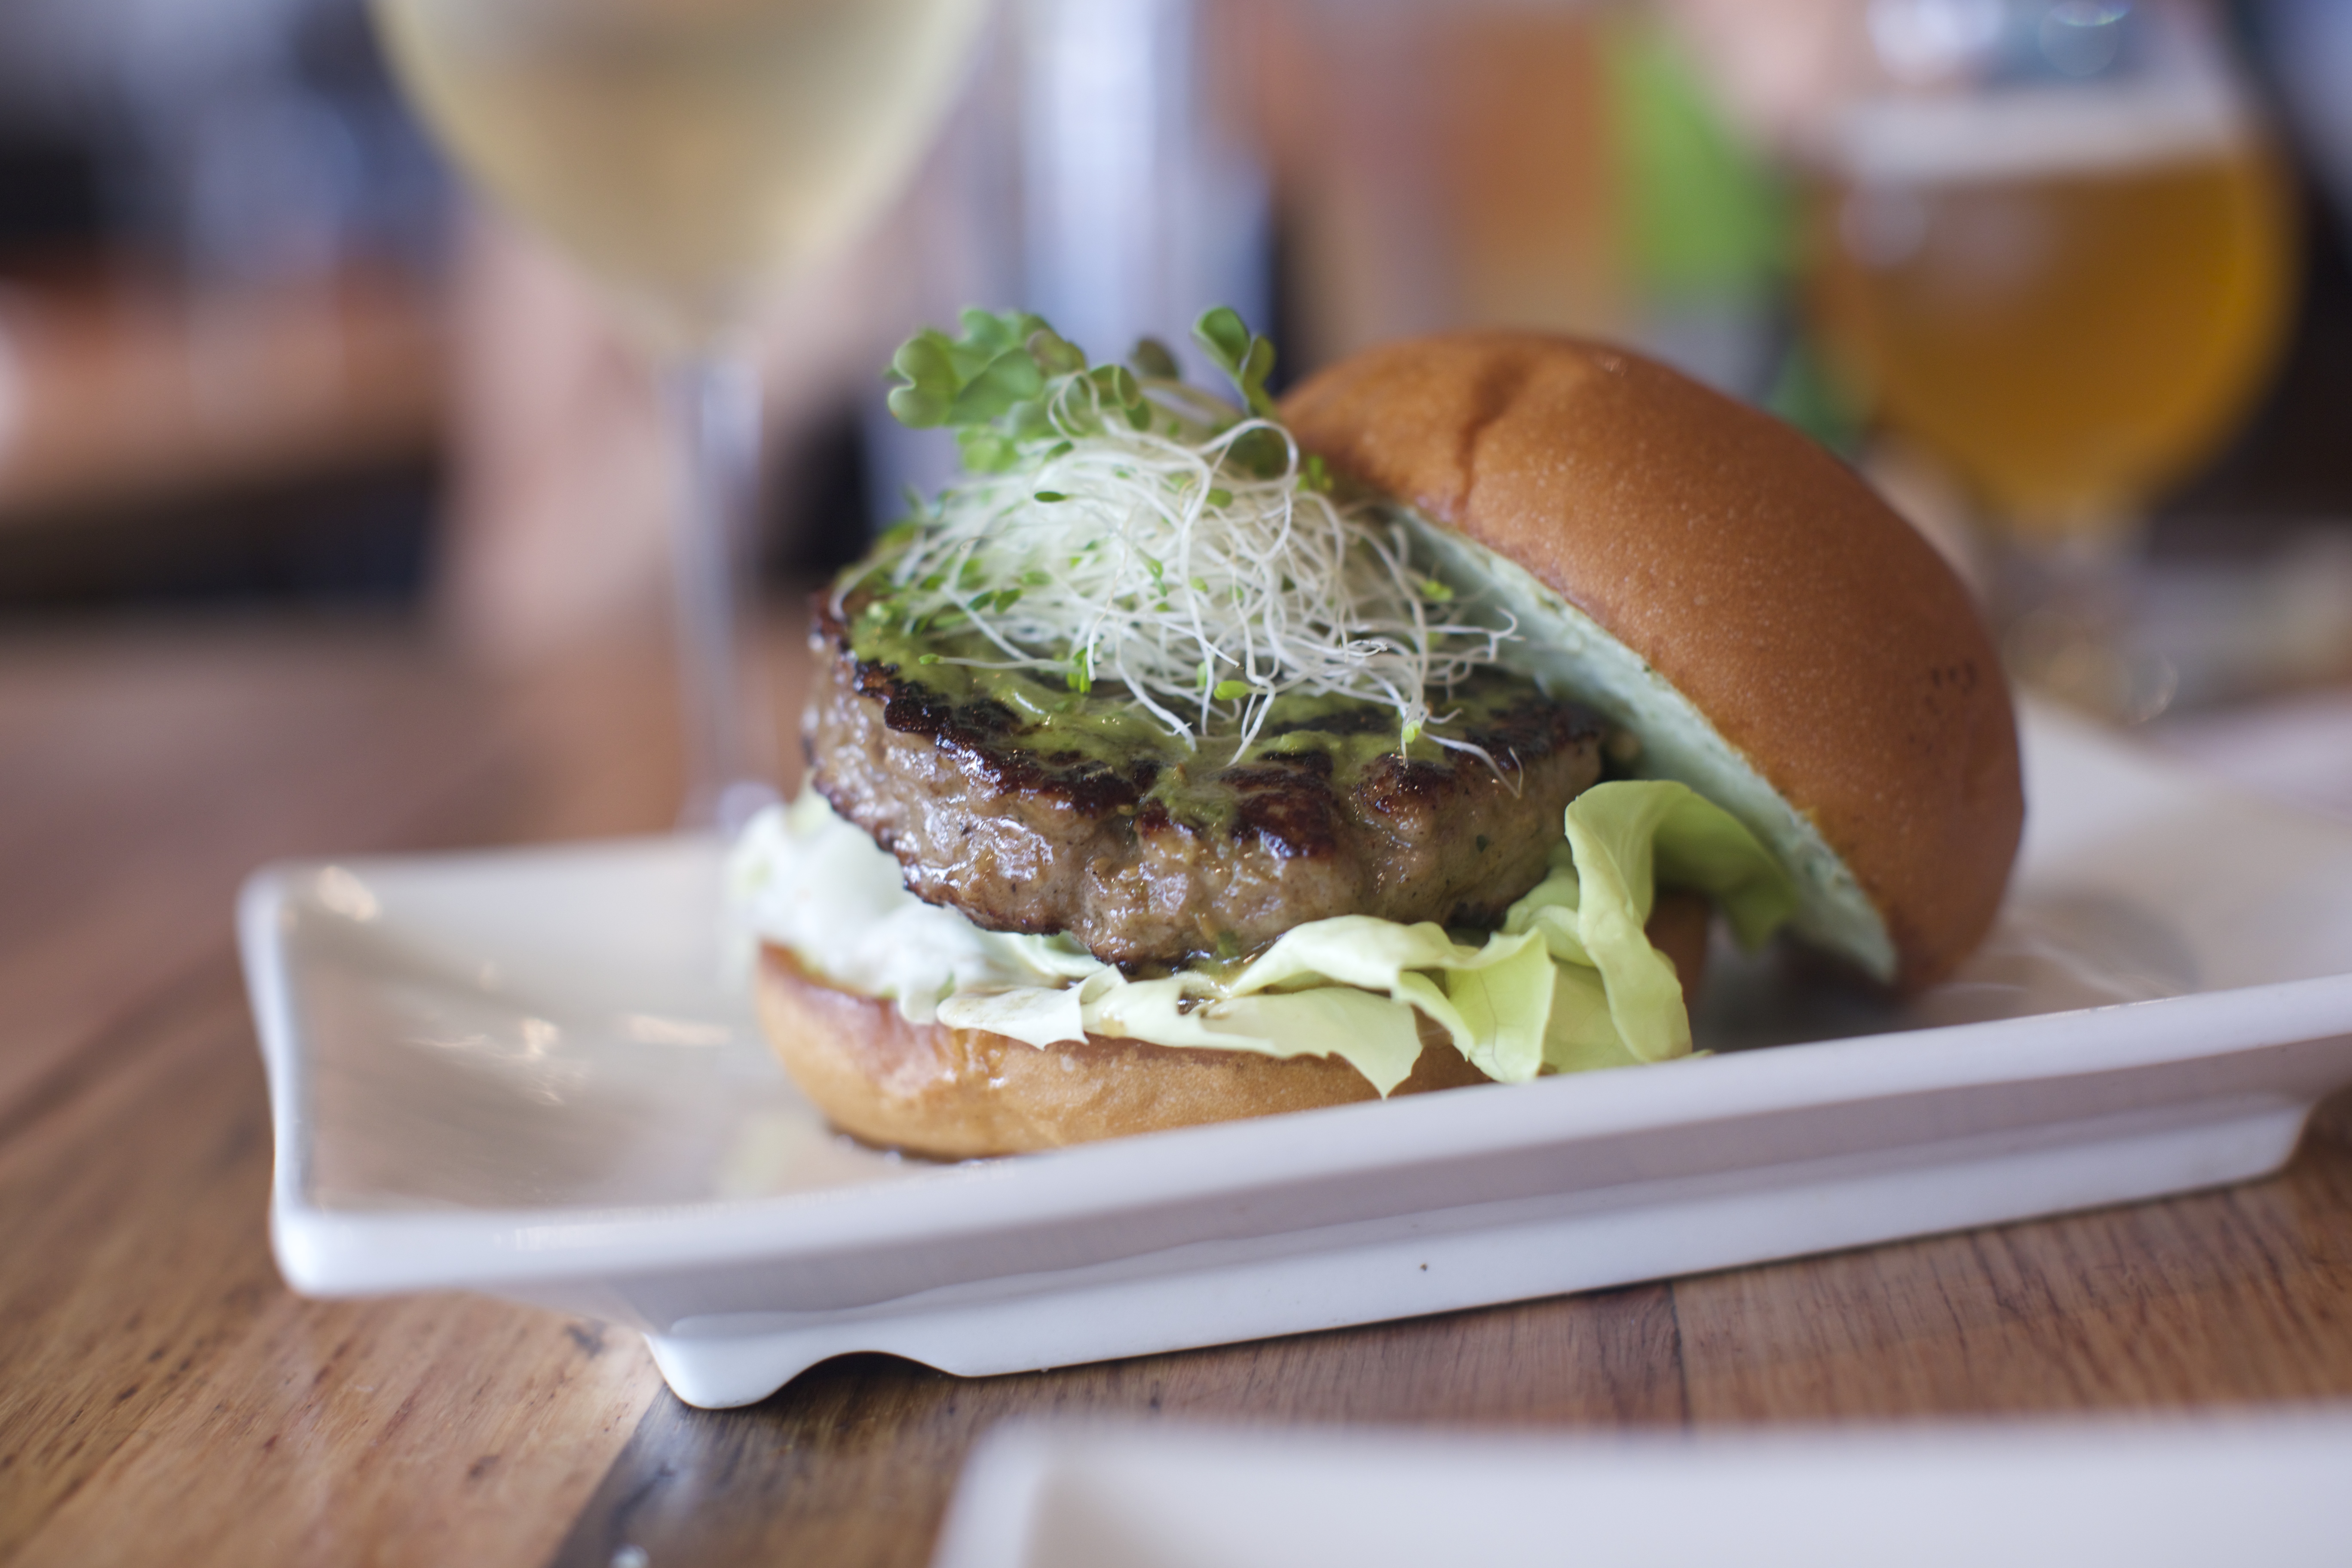
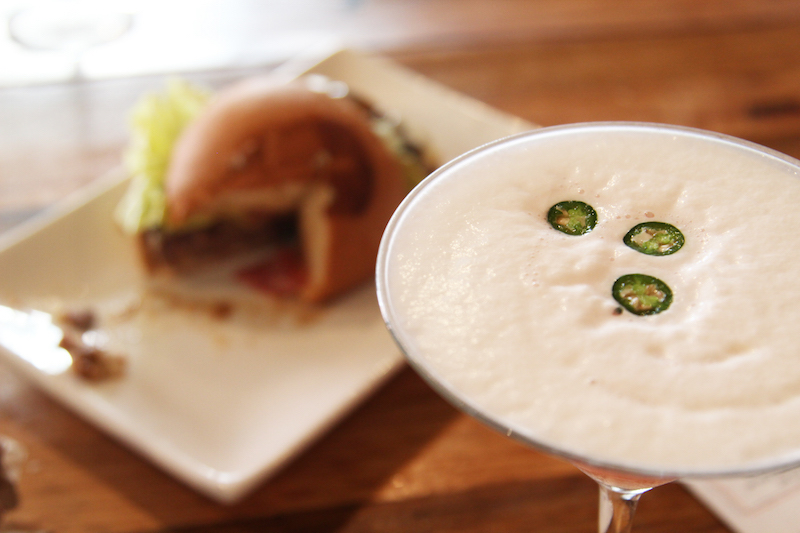
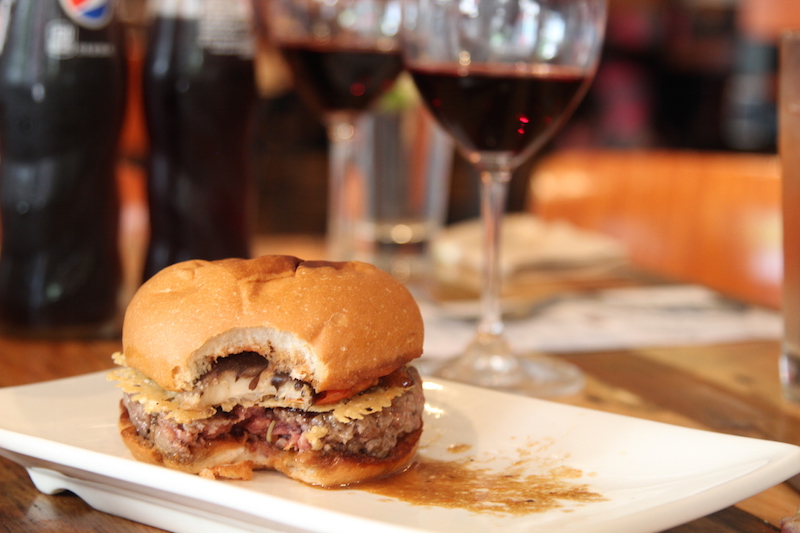
4. Use your plateware wisely.  I’m pretty Conservative when it comes to plateware.  I’ve never been the kind of chef to use overly complex plates, so for the most part I usually like simple, clean, white, spacious plates. 

Screen Shot 2015-02-26 at 11.39.25 AM

5. Lastly, make sure the plate makes sense!  If your food doesn’t taste good, it will translate into the presentation. Only use components that add to the overly all flavor and functionality of a dish.  I will NEVER use a garnish that serves no purpose other than as a visual contribution.

Screen Shot 2015-02-26 at 11.47.57 AM

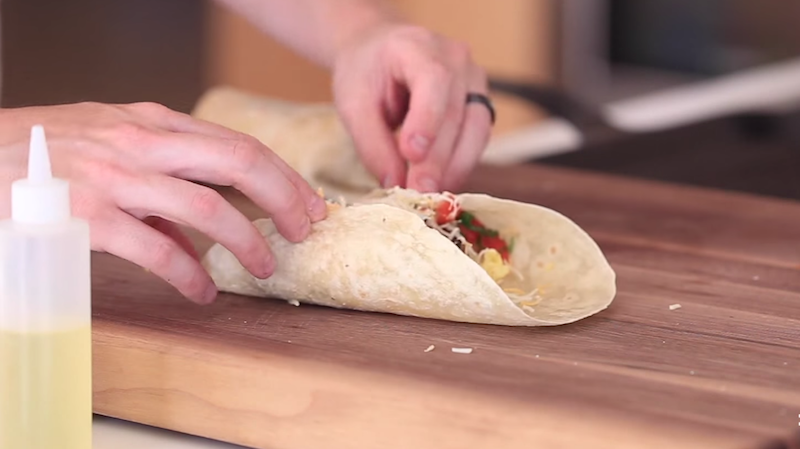
At the end of the day practice makes perfect, and the best part about practicing with food is it’s fun and DELICIOUS.

Keep at it and you could be the Picasso of plating and that much closer to Master Chef status.


Restaurant Row

Umami Burger

February 20, 2015

IMG_1572

 This week I headed over to Umami Burger in Down Town L.A., where the family and I enjoyed an awesome tasting that included NINE courses of absolute heaven! 

IMG_1505

 It was apparent from the first course, and on, that Umami was living up to their name. If you don’t know, Umami is the “fifth” taste. The other tastes being salty, sweet, sour, and bitter. Umami represents “savory.”

And everything served at Umami Burger was certainly SAVORY.

IMG_1516

 The first course was a set of three amazing appetizers… 

IMG_1514

…paired with 4 dipping sauces: Garlic Aioli, Jalapeño Ranch, El Diablo, and house made Umami Ketchup.  All of them were great, but the El Diablo was absolutely killer.  Tangy, smoky, and simply delicious!

Paired perfectly with the onion rings!

IMG_1517

We all had our favorites that day.  For my wife, it was the Cheesy Tots topped with Parmesan. 

IMG_1519

For Oliver, it was cut up pieces of the Sweet Potato Fries, topped with sweet salt.

IMG_1518

 And for me, it was the Tempura Onion Rings!

Malt liquored and tempura battered onions, fried to perfection. Crispy on the outside, but light and fluffy inside. DELICIOUS!

And making a malt liquor batter, as opposed to the more common beer batter, is brilliant. Gave a great acidity level to a typically mild dish.

IMG_1524

Next up we had the Truffle Burger, and this is where things went from delicious, to mouth watering. 

All of the burgers are ground in-house and hand packed, I would say rather lightly. The second you bite into the medium rare burger, it falls apart and melts in your mouth and that is exactly what a burger should do!

IMG_0050

This one was topped with a truffle glaze, truffle salt, truffle aioli, AND a simply decadent truffle fondue, made in house. The fondue was so melty, gooey and beyond delicious, I could have easily poured it on anything edible and eaten away. We didn’t leave a bite of this burger un-devoured, even though we knew we had seven more coming. It was that good.

IMG_0057

Third course was the Manly Burger.

This had pretty much anything a “man” could want. Topped off with heavenly bacon “lardons” (1/4″ thick bacon essentially), beer-cheddar fondue, onion rings, umami ketchup and mustard.

Pair that off with the PERFECT Maple Old Fashioned, and you are set for a terrific meal.

IMG_0062

 Next up, we had the Ahi Tuna Burger.

A combination of seared tuna, sprouts, crushed avocado and wasabi, this burger was superb.  It’s the burger you order when you feel like something a bit lighter and refreshing, but you still need to satiate that “burger” desire. 

IMG_0065

That was paired off with a delicious and quenching, fish friendly, Belgian beer.

This dish was like the “sushi” of burgers, and it was excellent.

IMG_0069

 After that we had the Hatch Burger

I’m from New Mexico originally, so I’m well acquainted with hatch chiles and would have gladly consumed 3x the chile that was on this burger, BUT for the average burger consumer this is a stellar choice, and I loved the way Umami pan sears their burgers as opposed to grilling.  That’s a huge factor in allowing these burgers to be so melt in your mouth tender.

IMG_1537

  Top that off will a Velvet Mule (vodka, mint, lime and ginger beer), and I was one happy camper.

IMG_0073

After that we had, probably, one of the best turkey burgers I’ve had to date, the Greenbird Burger.

IMG_1553

It’s so easy for turkey burgers to be dry and underwhelming, but not here.  This burger was PACKED with flavor and spice!  Its the first thing I noticed, next to the beyond juicy consistency of the patty.

Not only did it make for one stellar entree, but it’s the kind of burger you could consume on a regular basis, without having to feel guilty. This would easily be a regular choice for me.

IMG_0076

 The seventh course was the most familiar, and for good reason.  The Cali Burger, topped with lettuce, roasted tomato, caramelized onions, house spread and cali cheese, is the epitome of a “California Burger.”

Dare I say, a high-end In-&-Out Burger? And that’s quite the compliment!

IMG_1557

Swallow that down with a Spicy Mezcalrita and I was feeling at home.

IMG_1561

 If you’re not from California, but feeling nostalgic, the Throwback Burger is the one for you.

Two 3.5oz seared beef patties, topped with cheese, pickles, onion, umami ketchup and mustard, sandwiched between two buns…Doesn’t get any more classic than that. 

IMG_0085

To wrap up one glorious meal, we finished it off with the burger this restaurant was built on…The Umami Burger!

IMG_1566

This burger contains SOLEY Umami flavors; including:  parmesan frico (cheese wafer), shiitake mushrooms, roasted tomato, caramelized onions, and umami house ketchup. 

It was phenomenal! A perfect combination of Asian and American flavors.  Great juxtaposition between the crunch of the parmesan wafer and the tenderness of the mushrooms and patty. Savory to the MAX.

Like everything I had at Umami Burger, it was melt in your mouth tender, extremely juicy, full of flavor and spice, and was something I will certainly be coming back for!

Altogether, Umami Burger has found loyal patrons in the Talbotts!

Breakfast

Chocolate Chip Belgian Waffles

February 18, 2015

 I decided to wrap up #BreakfastWeek with one of my favorite breakfast treats…Chocolate Chip Belgian Waffles!

This is one of the most simple recipes to follow, but the outcome couldn’t bring more nostalgia and happiness.

Hope you enjoy my take on Belgian Waffles!

Screen Shot 2015-02-17 at 10.28.35 AM

In a medium mixing bowl add 1 egg…

Screen Shot 2015-02-17 at 10.28.44 AM

…1/2 cup of whole milk…

Screen Shot 2015-02-17 at 10.28.54 AM

…4 tbsp granulated sugar…

Screen Shot 2015-02-17 at 10.29.08 AM

…and 2 tsp of dry active yeast.

Screen Shot 2015-02-17 at 10.29.34 AM

Whisk for 2-3 minutes, until thoroughly combined. 

Screen Shot 2015-02-17 at 10.30.04 AM

Add a 1/2 cup of flour and mix until the lumps dissipate. 

Screen Shot 2015-02-17 at 10.30.35 AM
Add another 1/2 cup of flour.

Screen Shot 2015-02-17 at 10.30.57 AM

Continue mixing until there are no remaining lumps. 

Screen Shot 2015-02-17 at 10.31.05 AM

Then, mix in 4 tbsp of melted butter. 

Screen Shot 2015-02-17 at 10.31.38 AM

Once you have a smooth mixture, cover the mixing bowl in plastic wrap.

Screen Shot 2015-02-17 at 10.32.37 AM

Allow the batter to rest for about 1.5 hours. 

Screen Shot 2015-02-17 at 10.33.02 AM

Once the batter is proofed…

Screen Shot 2015-02-17 at 10.33.32 AM

…add a few handfuls of dark chocolate chips and gently mix. 

Screen Shot 2015-02-17 at 10.33.48 AM

Add 1 generous scoop of batter to a preheated waffle iron at 450 degrees fahrenheit.

Screen Shot 2015-02-17 at 10.34.09 AM

Cook for 8 minutes, or until golden brown.

Screen Shot 2015-02-17 at 10.34.37 AM

Flip the waffle one time in between cooking. 

Screen Shot 2015-02-17 at 10.34.56 AM

Add some butter…

Screen Shot 2015-02-17 at 10.35.14 AM

…syrup…

Screen Shot 2015-02-17 at 10.35.24 AM

…and some cocoa nibs for an extra treat!

Screen Shot 2015-02-17 at 10.35.40 AM

All that’s left to do is ENJOY!

[amd-zlrecipe-recipe:33]

Screen Shot 2015-02-17 at 3.58.42 PM

 |Top Left: Boos Cutting Board | Top Right:Glass Bowl Set |

 | Bottom Left: Waffles Maker | Bottom Right:  All-Clad Whisk | 

Breakfast

Crispy Eggs

February 12, 2015

This is one SPECTACULAR take on the poached egg, if I do say so myself!

Esthetically fascinating and scrumptiously tasting, this breakfast is on par.

Hope you enjoy my take on a fried poached egg, a “Crispy Egg.”

Screen Shot 2015-02-12 at 9.41.06 AM

Put 3-4 pieces of sliced bread into a food processor.

Screen Shot 2015-02-12 at 9.41.28 AM

Add a sprig of parsley, rosemary, thyme and a sprinkle of salt.

Screen Shot 2015-02-12 at 9.42.14 AM

Blend for 2-3 minutes, until it has a meal-like consistency.

Screen Shot 2015-02-12 at 9.42.47 AM

Once that’s done, pour the bread crumbs on a baking tray.

Screen Shot 2015-02-12 at 9.43.25 AM

Bake for 10-15 minutes, or until they become dry and crunchy.

Screen Shot 2015-02-12 at 9.43.07 AM

Then remove them from the oven and let cool for 15 minutes.

Screen Shot 2015-02-12 at 9.43.59 AM

Add a spritz of vinegar and pinch of salt to a small pot of boiling water.

Screen Shot 2015-02-12 at 9.44.34 AM

Gently crack one egg at a time into the boiling water.

Screen Shot 2015-02-12 at 3.22.03 PM

Wait about 30 seconds for the whites of the egg to solidify, before adding an additional egg.

Screen Shot 2015-02-12 at 9.44.47 AM

Gently stir around each egg to prevent the eggs from clumping together.

Screen Shot 2015-02-12 at 9.45.35 AM

Poach for 4 minutes and remove. 

Screen Shot 2015-02-12 at 9.45.55 AM

Let cool for about 10-15 minutes.

Screen Shot 2015-02-12 at 9.46.43 AM

Dredge each cooled egg in flour…

Screen Shot 2015-02-12 at 9.48.11 AM

…egg wash (1 egg w/splash of milk)…

Screen Shot 2015-02-12 at 9.48.33 AM

…and bread crumbs. Repeat this process again, to each egg.

Screen Shot 2015-02-12 at 9.50.12 AM

Let the double dredged eggs sit for 5-10 minutes.

Screen Shot 2015-02-12 at 9.51.10 AM

Fill a sauce pan halfway up with canola oil, and bring heat to 350 degrees F.

Screen Shot 2015-02-12 at 9.51.21 AM

Fry each egg for about 2-3 minutes…

Screen Shot 2015-02-12 at 9.55.15 AM

…or until dark golden brown.

Screen Shot 2015-02-12 at 9.56.12 AM

Let them cool on a dry paper towel for 3-4 minutes…

Screen Shot 2015-02-12 at 9.57.29 AM

…and that’s it.

Screen Shot 2015-02-12 at 9.56.29 AM

All that is left is to enjoy!

Screen Shot 2015-02-12 at 9.56.42 AM

[amd-zlrecipe-recipe:32]

Screen Shot 2015-02-12 at 11.57.32 AM  | Top Left: KitchenAid Food Processor | Top Middle: All-Clad Sauce Pan | Top Right: Williams Sonoma Baking Sheet |

 | Bottom Left: Boos Cutting Board | Bottom Right:  Glass Bowl Set | 

Breakfast

My Breakfast Burrito

February 11, 2015

#1: Breakfast is the most important meal of the day.

#2: EVERYBODY needs a solid Breakfast Burrito recipe.

That’s why I’m kicking off #BreakfastWeek with the ever-classic, Breakfast Burrito. Enjoy!

Screen Shot 2015-02-09 at 9.26.30 AM

In a medium nonstick sauté pan on high heat…

Screen Shot 2015-02-09 at 9.26.51 AM

…cook 1/2 lb of spicy italian sausage for 10 minutes until crispy.

Screen Shot 2015-02-09 at 9.28.18 AM

In a separate nonstick medium sauté pan on high heat, add a few Tbsps of canola oil…

Screen Shot 2015-02-09 at 9.29.07 AM

…1 cup of diced par-boiled yukon gold potatoes…

Screen Shot 2015-02-09 at 9.29.41 AM

…a pinch of salt, 1 tsp smoked paprika, 1 tsp cayenne pepper, and 1 tsp ground cumin.

Screen Shot 2015-02-09 at 9.30.22 AM

Cook until crispy and golden brown.

Screen Shot 2015-02-09 at 9.30.43 AM

In another nonstick sauté pan on medium heat, add 2 Tbsps of canola oil or butter…

Screen Shot 2015-02-09 at 9.31.07 AM

…and add 3-4 whole eggs to the pan.

Screen Shot 2015-02-09 at 9.33.00 AM

Cooks the eggs for 3-4 minutes until thoroughly scrambled.

Screen Shot 2015-02-09 at 9.33.24 AM

Add the  scrambled eggs…

Screen Shot 2015-02-09 at 9.33.46 AM

  …seasoned potatoes…

Screen Shot 2015-02-09 at 9.34.39 AM

…crispy sausage…

Screen Shot 2015-02-09 at 9.35.04 AM

…crisps applewood smoked bacon…

Screen Shot 2015-02-09 at 9.35.38 AM

…pico de gallo (tomatoes, onions, cilantro, jalapeños, lime)…

Screen Shot 2015-02-09 at 9.35.53 AM

…roasted green chilies (or canned chillies)…

Screen Shot 2015-02-09 at 9.36.38 AM

…and a some shredded cheese to a medium-large flour tortilla.

Screen Shot 2015-02-09 at 9.37.49 AM

Fold the edges inward and roll the tortilla around the filling.

Screen Shot 2015-02-09 at 9.38.28 AM

Get a cast iron grill on high heat and place the folded burrito on the grill with the seem facing down.

Screen Shot 2015-02-09 at 9.38.50 AM

Grill on both sides for 3-4 minutes until slightly crispy and it has a few grill marks.

Screen Shot 2015-02-09 at 9.39.52 AM

Then ENJOY!!!

[amd-zlrecipe-recipe:30]

Screen Shot 2015-02-09 at 11.28.41 AM | Top Left: Cutting Board | Top Middle: Glass Bowl Set | Top Right: Squeeze Bottles |

| Bottom Left: All-Clad Grill Pan | Right:  All-Clad Fry Pan |
 

Drinks

#DrinkWeek

February 11, 2015

Here are a few delicious #DrinkWeek recipes to keep you happy and hydrated.

Enjoy!


Screen Shot 2015-02-10 at 3.25.33 PM

Strawberry Lemonade: 

Ingredients: 
Water
Ice
2 lemons 
3-4 lemon verbena leaves

Strawberry Syrup:
1/2 cup honey
1 cup strawberries
1 tbsp vanilla extract
 

  1. Add 1 cup of strawberries, ½ cup of honey, 1 tbsp vanilla extract, and 1-2 cups of water into a saucepan.
  2. Cook on medium heat for 5-10 minutes, until you have a syrup consistency, mashing the strawberries about half way through cooking.
  3. When the syrup is at the consistency you desire, remove from stove and strain liquid into a bowl. Cool until ready to use.
  4. Cut one lemon into slices and add to shaker.
  5. Add 3-4 Lemon Verbana Leaves and 1 lemon’s juice. Shake thoroughly.
  6. Add 2 cups of water to shaker. Shake and pour over ice.
  7. Top with a splash and of strawberry syrup and enjoy!

 Shirley Temple: Screen Shot 2015-02-10 at 3.46.14 PM

Ingredients: 
8 oz club soda
1/4 cup agave syrup
1/2 cup water
1/4 lb pitted dark red cherries
1 lemon peel
1/2 juiced lemon
1/2 juiced lime
1 tsp vanilla extract
1/4 cup ginger ale – optional
1 tbsp grenadine – optional

  1. Add 1/4 lb of pitted cherries, 1/2 cup of water, 1/4 cup agave syrup, and 1 tsp of vanilla extract to a saucepan, over medium heat. Cook for 10-15 minutes, until you reach syrup consistency.
  2. When the syrup in at the consistency you desire, remove from stove and strain liquid into a bowl. Cool until ready to use.
  3. Add 1 lemon peel, 1/2 Juiced lemon, 1/2 juice lime, 2-3 tbsp of cherry syrup, and a handful of ice to a shaker. Shake.
  4. Add 8 ounces of club soda. Gently stir ingredients.
  5. Strain shaker into a glass filled with ice. Top with cherries and enjoy!

Screen Shot 2015-02-10 at 4.02.22 PM

Thai Tea with Boba:

Thai Tea:
1/2 cup black tea, preferably ceylon or assam tea
2 tbsp crushed tamarind, 2-3 whole star anise, 1 tbsp crushed cardamom pods
1 tbsp vanilla extract, paste, or 1 whole vanilla bean
2 cups orange blossom water
1/4 cup sweetened condensed milk
1/4 cup evaporated milk
Tapioca Pearls:
1/2 cup brown sugar
1/2 cup honey
4 cups water
1 cup tapioca pearls (not the quick cooking version)

  1. Add 2 tbsp crushed tamarind, 1/2 cup of assam tea, 2-3 whole star anise, 1 tbsp vanilla extract, 1 tbsp crushed cardamom pods, and 2 cups of orange blossom water to a steeper. Steep for 30 minutes.
  2. Cook tapioca pearls for allotted time. See video for reference.
  3. Separately fill a small sauce pan halfway with water, over medium heat.
  4. Add 1/2 cup of honey and 1/2 cup brown sugar. Reduce for 5-10 minutes. Remove from heat and pour into a medium bowl.
  5. Add the cooked tapioca pearls to the honey/sugar mixture and let cool for 30 minutes.
  6. Add a generous scoop of marinated tapioca pearls to a drinking glass, add ice and top with brewed tea. 
  7. Finish off the drink by topping it with an equal parts mixture of sweetened condensed milk and evaporated milk. Enjoy!

Horchata:Screen Shot 2015-02-10 at 5.02.26 PM

Ingredients:
2 qts water
1 cup rice
1/2 cup almonds
1 cinnamon stick
2 cups milk
1/2 cup (or to taste) agave syrup
1 tbsp vanilla extract or paste or 1 seeded vanilla bean
1/4 cup cream

  1. On a baking tray, pour 1 cup of long grain rice, 1/2 cup of almonds, and 1 cinnamon stick.  Gently mix, and bake at 350° for 10-15 minutes, or until light golden brown.
  2. Remove from oven and add mix to blender with 2 quarts of water.  Blend at medium speed for 5 minutes.
  3. Pour blended liquid into a pitcher.  Add 1 tbsp vanilla extract, 1/2 cup of agave syrup and mix.  Refrigerate for at least 8 hours.
  4. After liquid has matured, strain the mixture to remove solids.
  5. Add 2 cups of milk to rice mixture and stir.
  6. Pour into a glass, top with frothed creamer, a sprinkle of cinnamon and ENJOY!

Screen Shot 2015-02-10 at 4.53.37 PM

Iced Chai:

Ingredients: 
4-5 cups water
1 1/4 cup black Assam tea
3-4 whole star anise
1 vanilla bean or 1 tbsp vanilla extract/paste
3-5 whole cloves
1/2 cinnamon stick
3-5 cardamom seeds
1 tbsp fennel seeds
4-5 slices of ginger
1/4 cup sweetened condensed milk
1/4 cup evaporated milk

  1. Toast a mixture of 3-4 whole star anise, 3-5 cardamom seeds,  1/2 cinnamon stick, 1 tbsp fennel seeds
    4-5 slices of ginger, and 3-5 whole cloves on medium to high heat, in a small sauté pan, for about 5 minutes.
  2. Add toasted spices to pitcher, along with 1 1/4 cup black Assam tea and 1 tbsp vanilla extract. Stir.
  3. Add 4-5 cups of 190° F water to pitcher and steep tea until room temperature.
  4. When tea in cooled, strain mixture.
  5. Top off a glass with ice and fill 3/4 of the way with strained tea mixture.
  6. Finish off the drink by topping it with an equal parts mixture of sweetened condensed milk and evaporated milk. Enjoy!