


Continuing #ChocolateWeek with this rich, fresh, and all- natural Mint Chip Ice Cream. This is an easy recipe from start to finish and can be made entirely from scratch, with ease.
You’ll be shocked at just how easy and great this recipe is; so don’t be surprised if it’s gone in one day. If your family is anything like mine, it will be!
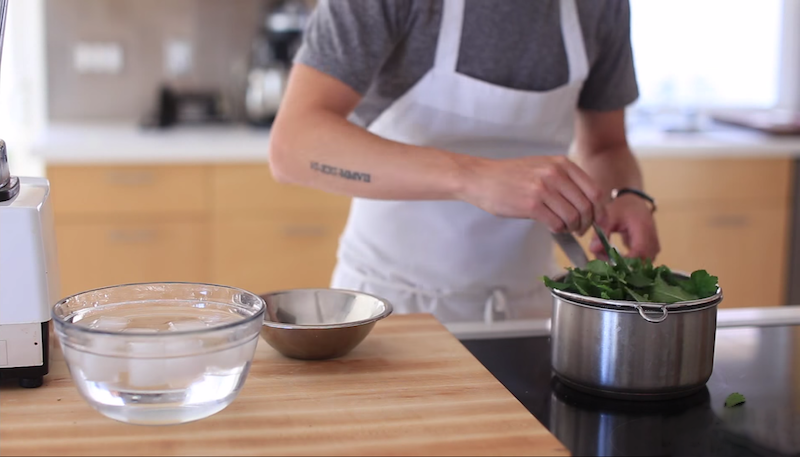
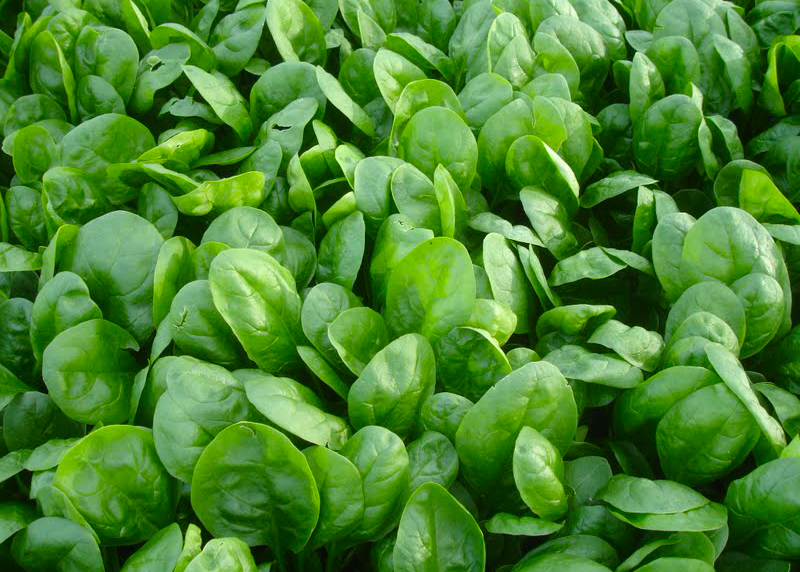
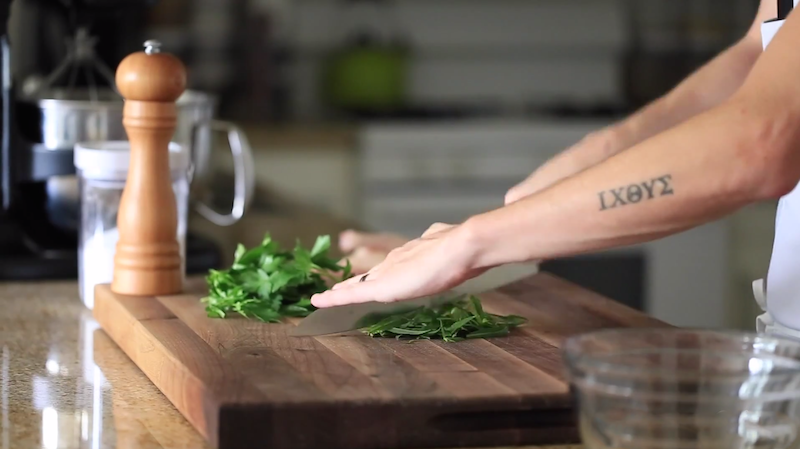
Start by blanching 1 1/2 cups of mint and 1 cup of picked parsley for about 30 seconds.
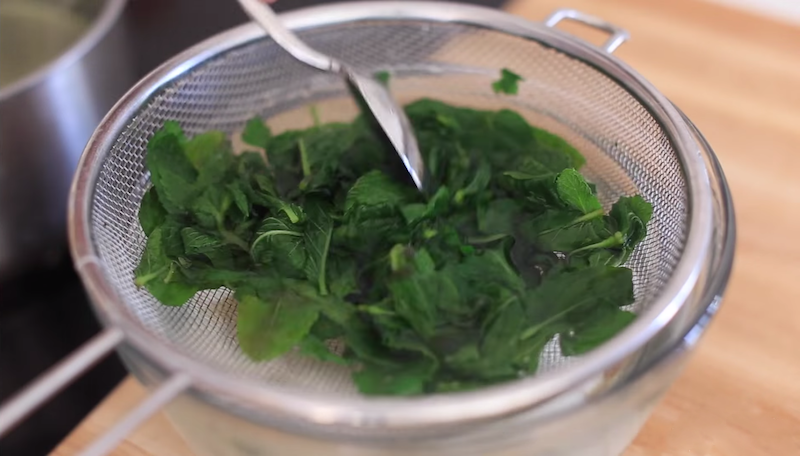
Remove greens from heat and immediately immerse them into an ice bath to stop the cooking process.
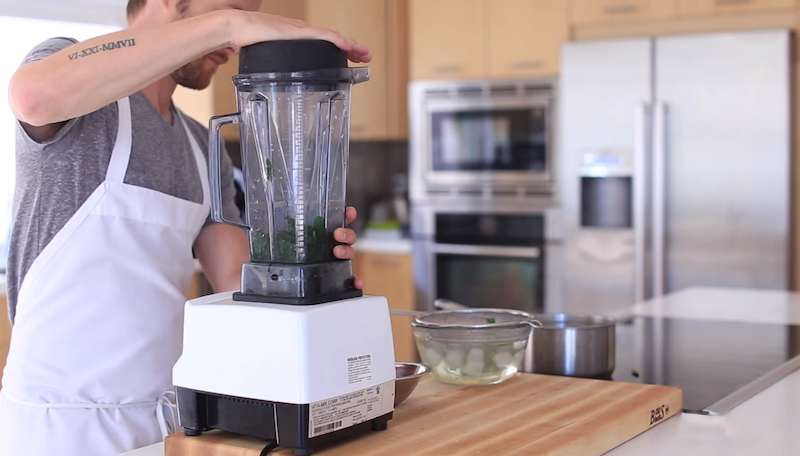
Transfer the greens into a blender…
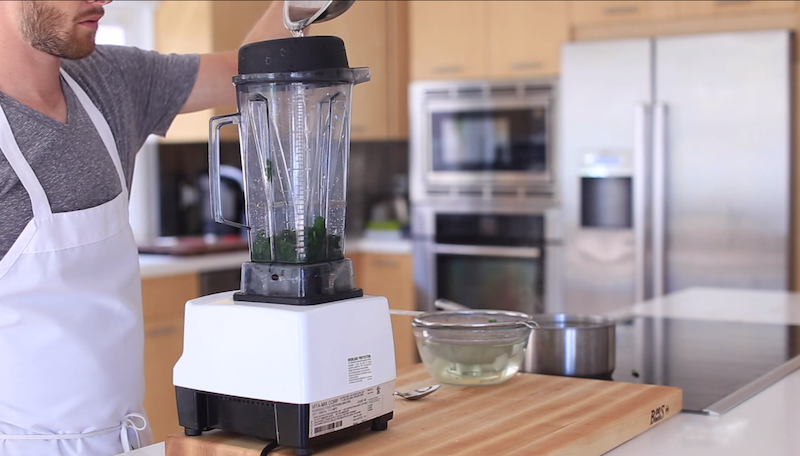
…adding a few tablespoons of cold water.

Blend on high speed for 2-3 minutes.
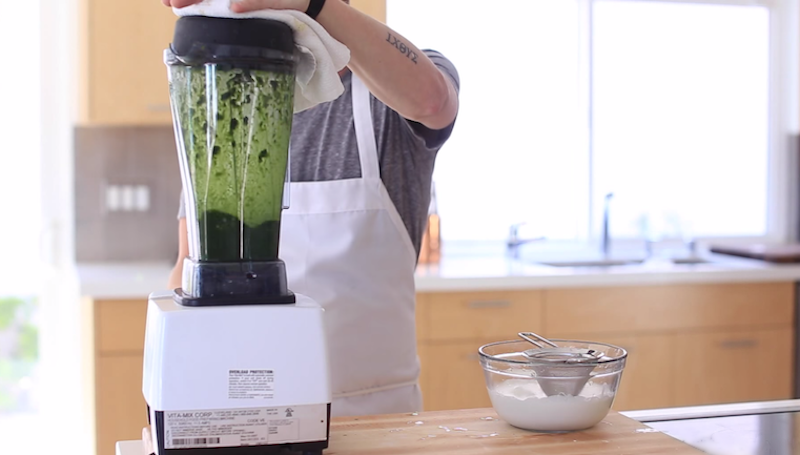
Once you have a nice puree blending is complete.
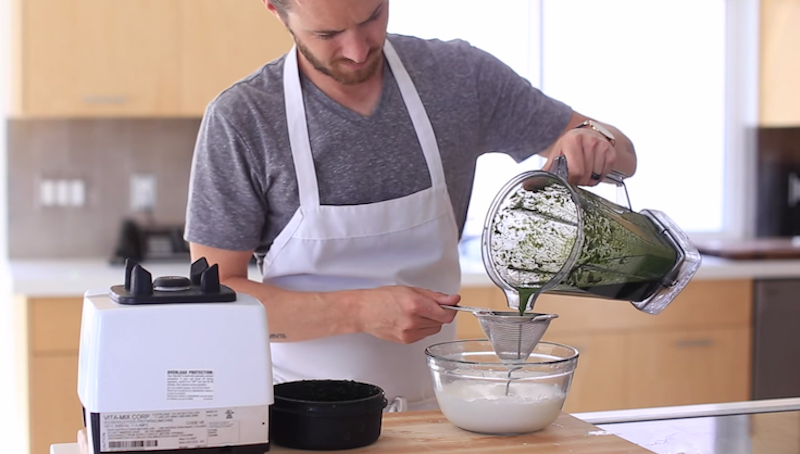
Strain the greens mixture over 2 cups of heavy whipping cream.
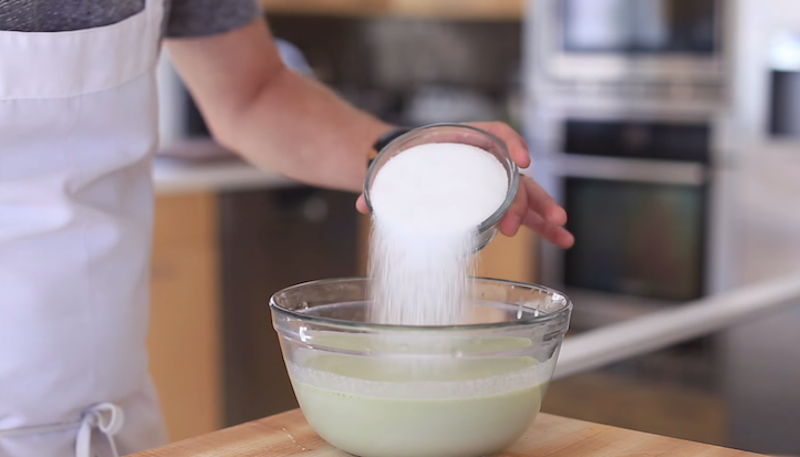
Add 3/4 cups of sugar…
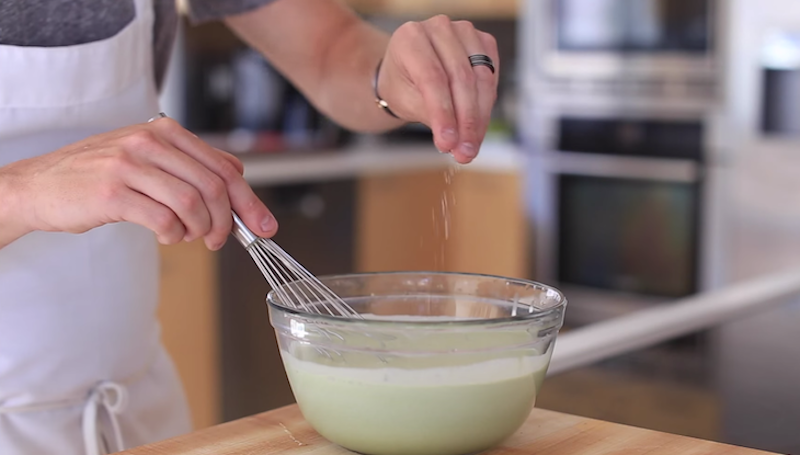
…and a pinch of salt for taste. Mix well.
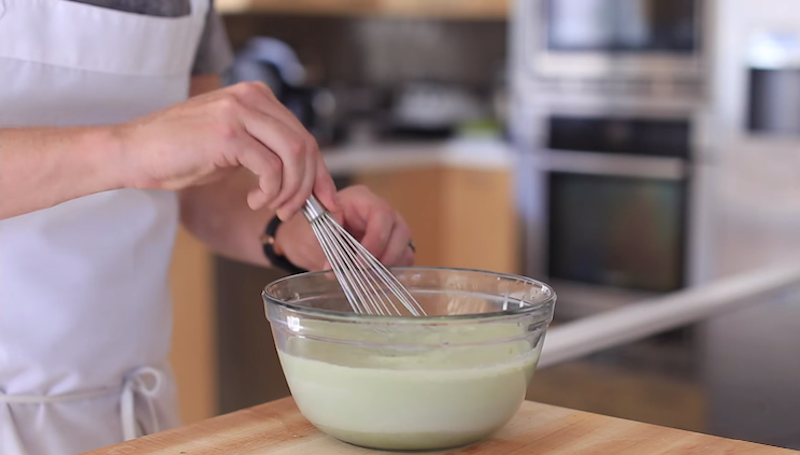
Once the mixture has been blended…
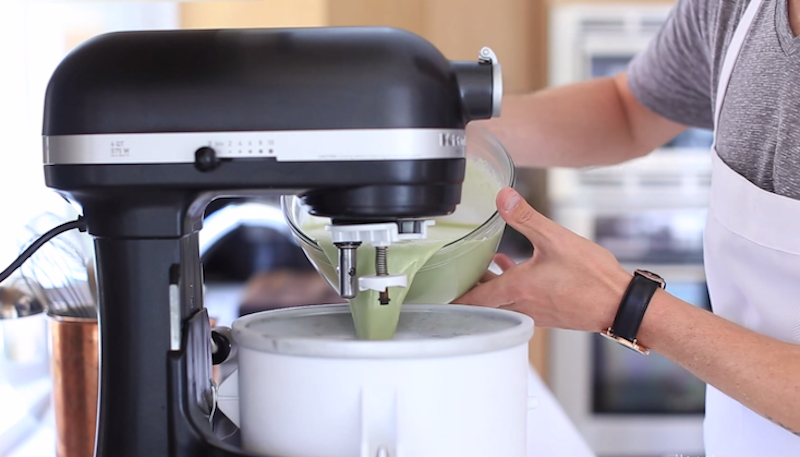
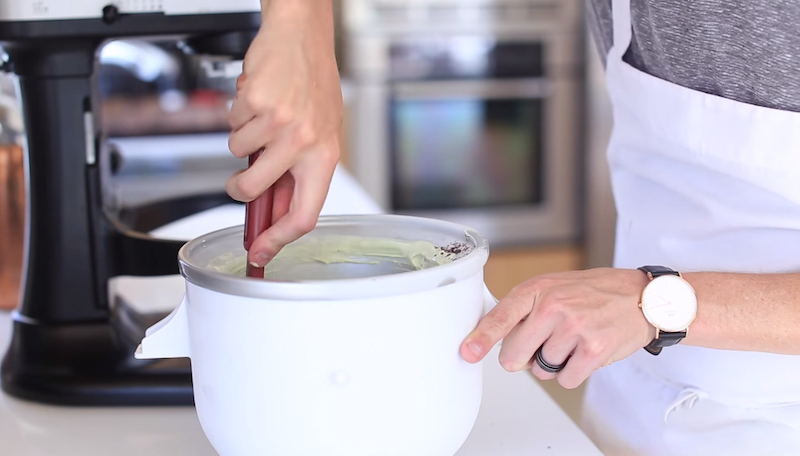
…transfer it to an ice cream maker or kitchen aid ice cream attachment.
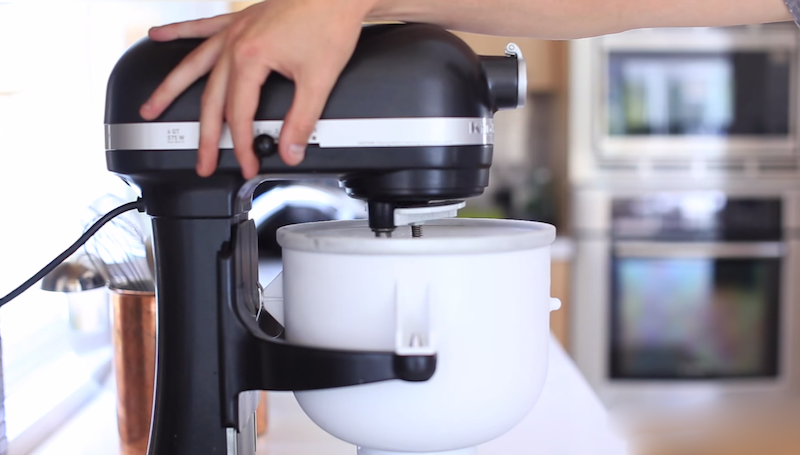
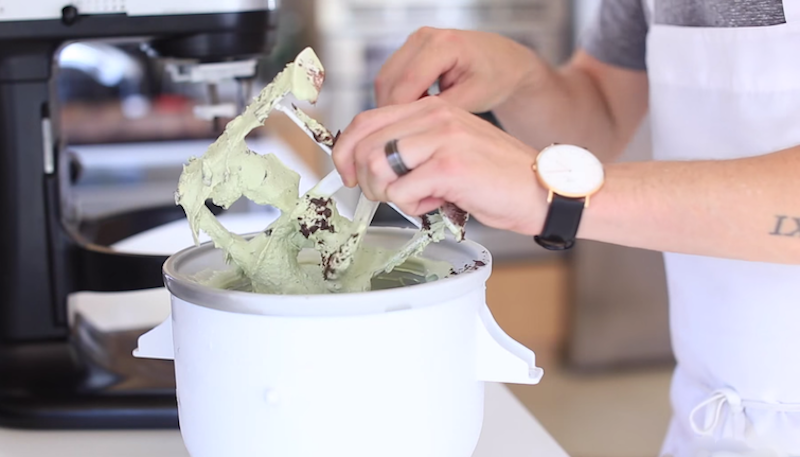
Turn mixer on low speed and let ice cream churn for about 30 mins.
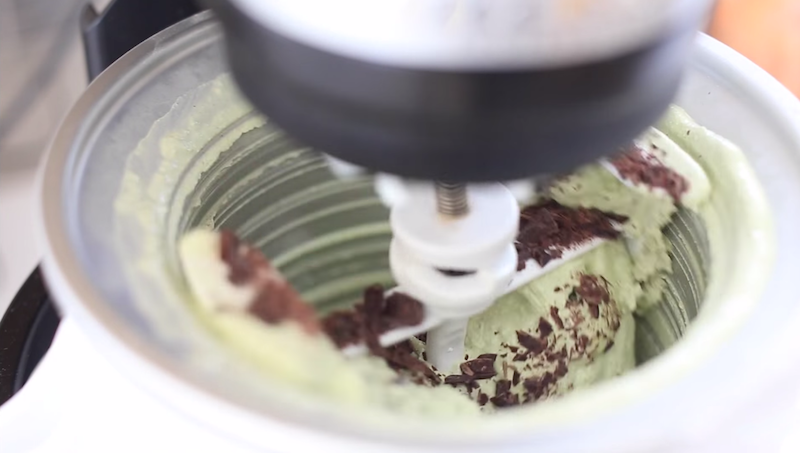
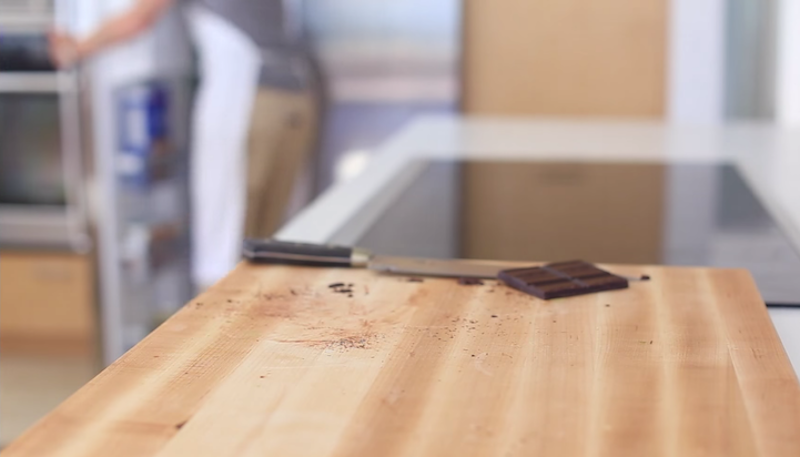
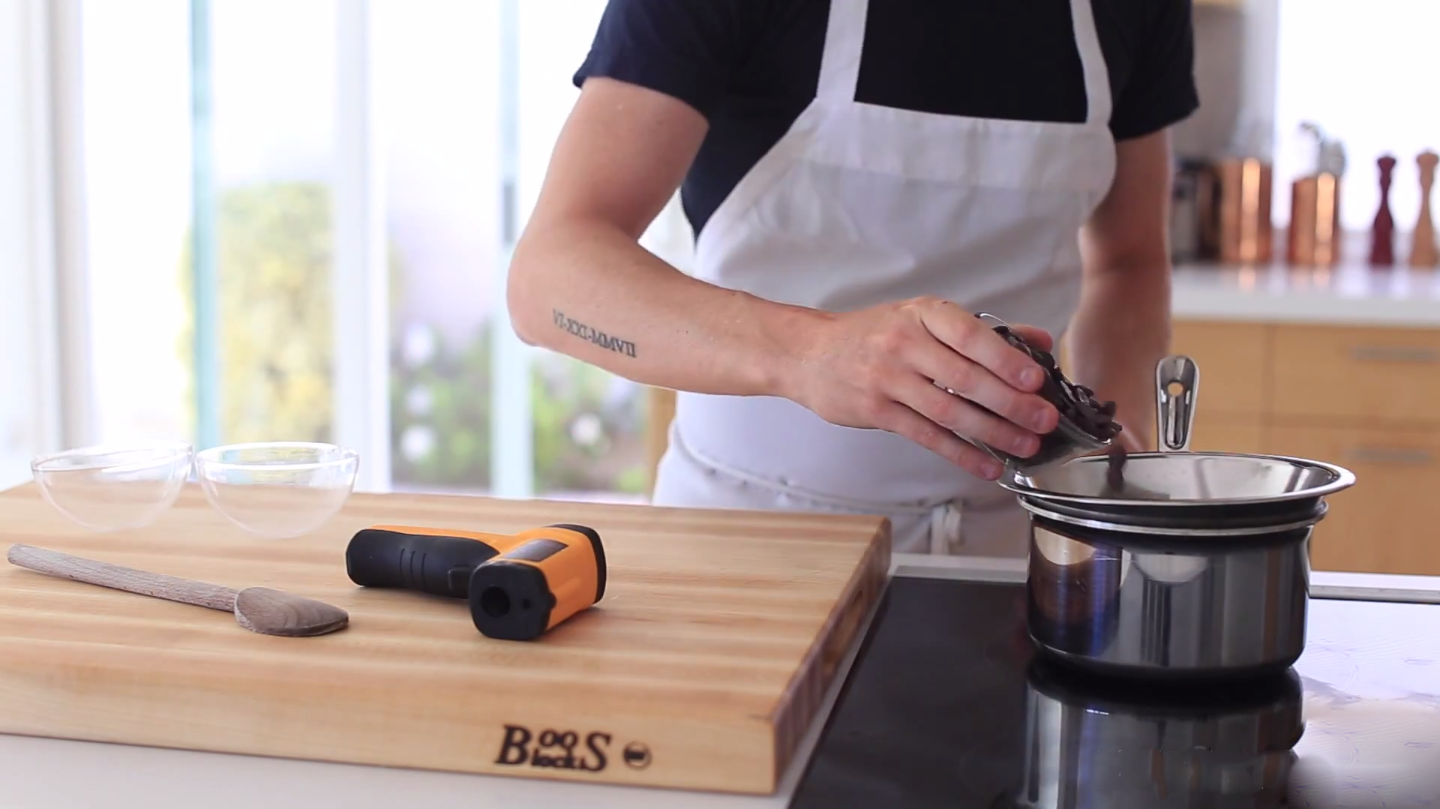
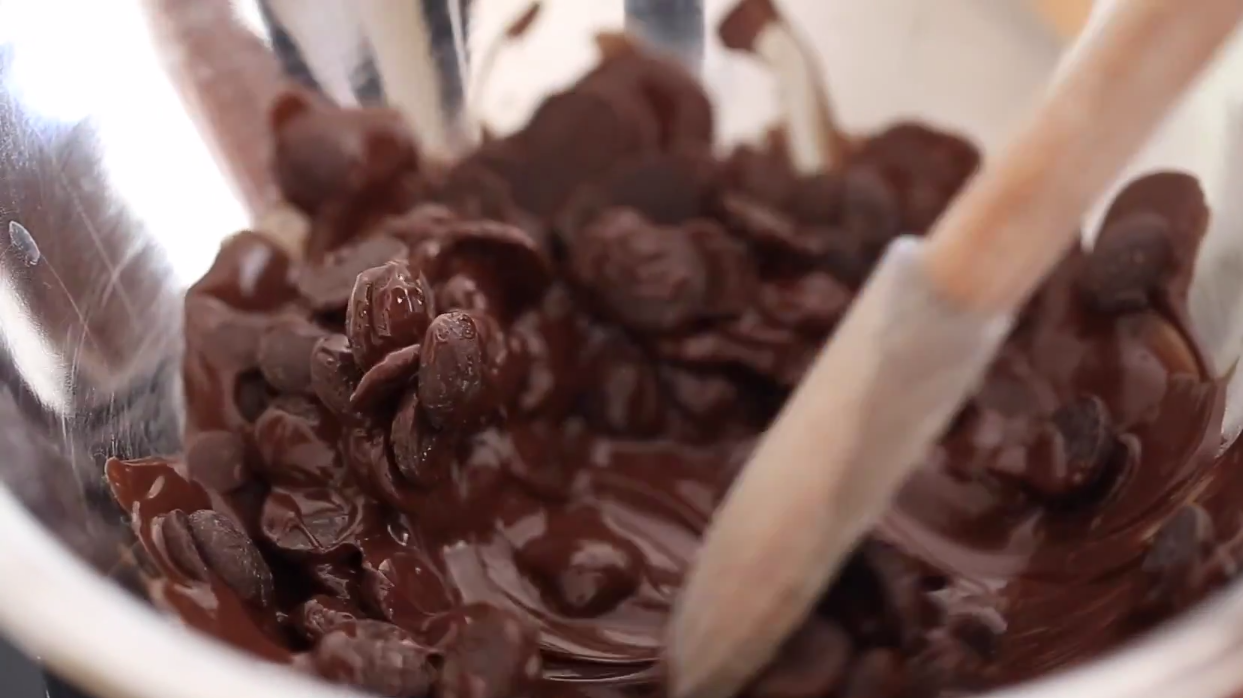
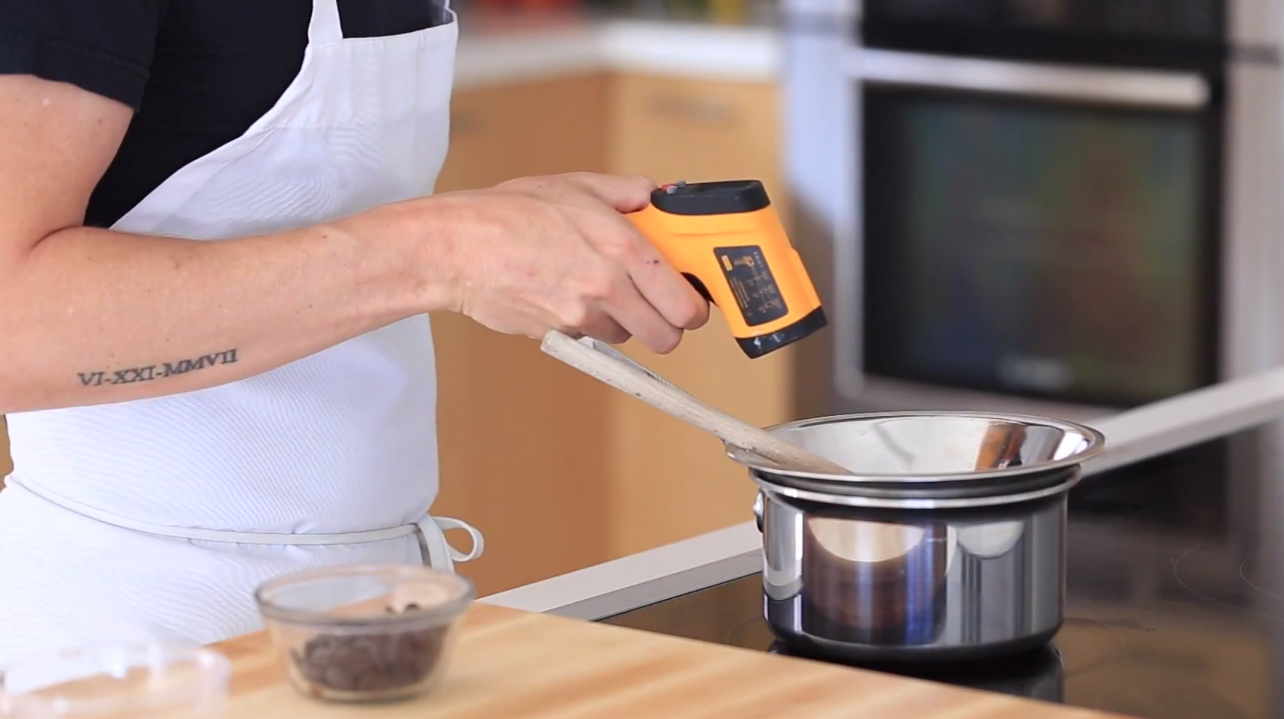
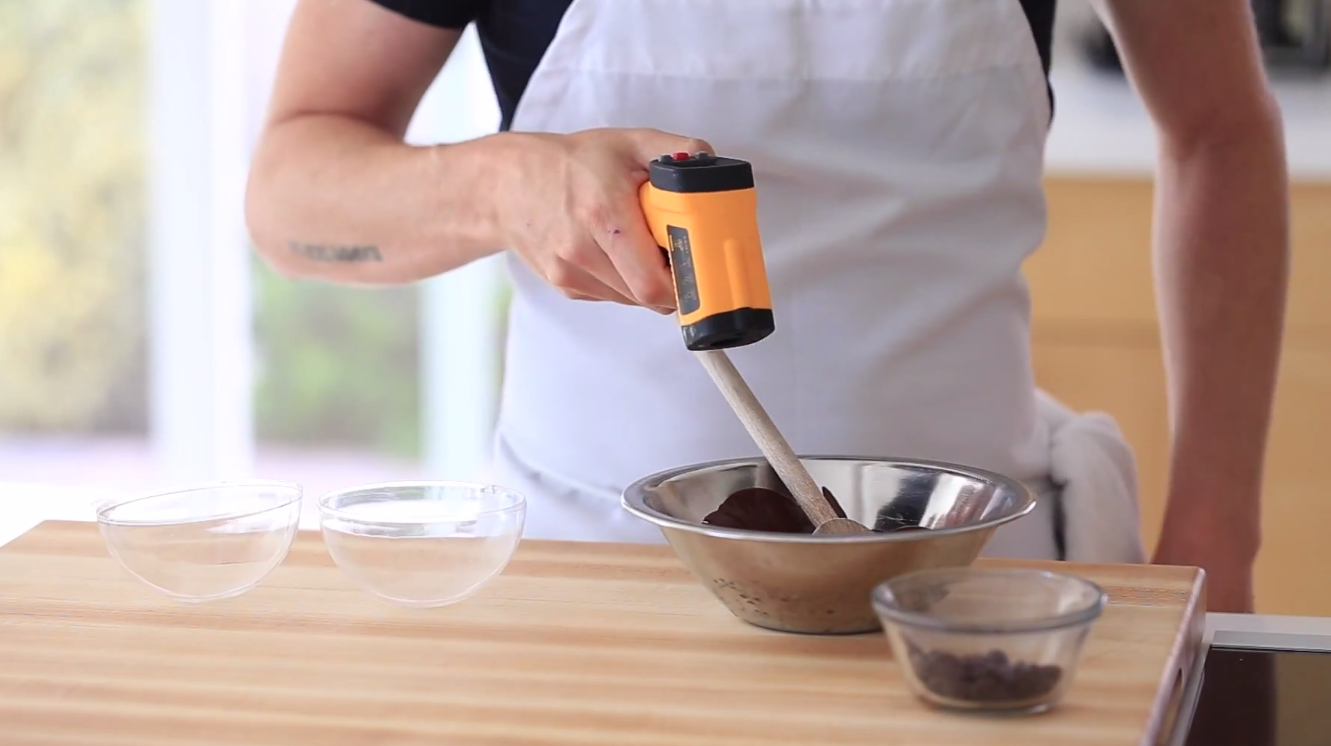
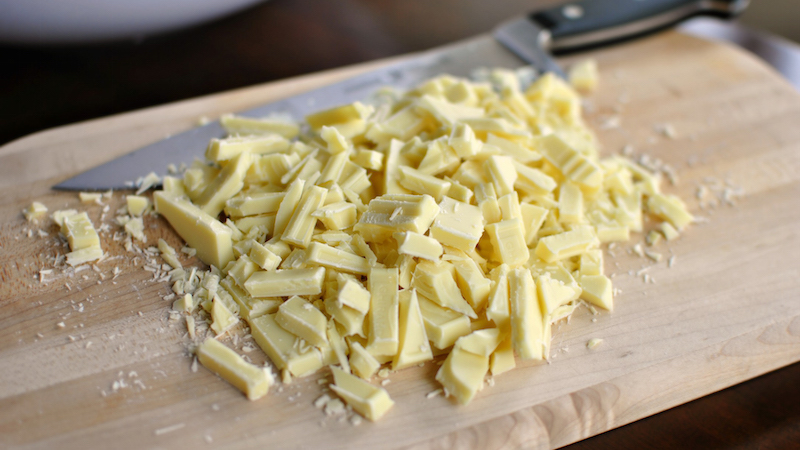
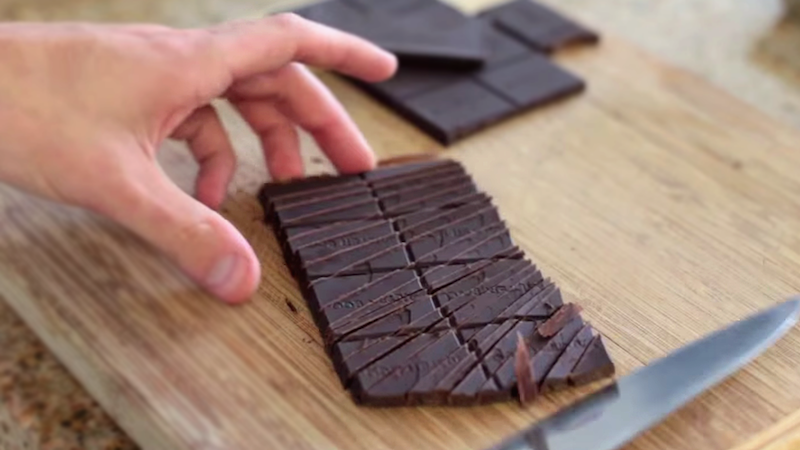
Once you have a thick, but creamy, texture add in about 1/2 cup of dark chocolate shavings.
When it is thoroughly mixed, let the mixture set up in the freezer for about 2 hours.
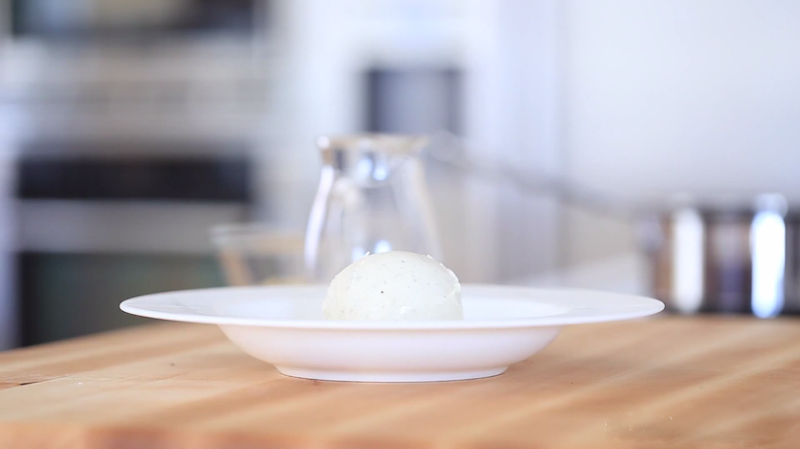
As soon as the ice cream has reached the consistency you prefer, remove from freezer…
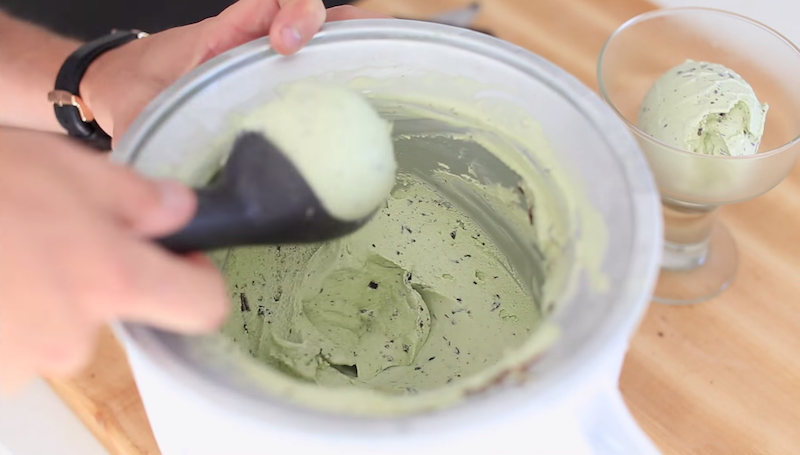
…scoop…
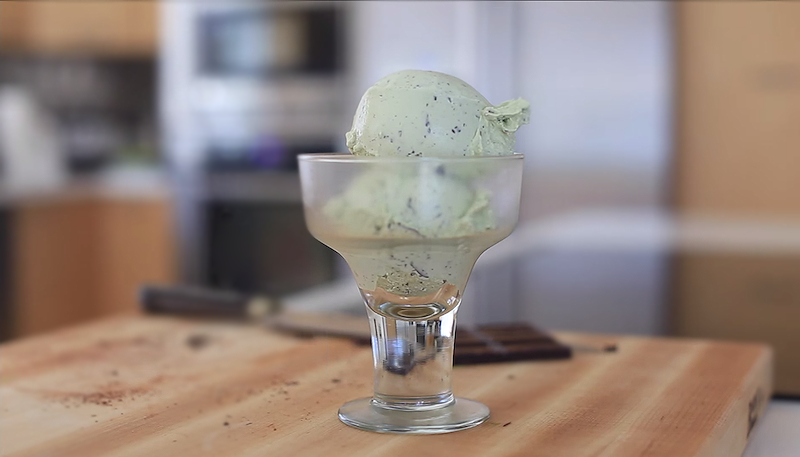
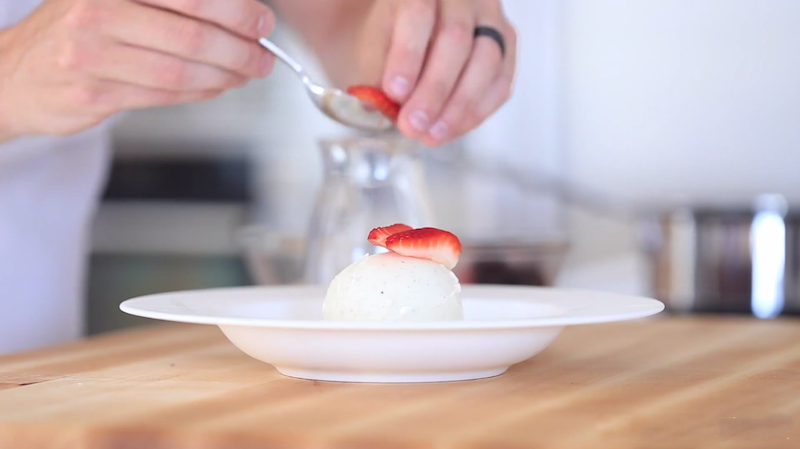
…and ENJOY!
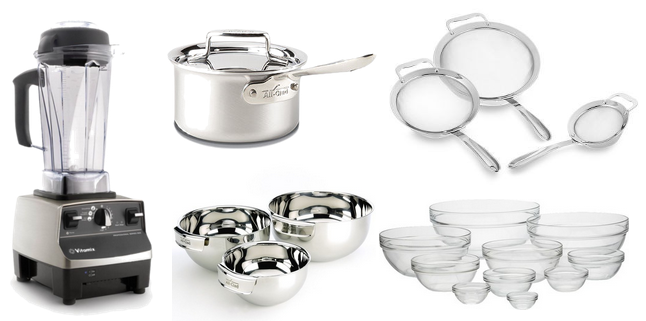
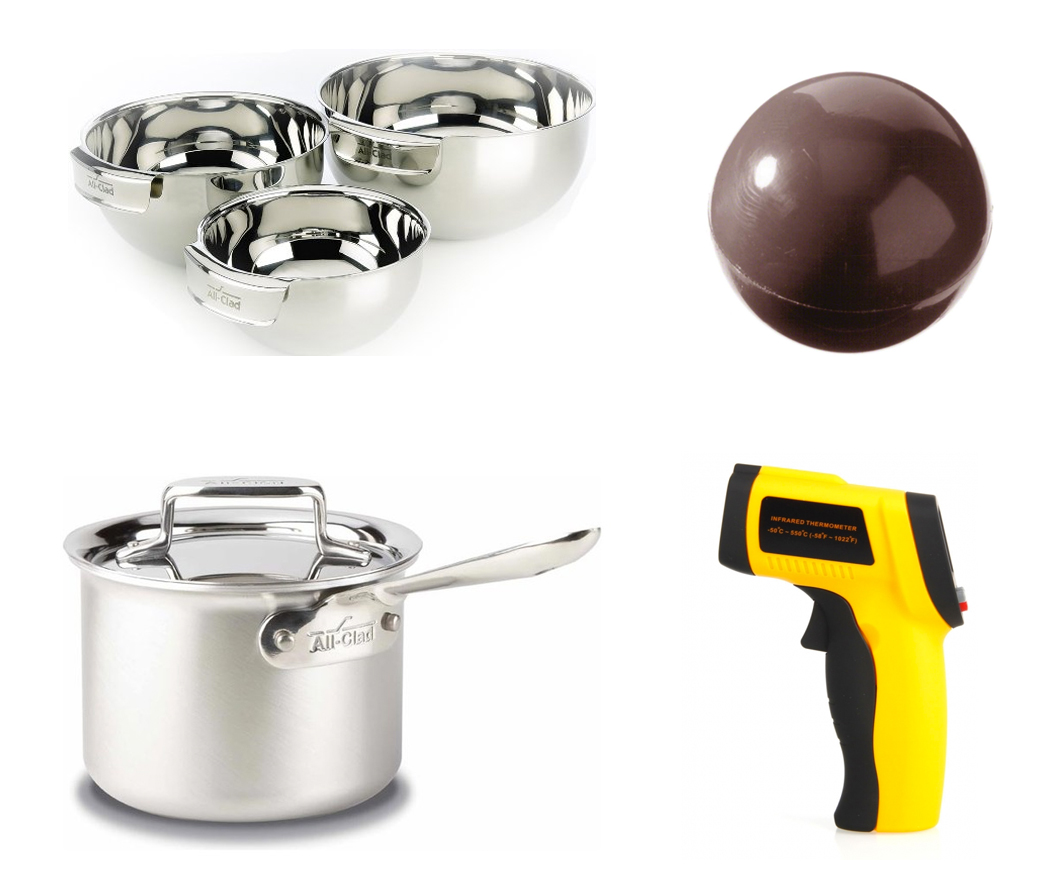
| Left: Vitamix Blender |Top Middle: All-Clad Sauce Pan |Top Right: All-Clad Strainer |
| Bottom Middle: Mixing Bow Set | Bottom Right: Glass Bowl Set |


