
Pizza ovens are convenient, sure, but not a must have…All you need for this delicious pizza recipe is a grill and an appetite! This grilled pizza made for one happy household of mine, and I’d reccomend this recipe to anyone that is looking for a fresh take on a classic dish—made with ease.
This pizza was legit and I’m enjoying every minute of #PizzaWeek. Hope you are too!
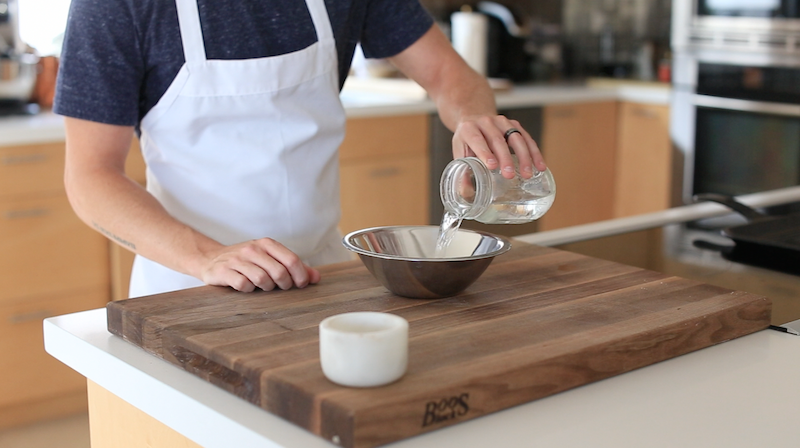
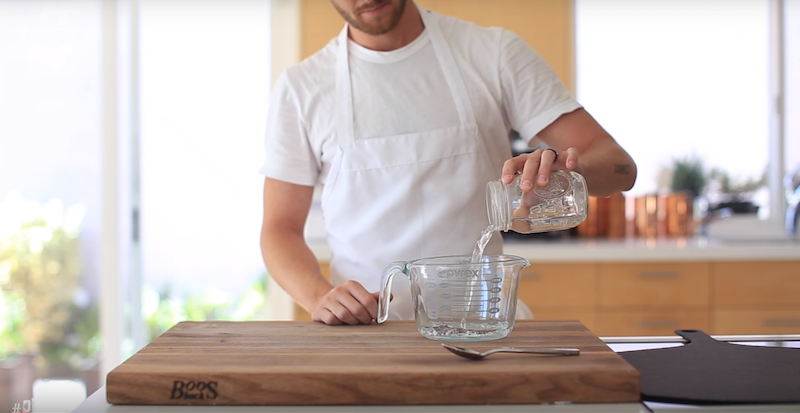
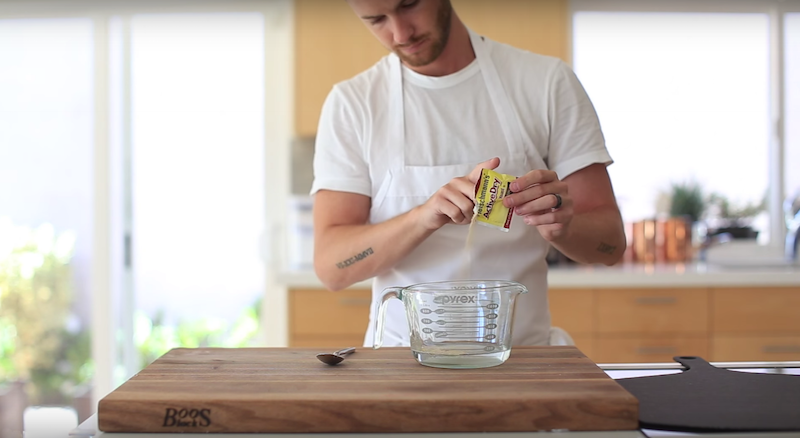
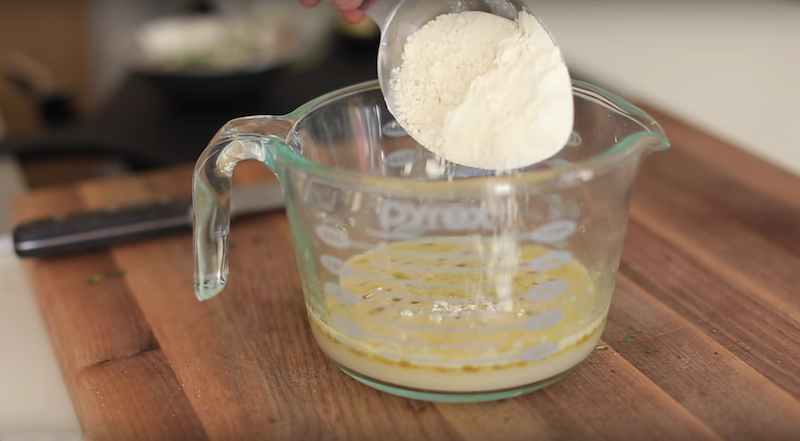
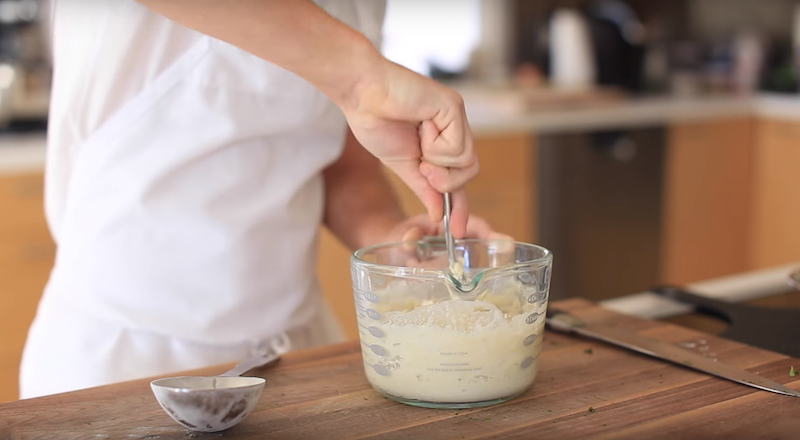
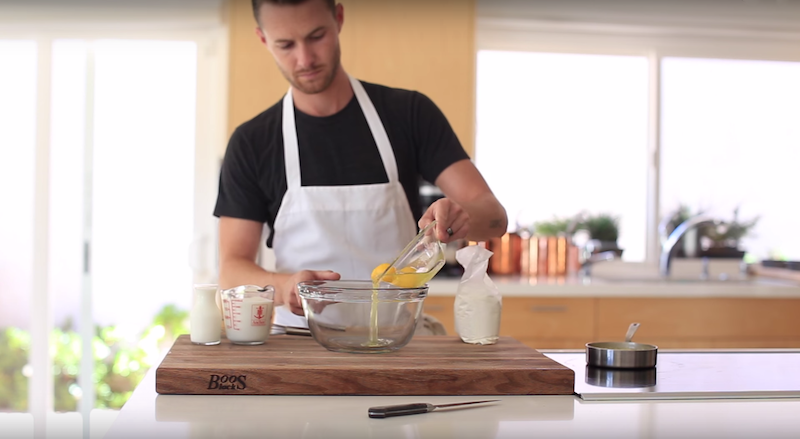
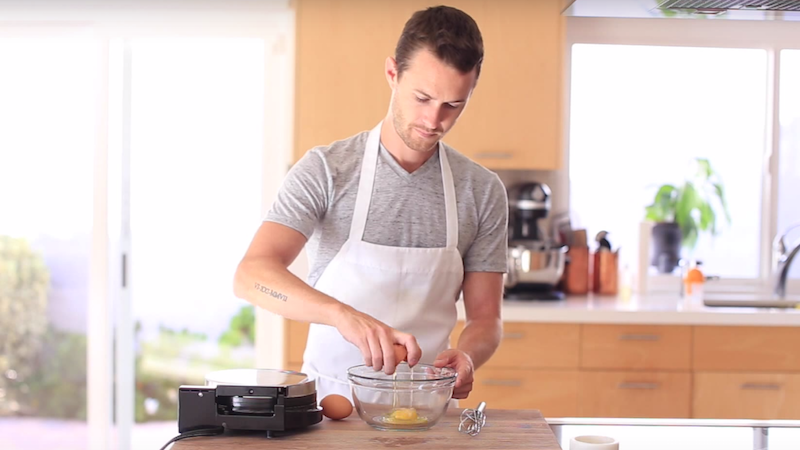
Start by adding 1 cup of warm water to a measuring cup.
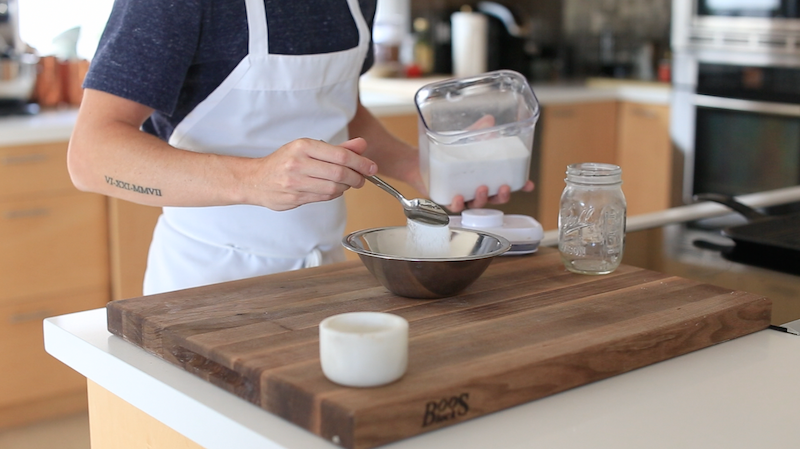
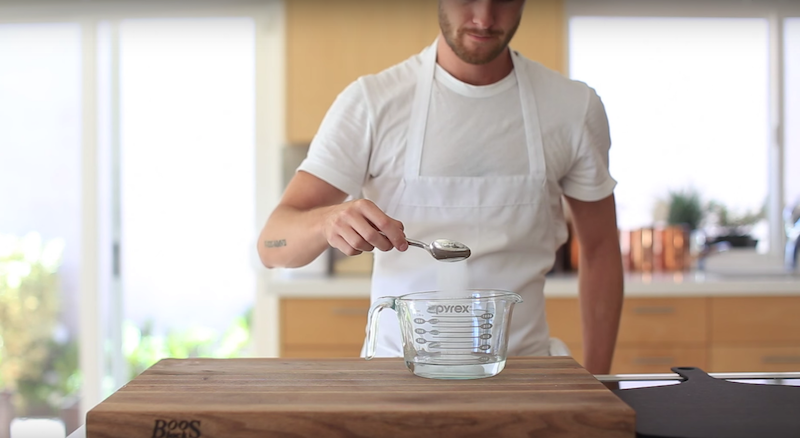
Add 1 tbsp of sugar…
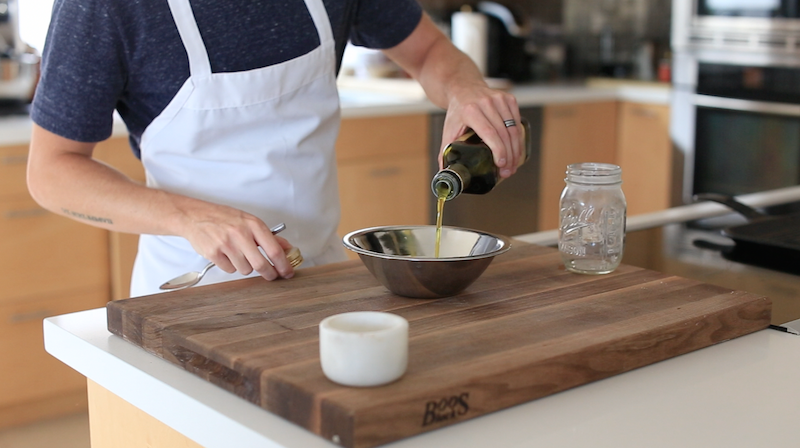
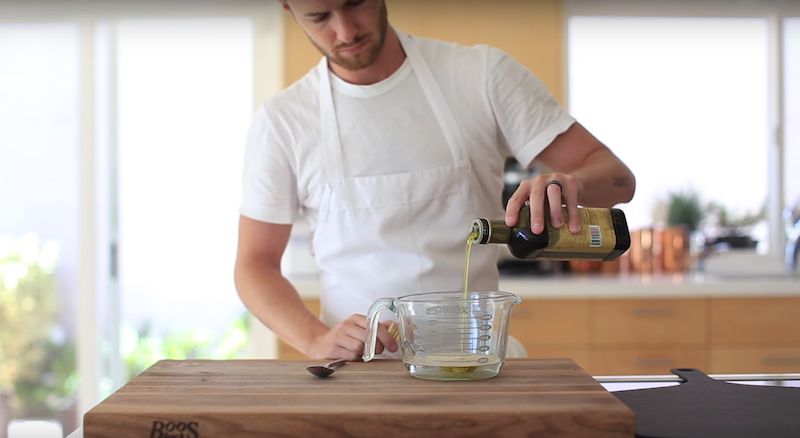
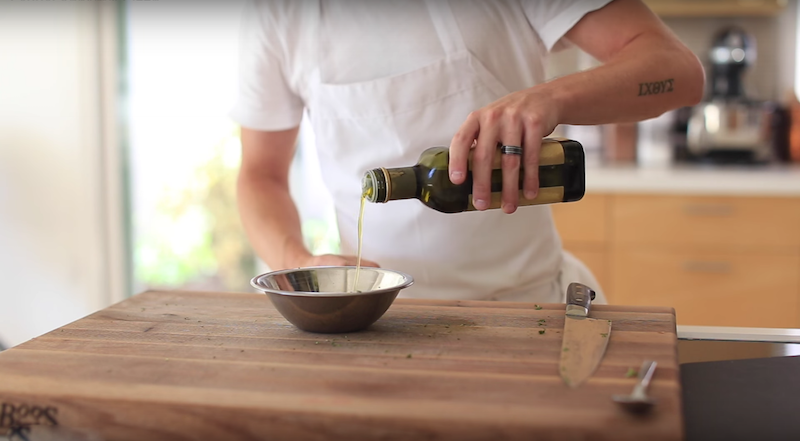
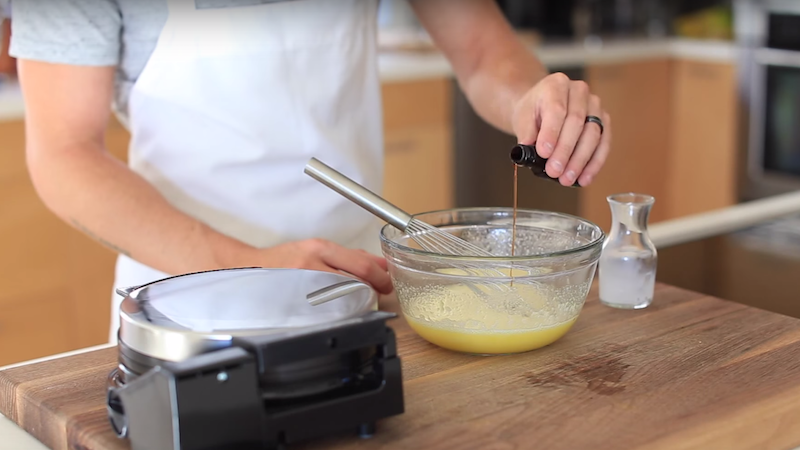
…3-4 tbsp olive oil…
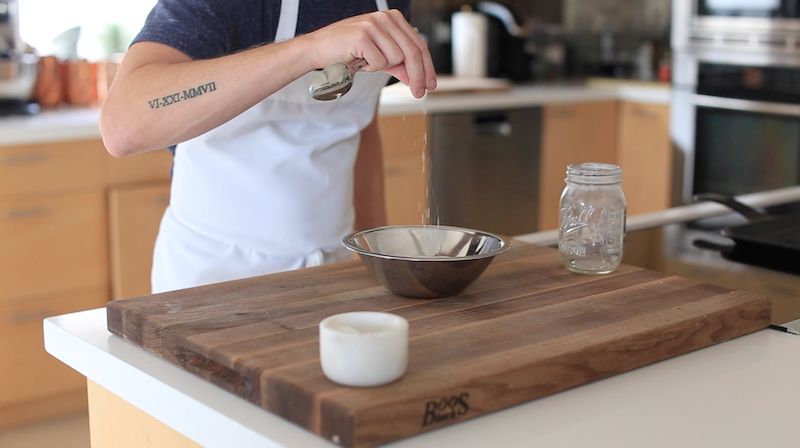
…1 tbsp salt…
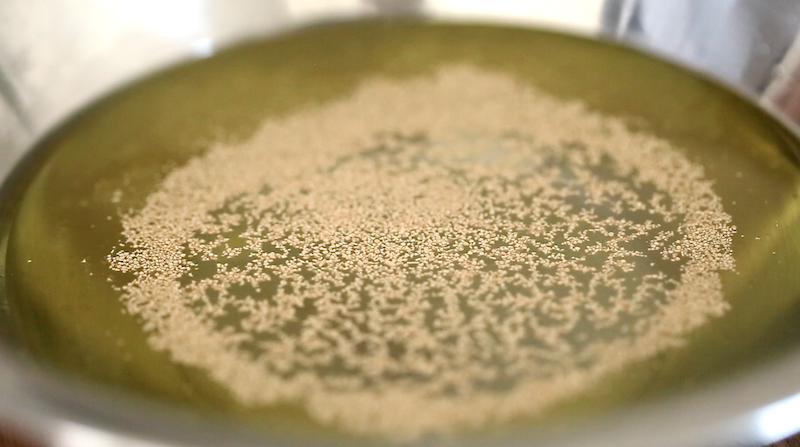
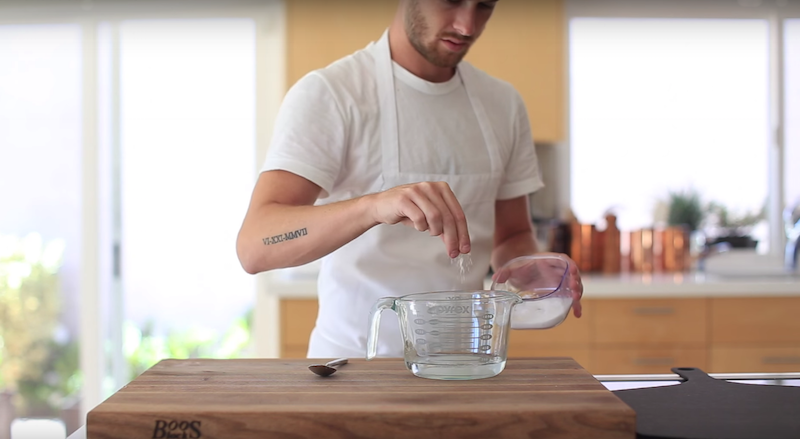
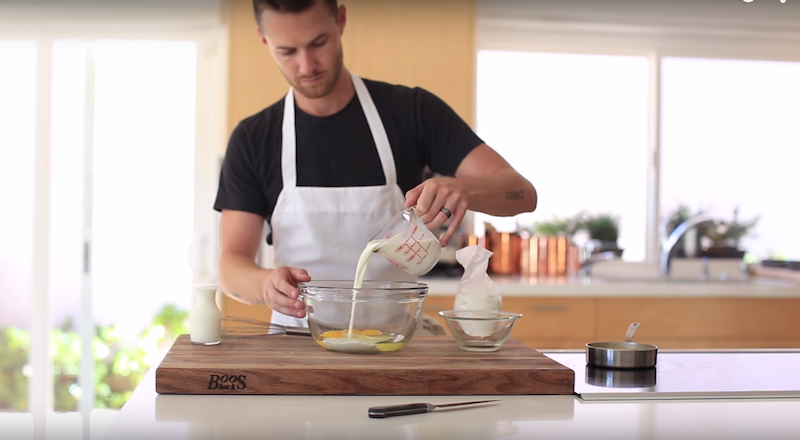
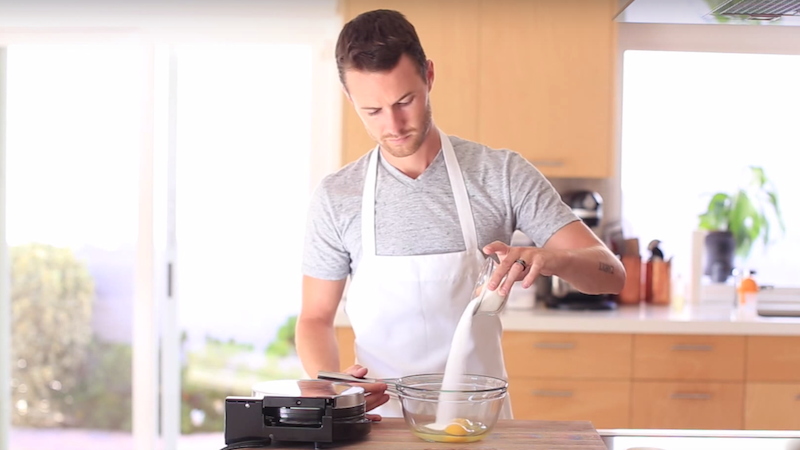
…and 1/2 a packet of yeast.
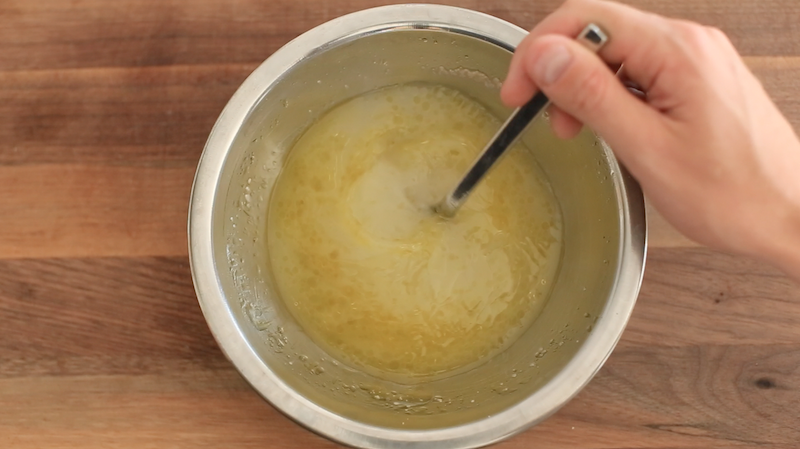
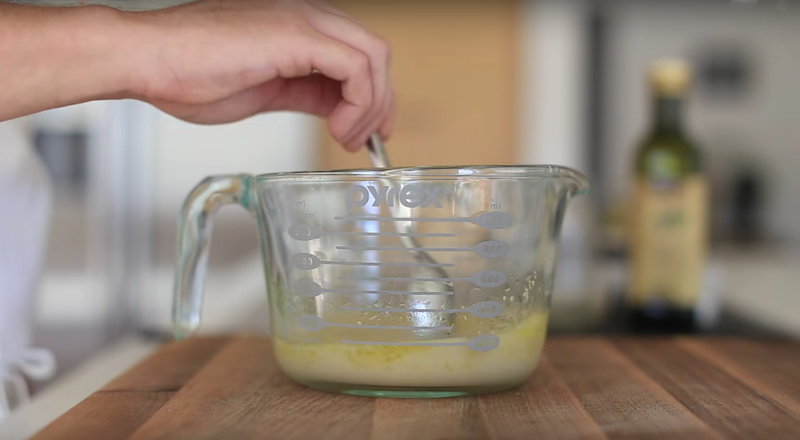
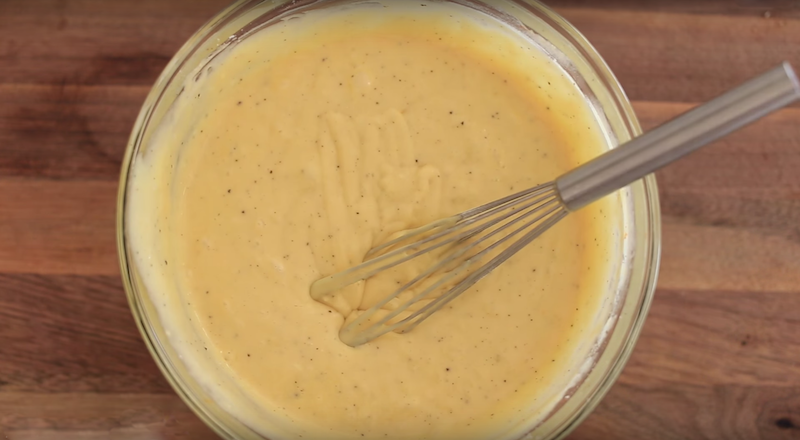
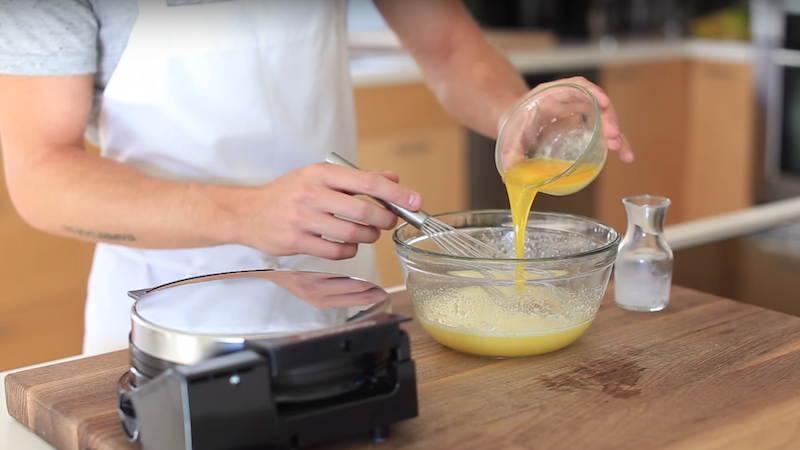
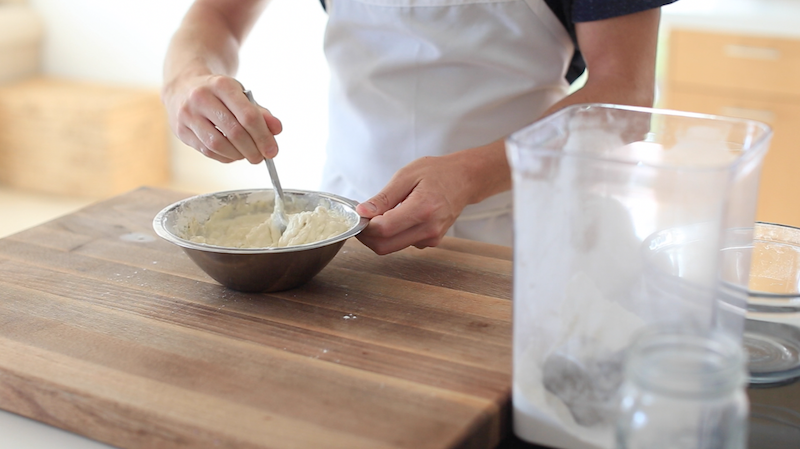
Mix for 2 minutes and then set aside for 10 minutes and allow the yeast to ferment.

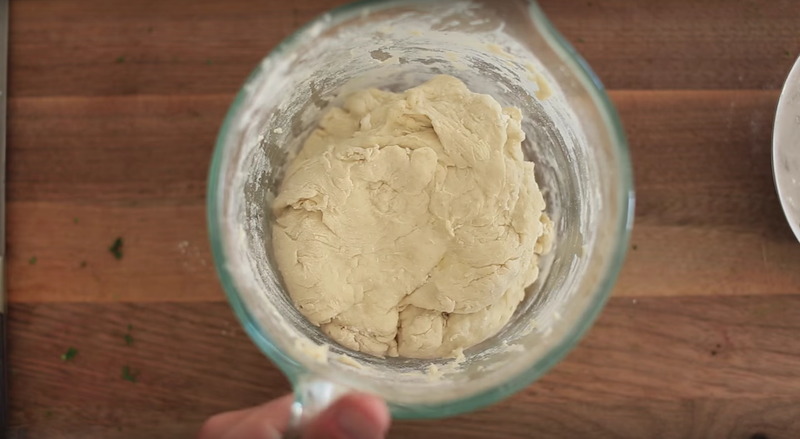
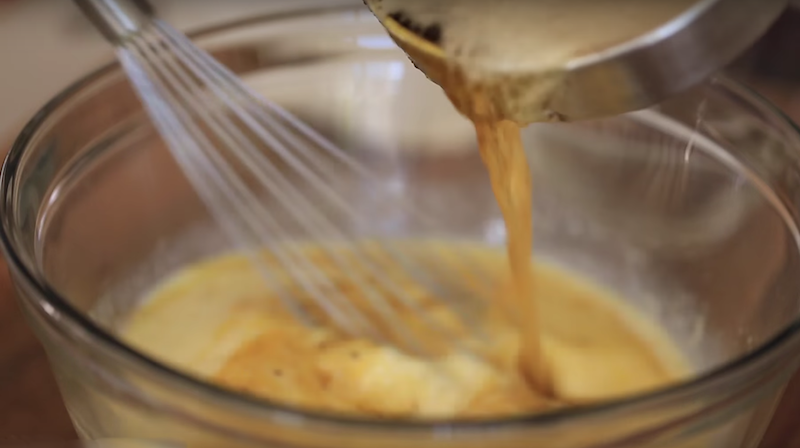
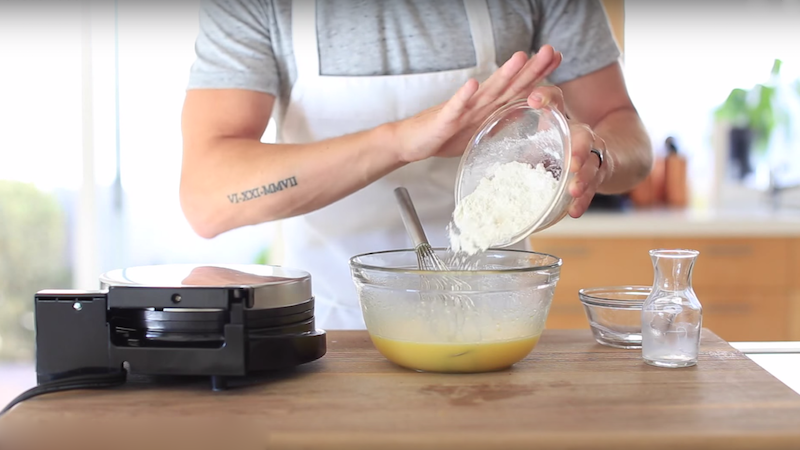
When the yeast is done fermenting…
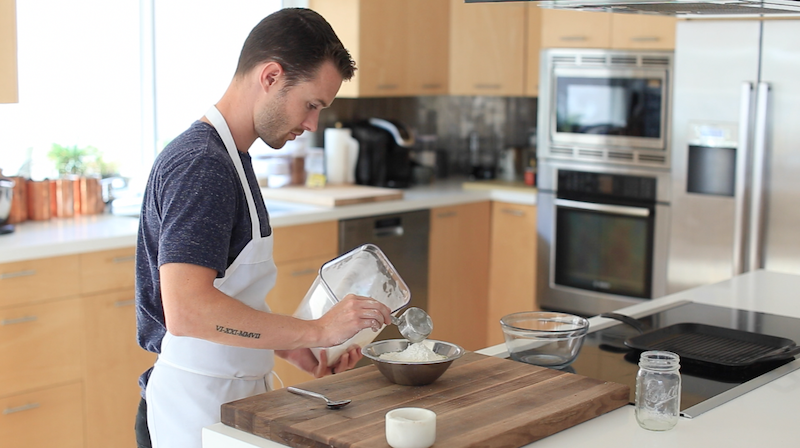
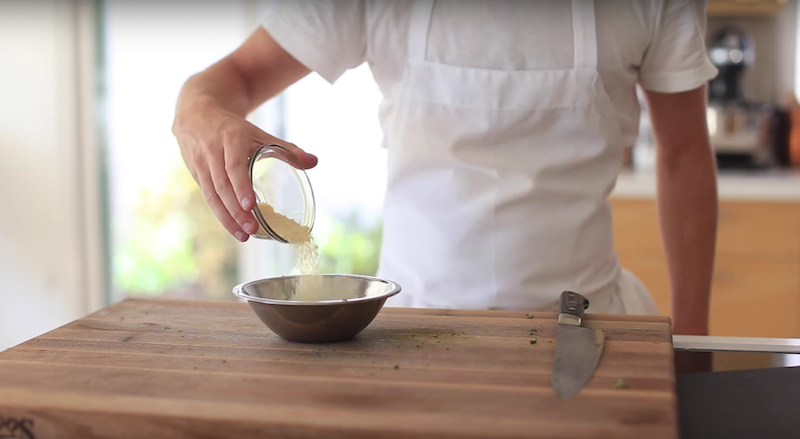
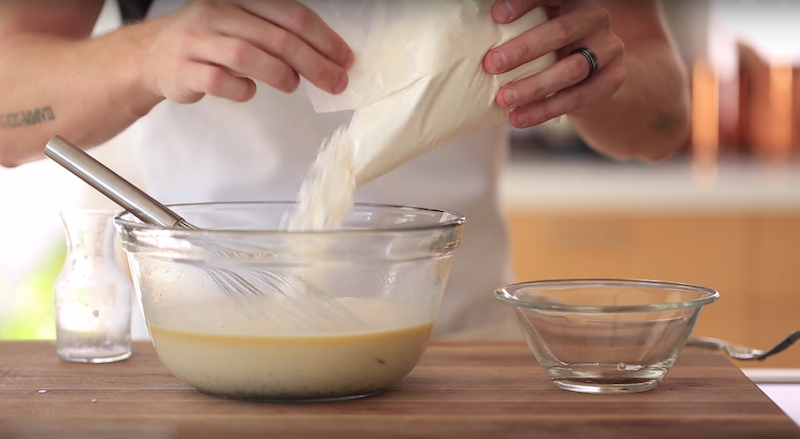
…go ahead and add 1 1/2 cups of bread flour to the starter mix.
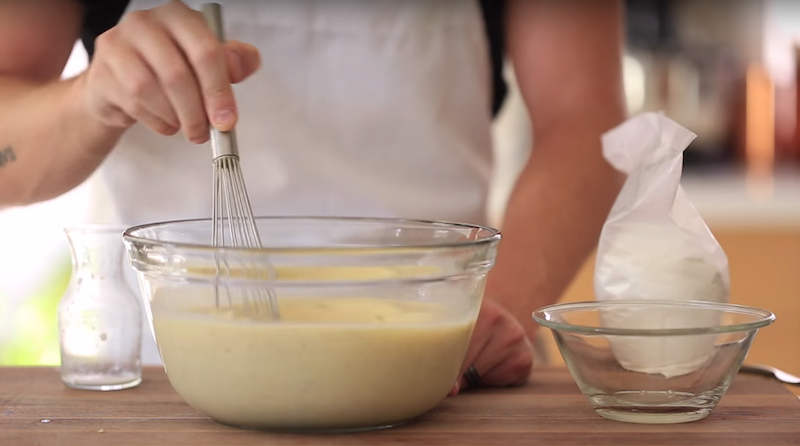
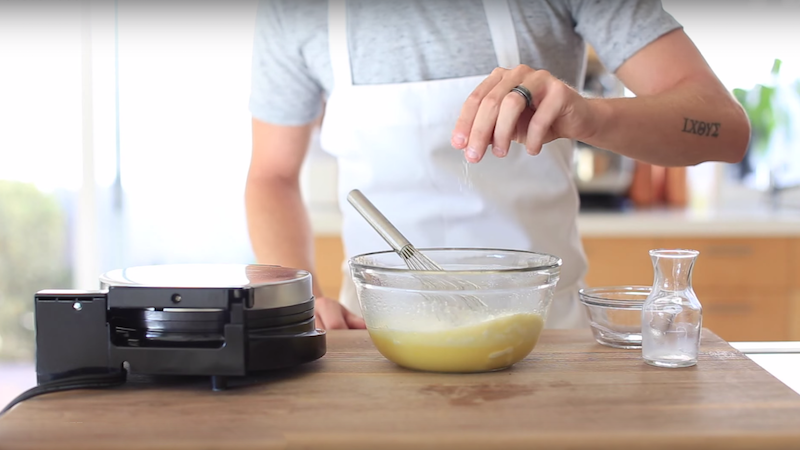
Begin folding the mixture for 5-7 minutes.
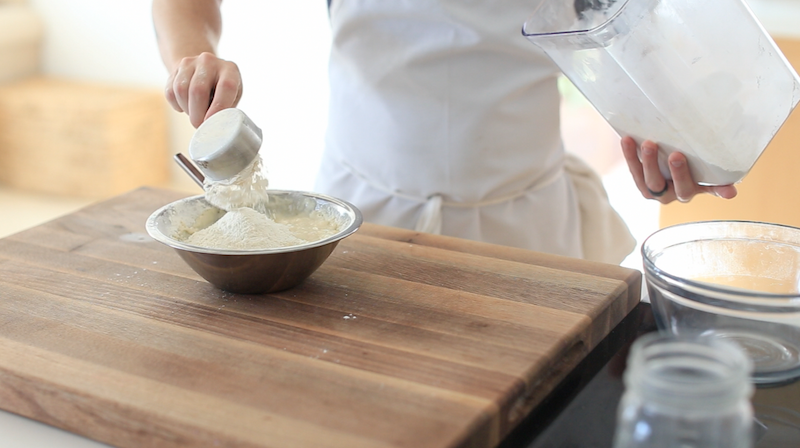
Add additional flour if necessary.
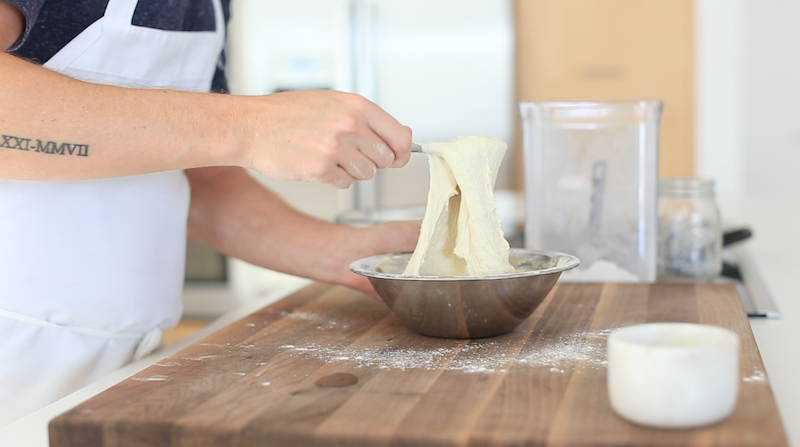
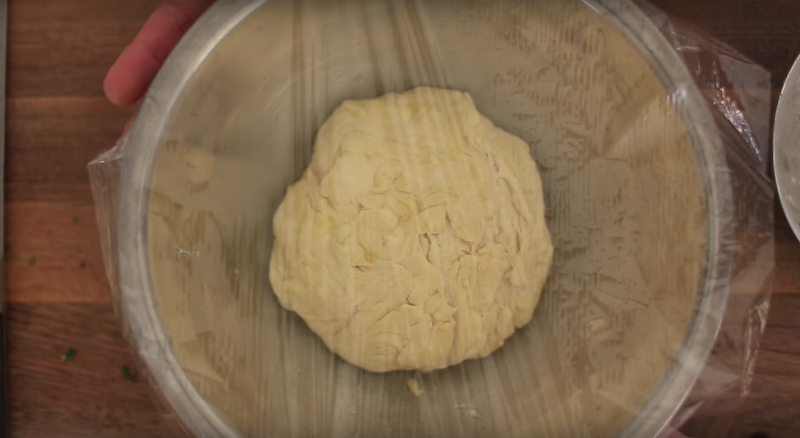
The dough should be slightly thick and tacky in consistency.

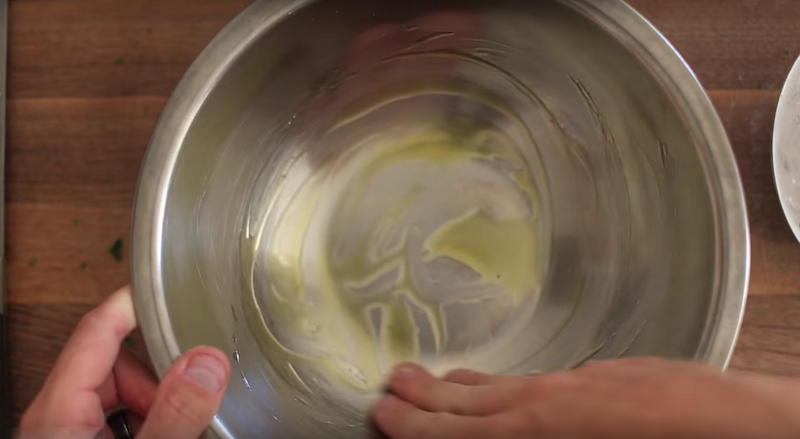
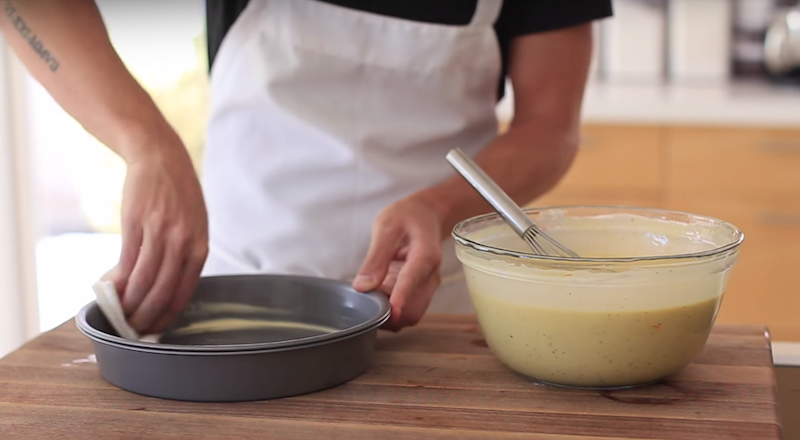
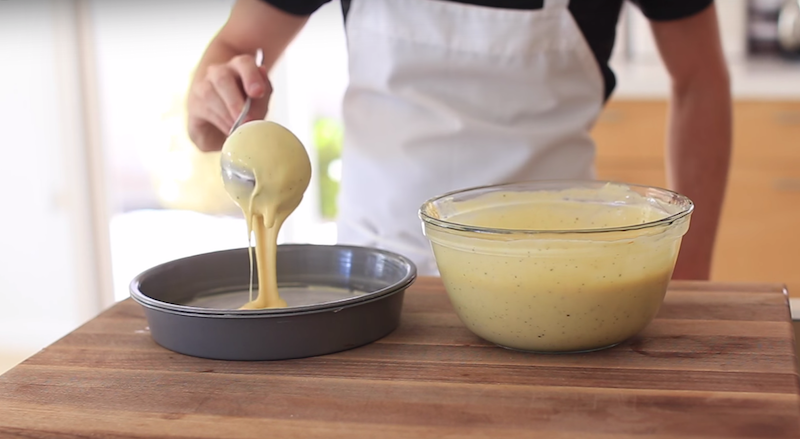
Oil a medium mixing bowl with a tbsp of olive oil.
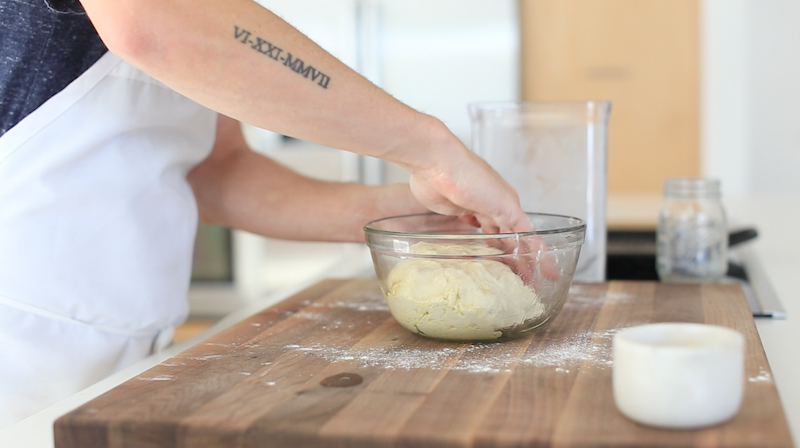
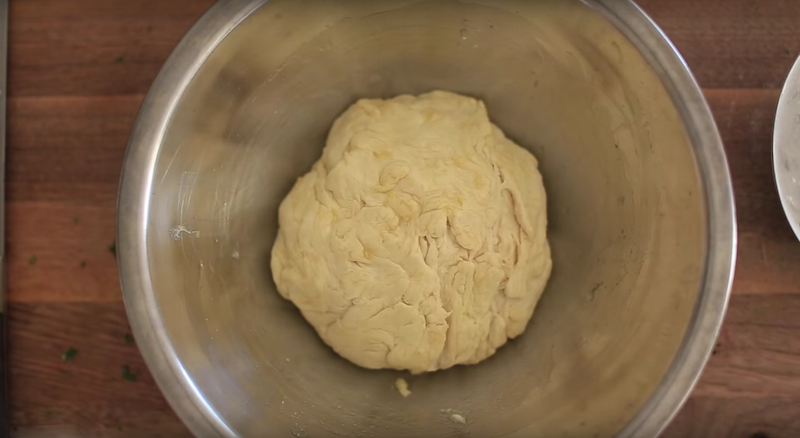
Transfer the dough to an oiled bowl and give in a quick toss to oil the outer portion of the dough.
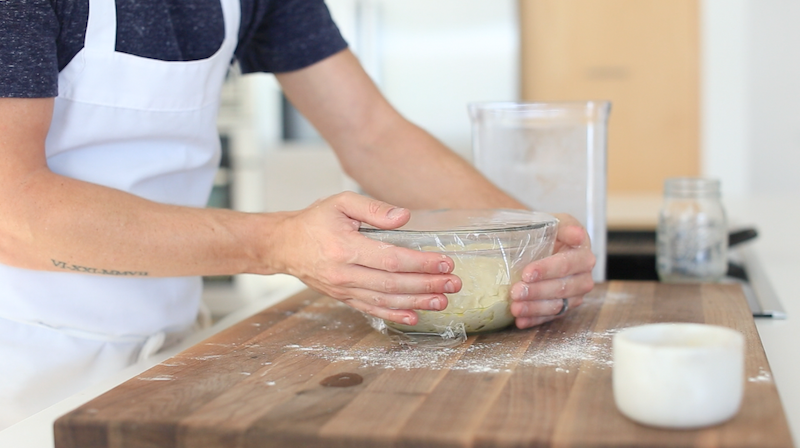
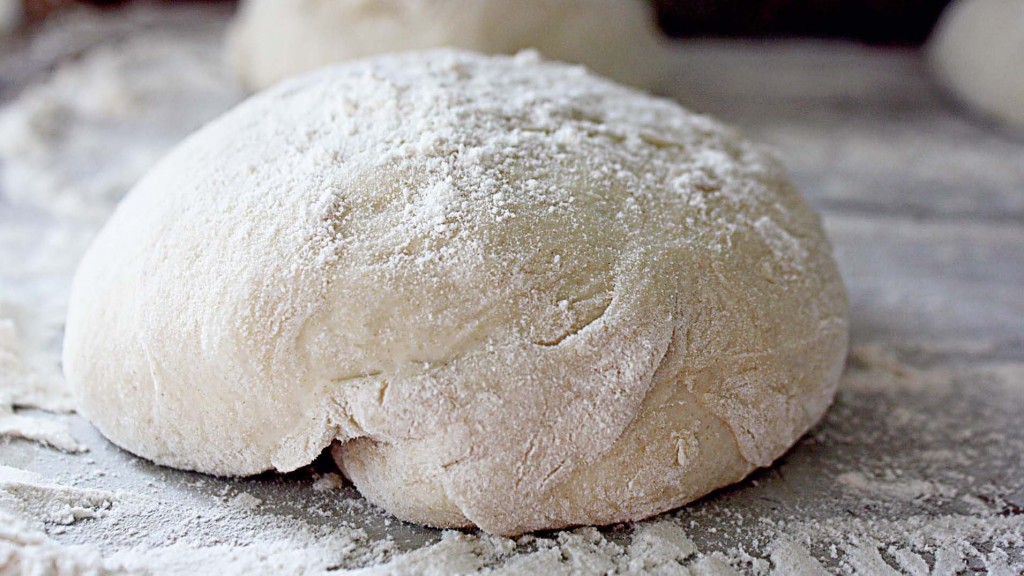
Cover and let the dough rest in a warm/drak area for at least one hour, or until doubled in size.
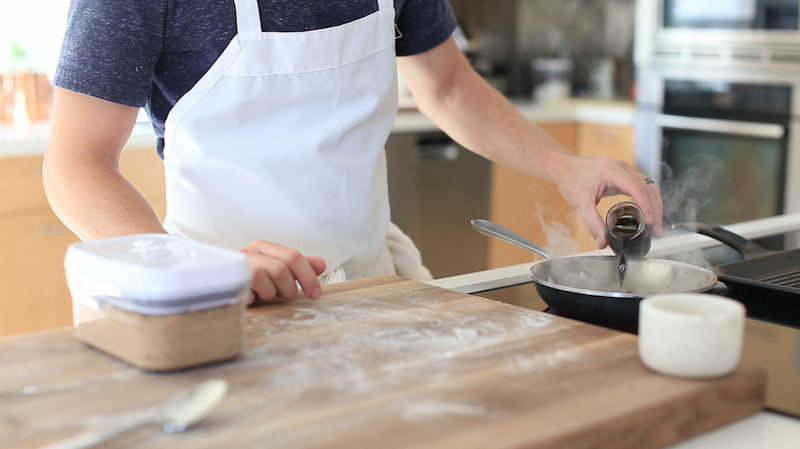
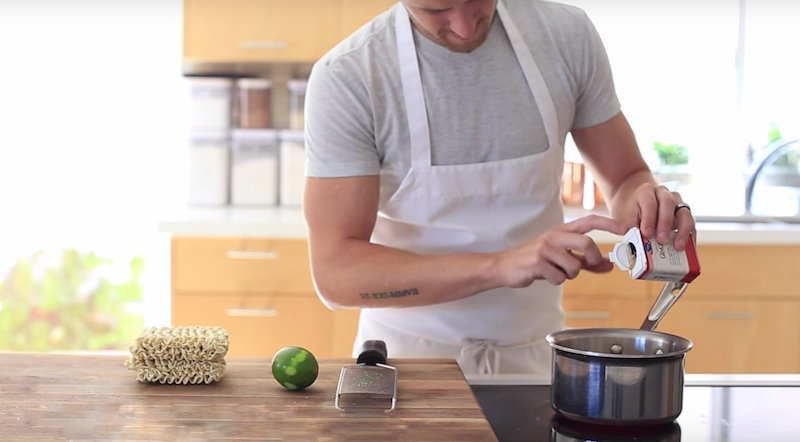
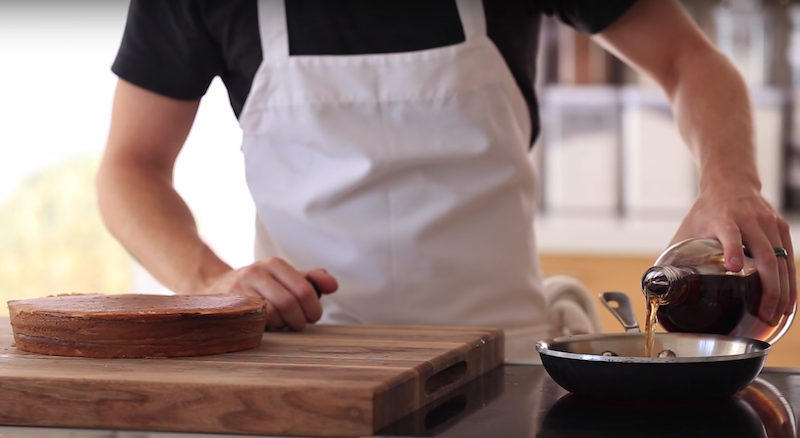
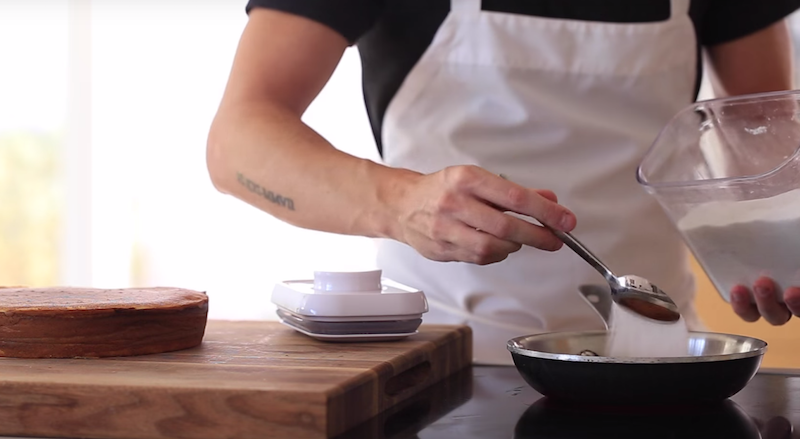
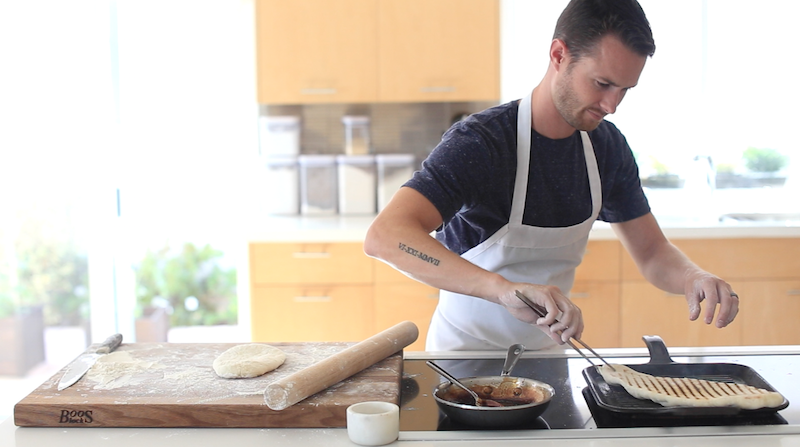
As the dough rises bring 1 cup balsamic vinegar…
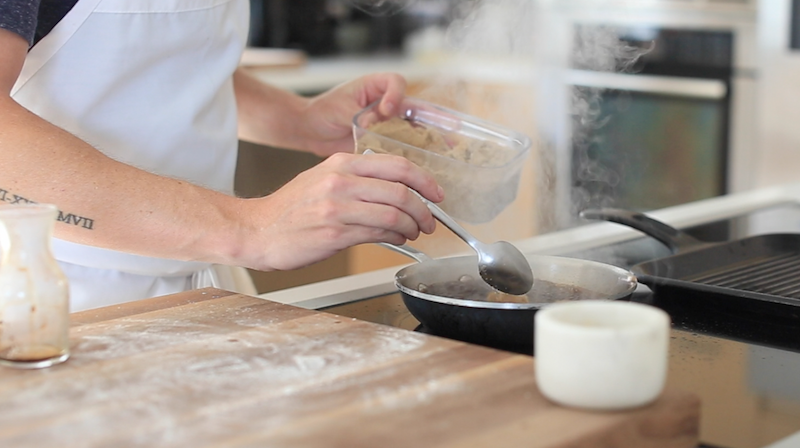
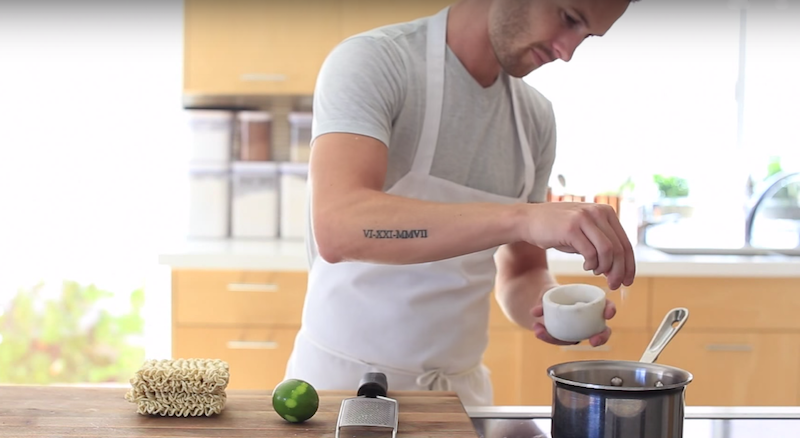
…and 2 tbsp brown sugar to a simmer.
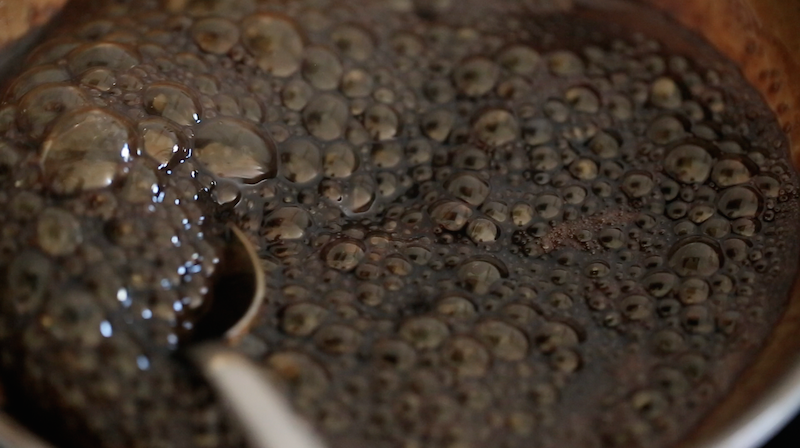
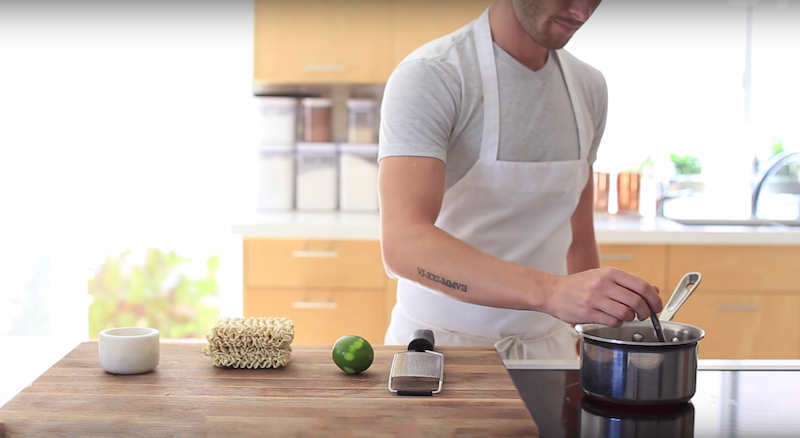
Reduce for 3-4 minutes, or until the reduction generously coast the back of a spoon. Remove from heat and set to the side.

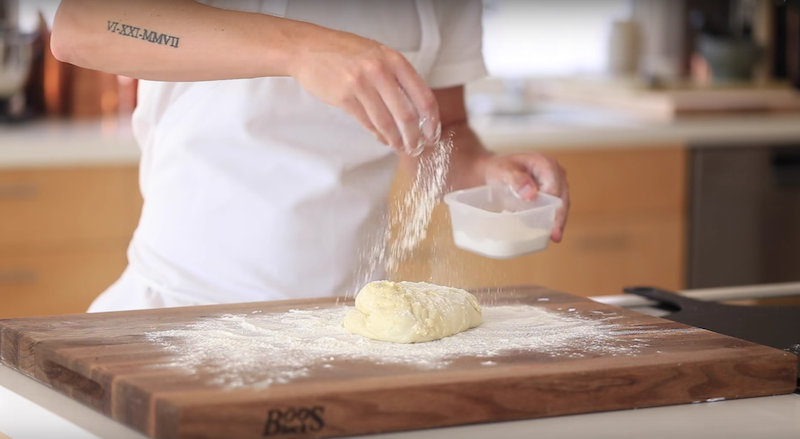
Once the dough has risen, generously flour your work surface and turn the proofed dough out on the board. Lightly flour the top of the dough.
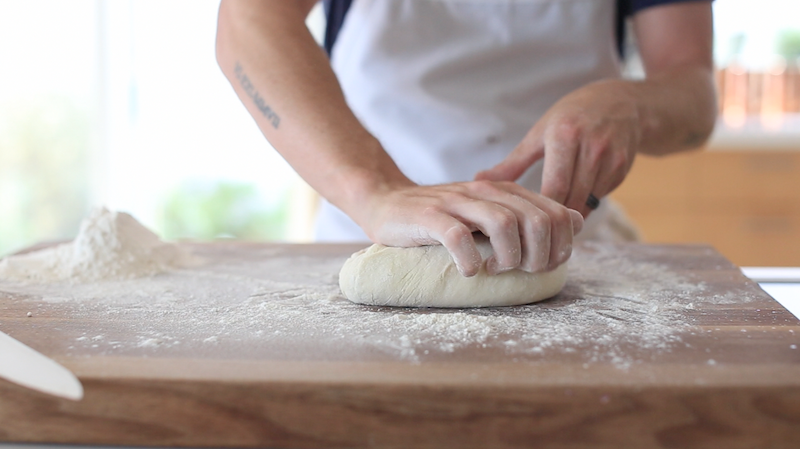
Begin kneading the dough for 2-3 minutes…
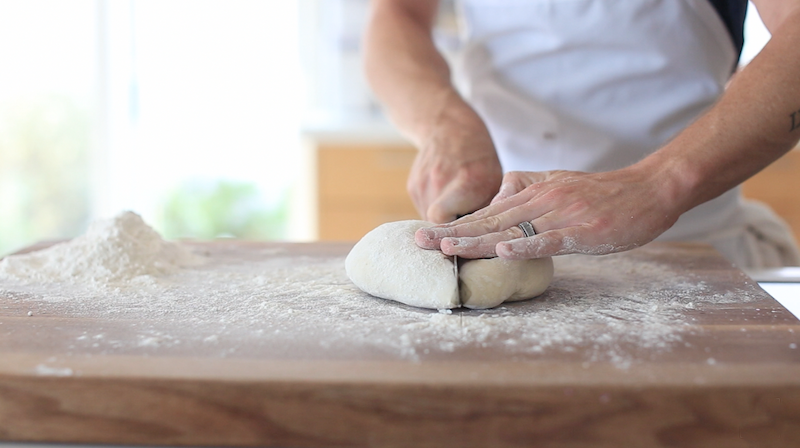
…and then cut dough in half.
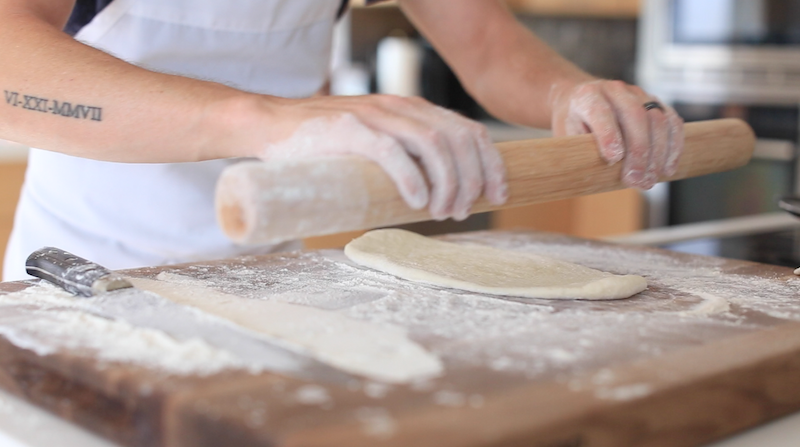
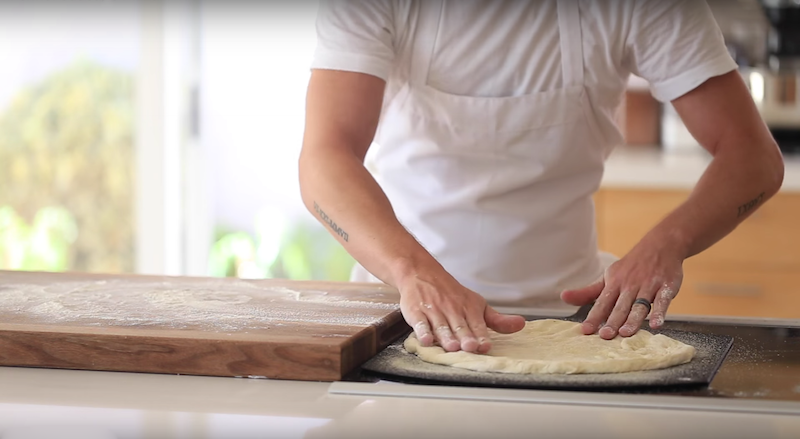
Roll out each portion of dough to your desired thickness, or about a 1/4″.
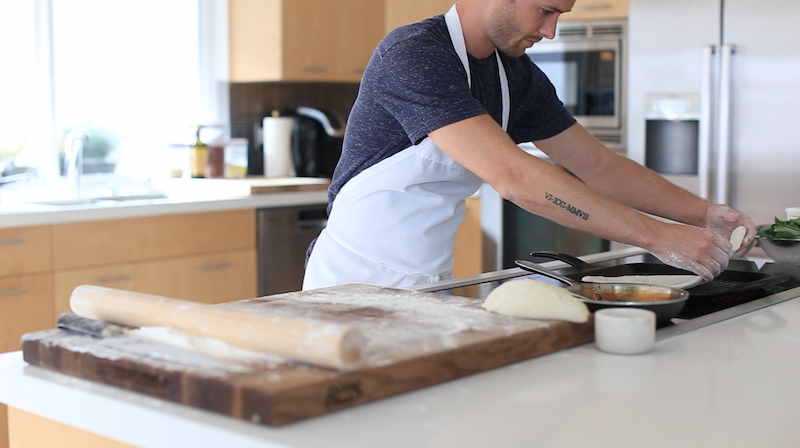
Transfer the dough to a grill on med-high heat.
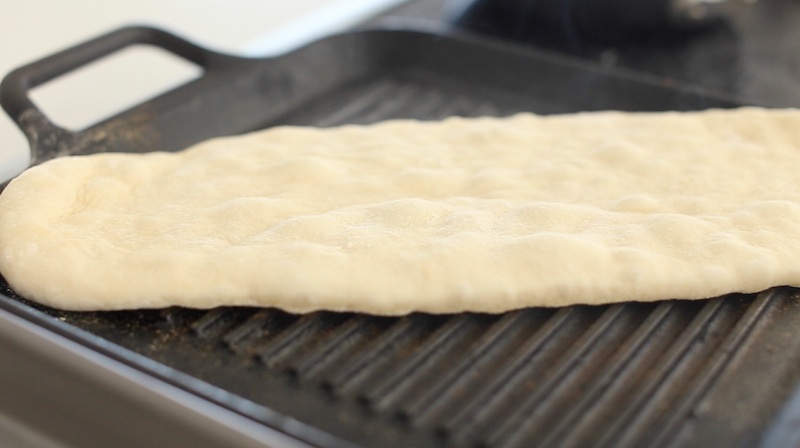
Grill each side for 2 minutes.
Then remove from remove from the heat and transfer to a baking sheet.
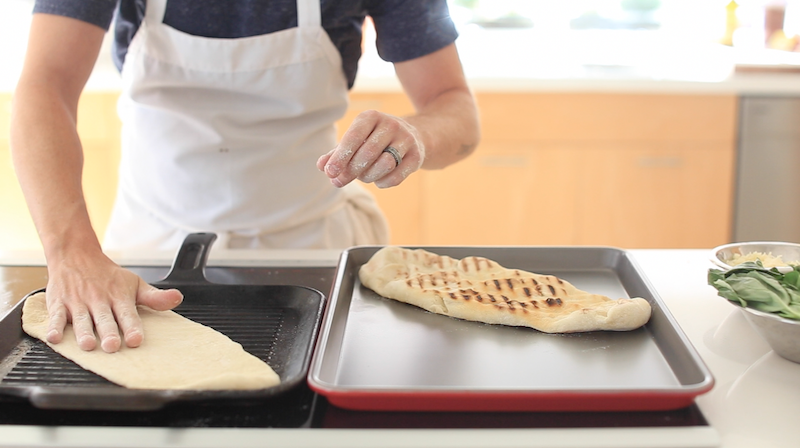
Repeat steps for extra pizzas.
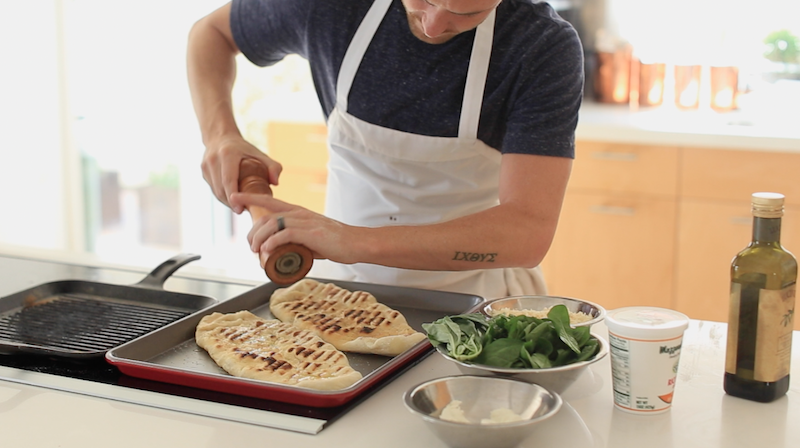
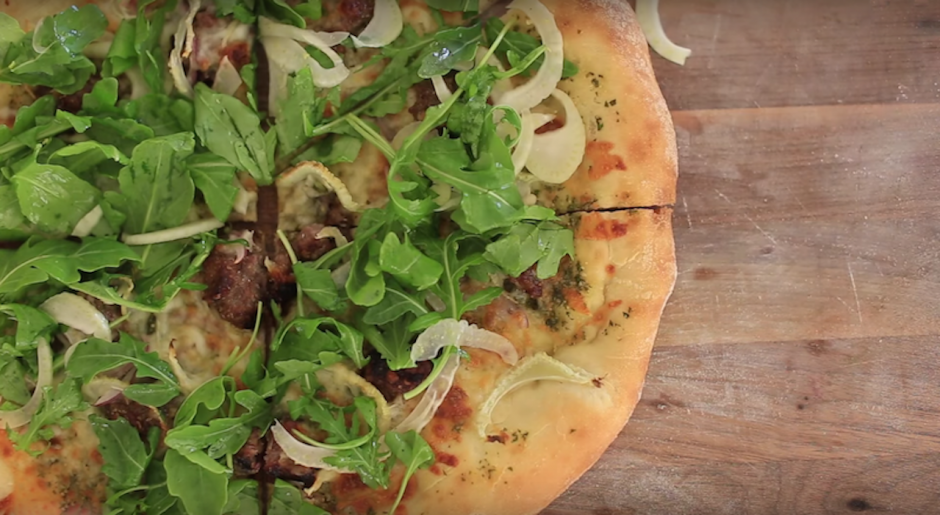
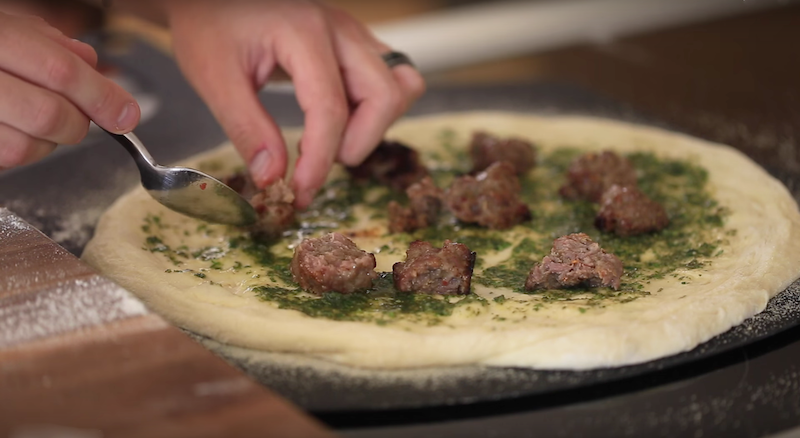
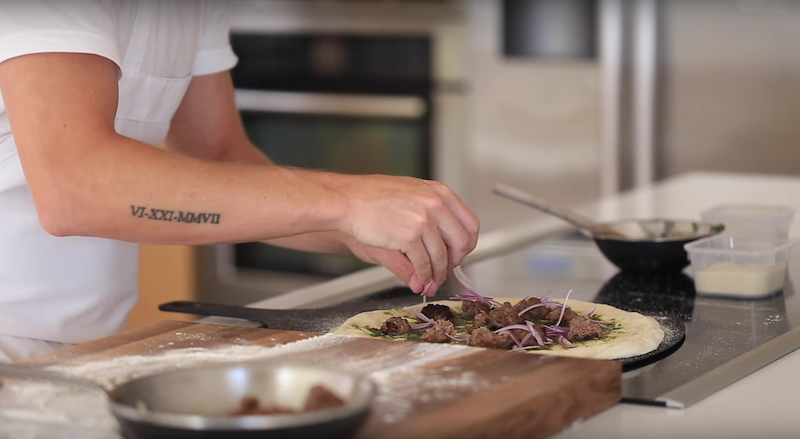
Start by seasoning the crust with salt and pepper.
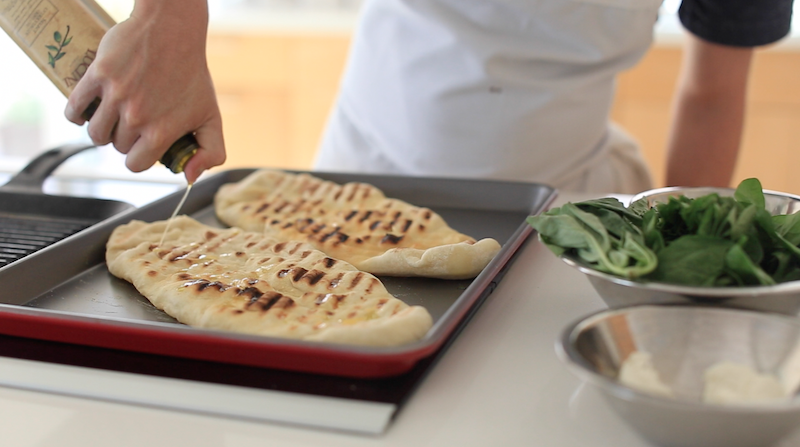
Drizzle the top of the pizza crust with Olive Oil.
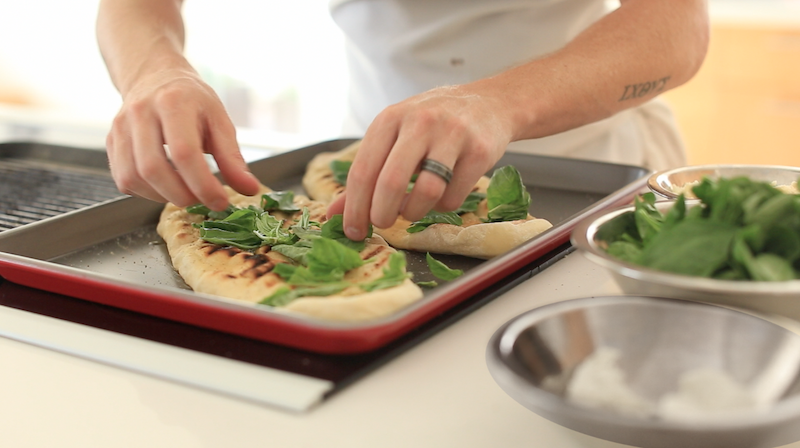
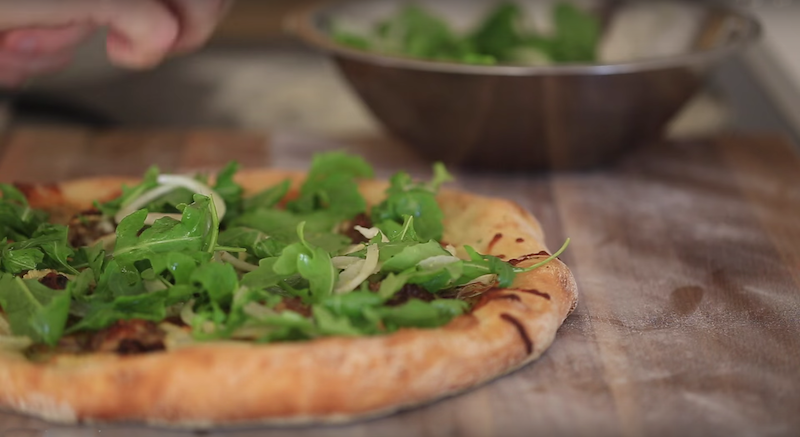
Top the pizza with a handful of torn basil…
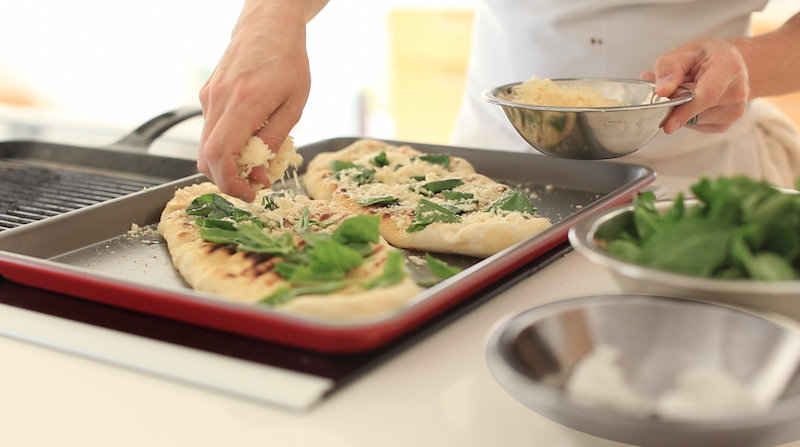
…a shredded mozzarella and parmesan blend…
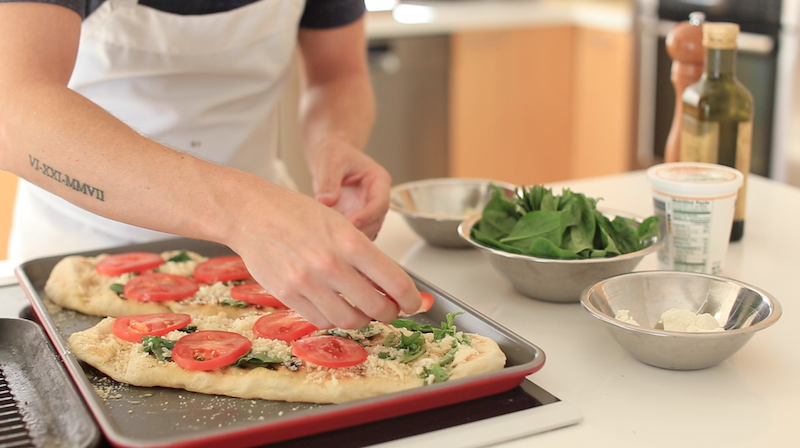
…sliced vine ripe tomatoes…
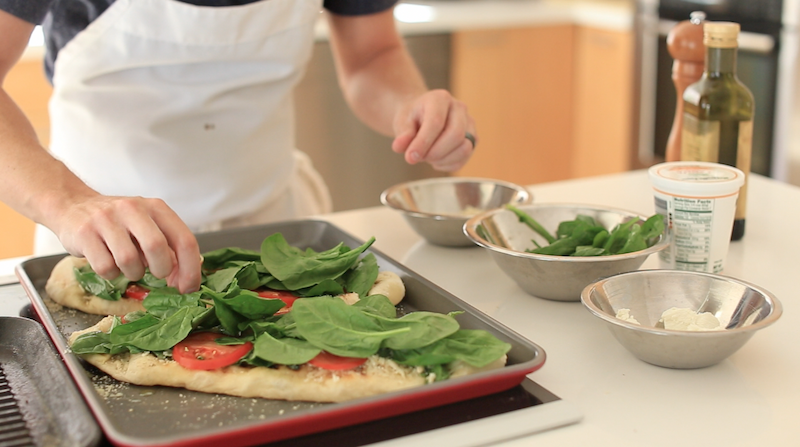
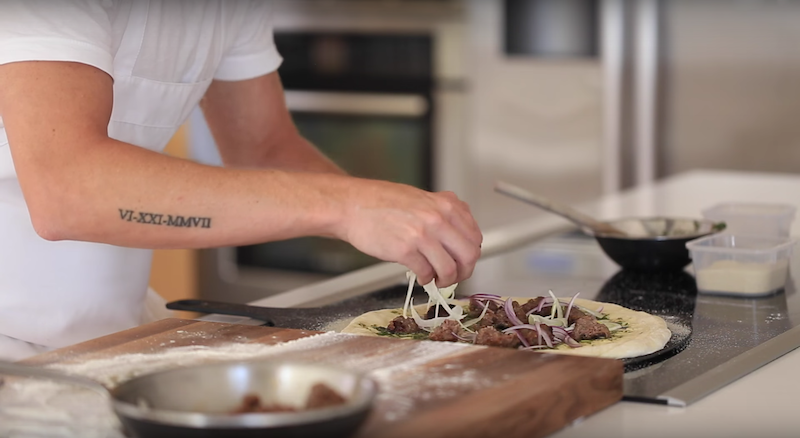
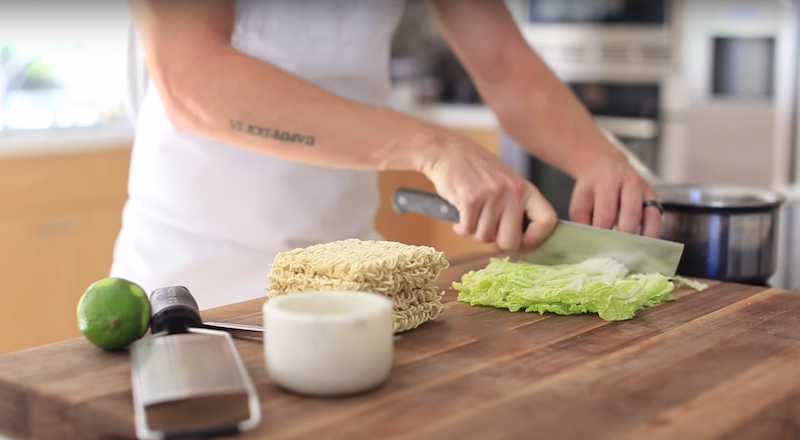
…fresh spinach…
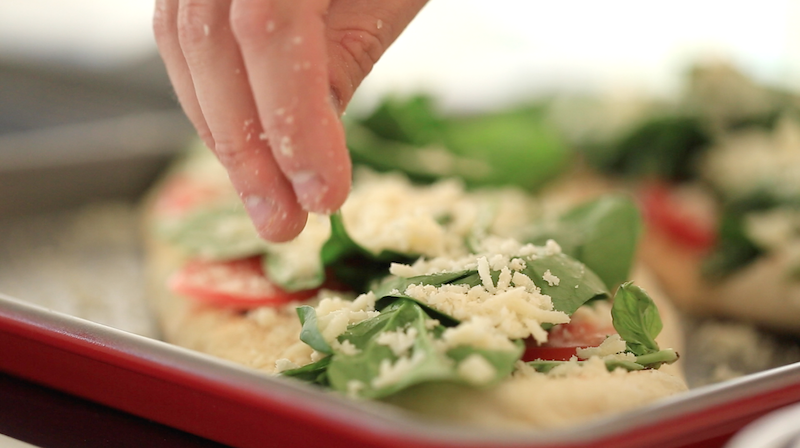
…more of the mozzarella blend…
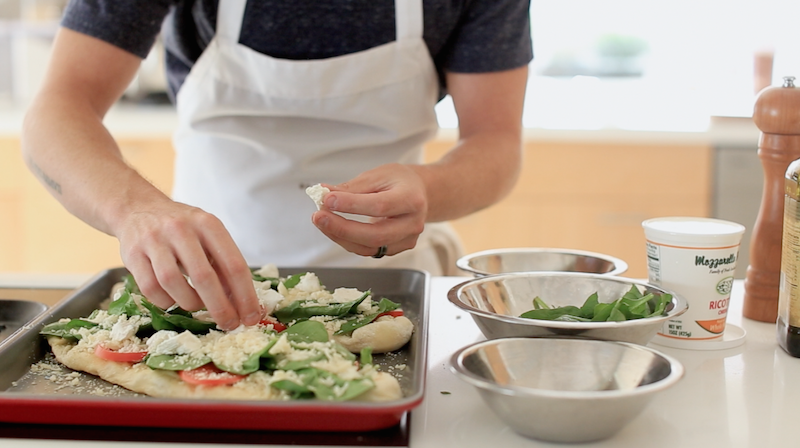
…several chunks of goat cheese…
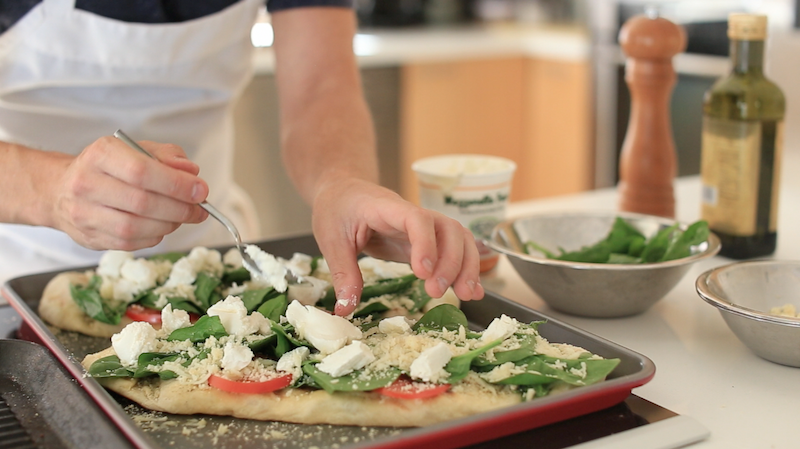
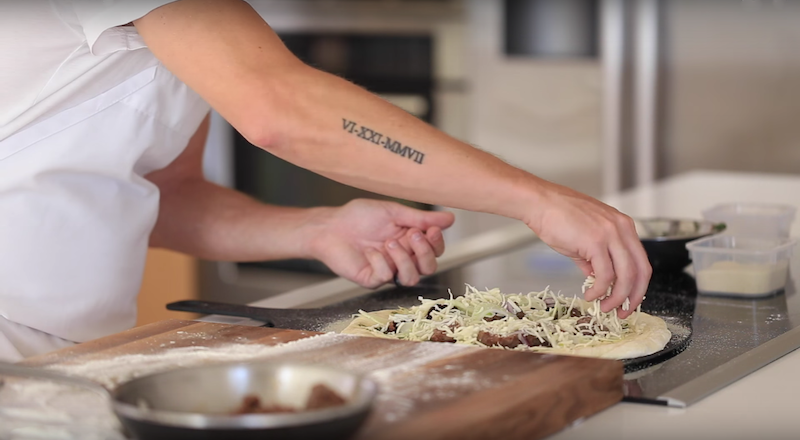
…and a few dollops of ricotta cheese.

Bake at 400ºF for 7 minutes.
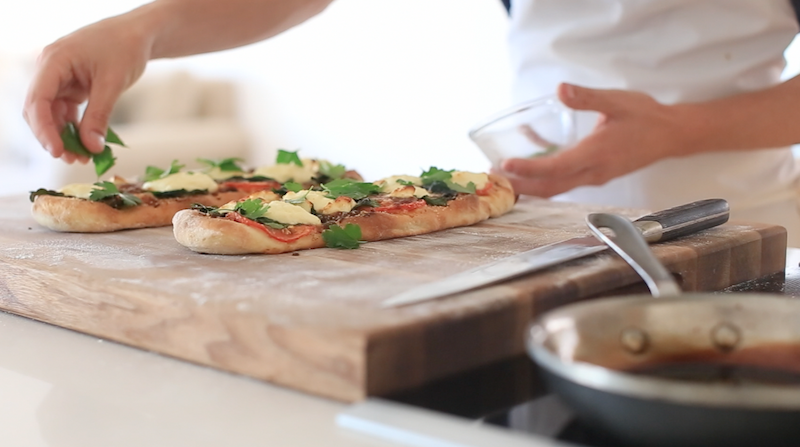
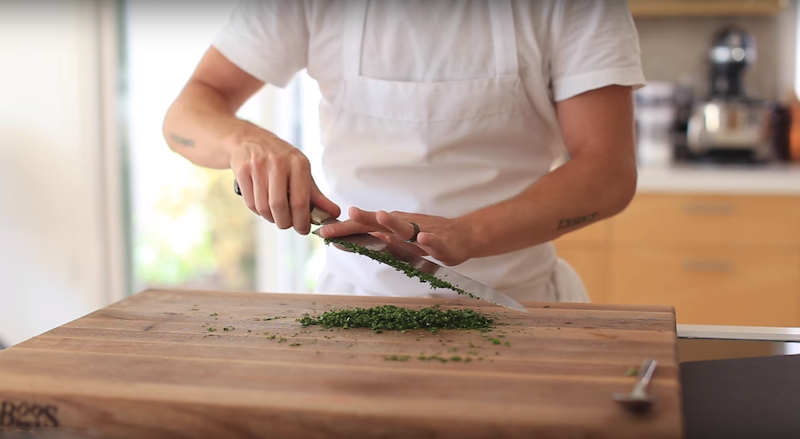
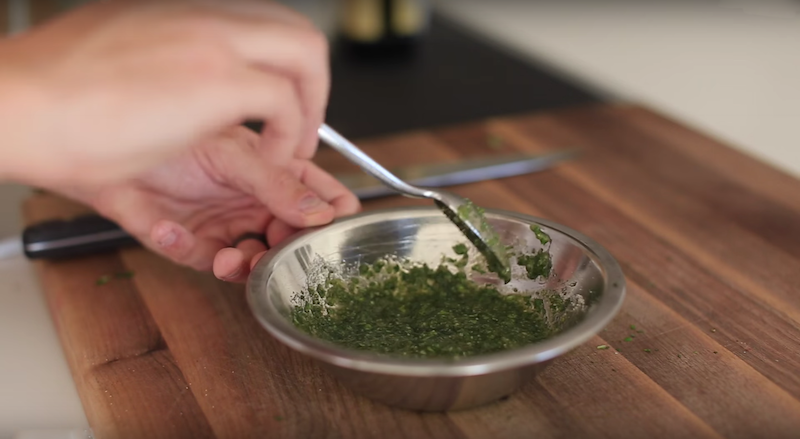
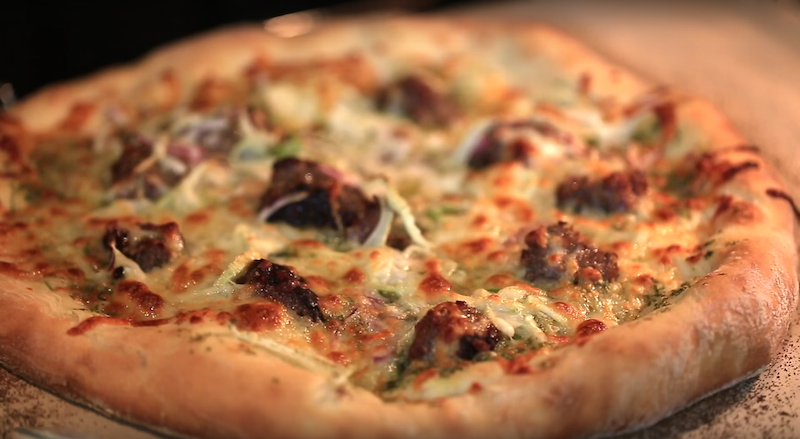
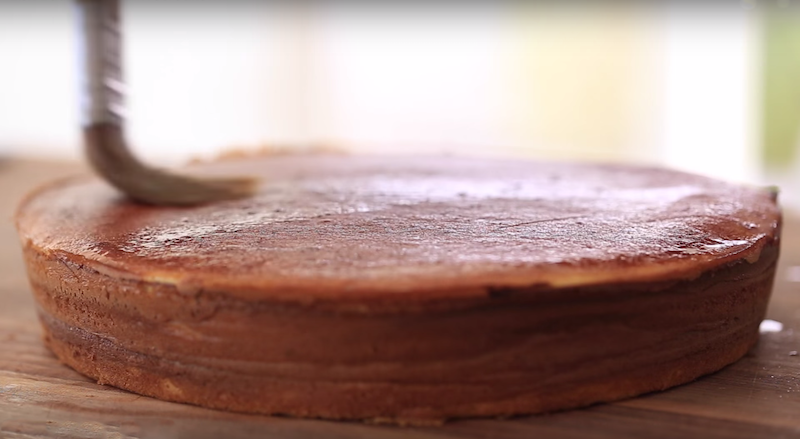
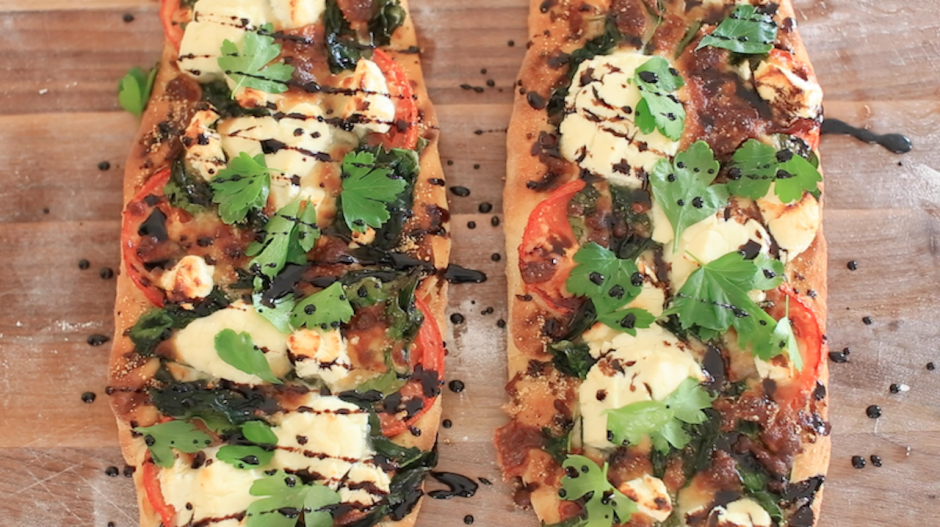
Remove from oven when the crust is golden brown. Top with fresh parsley…

…and a drizzle of the balsamic reduction.

Slice it up and enjoy!
[amd-zlrecipe-recipe:61]
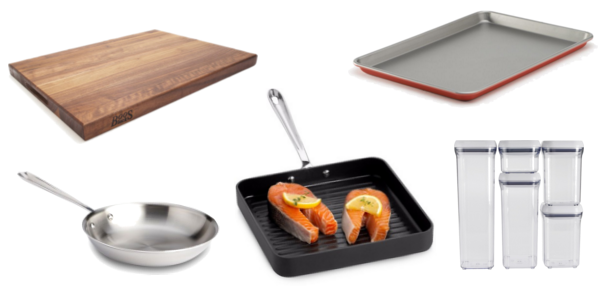
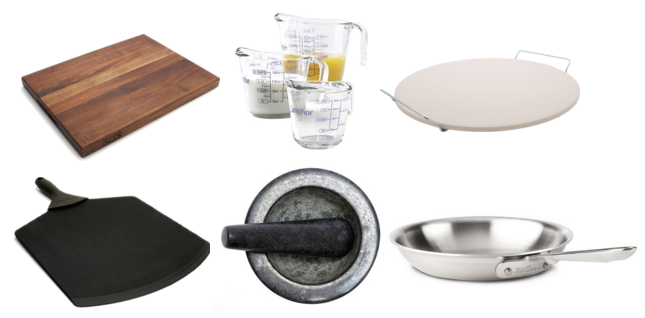
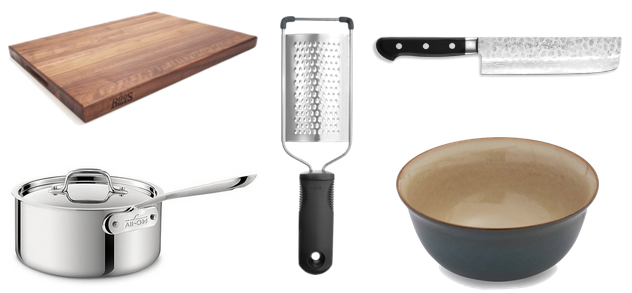
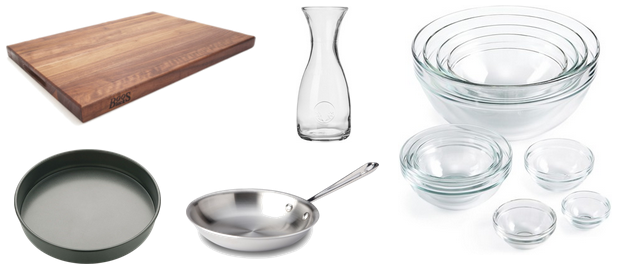
| Top Left: Boos Cutting Board | Top Right: Baking Sheet |
| Bottom Left: All-Clad Pan | Bottom Middle: All-Clad Grill | Bottom Right: Good Grip Containers |