


SUBSCRIBE: http://bit.ly/1mk8ehM
Ingredients
- 2 whole eggs
- Thick sliced brioche
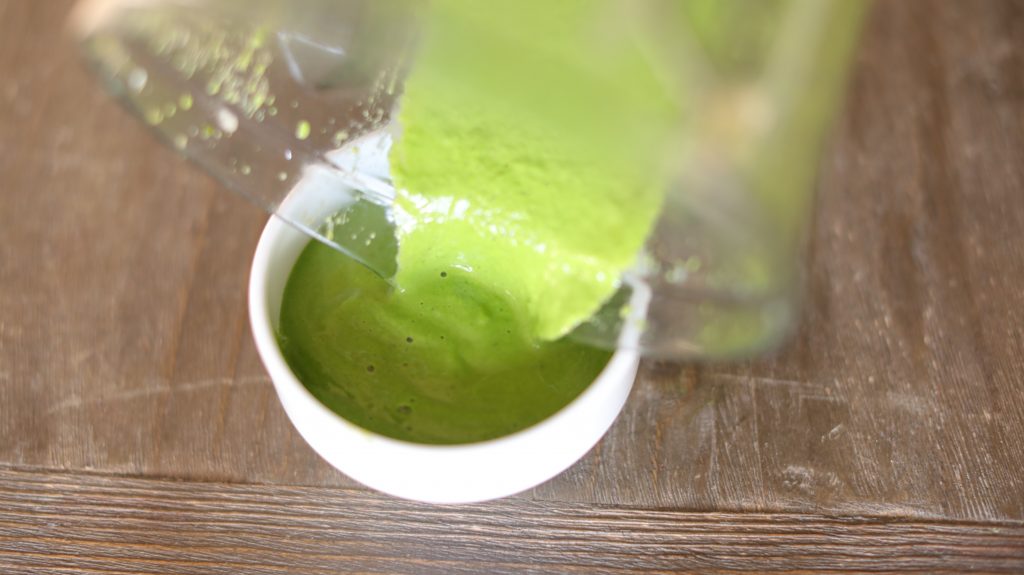
- 1 cup torn kale
- 1 cup baby spinach
- 1 tbsp olive oil
- 1 tsp lemon juice
- Salt to taste
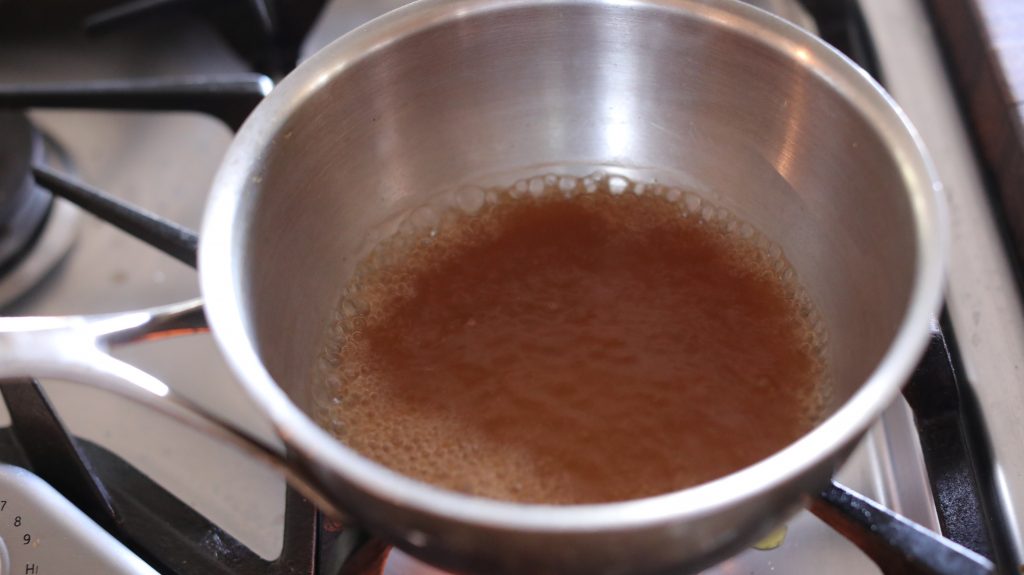
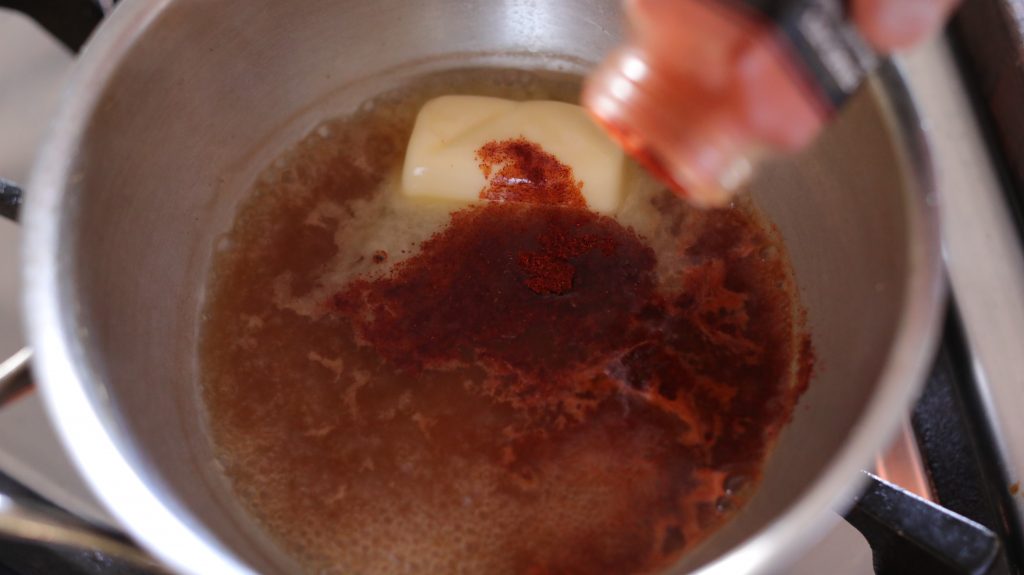
Hollandaise Sauce
- 2 egg yolks
- 7 tbsp butter
- 1 tbsp lemon juice
- Salt to taste

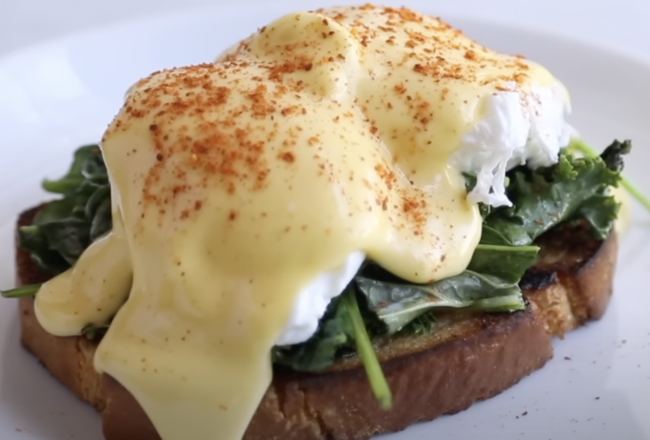
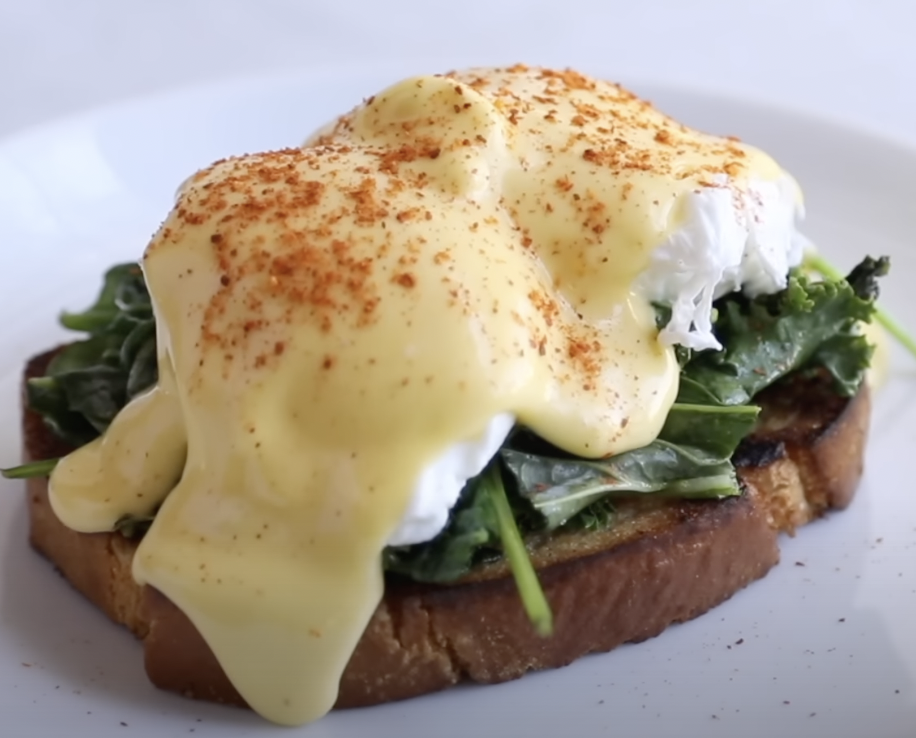
Brioche Eggs Benedict
This is an all-star breakfast if I’ve ever seen one. Toasted brioche, sautéed greens, poached eggs, and a hollandaise sauce that you could paint a sunset pic…
Subscribe to our newsletter!