
What do you get when you cross a cookie with a hot chocolate? I have no idea, but I’m just going to enjoy these Mini Hot Chocolate Cookie Cups in the meantime! These are out of this world! Let’s get started.
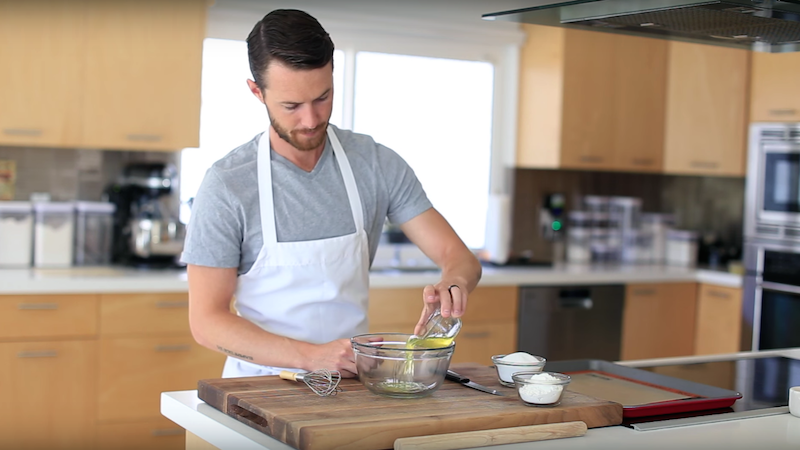
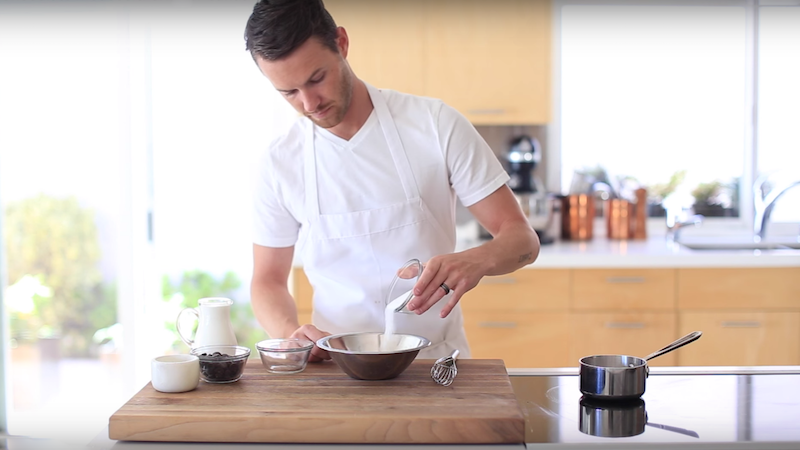
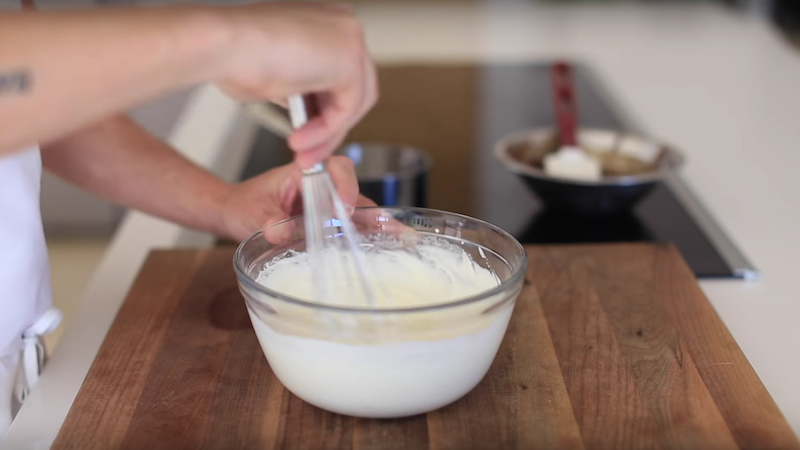
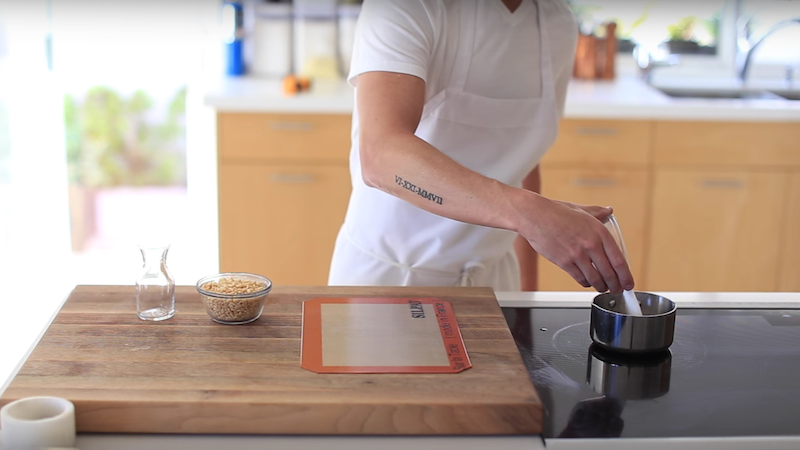
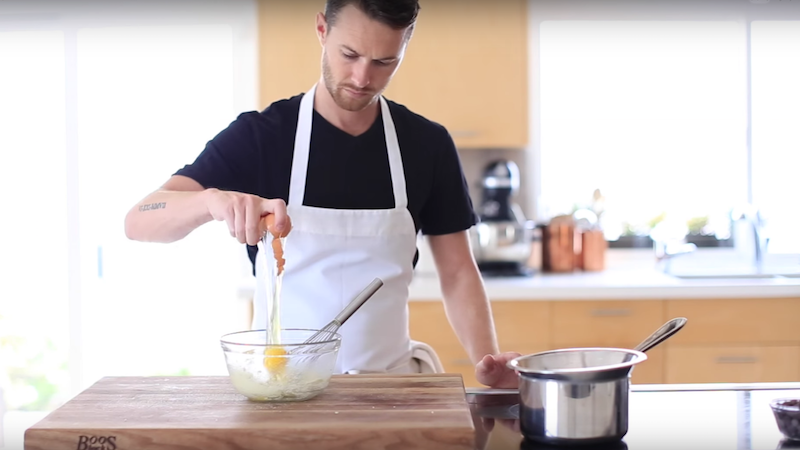
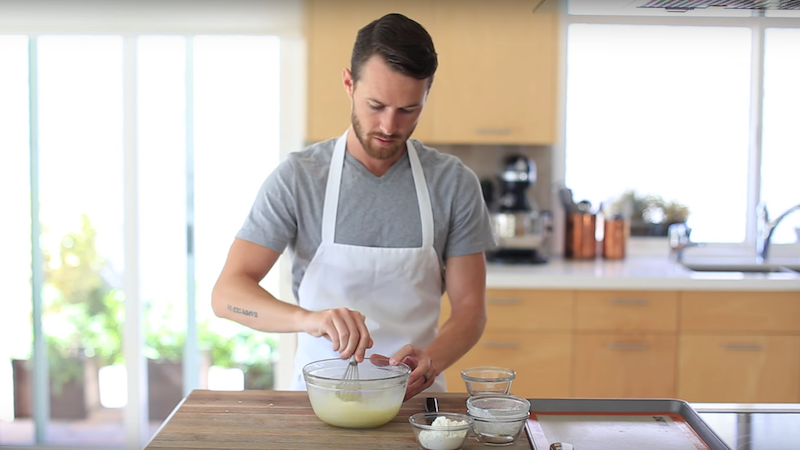
In a mixing bowl add 3 egg whites…
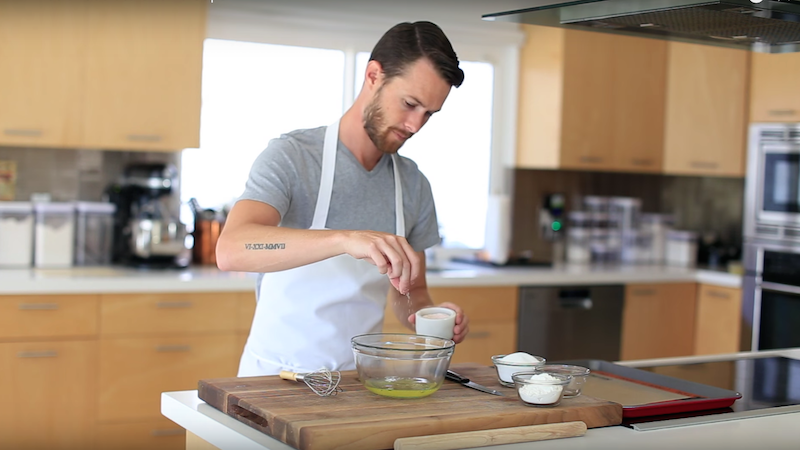
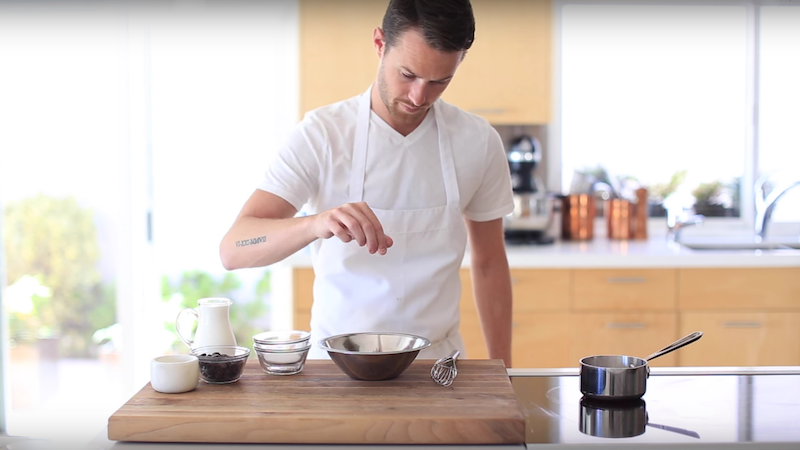
…a pinch of salt…
…and 1 cup sugar.
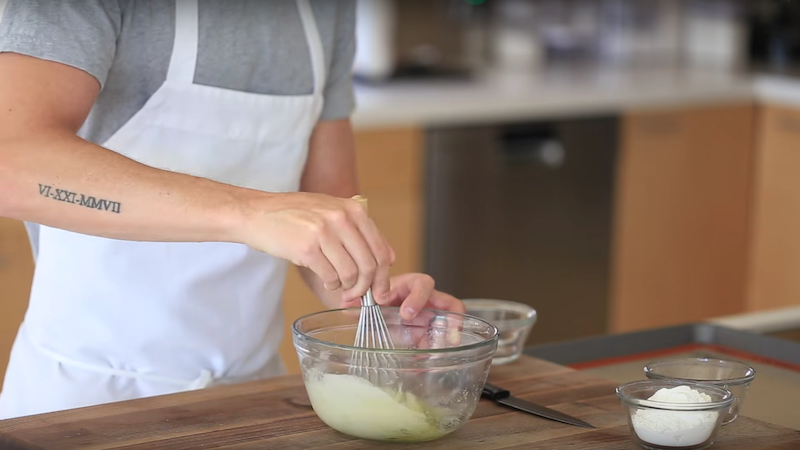
Whisk for 1 minute.
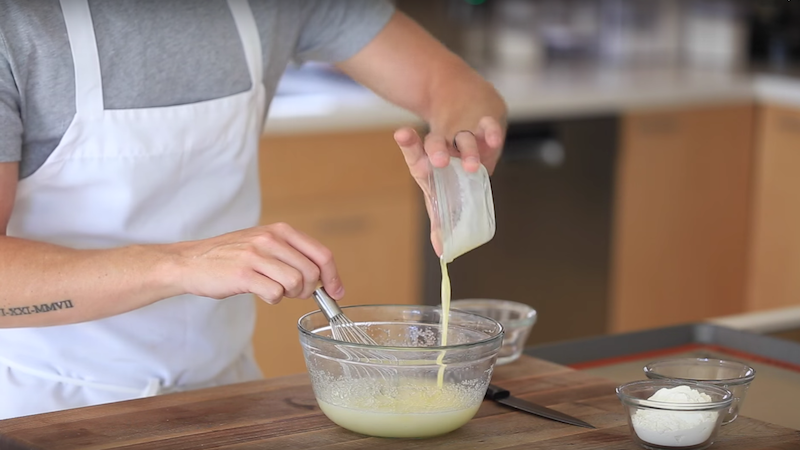
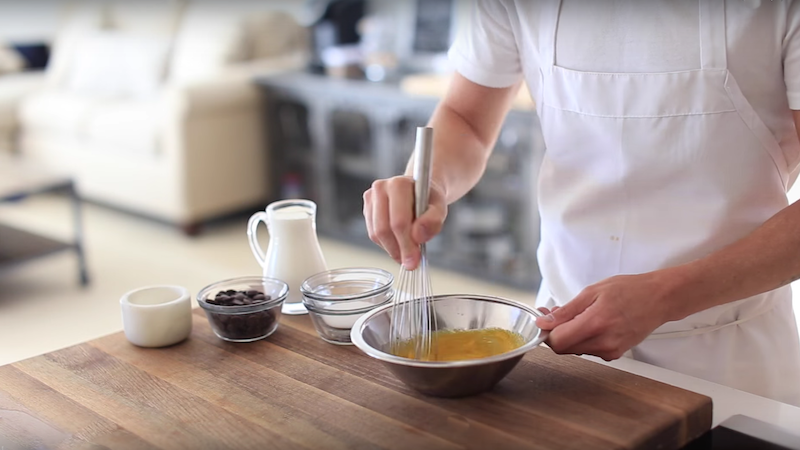
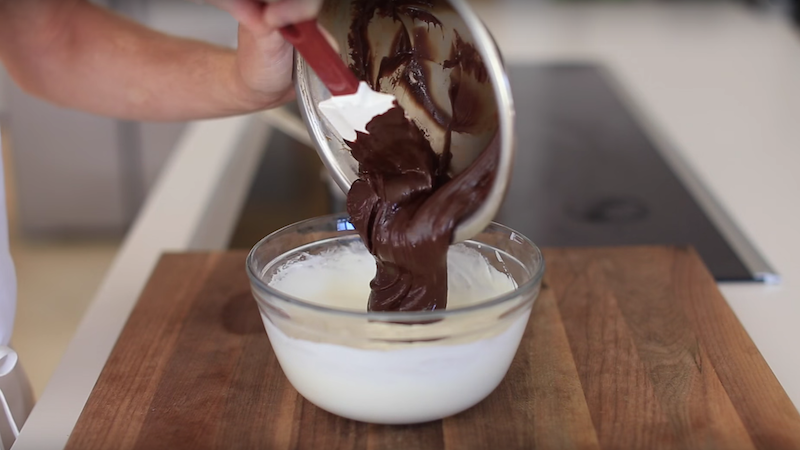
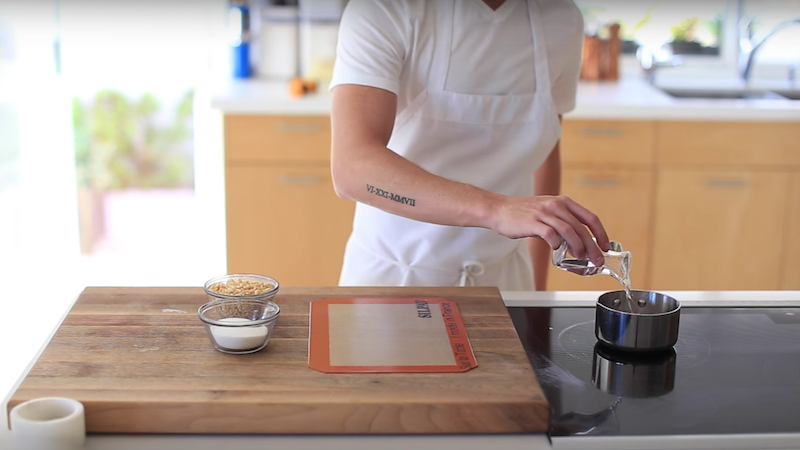
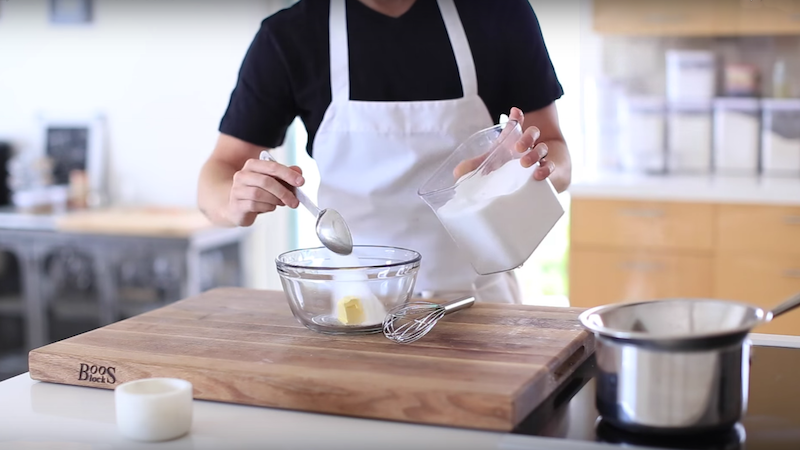
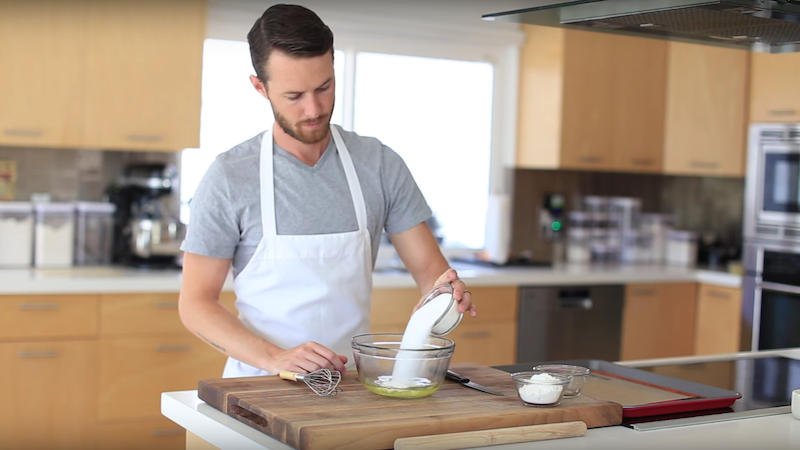
Add in 1/4 cup melted butter…
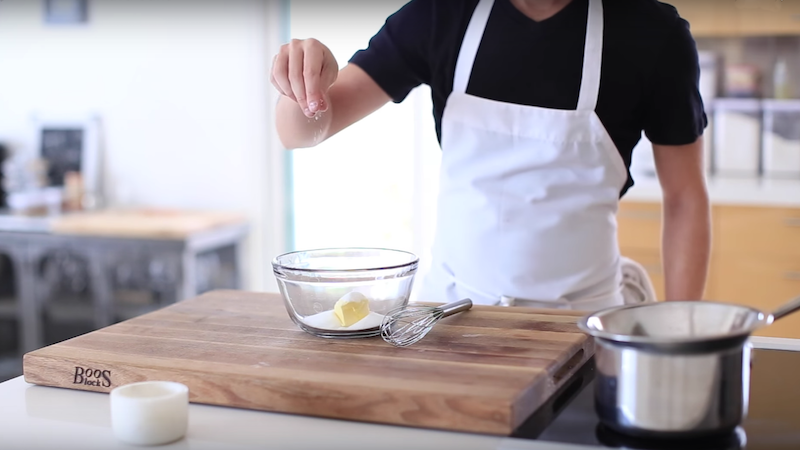
…1 tbsp vanilla extract…
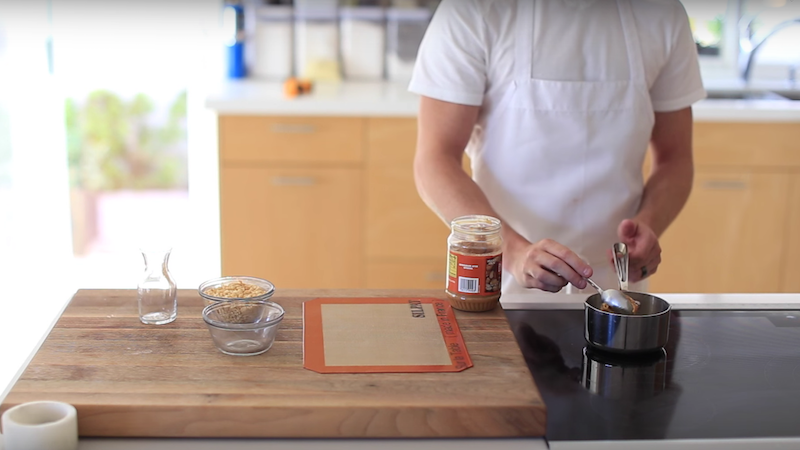
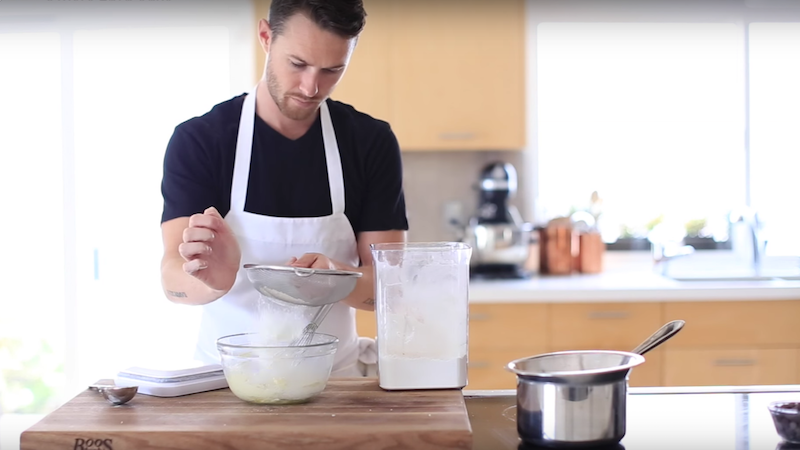
…and 1/4 cup AP flour (half at a time) while whisking.
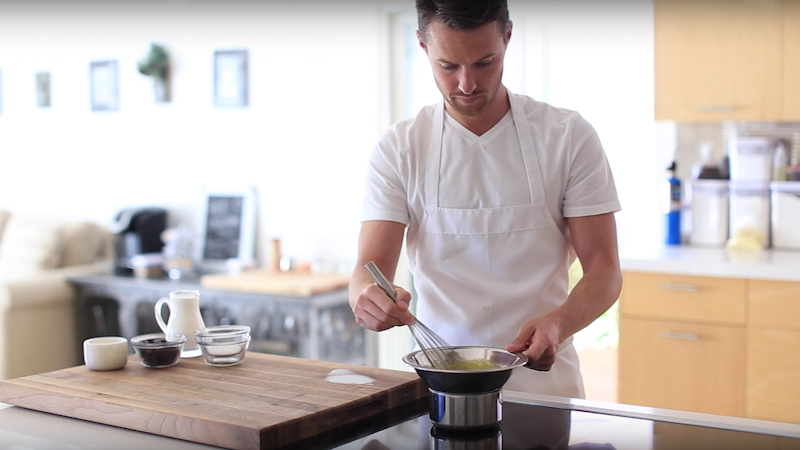
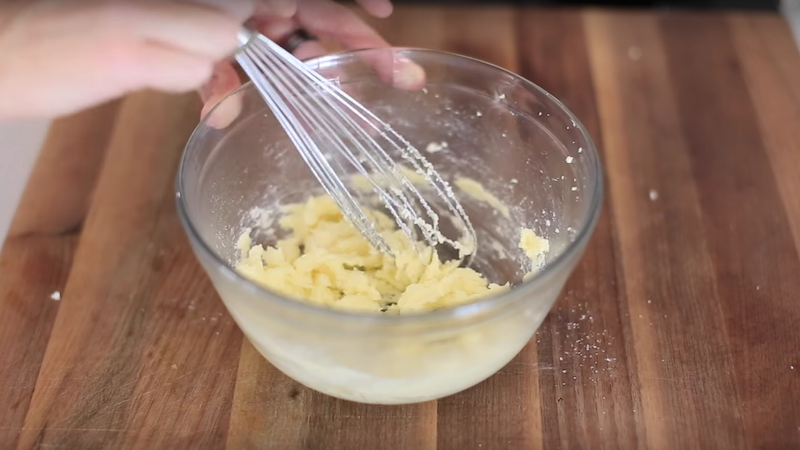
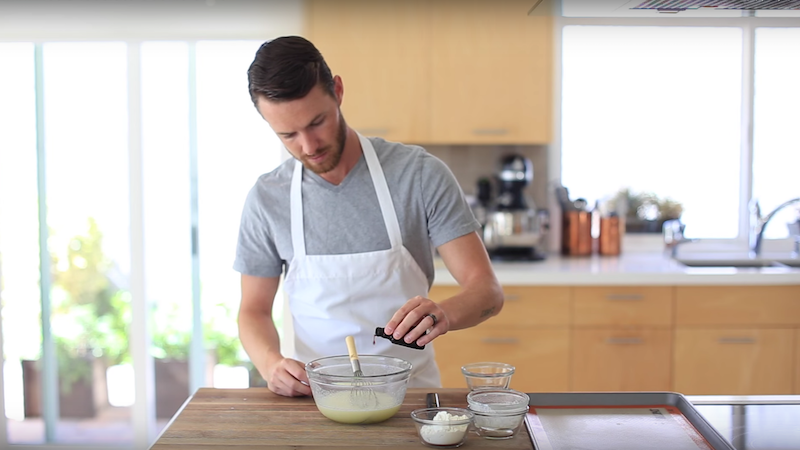
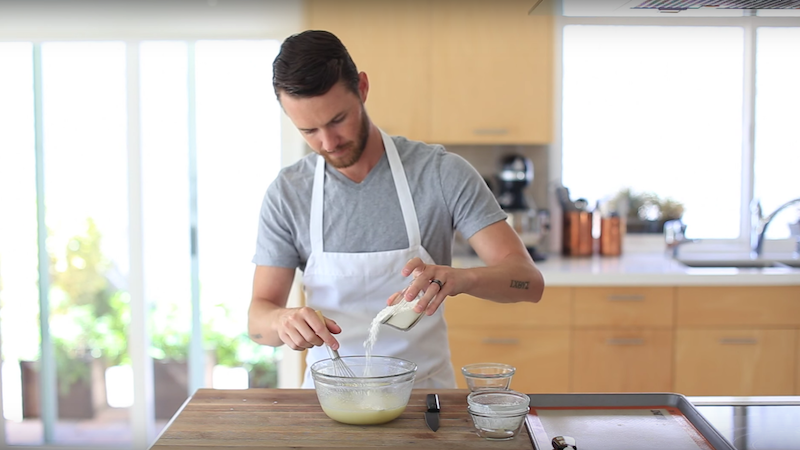
Whisk until the batter is completely lump free, or for about 2 minutes.
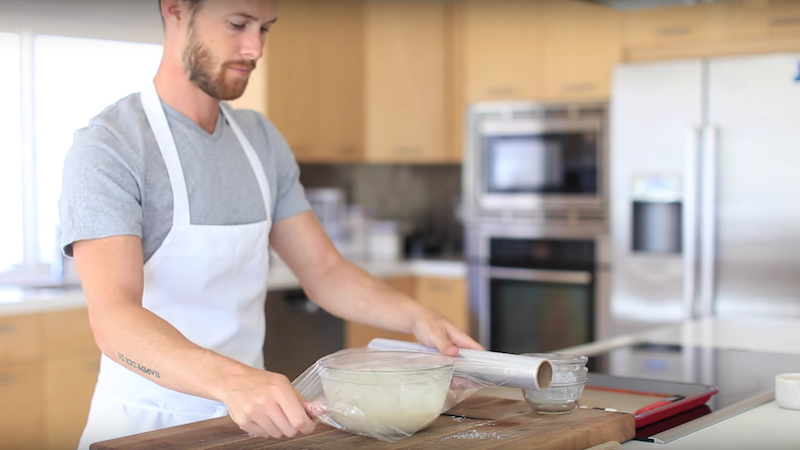
After that cover it with plastic and allow is to rest in the fridge for 3-6 hours.
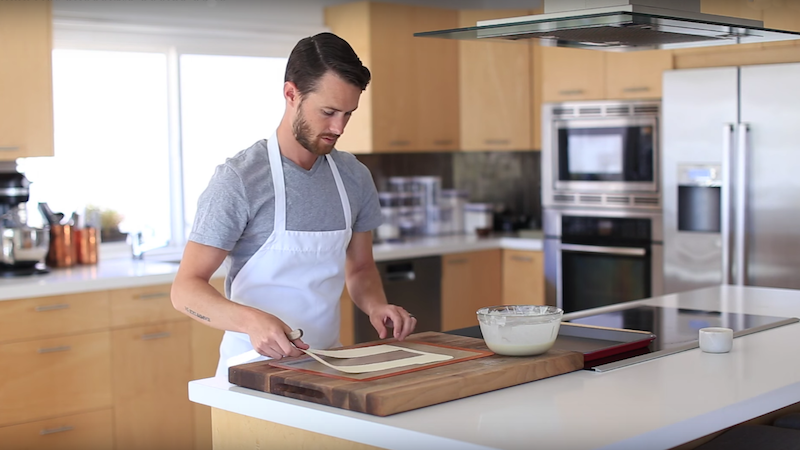
Make a simple stencil (I used a manila folder) for a 3.5” x 8” rectangle. Place it on top of a silpat lined sheet tray.
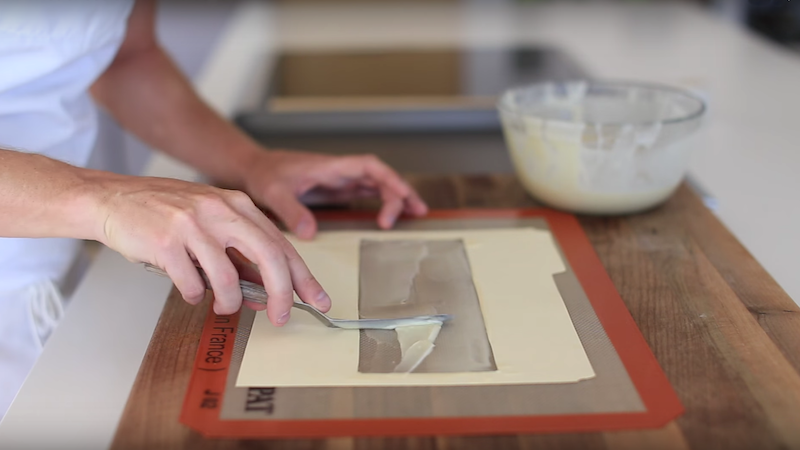
Once the batter has set up, remove it from the fridge and smear it from edge to edge of the stencil.
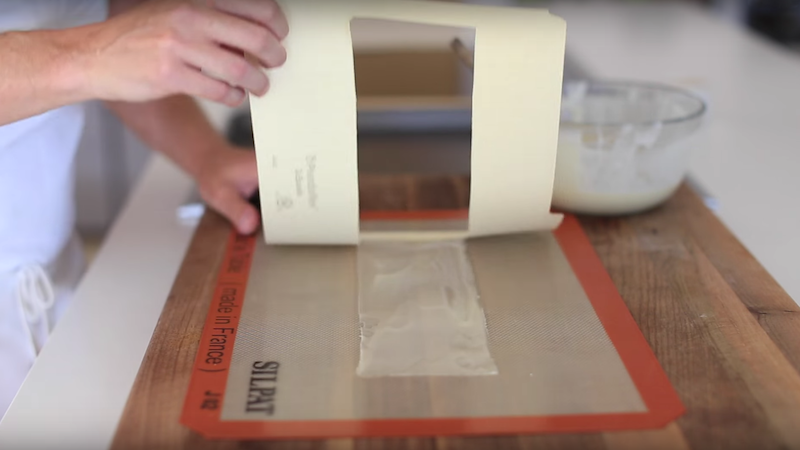
After that, gently peel away the stencil being careful not to smear the batter.
Bake at 350F for 7-10 minutes, or until it’s a light golden brown.
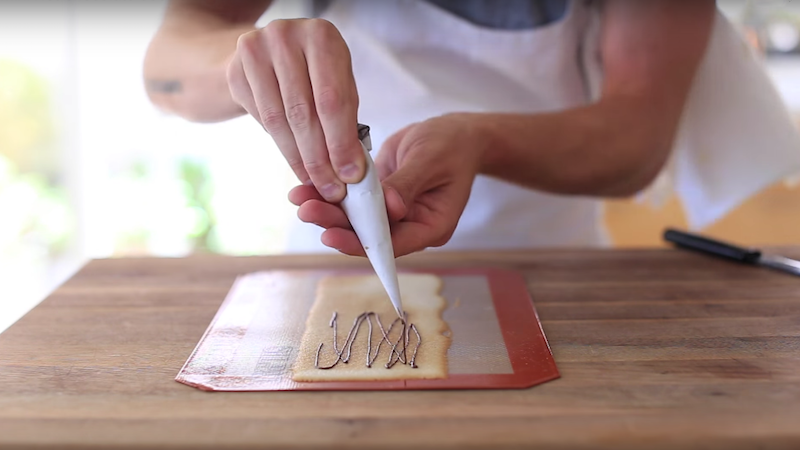
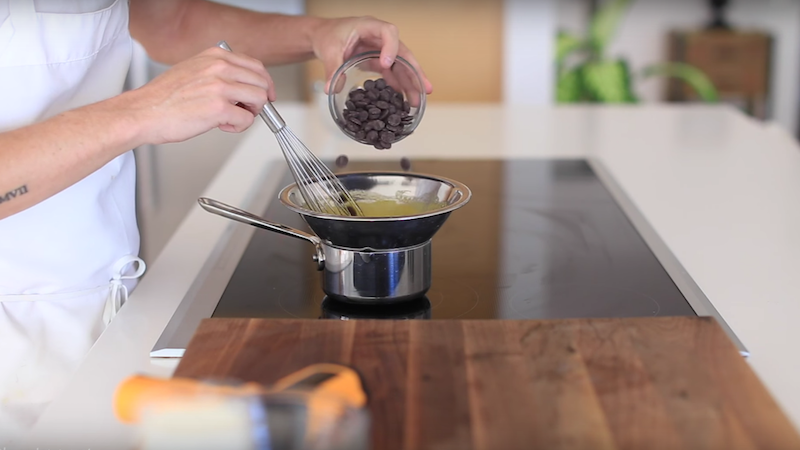
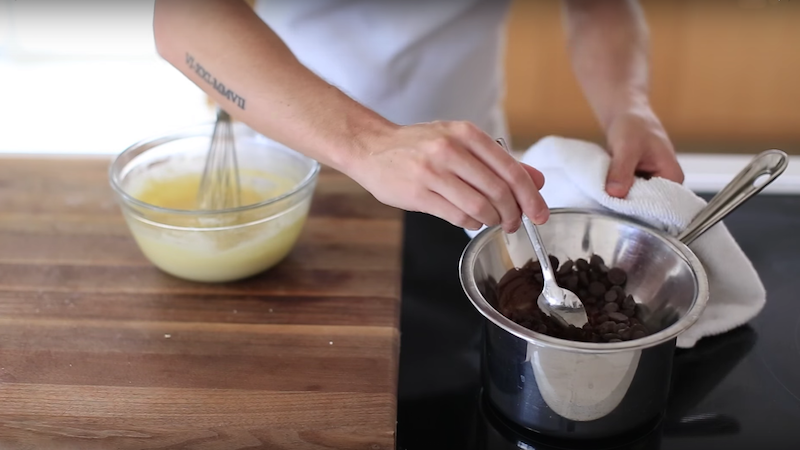
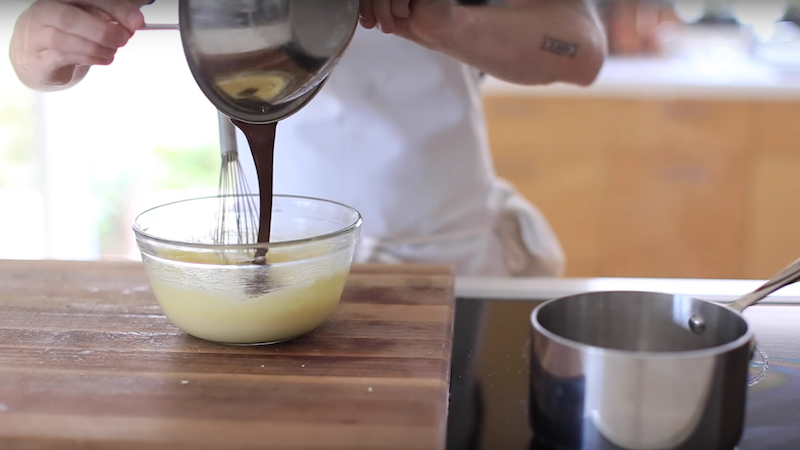
Remove from the oven, quickly remove the silpat from the tray (to stop the cooking process), and drizzle melted dark chocolate over half of the cookie.
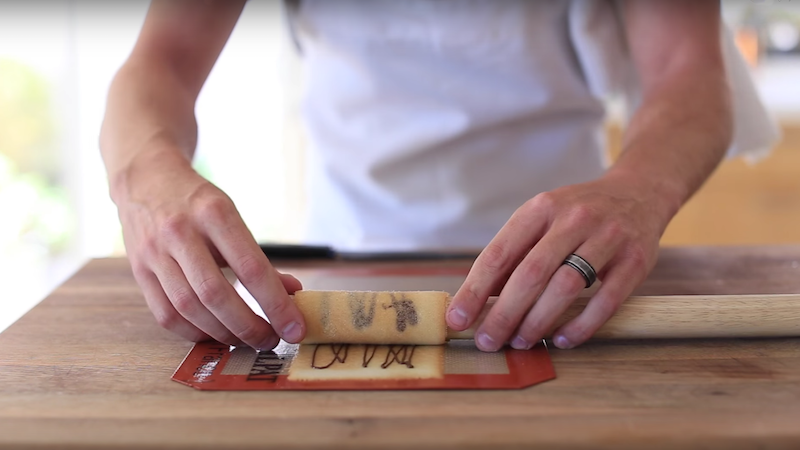
Quickly roll it all the way around a rolling pin (shot glass thickness)…
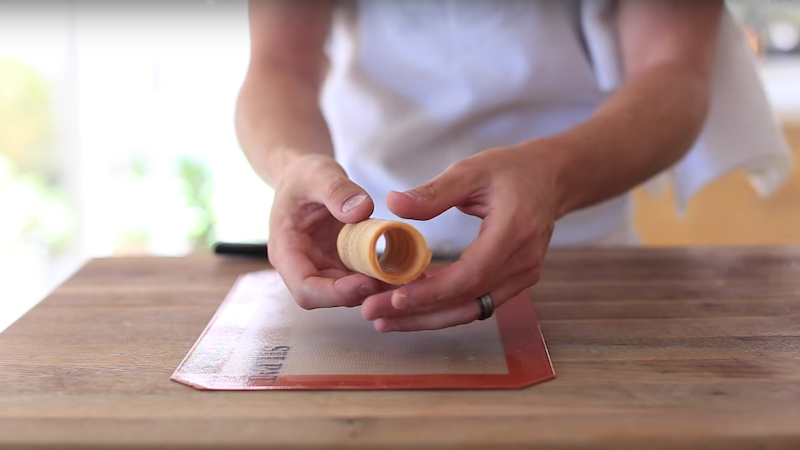
…and gently slide it off. Repeat the process until you have about a 1/4 cup of batter left.
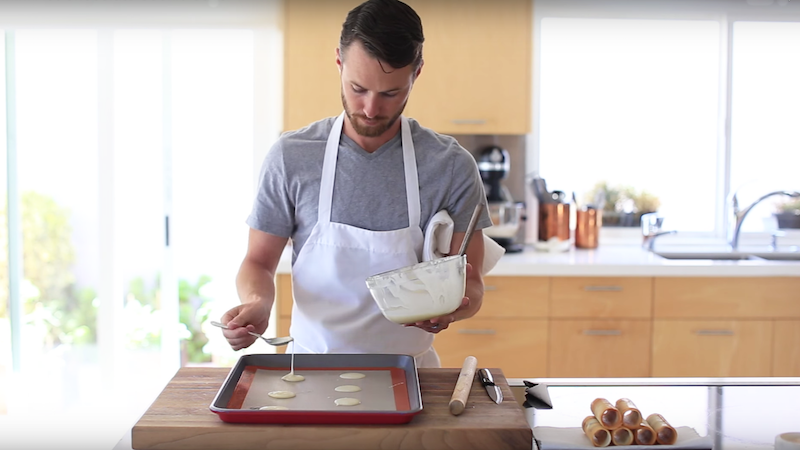
On a silpat lined baking sheet, dollop of few circles of the leftover batter onto the silpat. Bake for for about 7 minutes, or until the outer edges are golden brown.
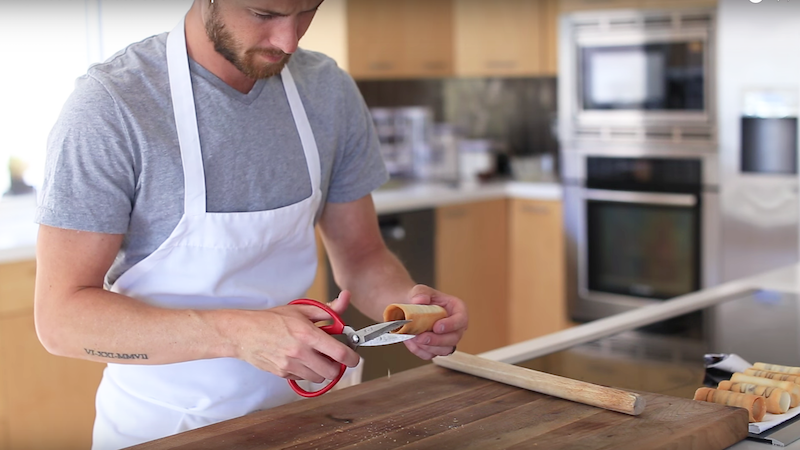
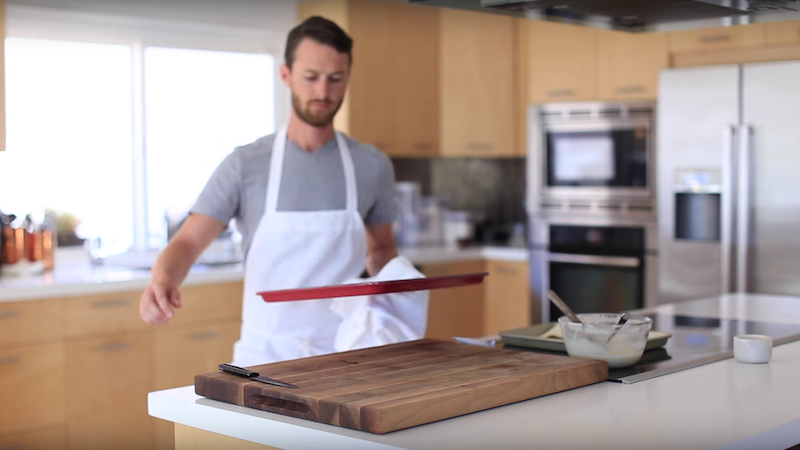
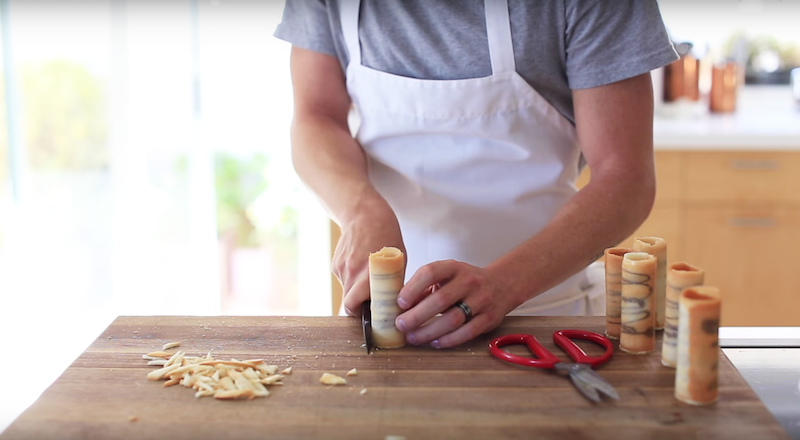
Trim down one edge of each cookie cup so that they stand up straight.
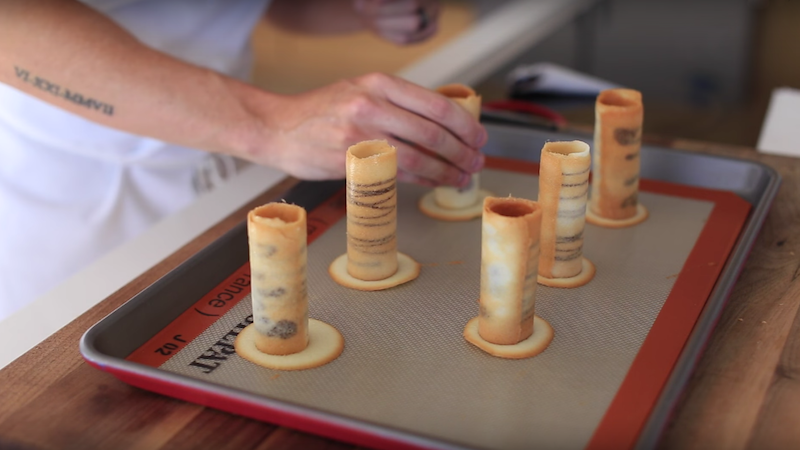
Gently press them into the dollops of baked batter.
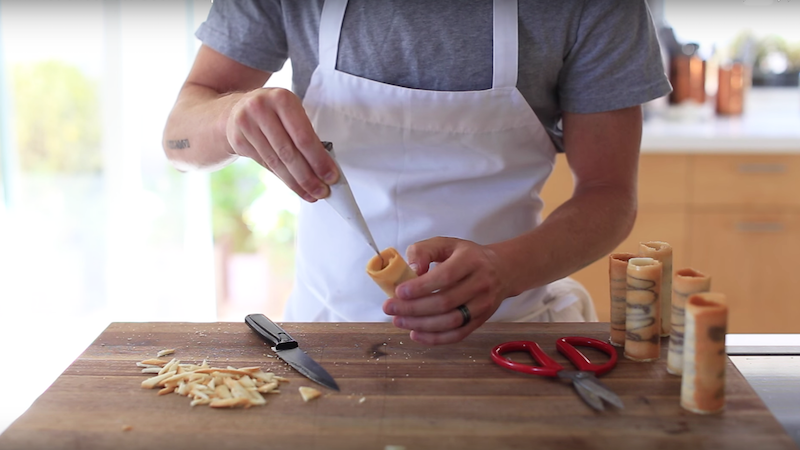
Let these cool for about five minutes, and gently trim the excess cookie from the base of the cookie cups.
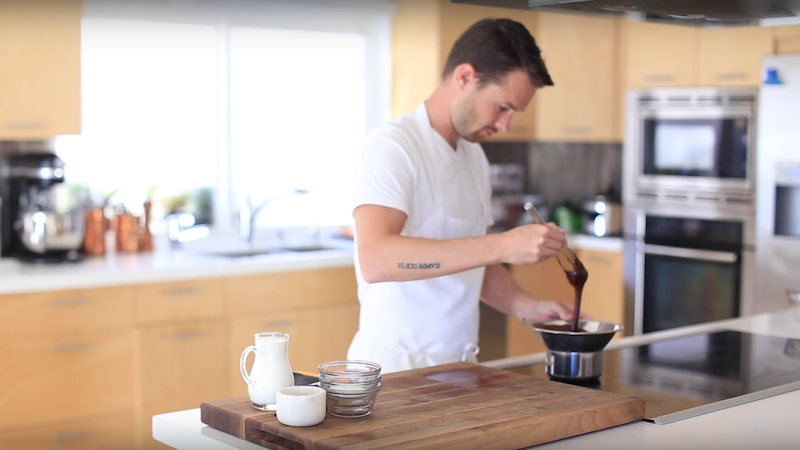
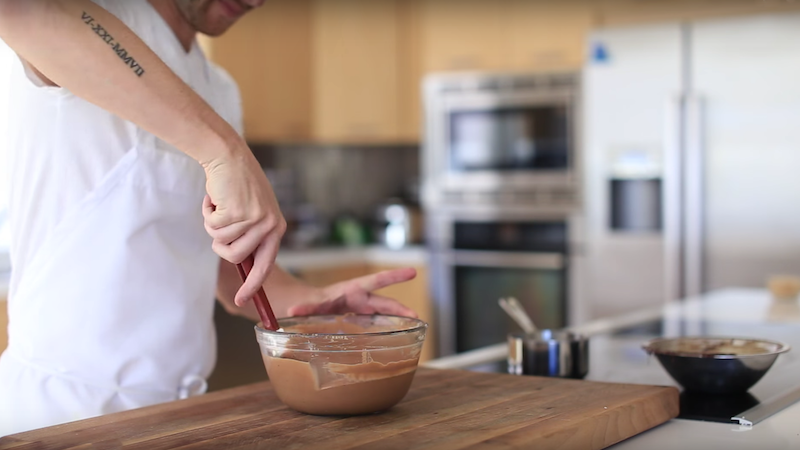
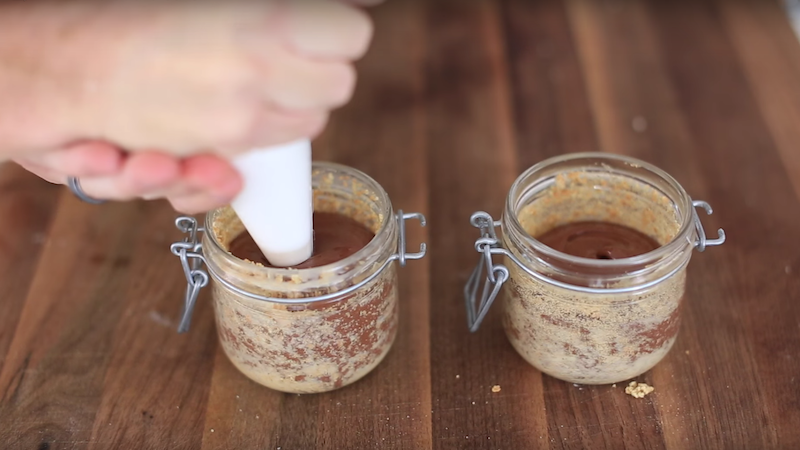
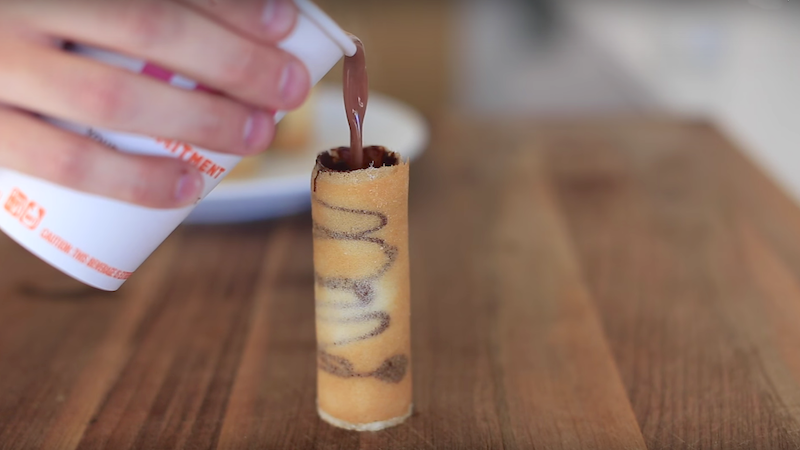
Pour a little melted chocolate to the bottom of the cookie cups, giving this a few gentle taps to make sure it settles to the bottom of the cup.
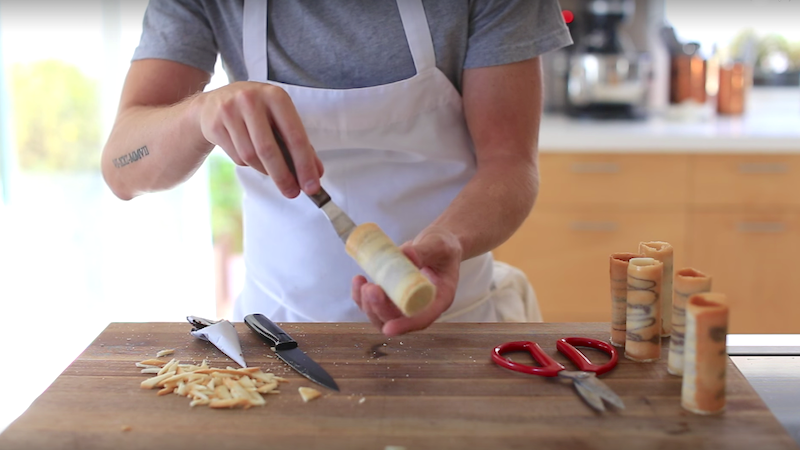
Smear the remaining chocolate around the inner walls of the cookie cup to ensure they’re sealed and ready for liquid.
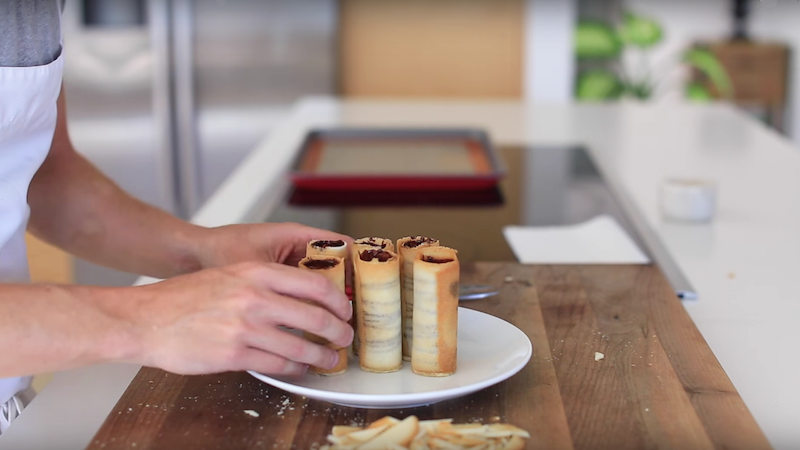
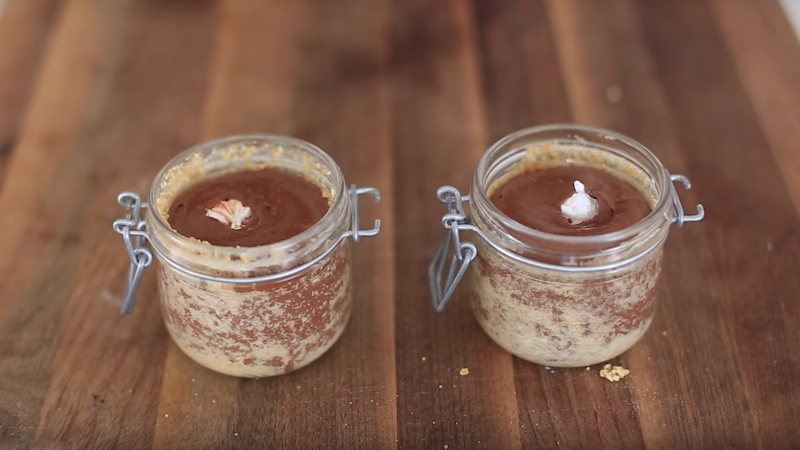
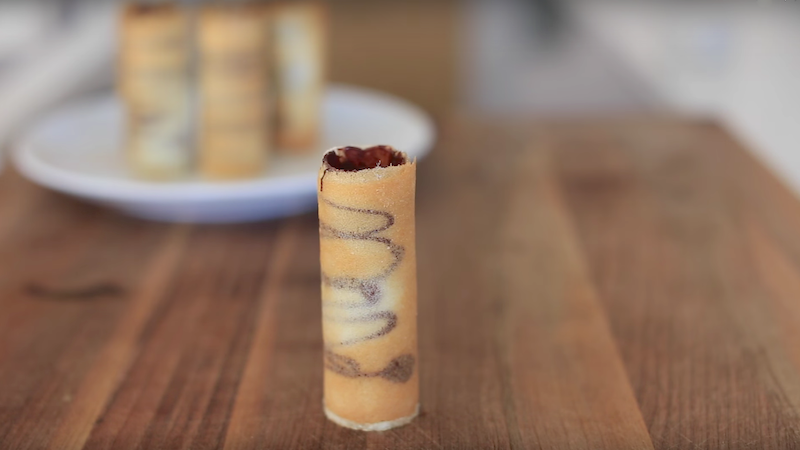
Refrigerate for 30 minutes and they’re ready!
Pour hot chocolate into the cookie cups, drink, and bite in! Enjoy.
[amd-zlrecipe-recipe:73]
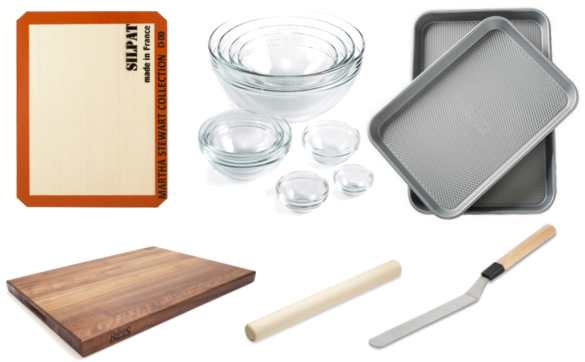
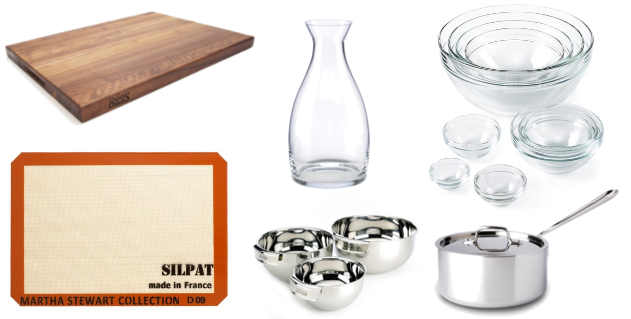
| Top Left: Silpat | Top Middle: Glass Bowl Set | Top Right: Baking Sheets |
| Bottom Left: Boos Cutting Board | Bottom Middle: Rolling Pin | Bottom Right: Pastry Spatula |

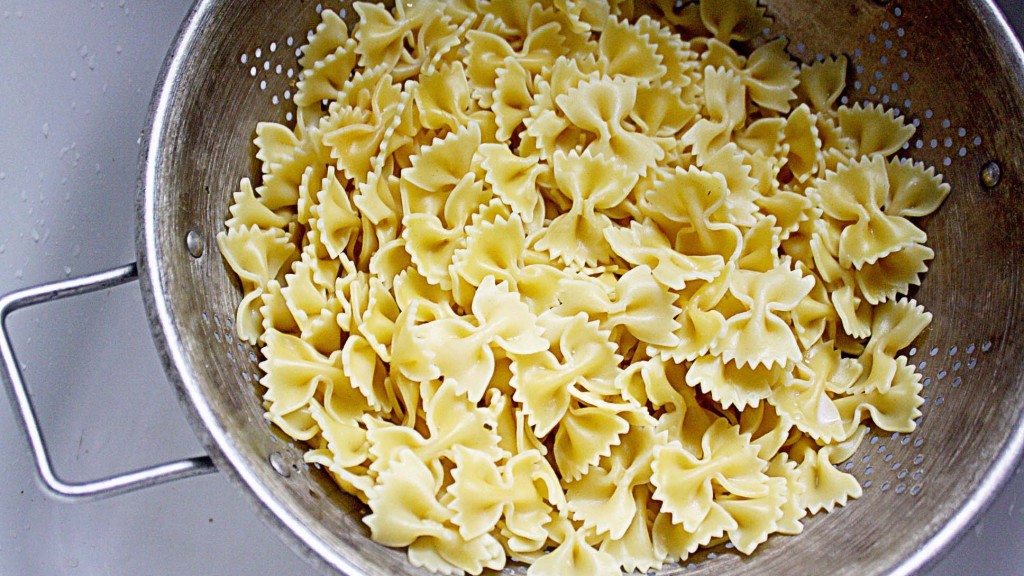


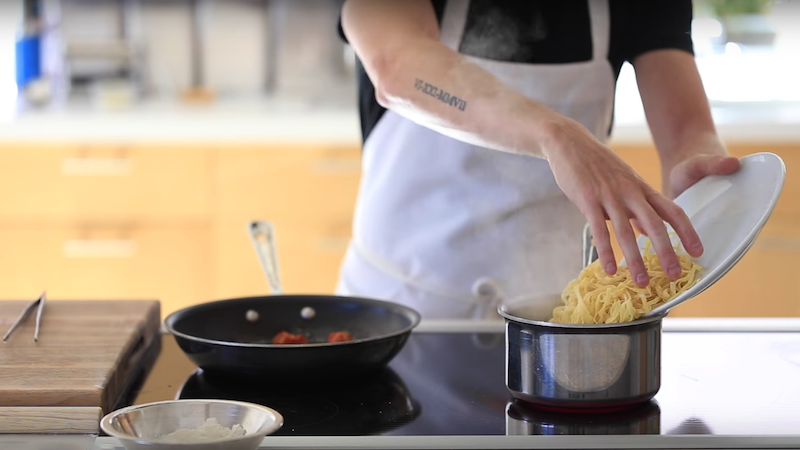 Add the pasta to a pot of boiling salted water.