


This recipe is a GREAT example of the many awesome things you can do with just a few simple ingredients and mark my word, it’s SENSATIONAL! From now on I’ll be shaving, slicing, shredding, and noodling my way through ingredients to find another one of these glorious veggie meals! Let’s dive in.
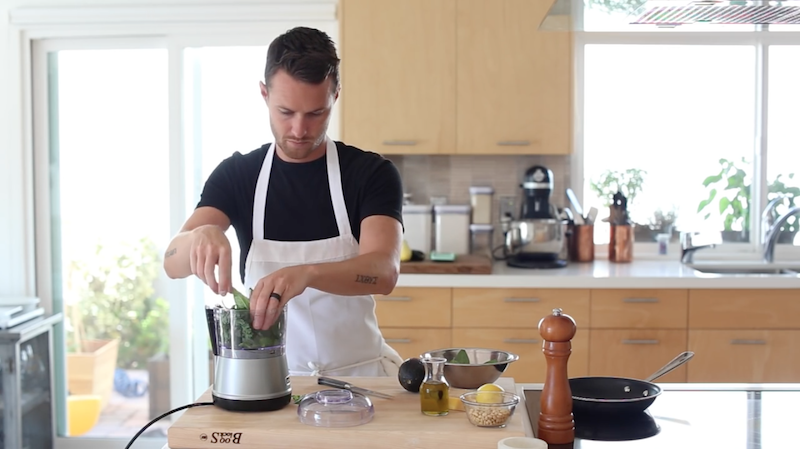
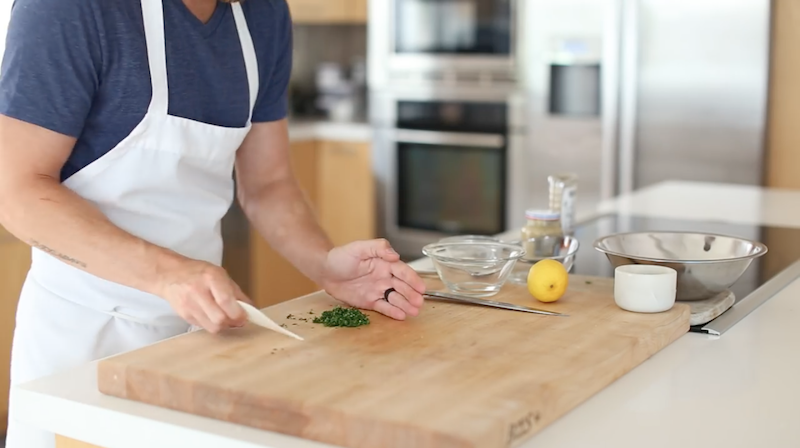
Start by adding your fresh herbs to a food processor. That includes 1/2 cup of fresh basil and 1/2 cup of flat leaf parsley leaves.
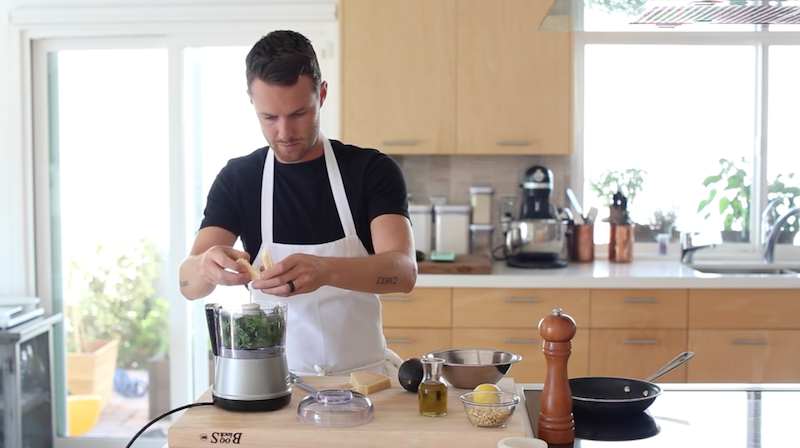
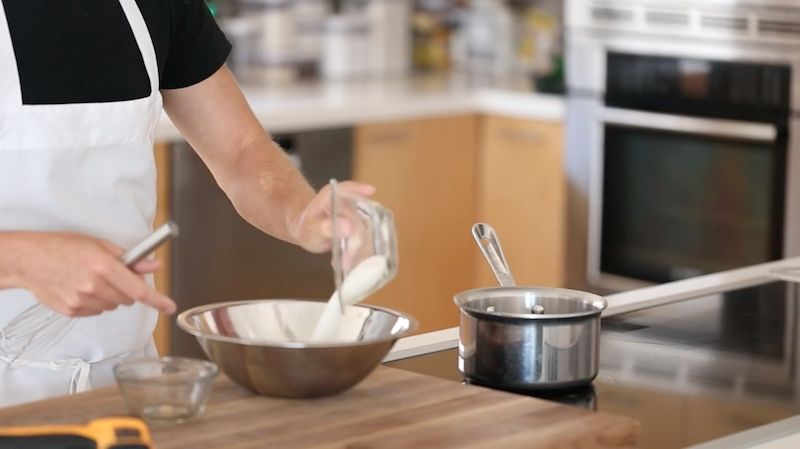
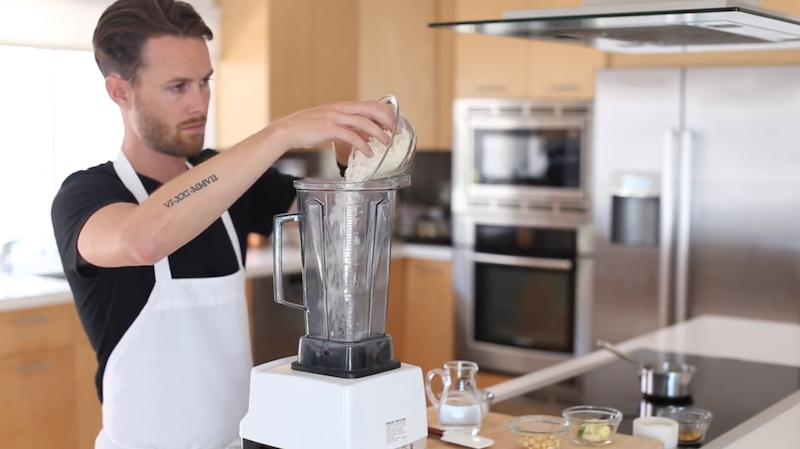
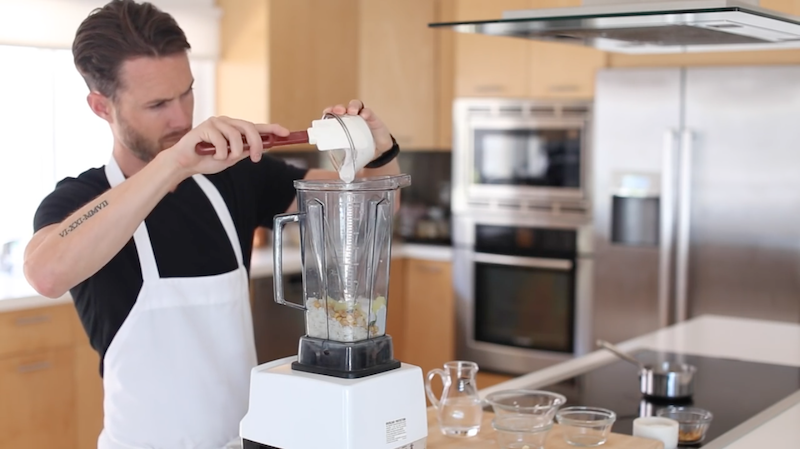
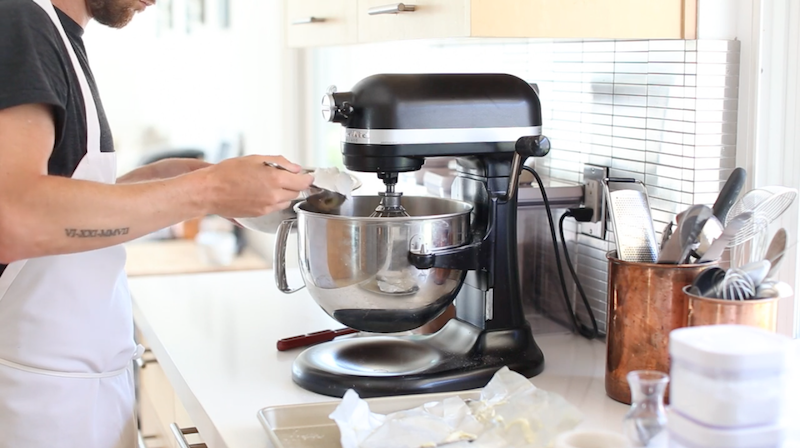
Next add 3 tbsp of parmesan cheese…

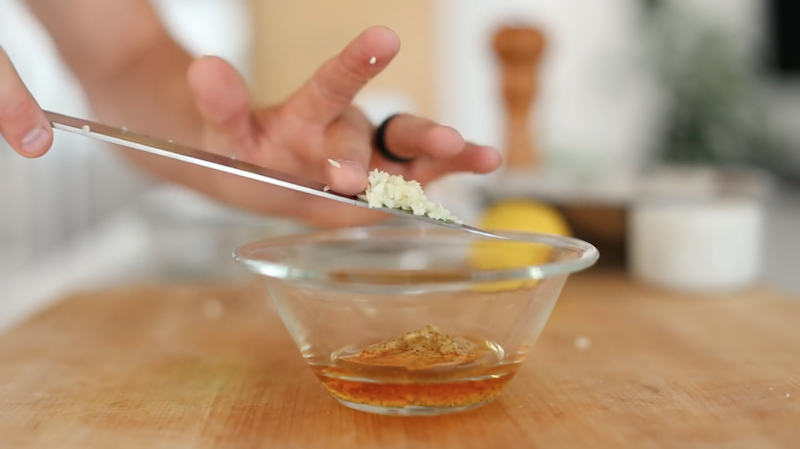
…one clove of garlic…
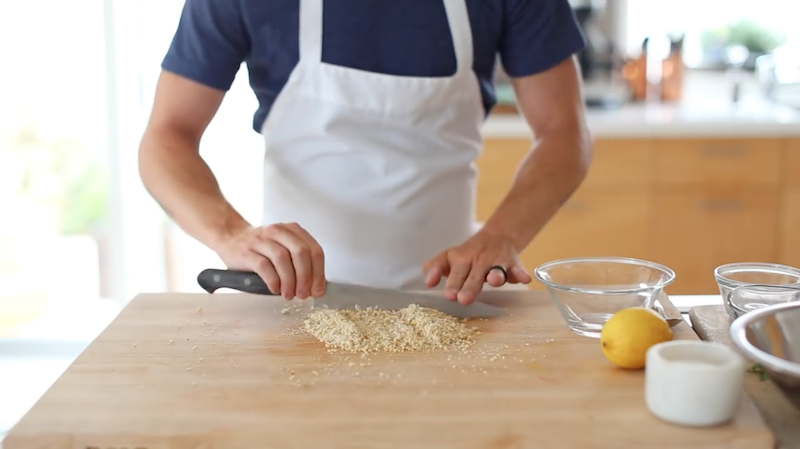
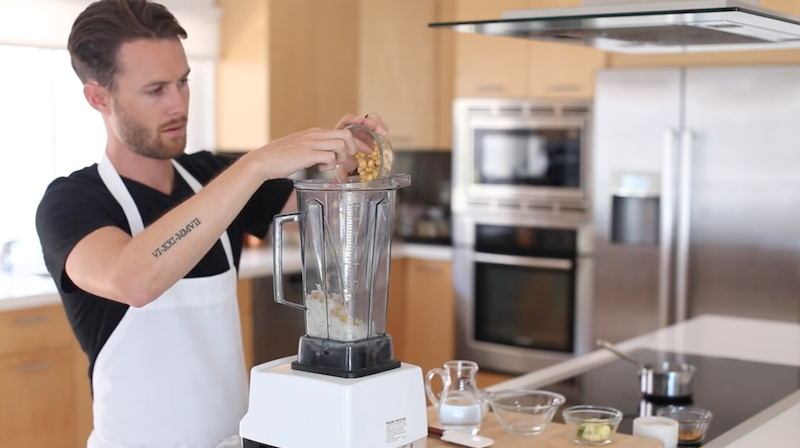
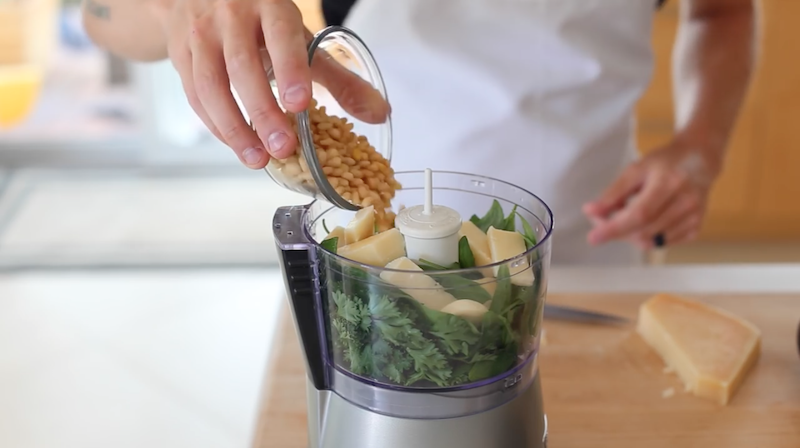 …1/4 cup of toasted pine nuts…
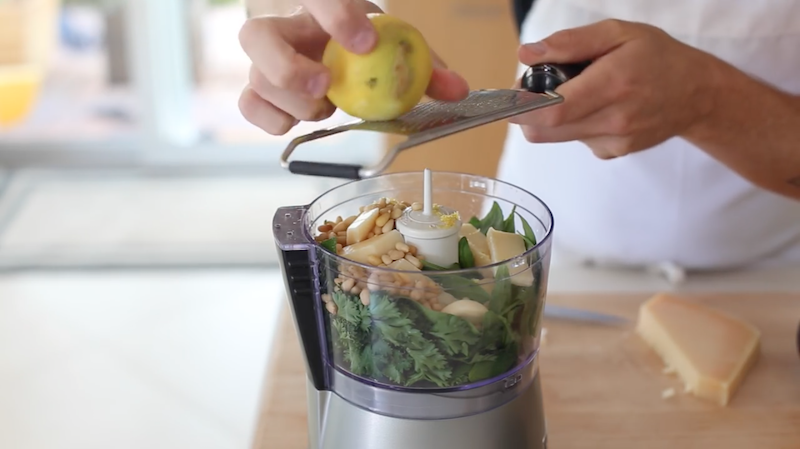
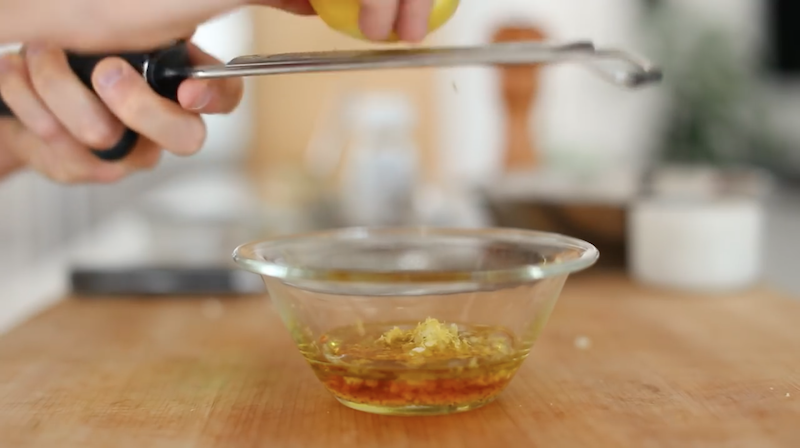
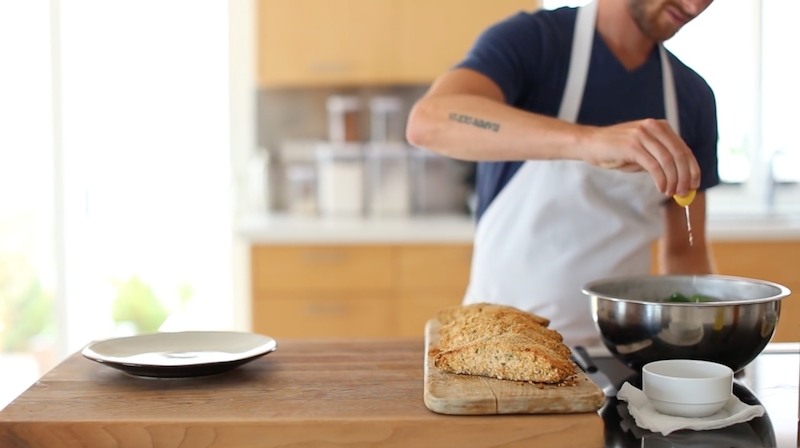
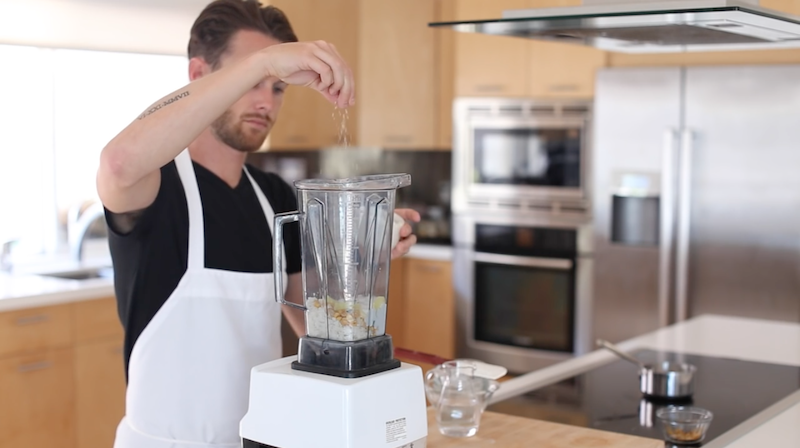
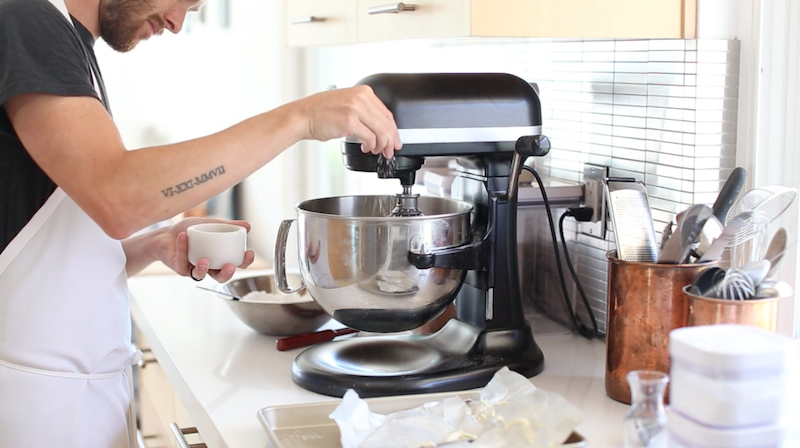
…1 tsp of lemon zest…
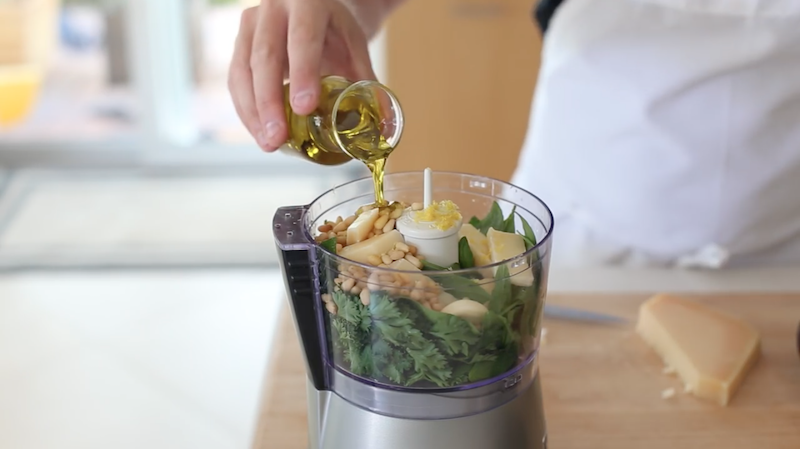
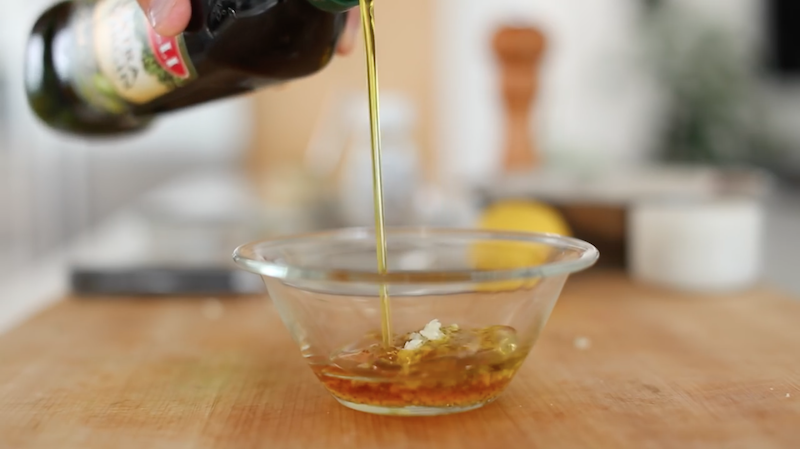
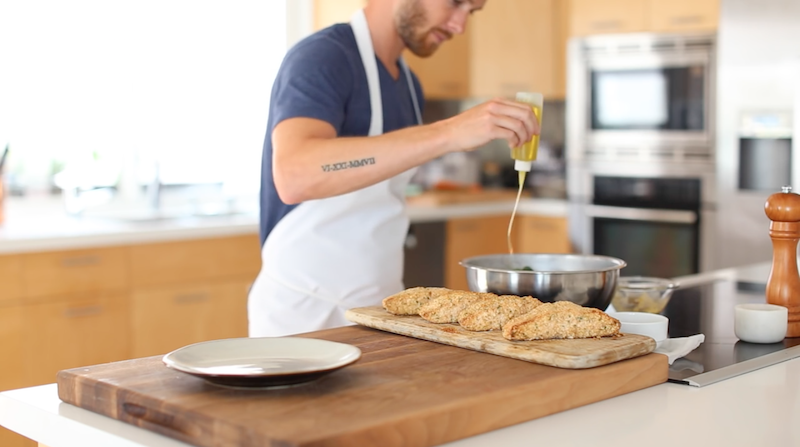
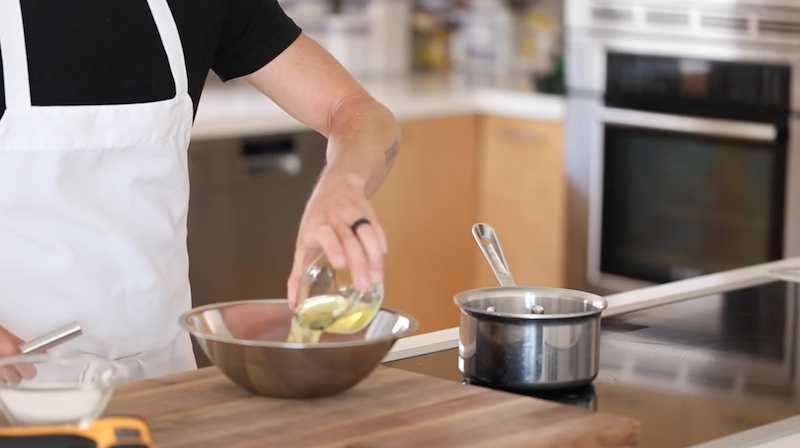
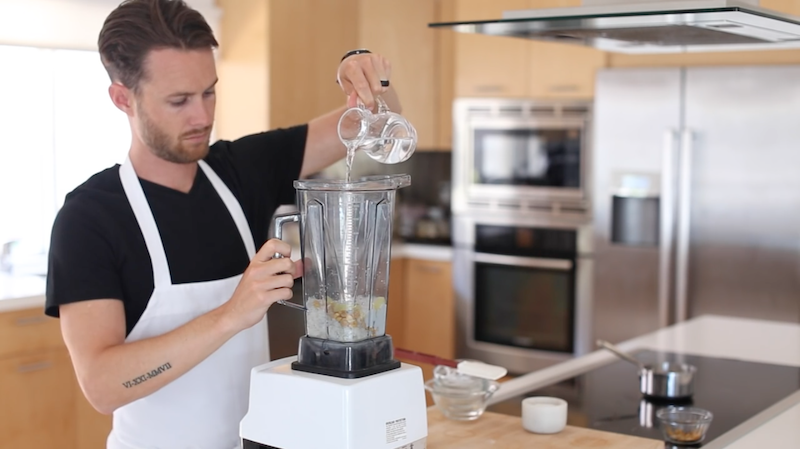
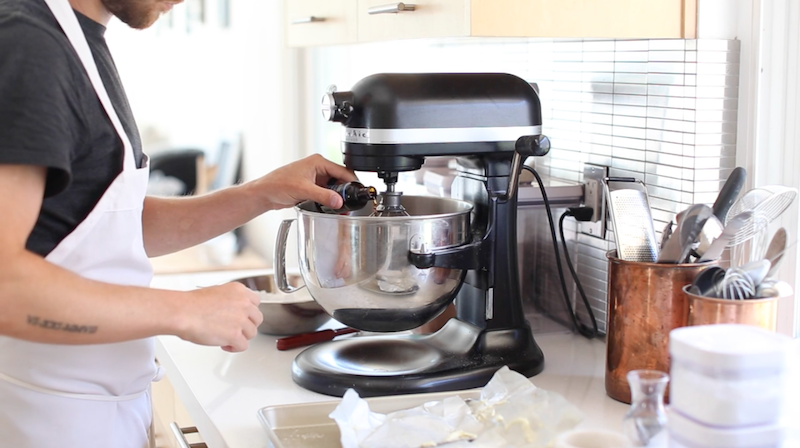
…1/4 cup of olive oil…
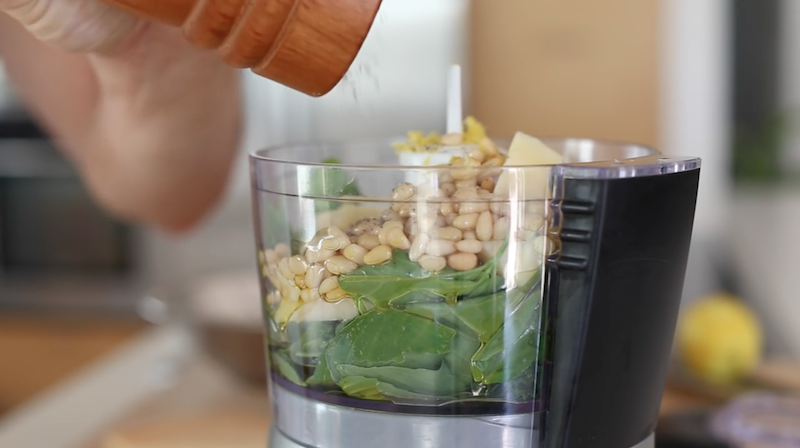
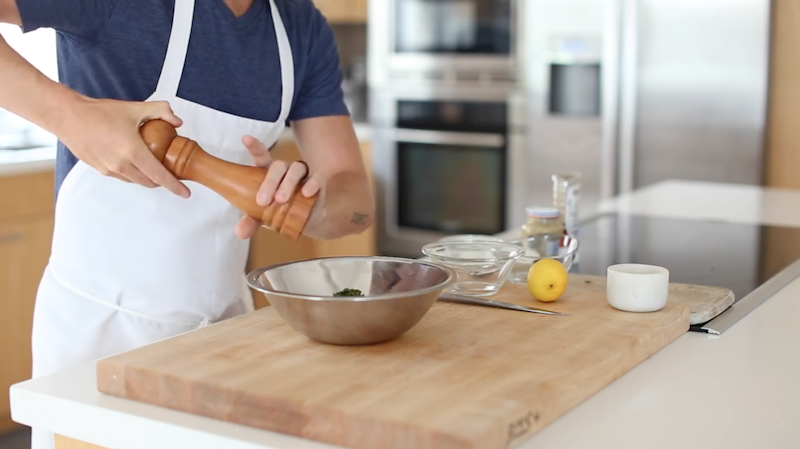
…and a dash of cracked pepper.
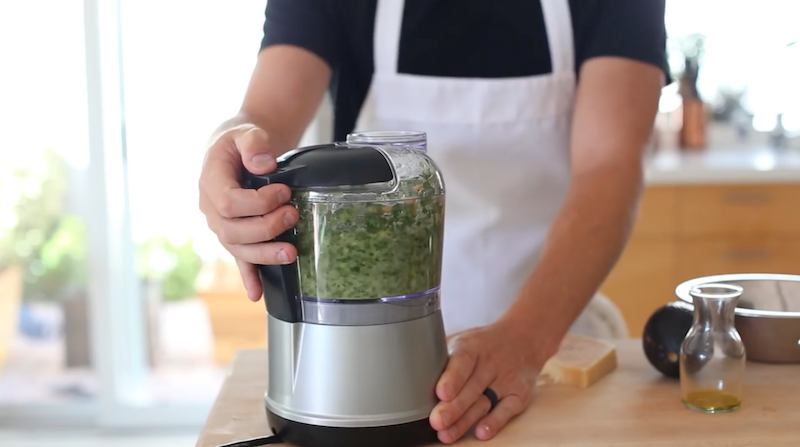
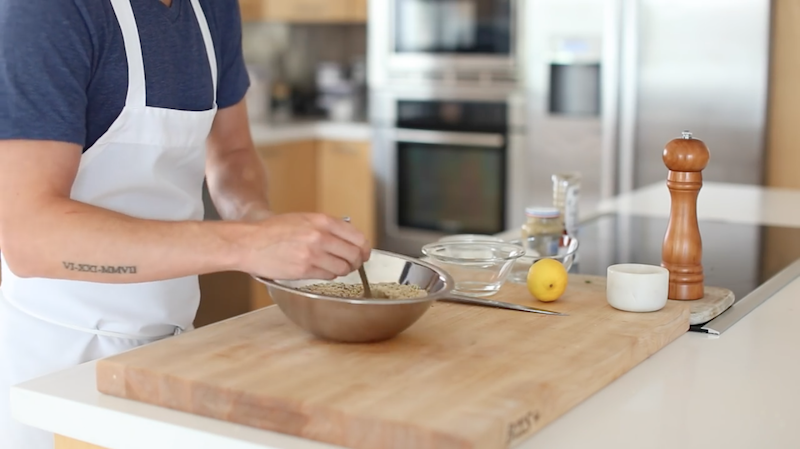
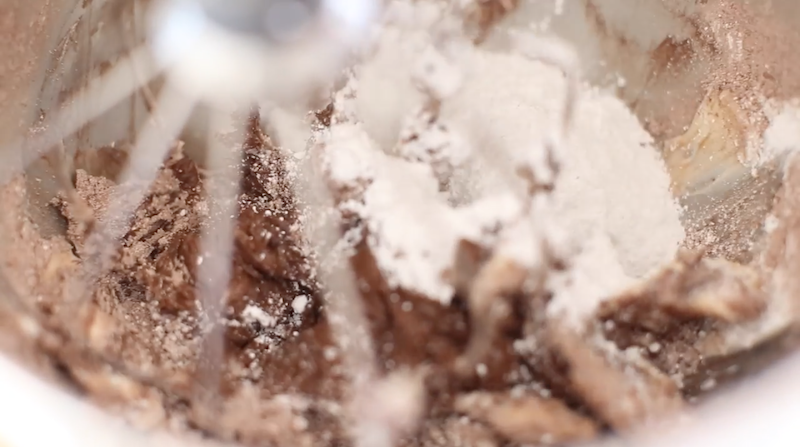
Pulse the covered food processor several times to make space …
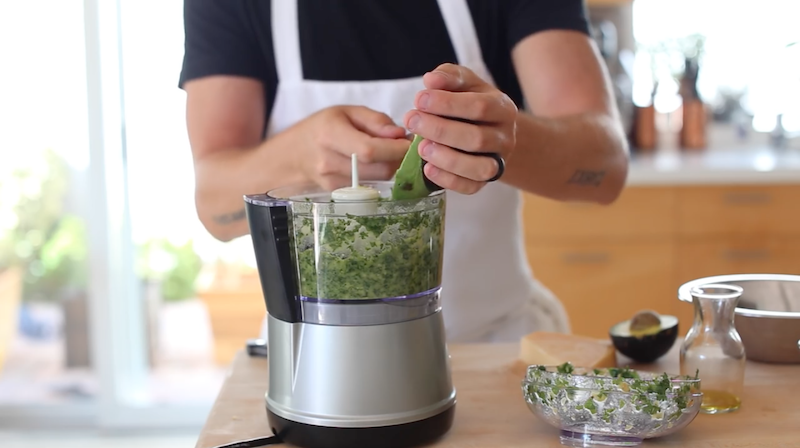
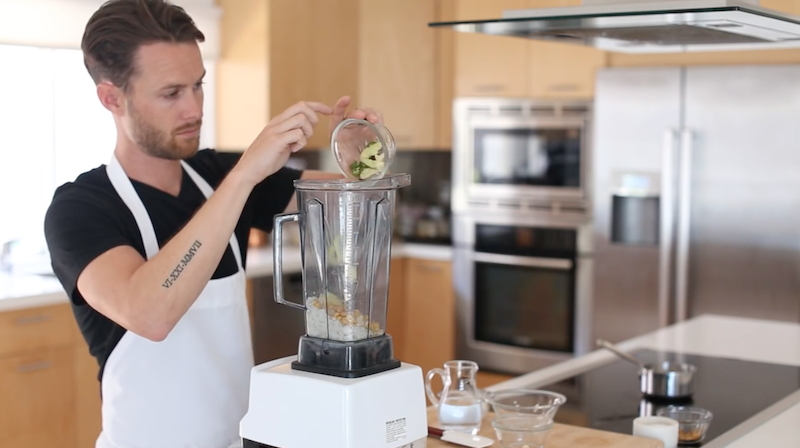
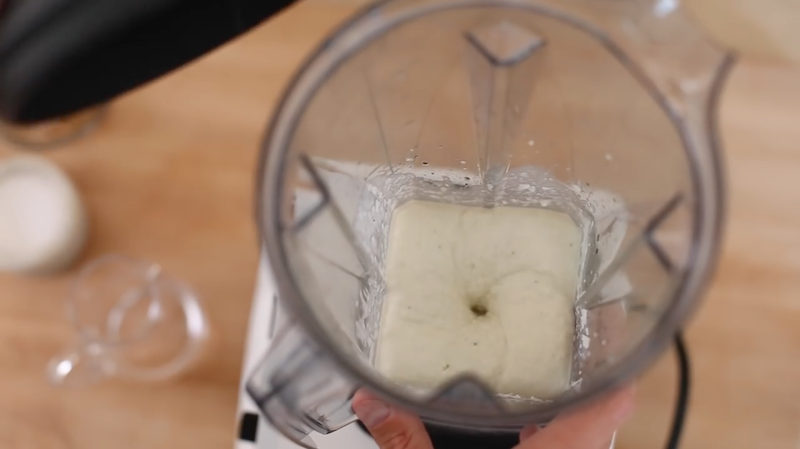
…add 1/2 an avocado…
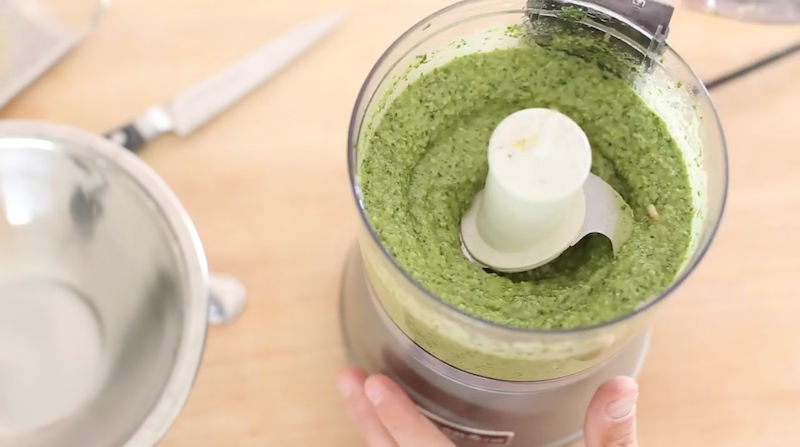
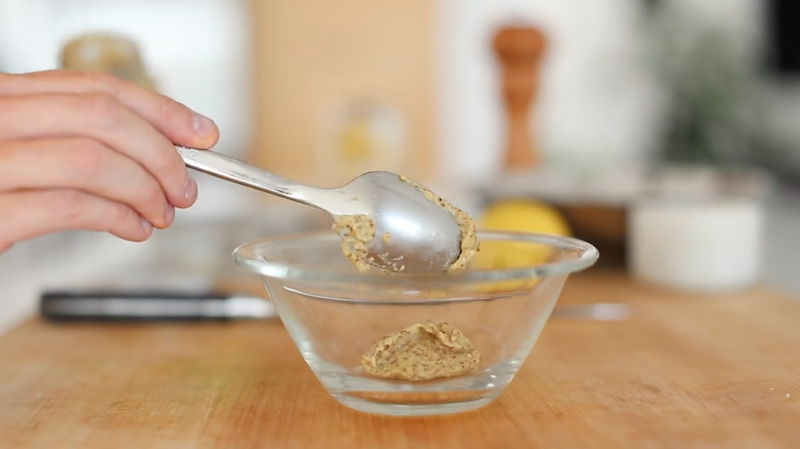
…and blend for 2 minutes or until it becomes a very vibrant green paste.
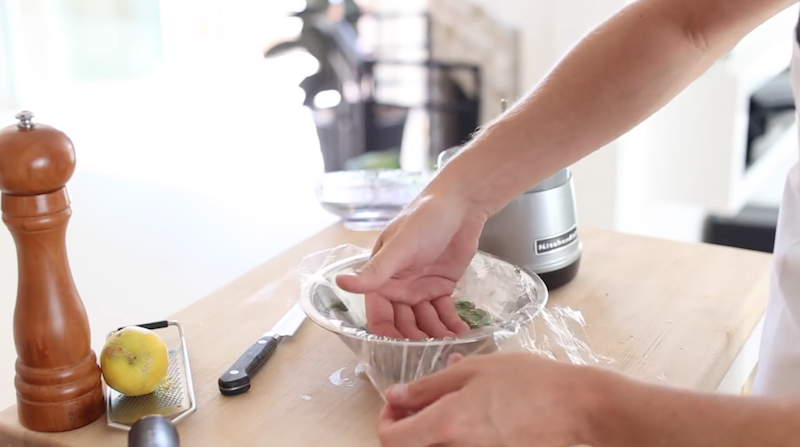
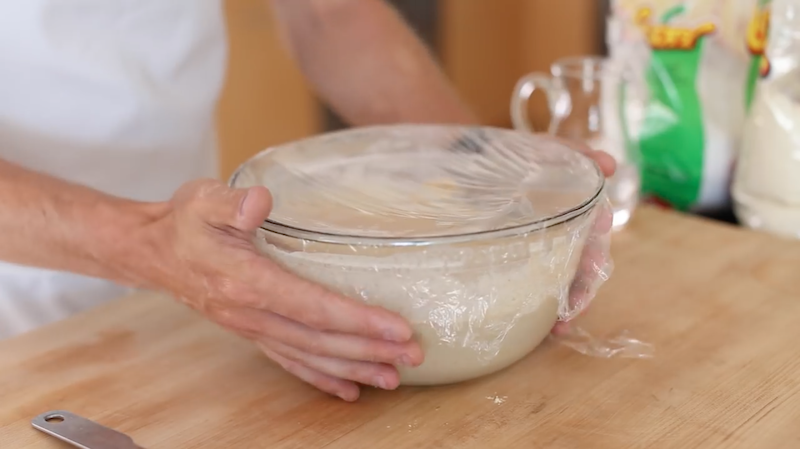
Once blended, cover in plastic and set in the fridge until you’re ready to use it.
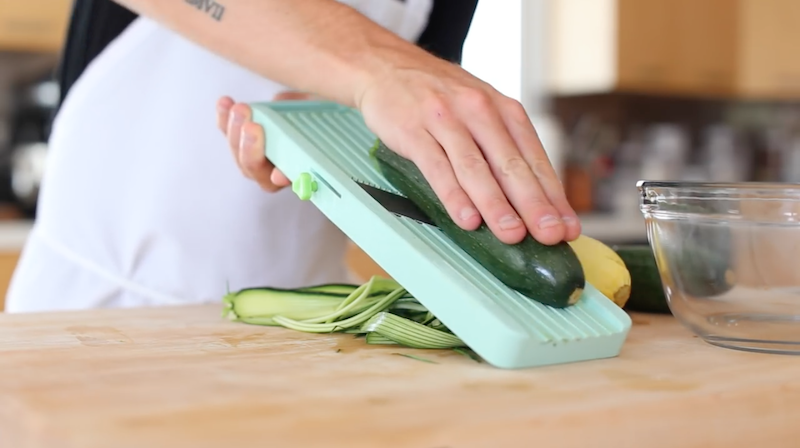
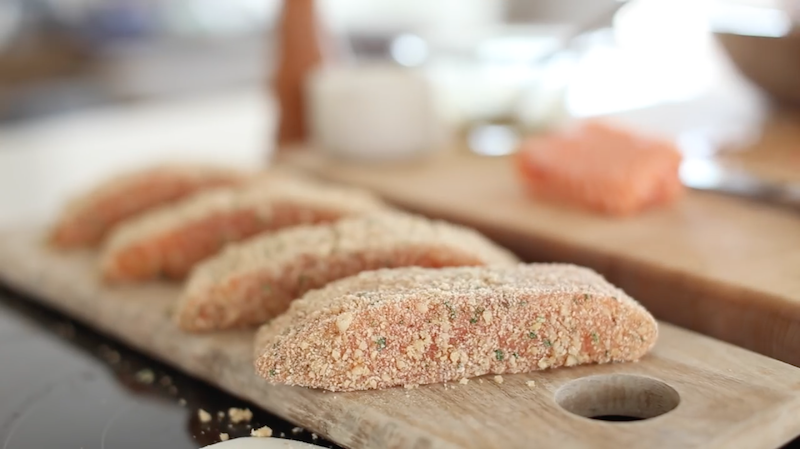
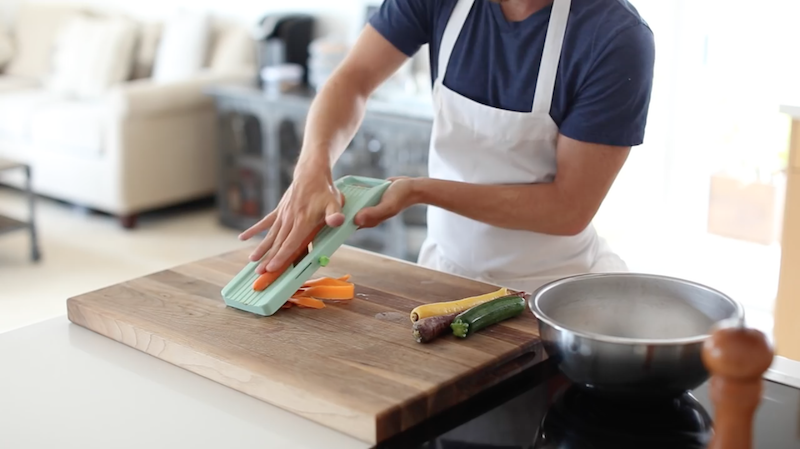
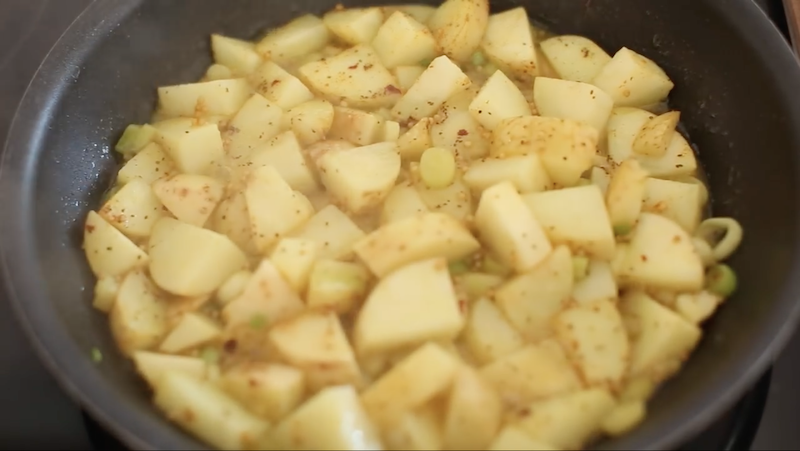
Next up begin shredding 2 whole zucchini and 1 yellow squash using a mandoline.
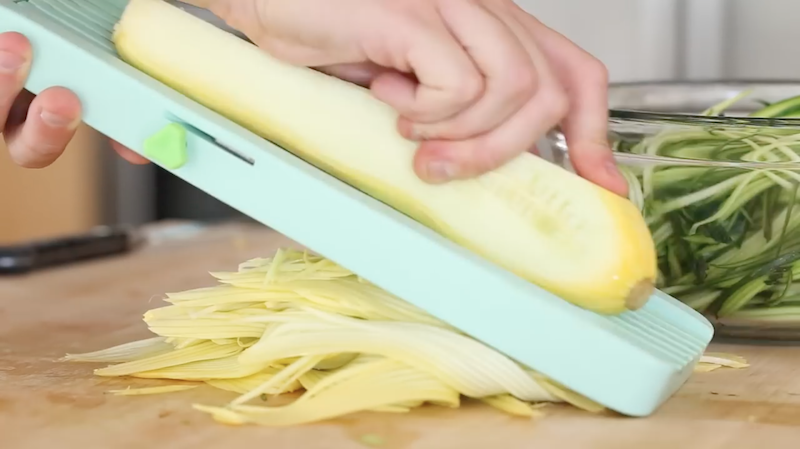
Only use the outer layers of each, avoiding the soft interiors.
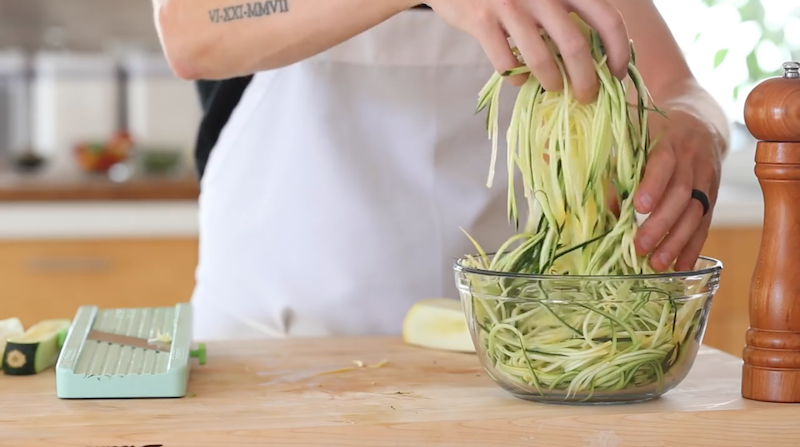
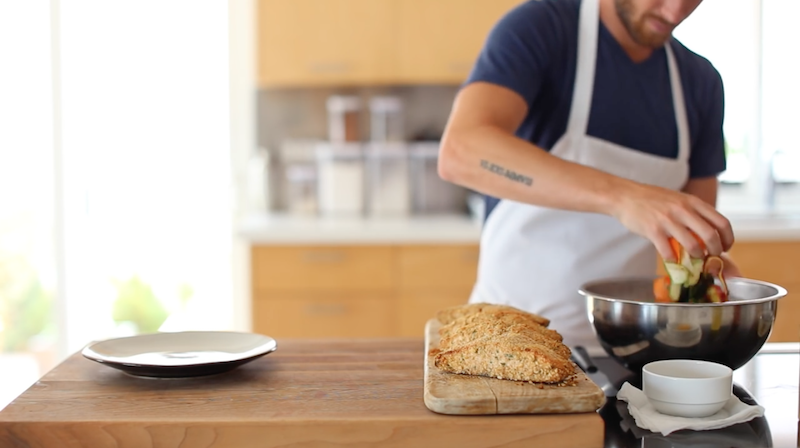
Add the shredded veggie noodles to a large mixing bowl, giving them a good toss, and then setting aside.
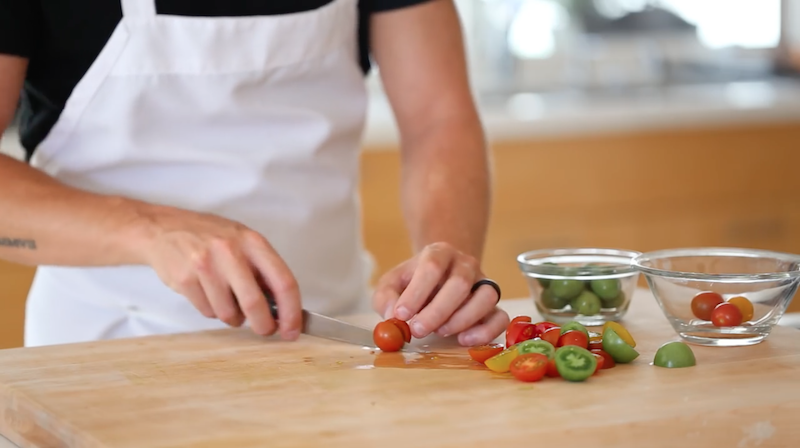
Once that’s done, halve 1/2 a cup of sliced cherry tomatoes and 3 tbsp of sliced Castelvetrano olives.
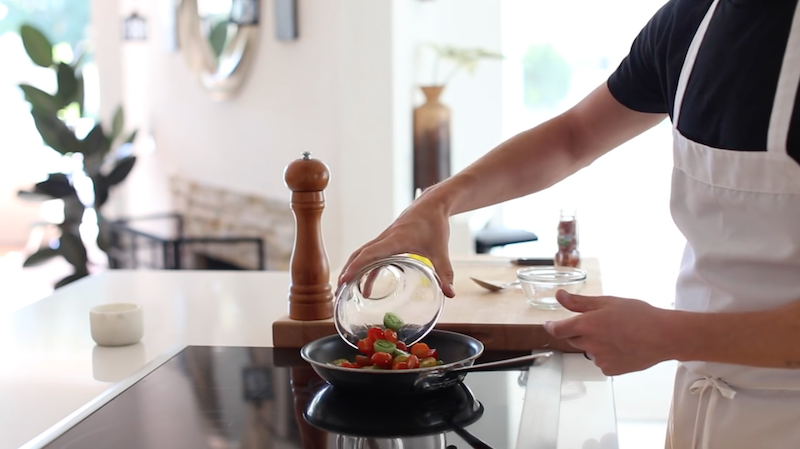
Add them to a sauté pan on medium heat with a generous amount of olive oil, a pinch of chili flakes…
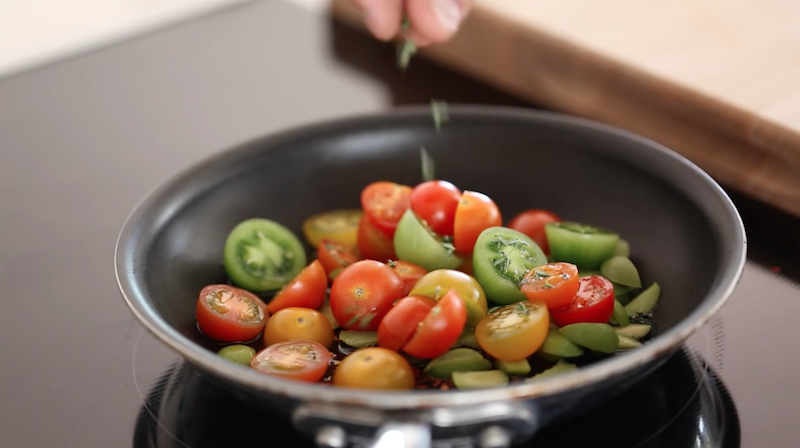
…1 tsp of fresh picked thyme…
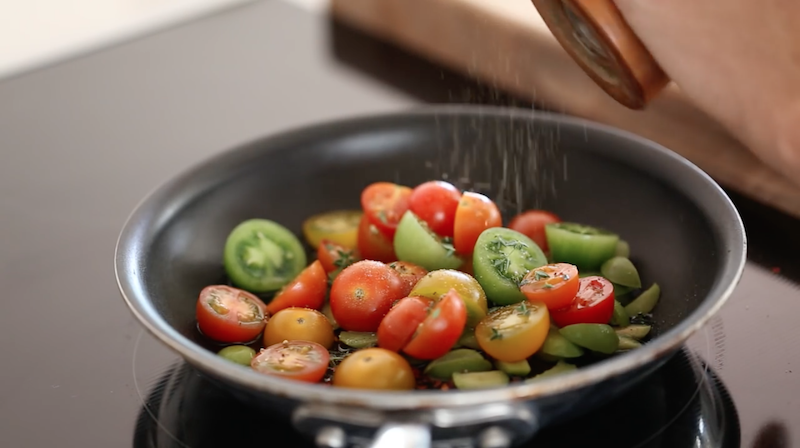
…and a dash of cracked pepper.
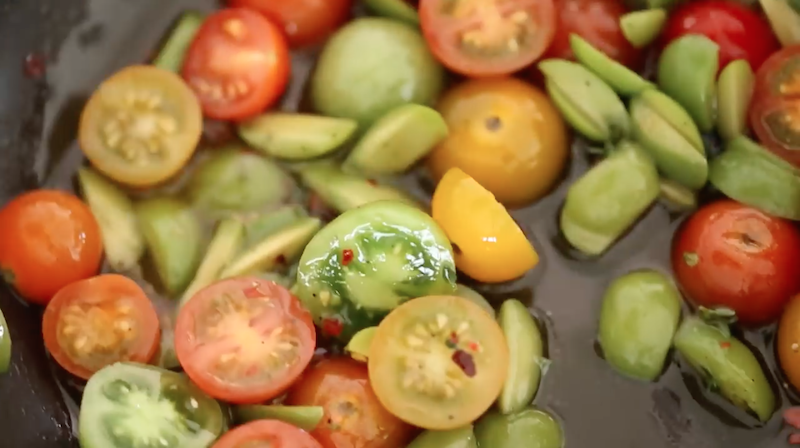
Sauté for about 5 minutes, avoiding over cooking the tomatoes. You want them to maintain fresh bite!
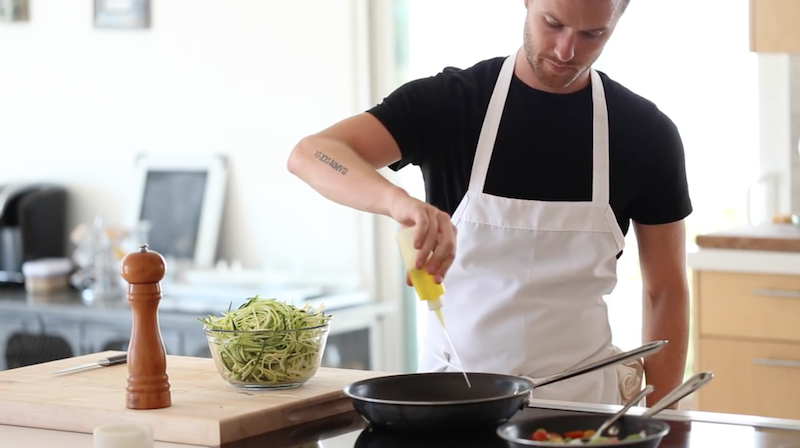
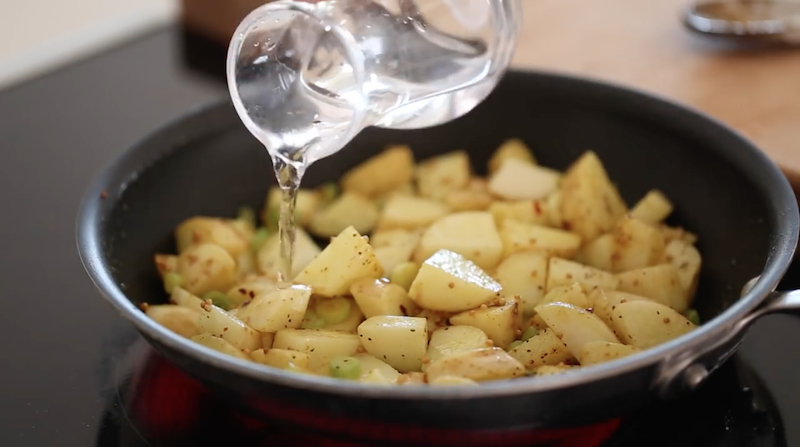
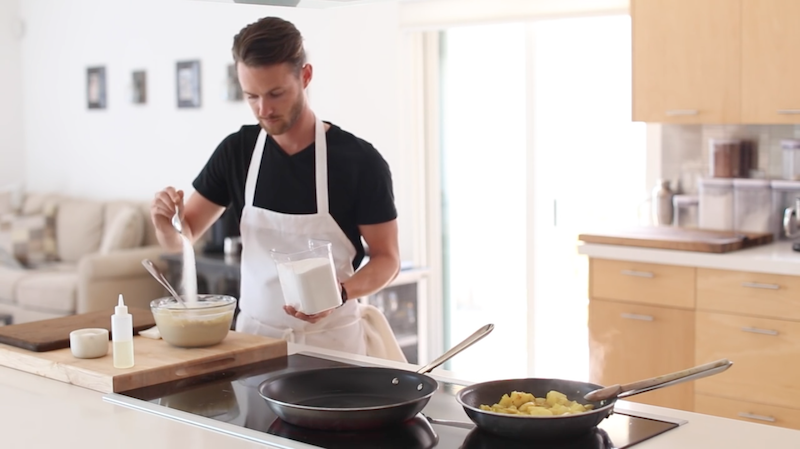
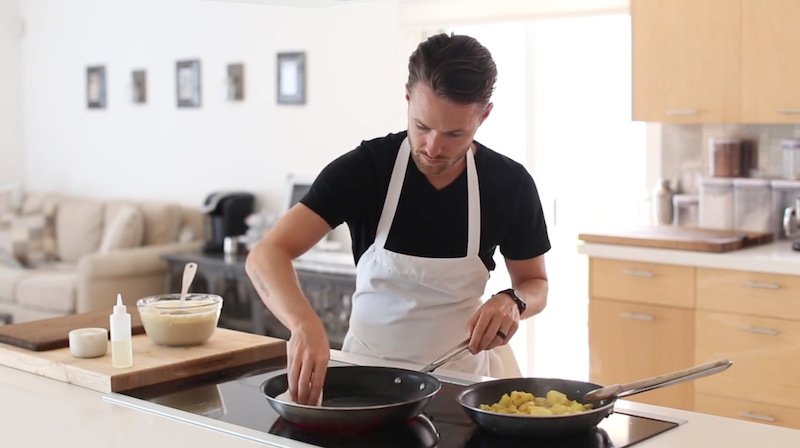
Lastly begin cooking the veggie noodles by adding a generous drizzle of olive oil to a large pan on high heat…
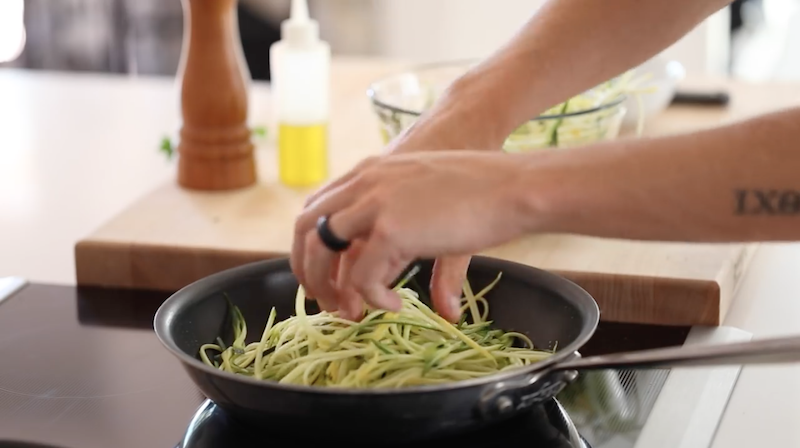
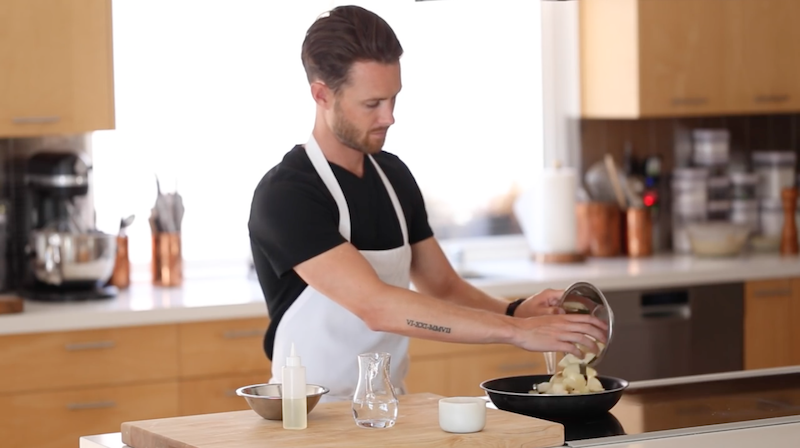
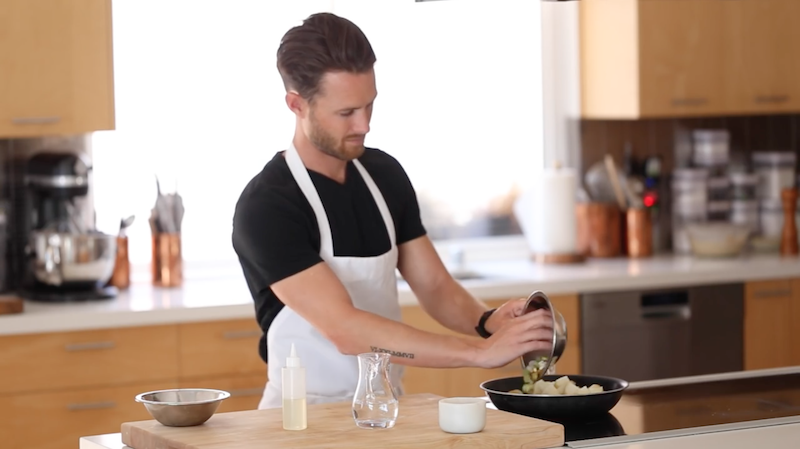
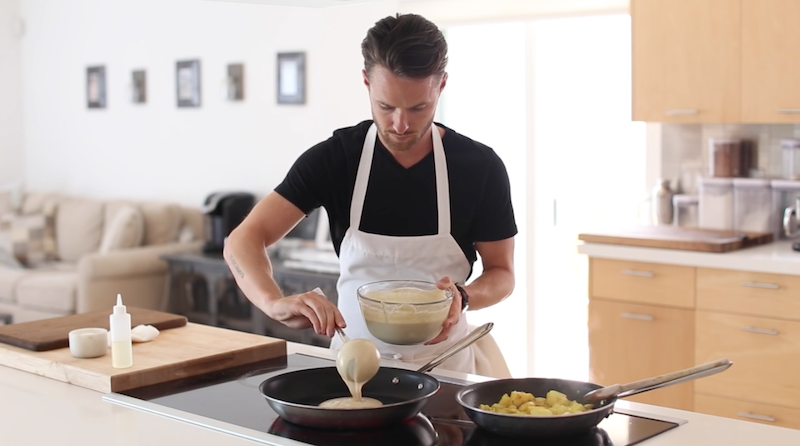
…along with the veggie noodles…
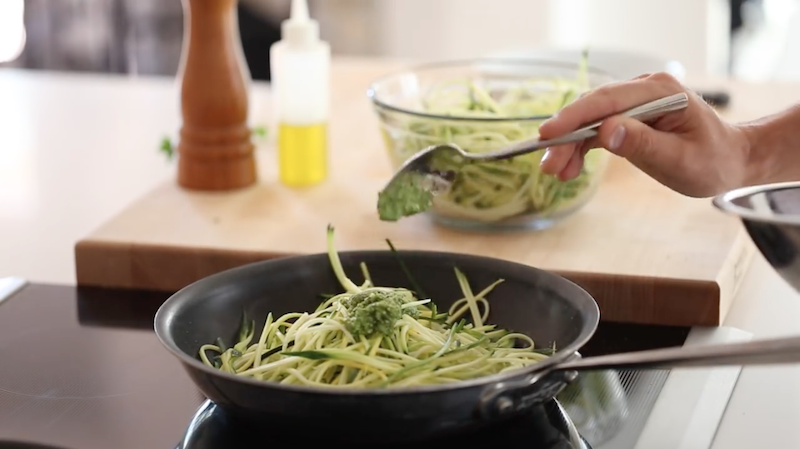
…and a few dollops of the avocado pesto.

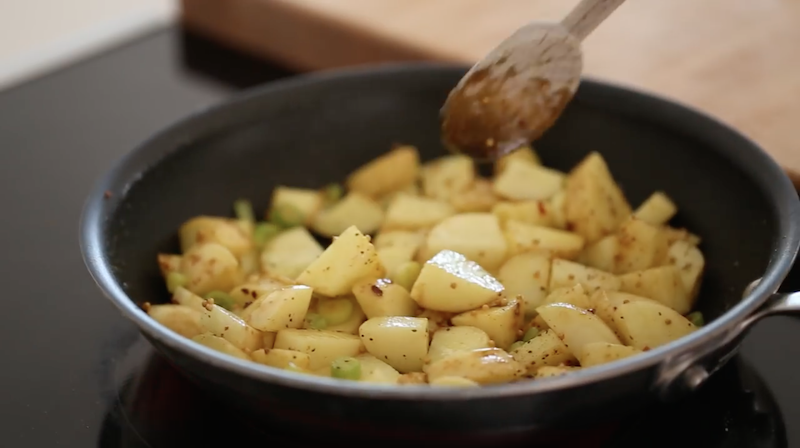
Give this a few tosses while cooking for 2-3 minutes, or until the desired bite is achieved.
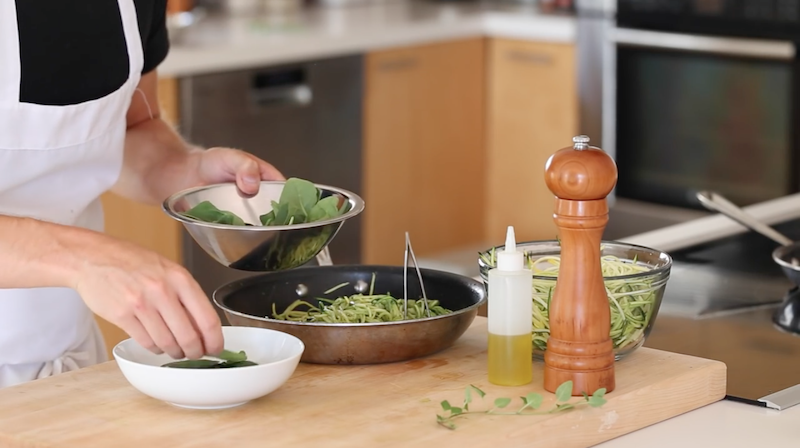
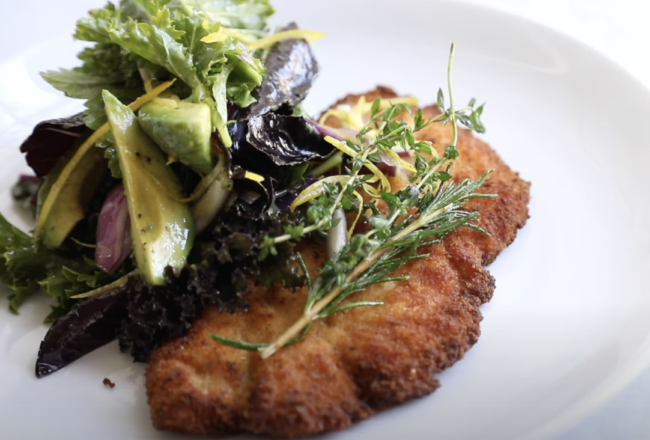
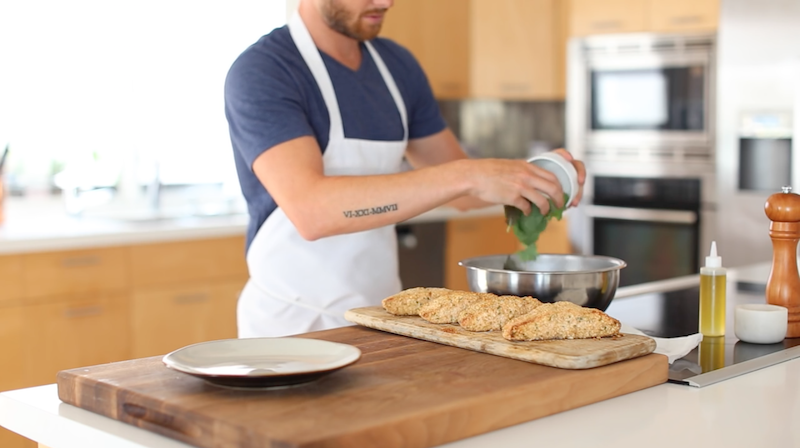
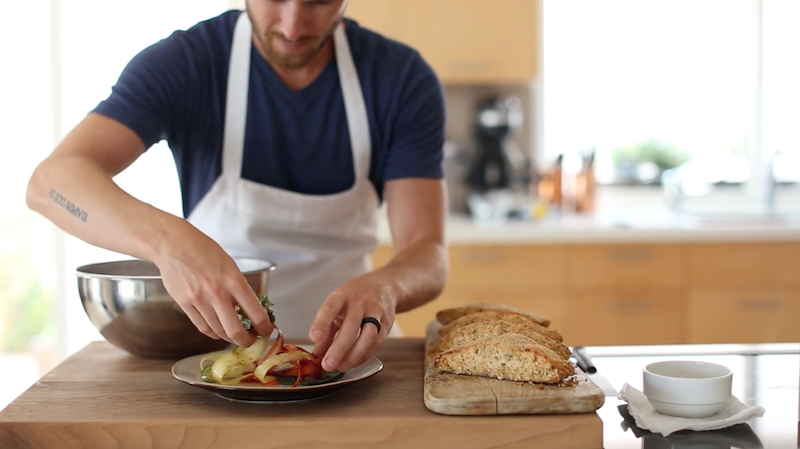
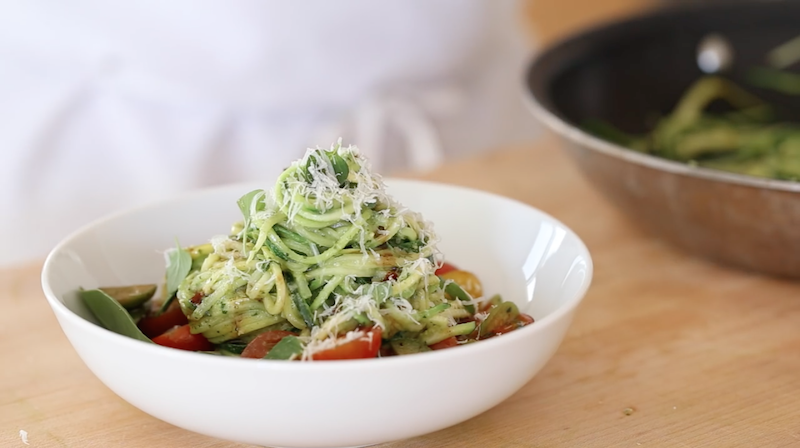
Begin plating by placing a 1/2 cup of fresh spinach inside a medium bowl.
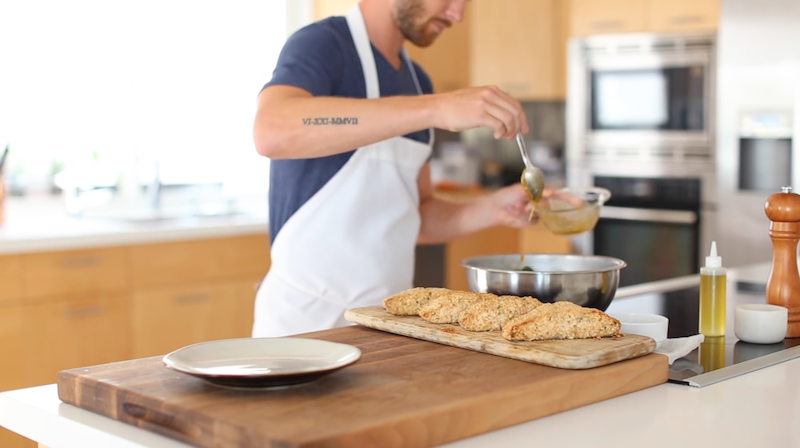
Toss the cooked tomatoes and olives in 1 tbsp of balsamic vinegar…
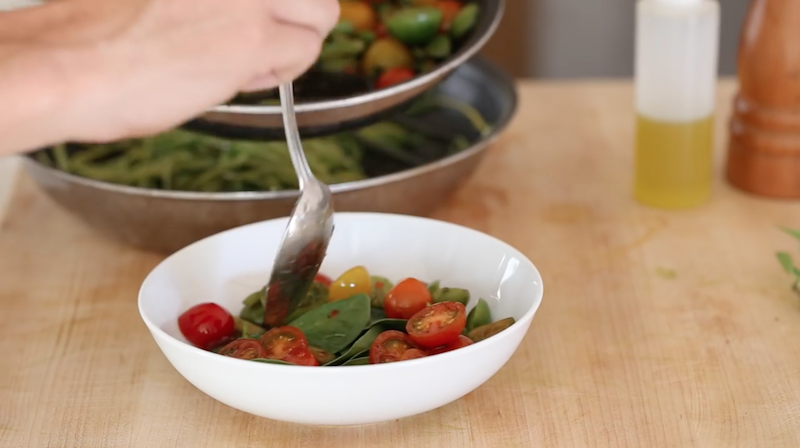
…and add a few spoonfuls of the melody on top of the spinach.
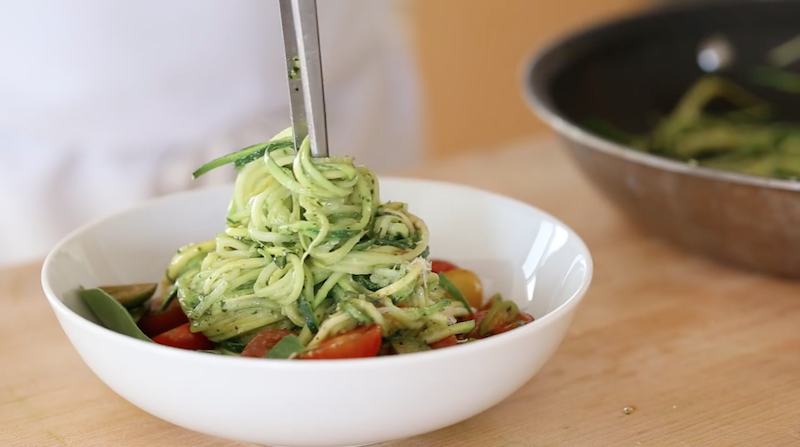
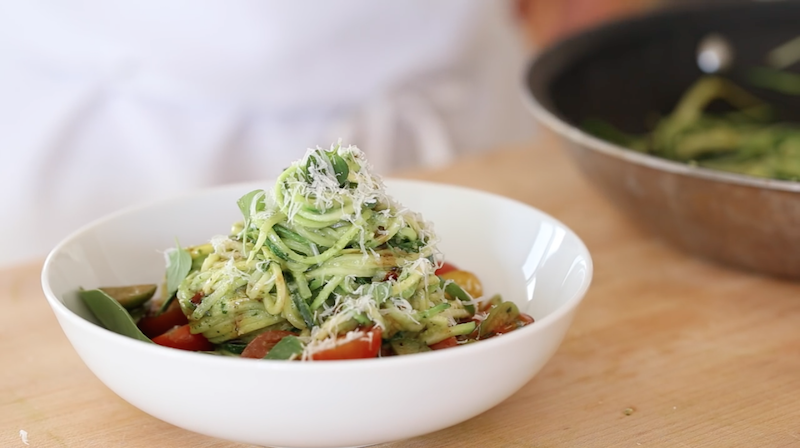
Add the freshly made veggies noodles…
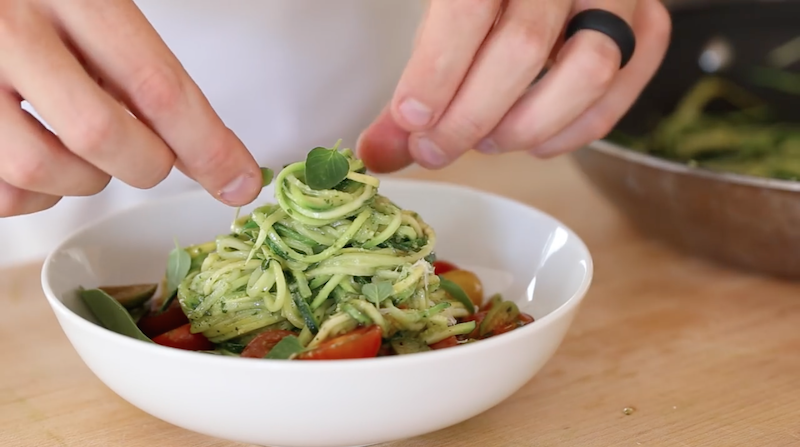
…a few leaves of thyme…
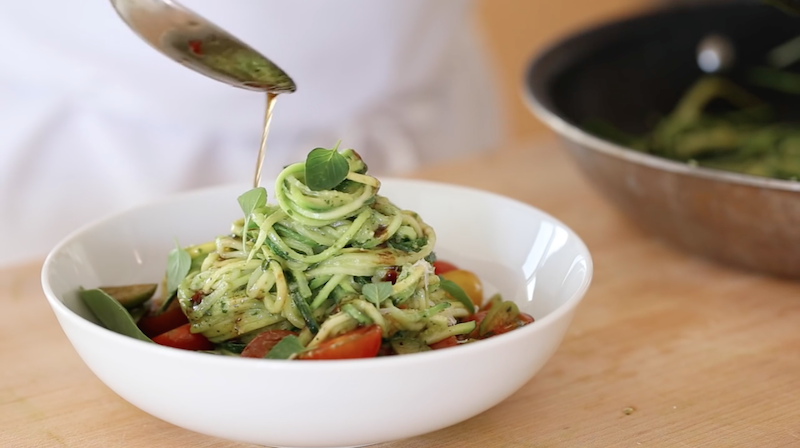
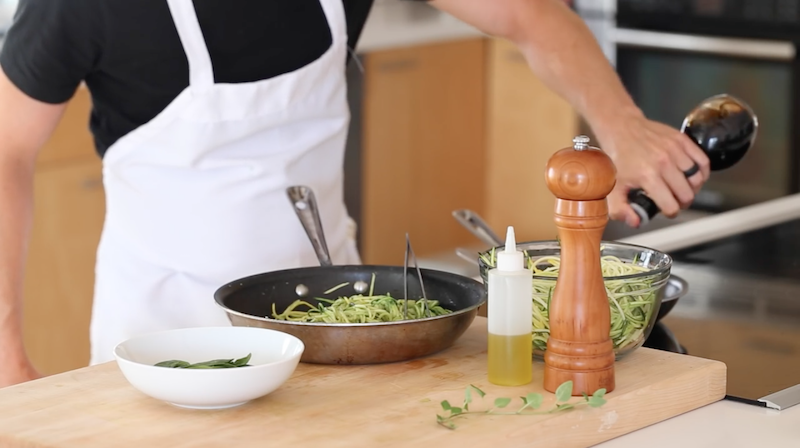
…a drizzle of the warm balsamic…
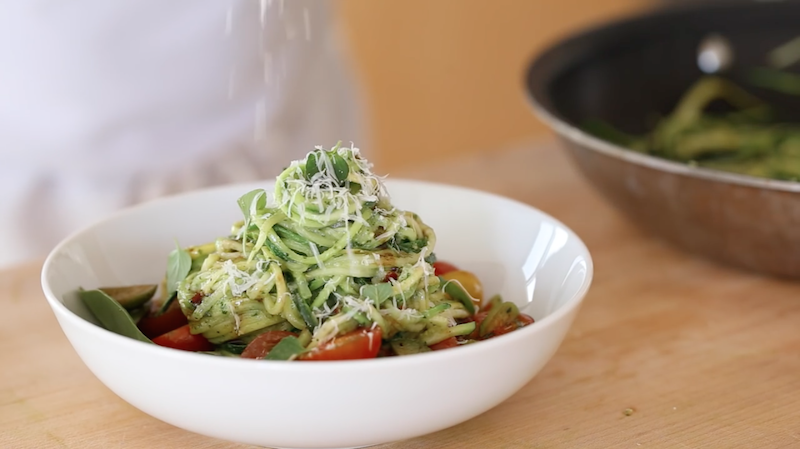
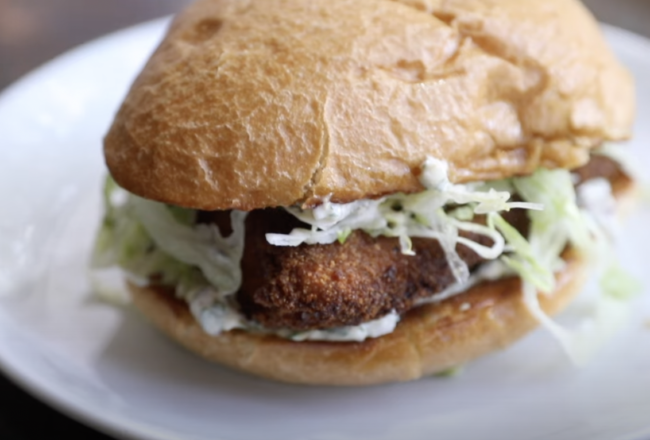
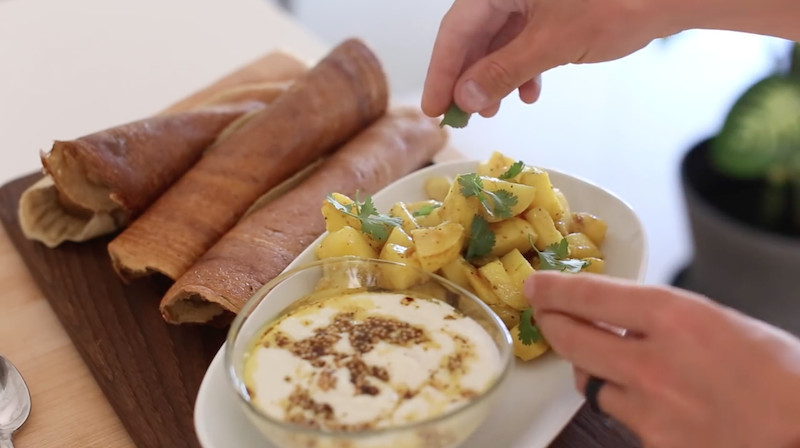
…and some freshly grated parmesan. All that’s left to do is ENJOY!
[amd-zlrecipe-recipe:84]

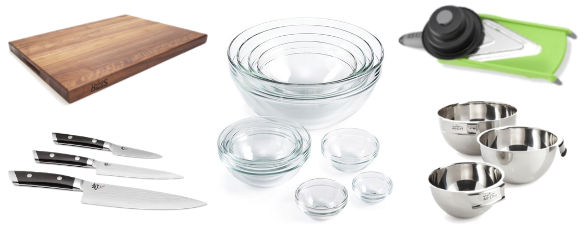
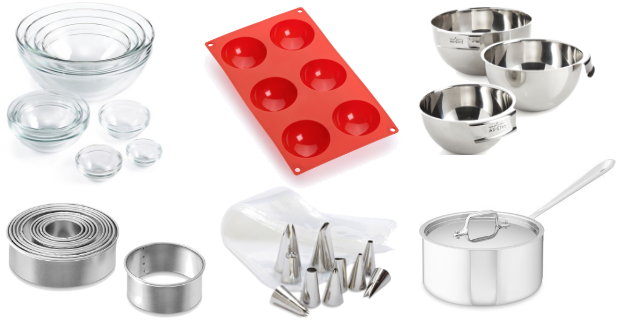
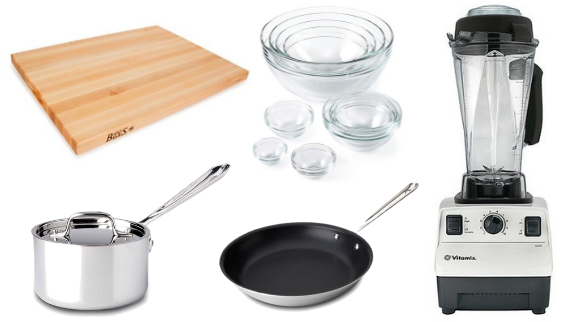
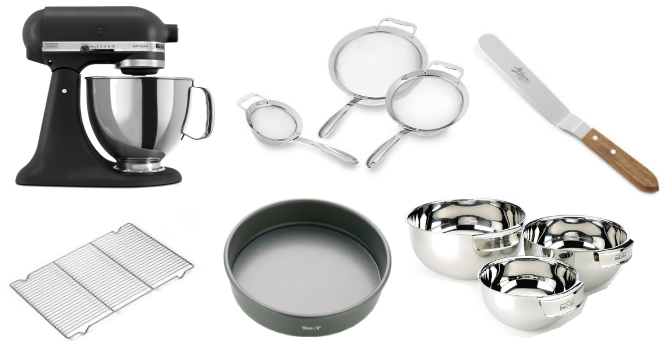
| Top Left: Cutting Board | Top Middle: Mandolin | Top Right: KitchenAid Food Processor |
| Bottom Left: All-Clad Saute Pan | Bottom Middle: All-Clad Bowls | Bottom Left: Squeezy Bottles |


