Desserts

Mirror Glazed “Apple Pie”

November 14, 2016

Mirror mirror on my plate, how must you resist your delicious fate? Hehehehe…I had to go there and I went there and it’s done. Mirror glazing is such a fun process that is VERY easy to do once you master your glaze making skills. I think I might even glaze my breakfast tomorrow…Anyways, I hope you all enjoyed this “apple pie” inspired dessert and it might help you rethink some of those old tired holiday desserts that we’ve all had a zillion times even though I’ll still have them this year too, but you know what I mean.

screen-shot-2016-11-11-at-4-20-38-pm

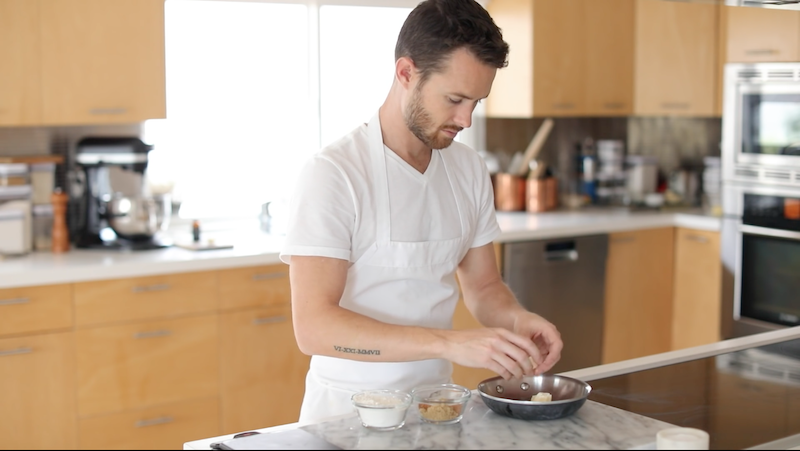
In a baking dish or pan, add 1/4 cup of cold diced butter…

screen-shot-2016-11-11-at-4-21-09-pm

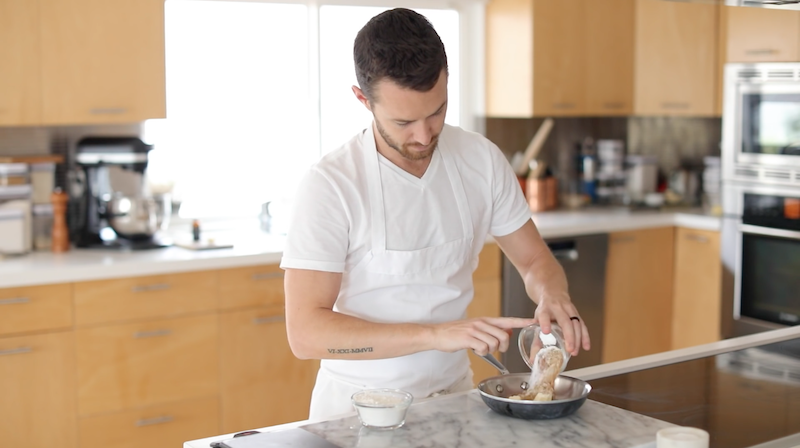
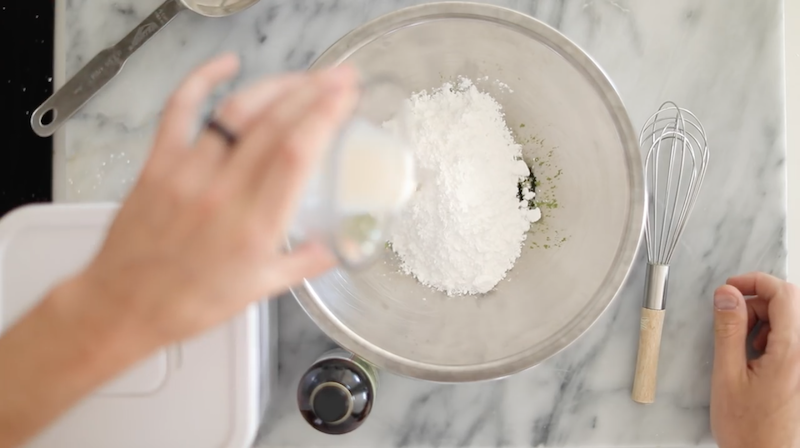
…3 tbsp of granulated sugar, 3 tbsp of brown sugar, 1 tsp of ground cinnamon, 1 tsp of ground nutmeg…

screen-shot-2016-11-11-at-4-21-23-pm

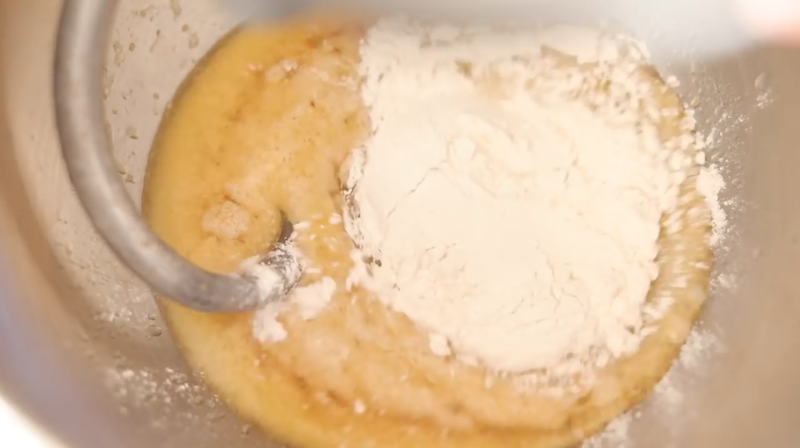
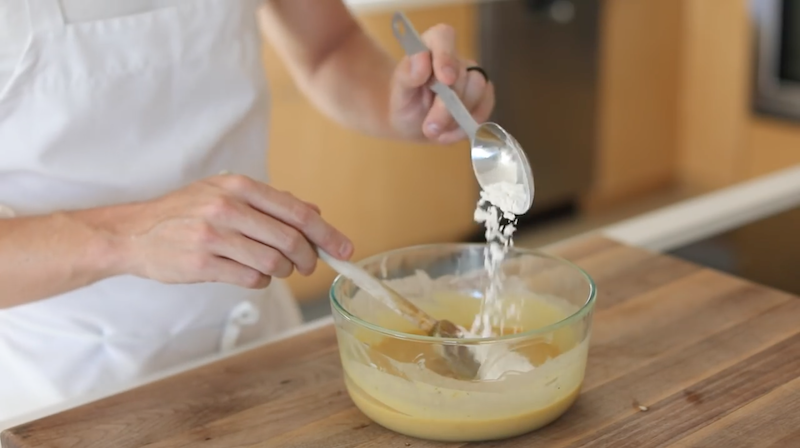
…and 3/4 cup of flour.

screen-shot-2016-11-11-at-4-23-32-pm

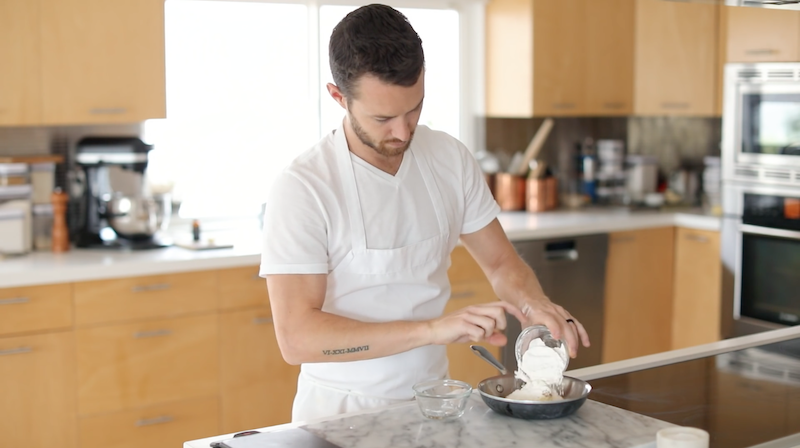
Using a fork or your hands, mash the ingredients together until you have small, but incorporated clumps. Transfer to a 350°F oven and bake for 15-20 minutes, stirring occasionally.

screen-shot-2016-11-11-at-4-25-58-pm

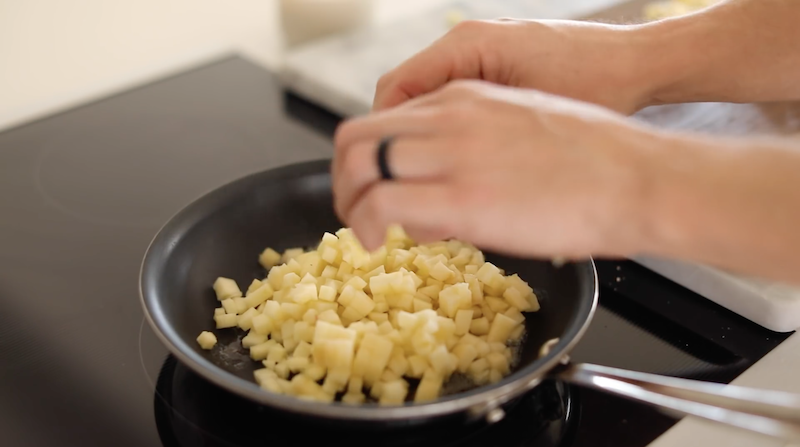
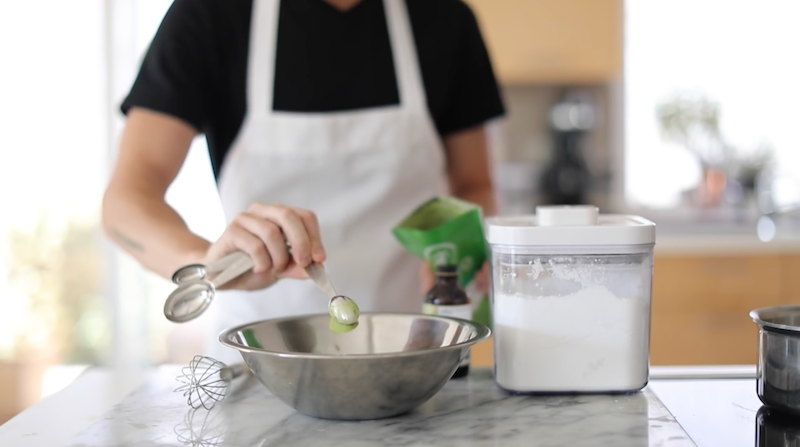
In a separate pan, begin making the apple pie filling by peeling, coring, and dicing 2-3 honey crisp apples.  Add to a buttered pan on high heat…

screen-shot-2016-11-11-at-4-26-13-pm

…along with 3-4 tbsp of brown sugar…
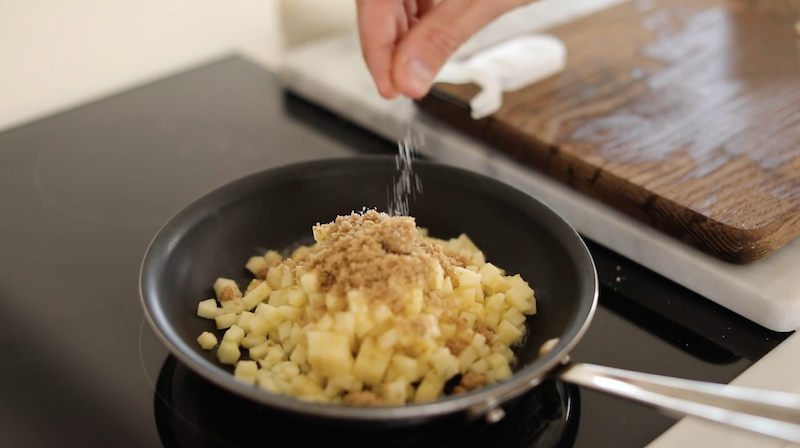
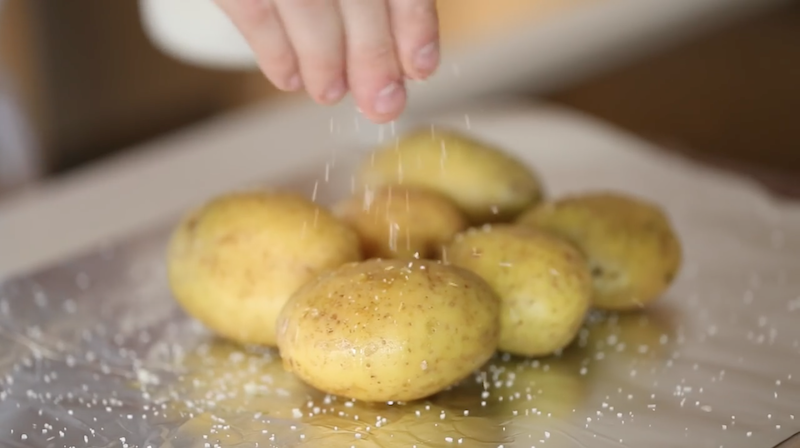
screen-shot-2016-11-11-at-4-30-57-pm

…and 2 tsp of salt.

screen-shot-2016-11-11-at-4-35-06-pm

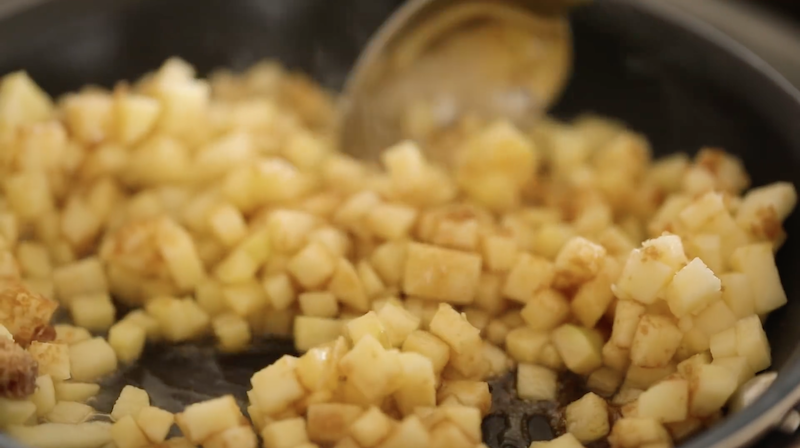
Cook for 5-7 minutes, occasionally stirring.

screen-shot-2016-11-11-at-4-35-23-pm

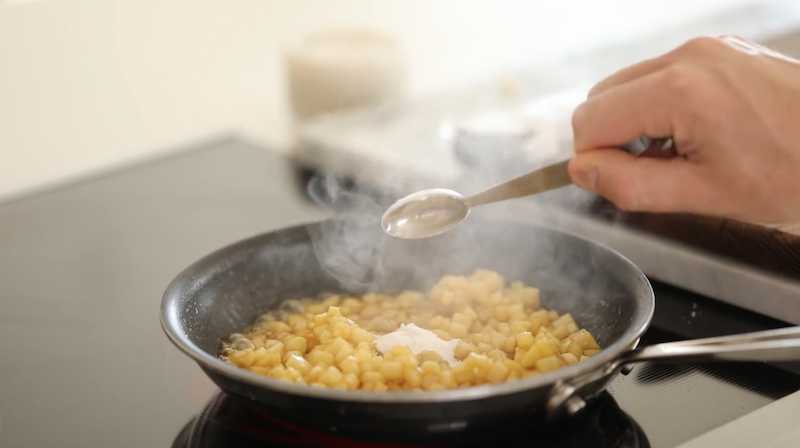
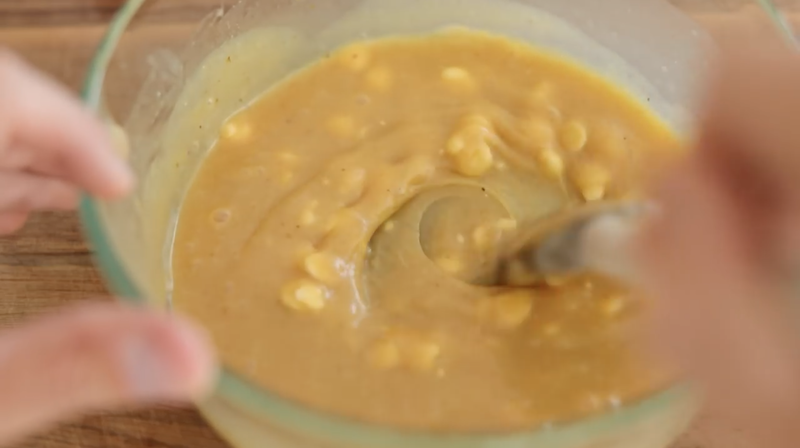
Once the apples are tender, add 1 tbsp of cornstarch. Give this a quick stir and cook for an additional minute. Remove from heat and set aside.

screen-shot-2016-11-11-at-4-40-11-pm

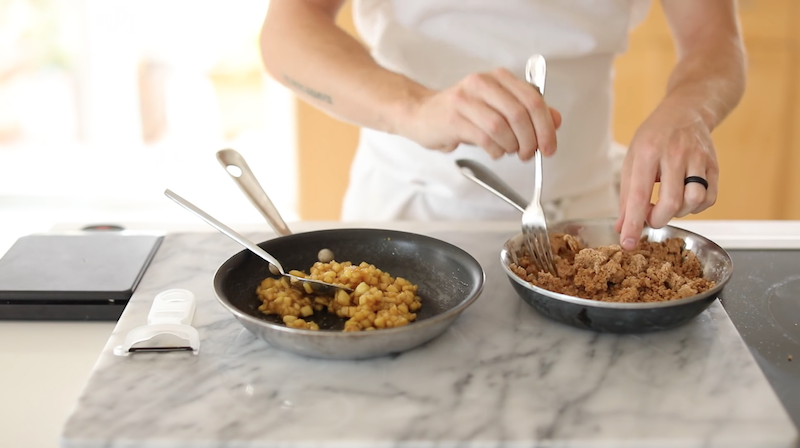
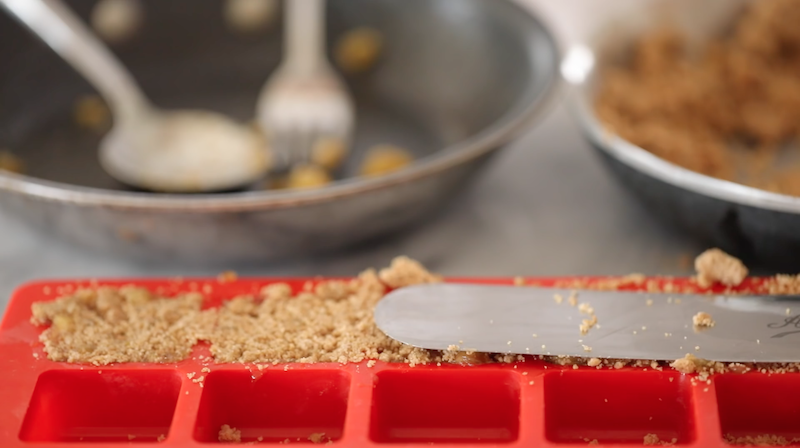
Once the crumble is done baking, remove it from the oven and break apart into finer clumps.

screen-shot-2016-11-11-at-4-41-03-pm

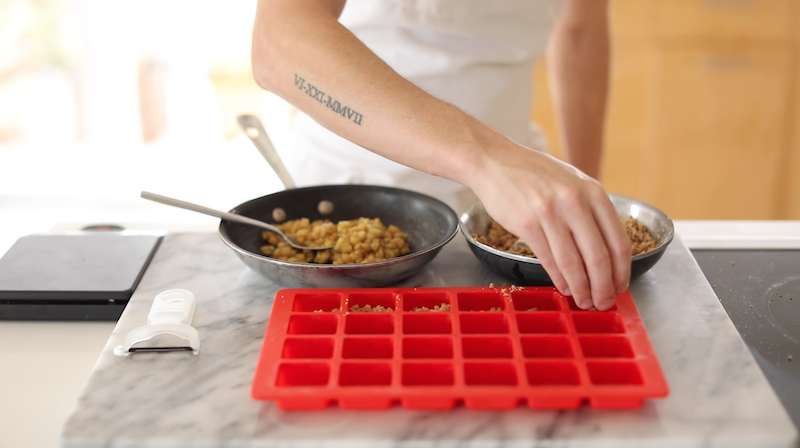
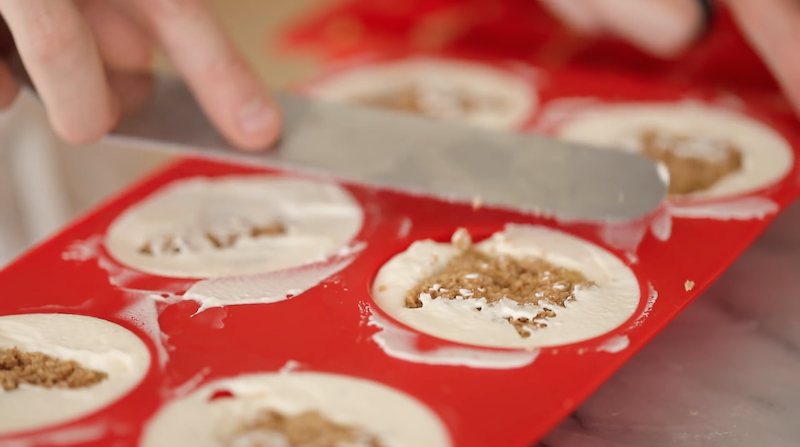
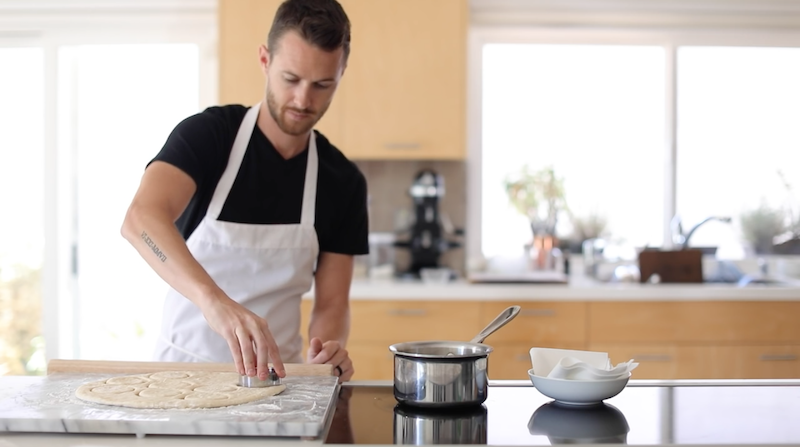
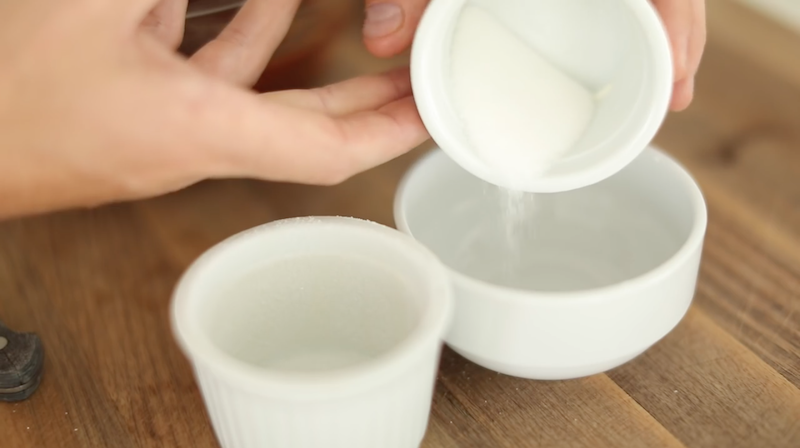
Using a small mold, press in one layer of crumbles…

screen-shot-2016-11-11-at-4-44-41-pm

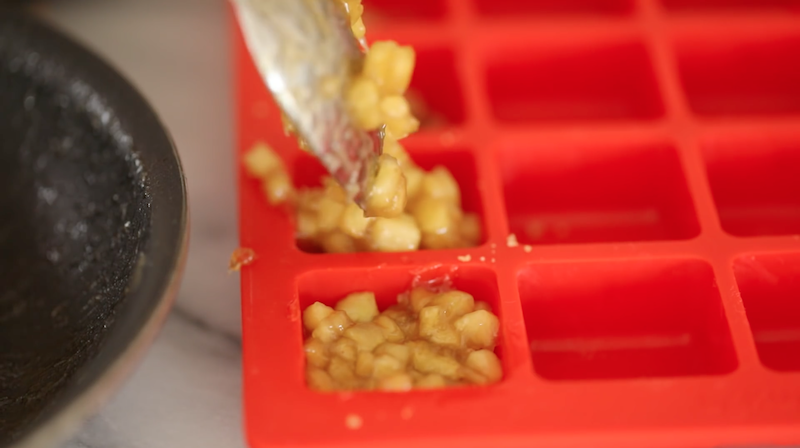
…one layer of apple pie filling…

screen-shot-2016-11-11-at-4-45-06-pm

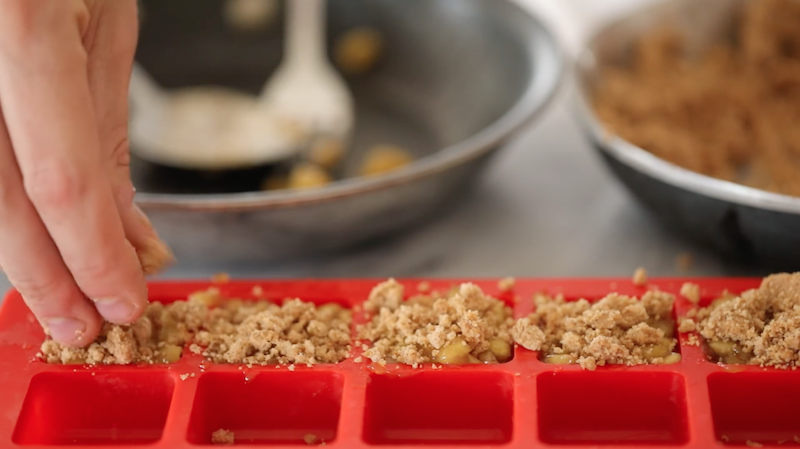
…followed by another layer of crumbles.

screen-shot-2016-11-11-at-4-45-23-pm

Gently compact and transfer to the fridge and allow to set up for 45-60 minutes.

screen-shot-2016-11-11-at-4-46-04-pm

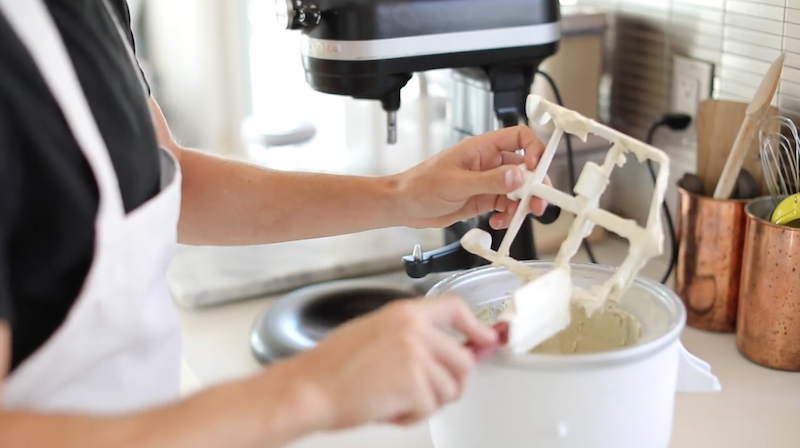
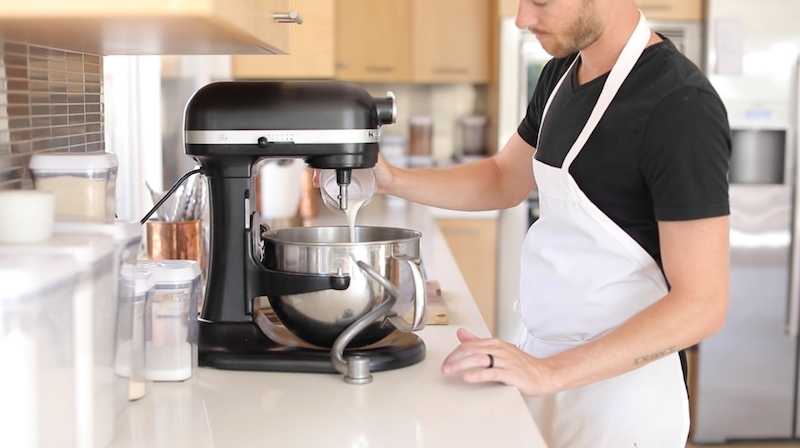
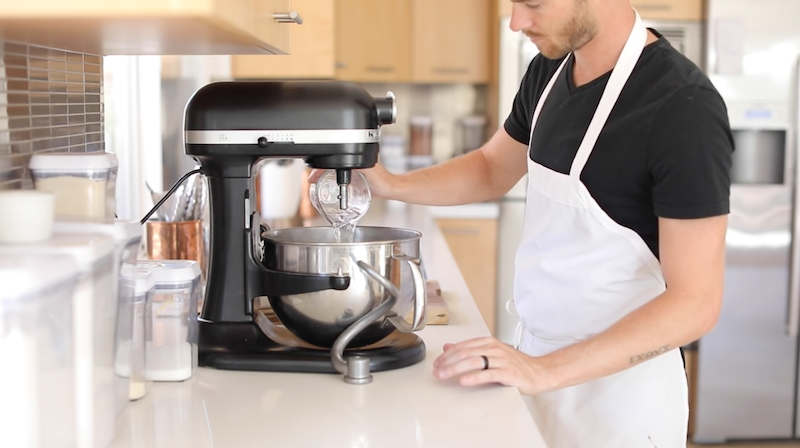
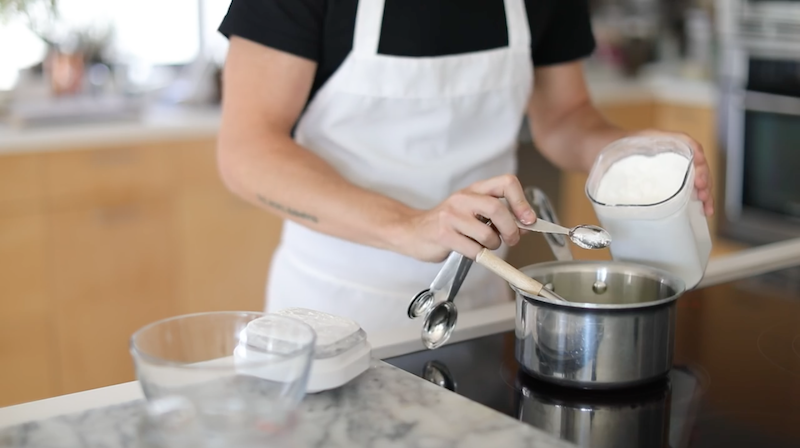
Whip up a simple brown sugar and vanilla whipped cream (1 cup heavy cream, 4 tbsp brown sugar, 1 tbsp vanilla extract—whipped).

screen-shot-2016-11-11-at-4-46-47-pm

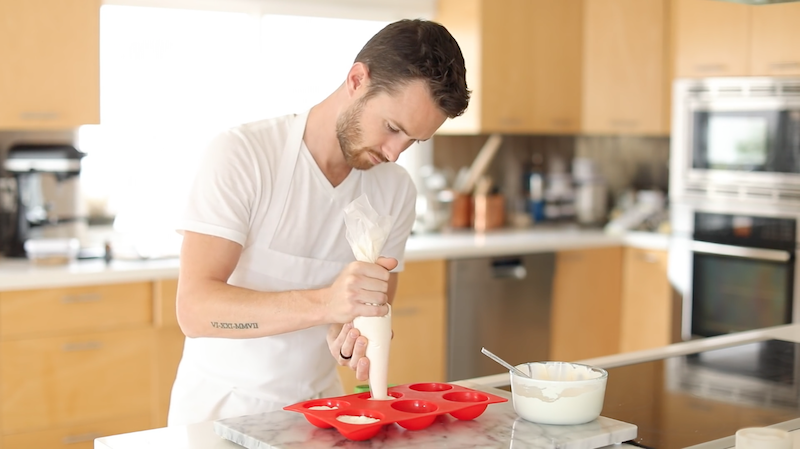
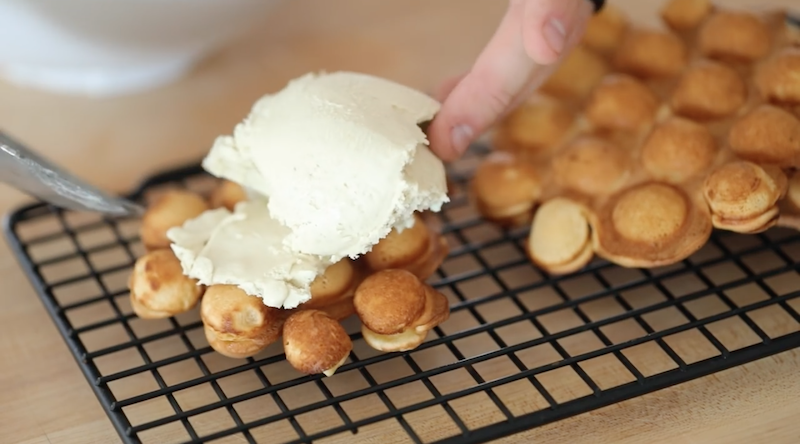
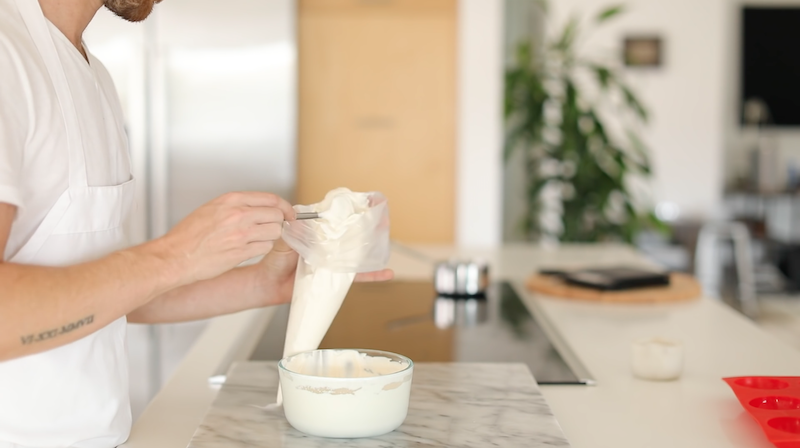
Using a larger mold than before, fill your mold about 3/4 of the way up with the freshly whipped cream.

screen-shot-2016-11-11-at-4-48-03-pm

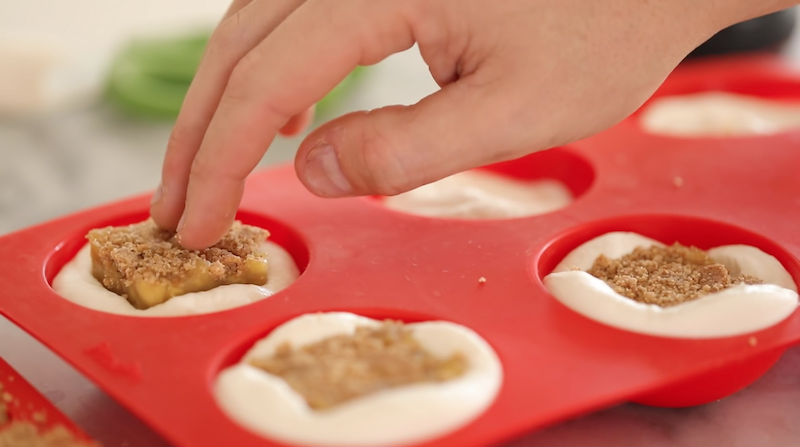
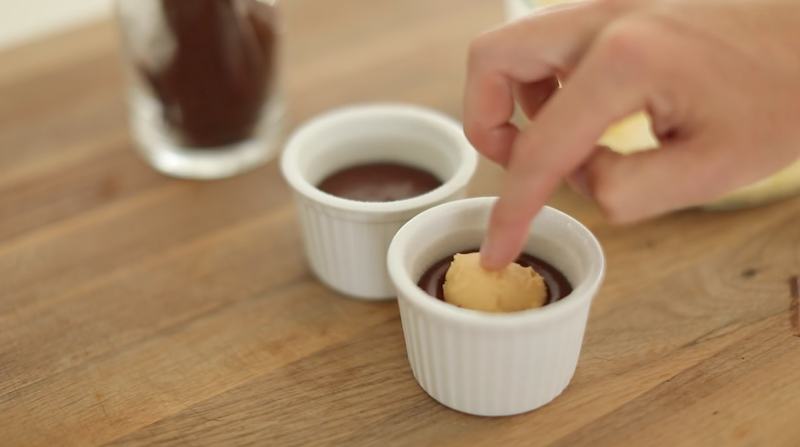
After you’ve removed the apple pie fillings from molds, gently press one filling into each of the whipped cream filled molds.

screen-shot-2016-11-11-at-4-48-47-pm

Gently smooth off the bottom of the molds and transfer to the freezer to set up for 1 hour.

screen-shot-2016-11-11-at-4-49-24-pm

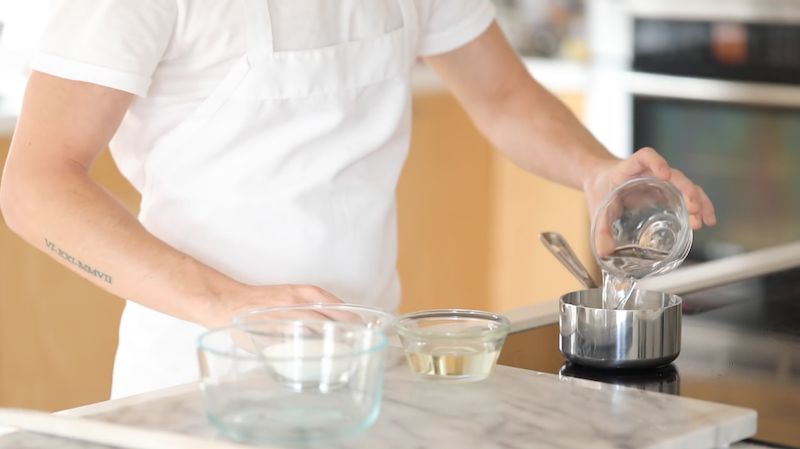
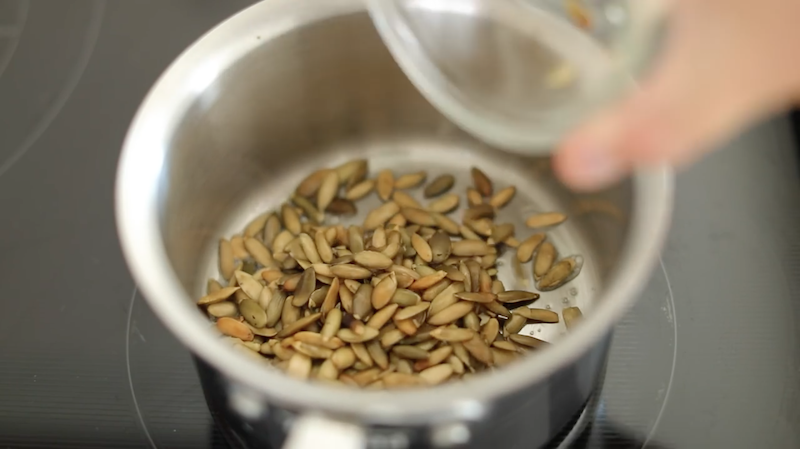
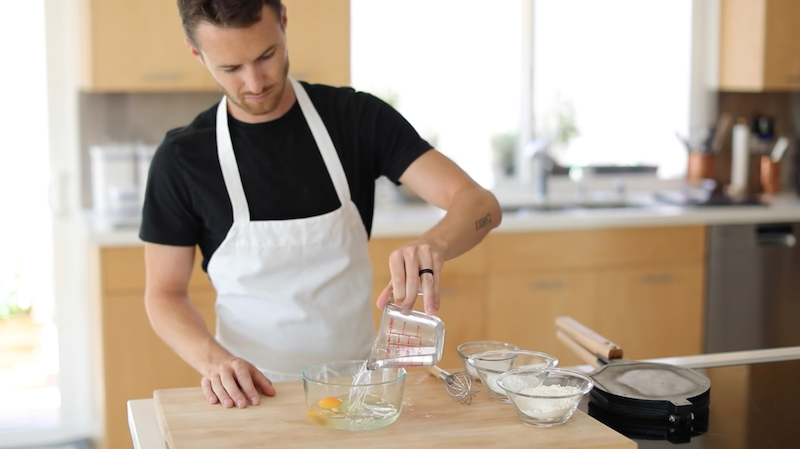
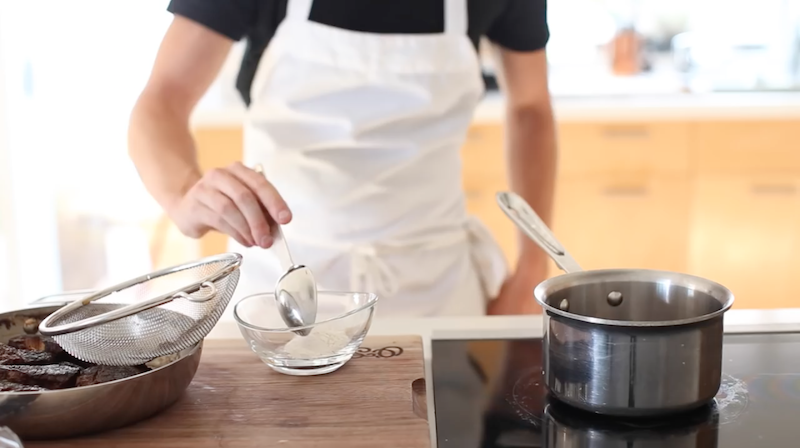
When the “apple pies” are almost set up, begin making the glaze by carefully and precisely adding 150g cold water…

screen-shot-2016-11-11-at-4-49-34-pm

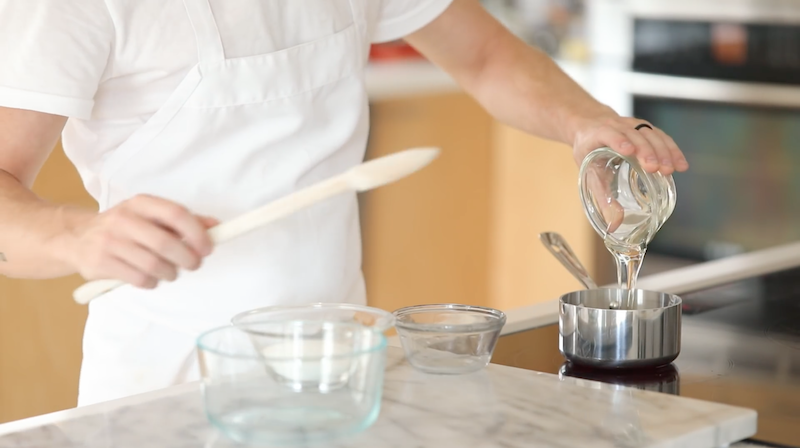
…300g glucose (corn syrup)…

screen-shot-2016-11-11-at-4-49-47-pm

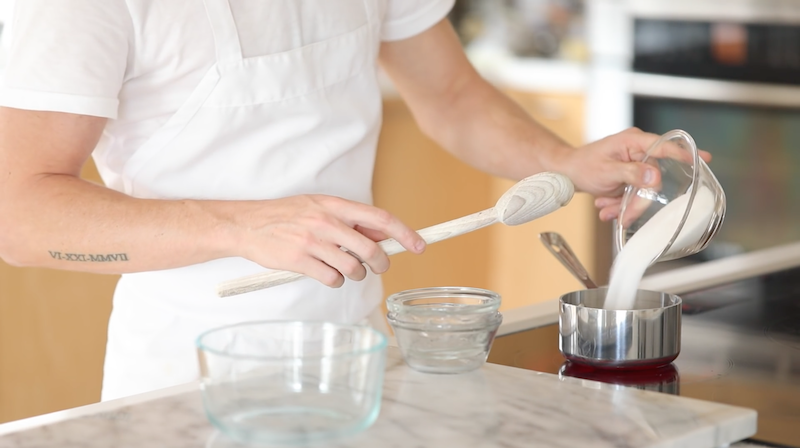
…and 300g sugar to a small sauce pan.

screen-shot-2016-11-11-at-4-50-01-pm

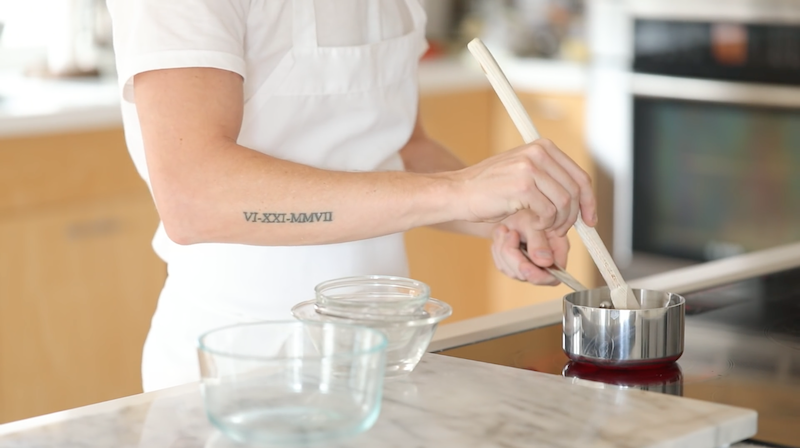
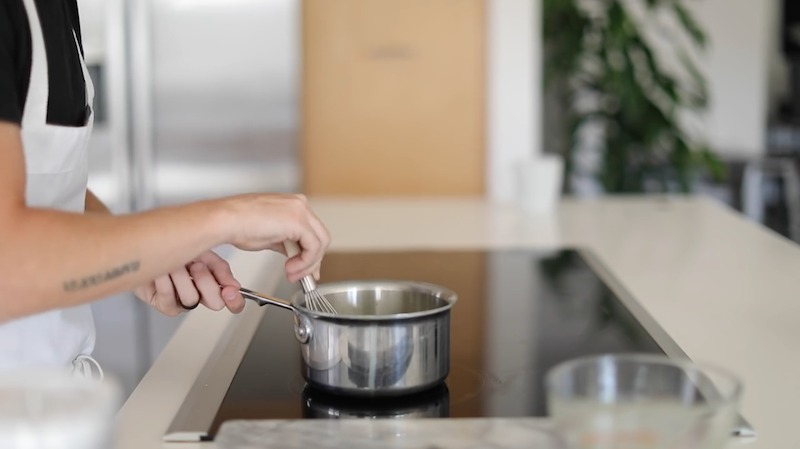
Stir and bring to a boil. Once it reaches a boil remove from heat.

screen-shot-2016-11-11-at-4-50-19-pm

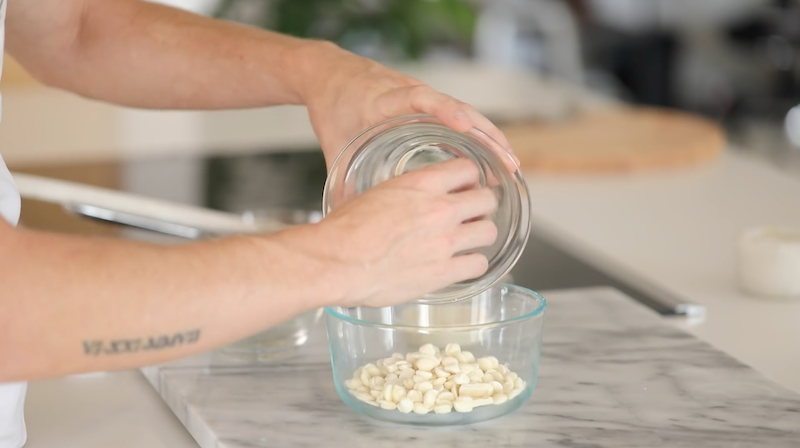
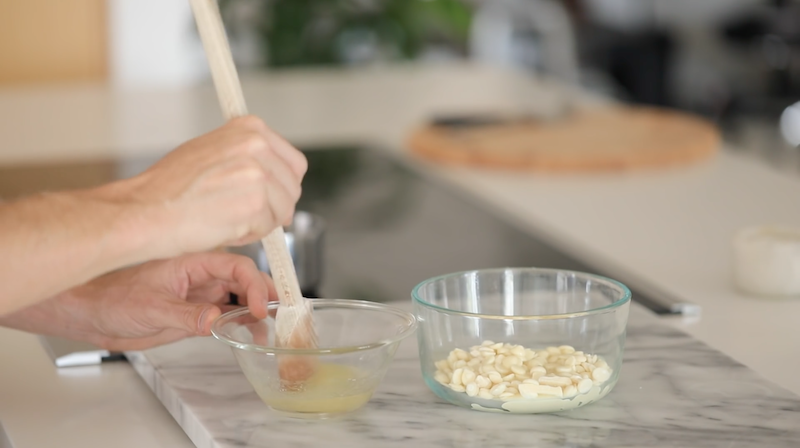
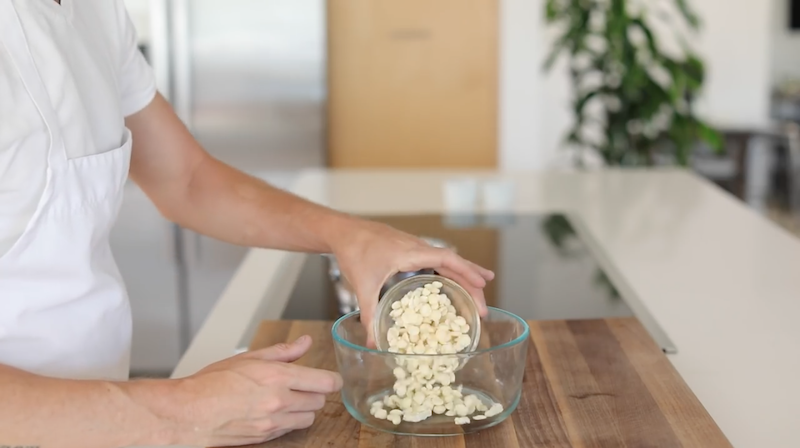
In a separate bowl add 200g white chocolate…

screen-shot-2016-11-11-at-4-50-28-pm

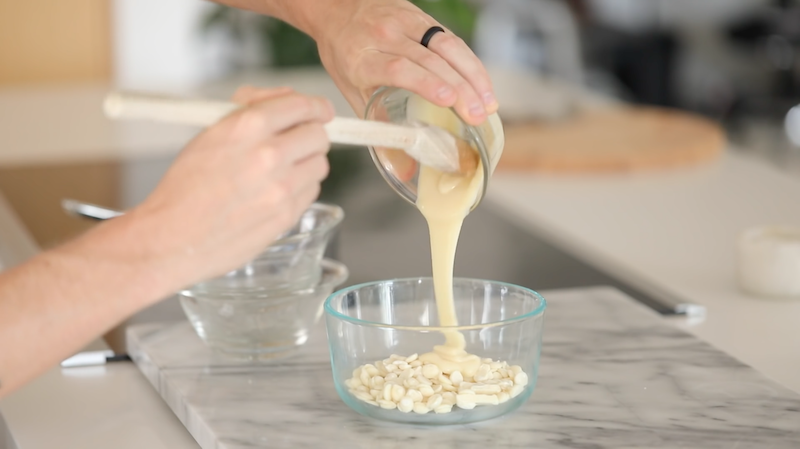
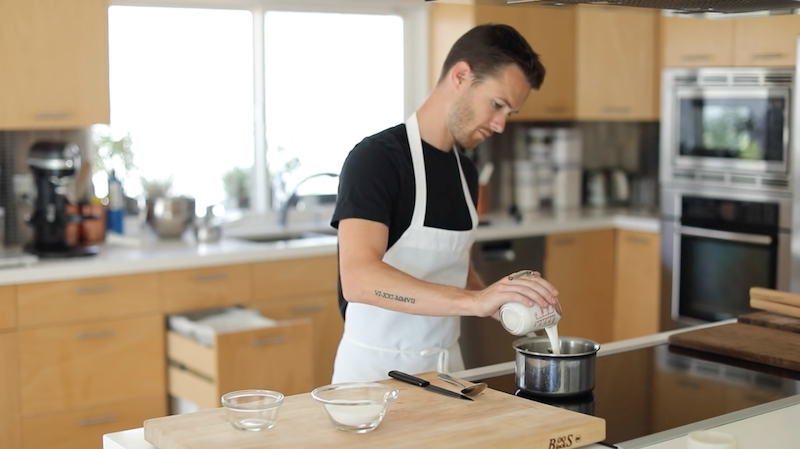
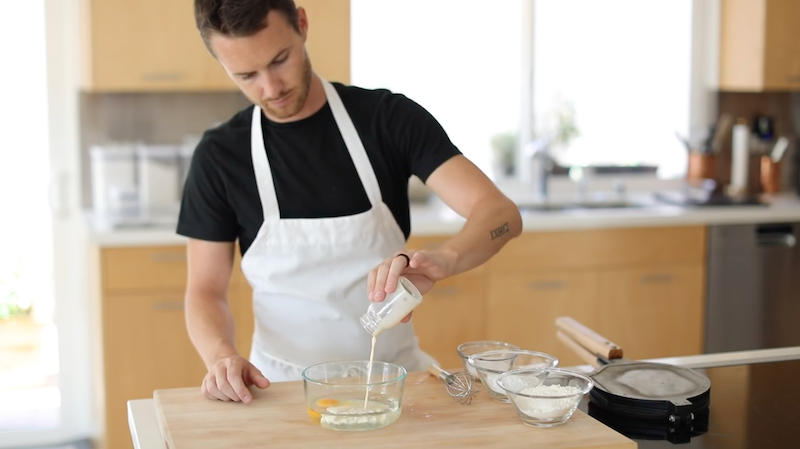
…and 200g sweetened condensed milk.

screen-shot-2016-11-11-at-4-50-57-pm

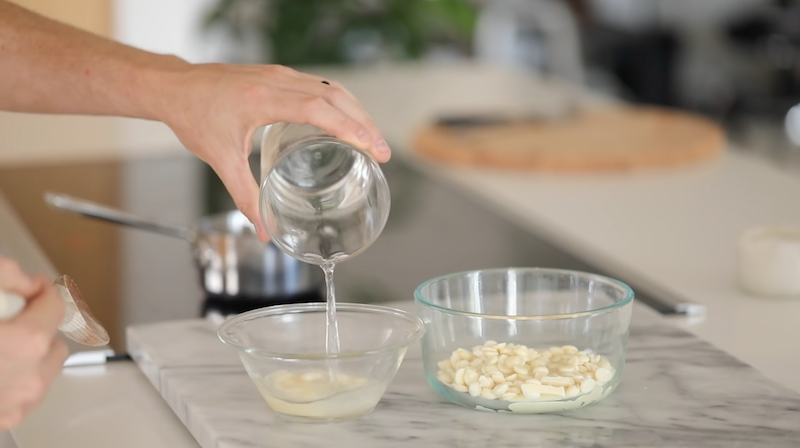
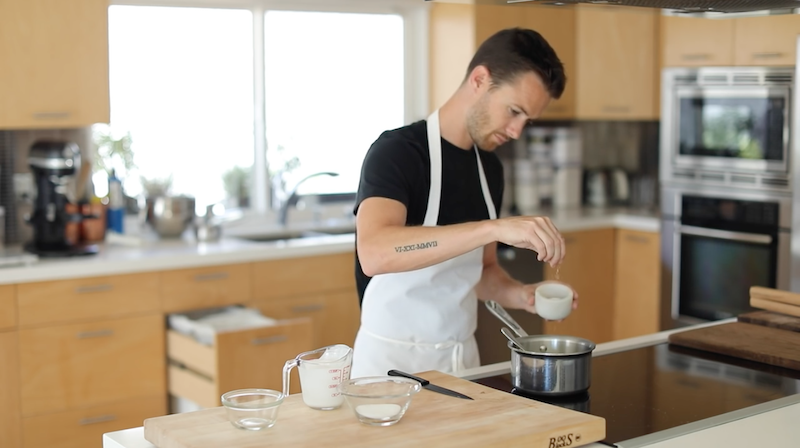
In another small bowl add 120g water and 20g powder gelatin.

screen-shot-2016-11-11-at-4-51-17-pm

Give this a quick mix and let rest for a few minutes.

screen-shot-2016-11-11-at-4-51-30-pm

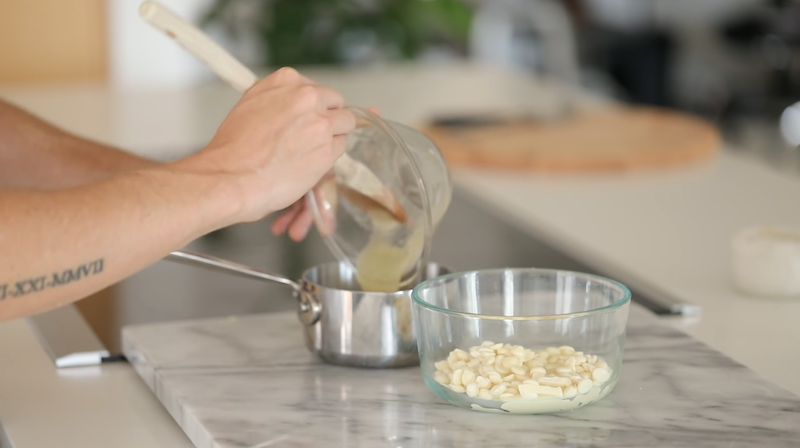
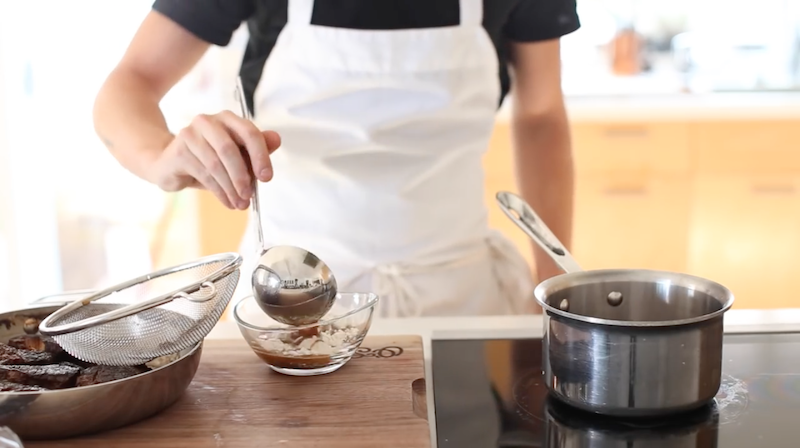
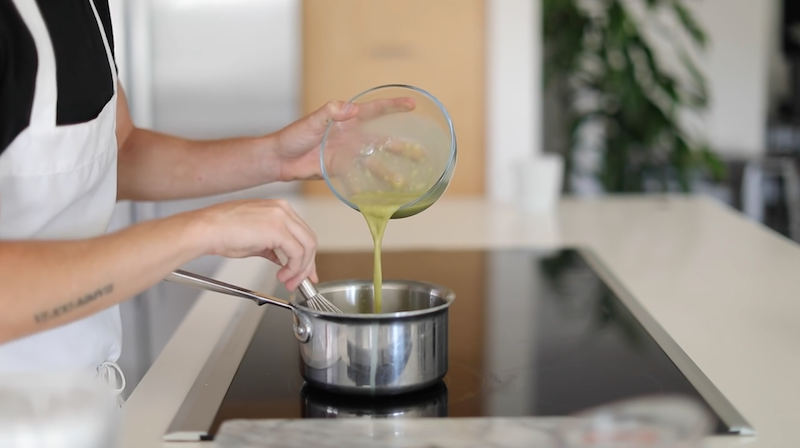
Once the gelatin mixture has thickened up, add it to the hot syrup in the sauce pot.

screen-shot-2016-11-11-at-4-51-44-pm

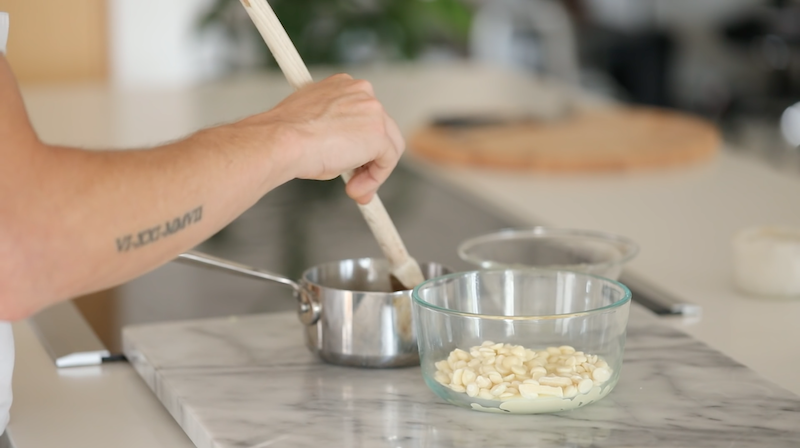
Give the mixture a quick stir until completely incorporated.

screen-shot-2016-11-11-at-4-52-00-pm

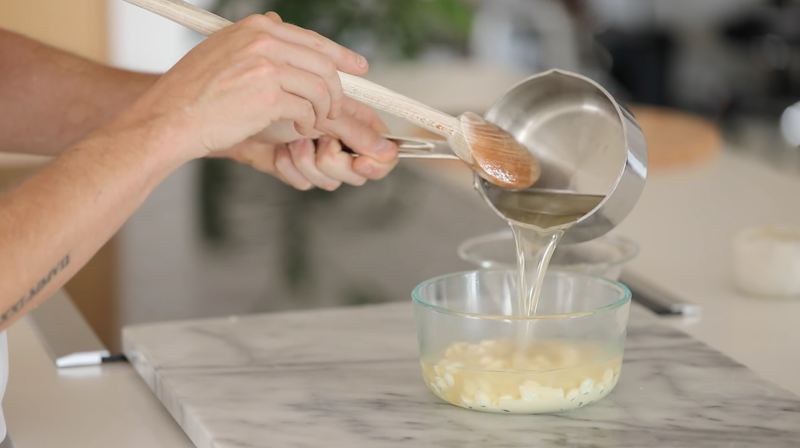
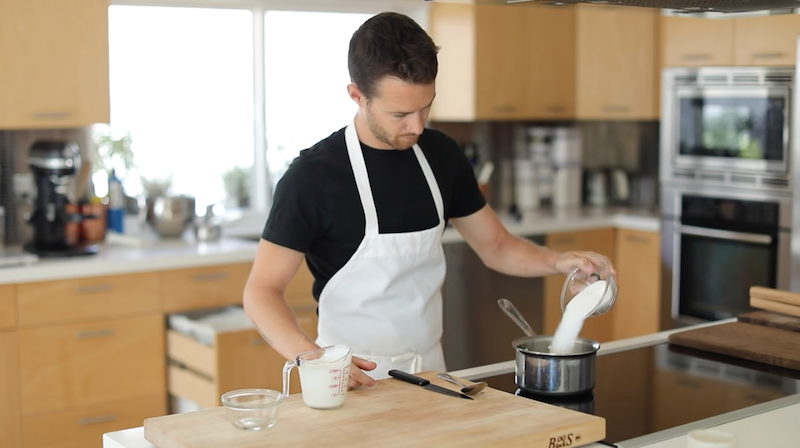
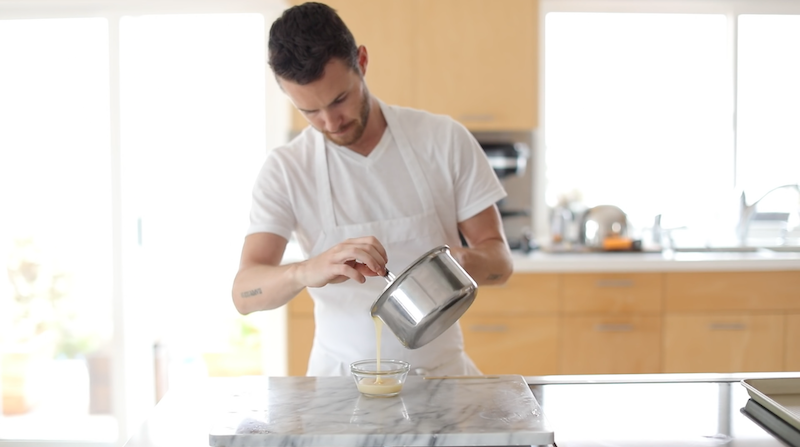
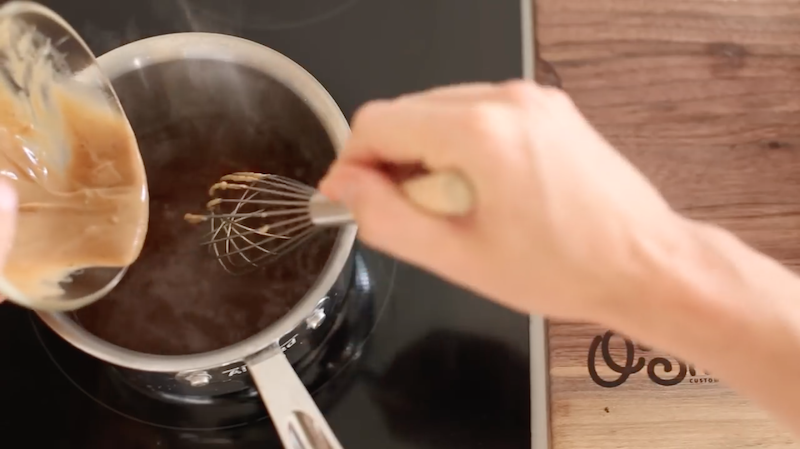
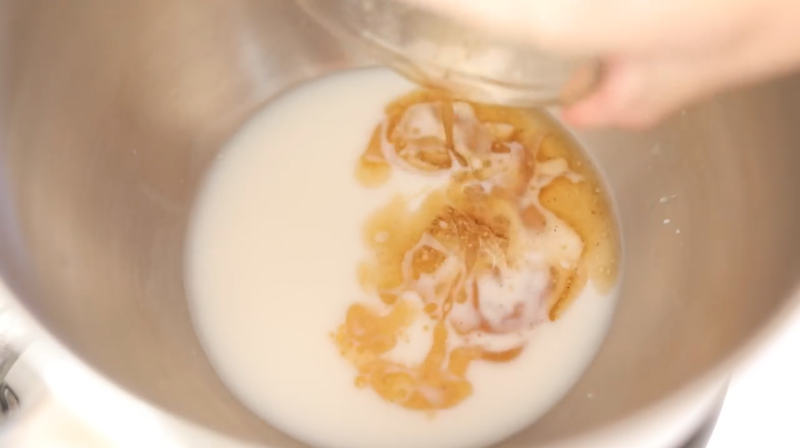
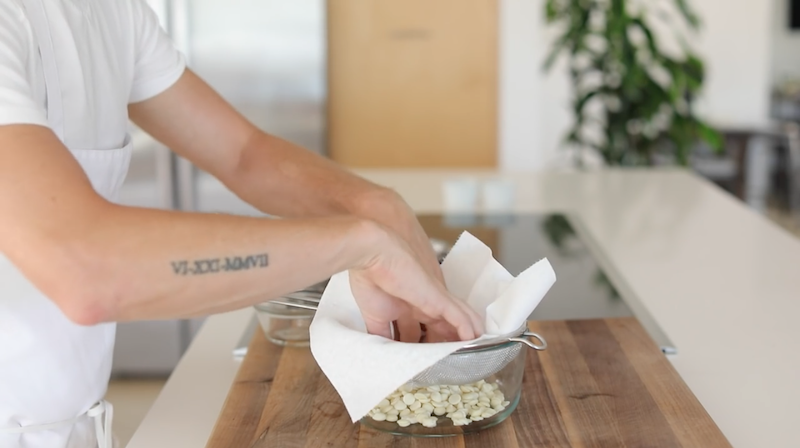
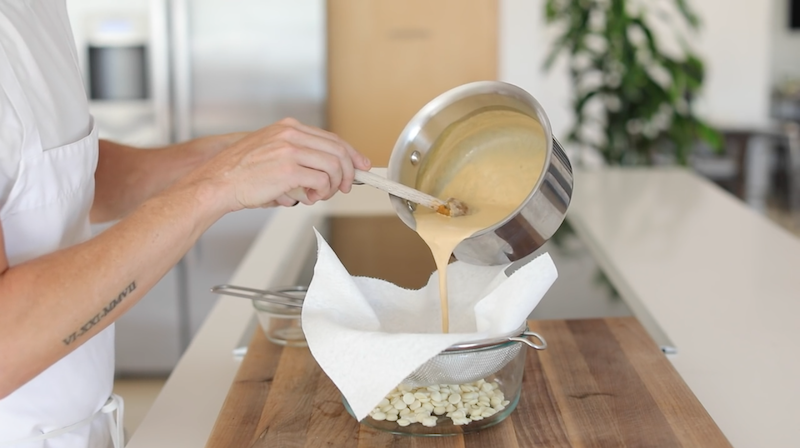
Add the heated liquid over the white chocolate mixture.

screen-shot-2016-11-11-at-4-53-08-pm

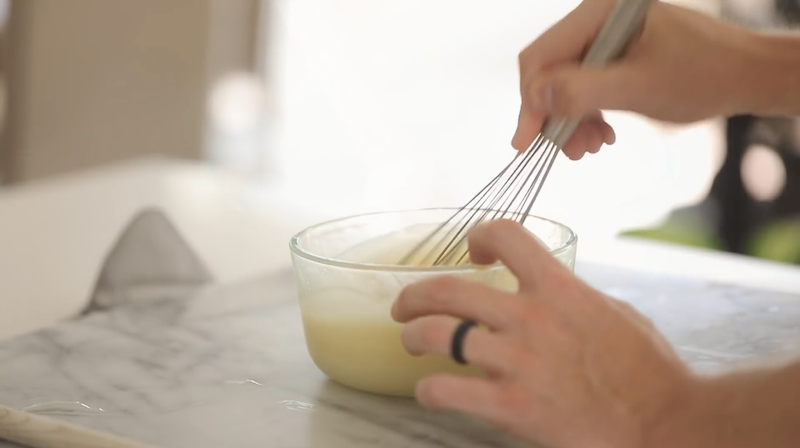
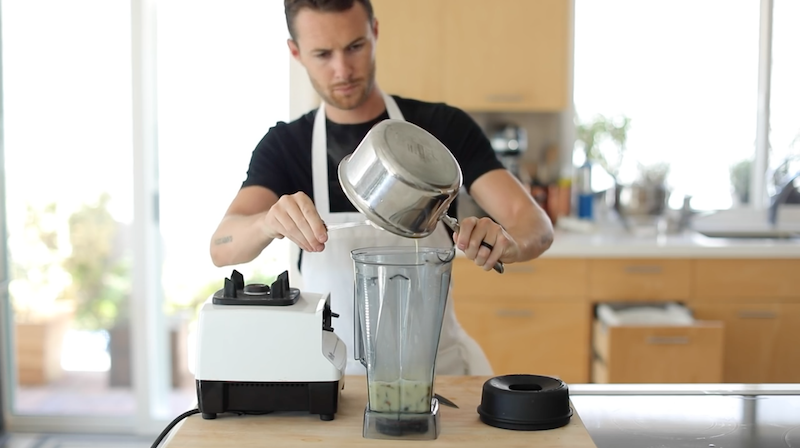
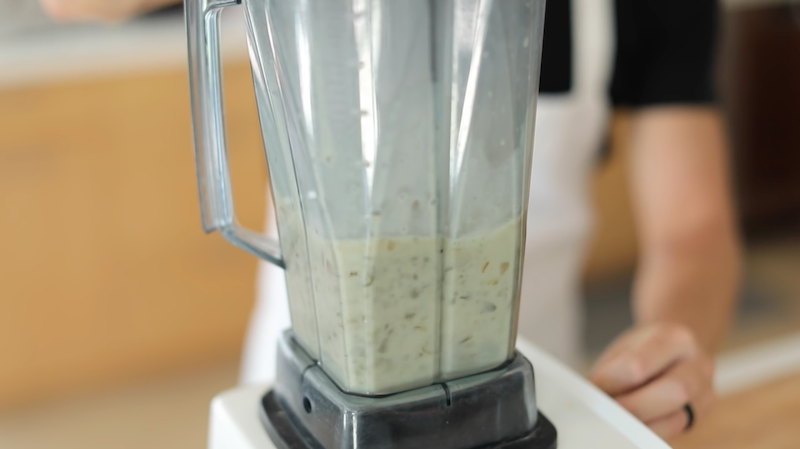
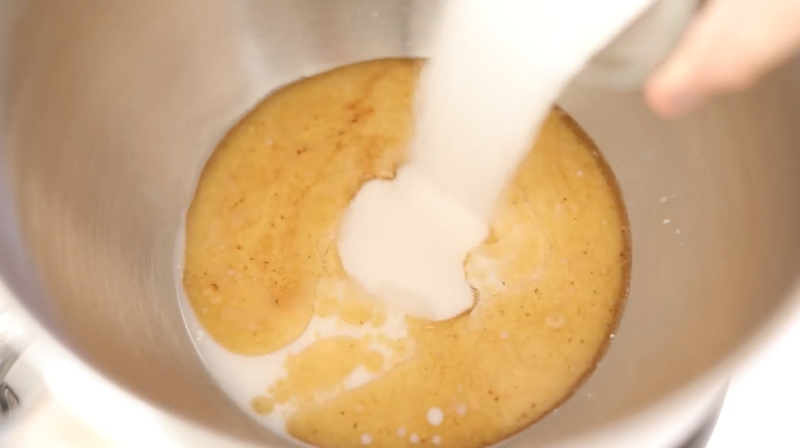
Using a hand blender (or next best thing) incorporate the mixture until it is completely emulsified.

screen-shot-2016-11-11-at-4-53-27-pm

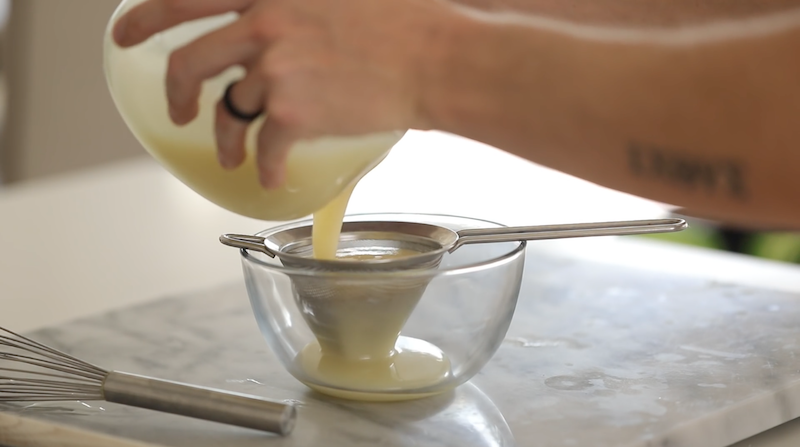
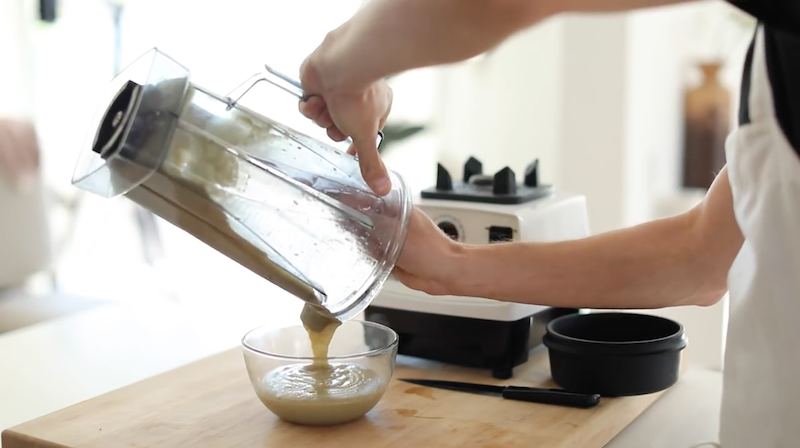
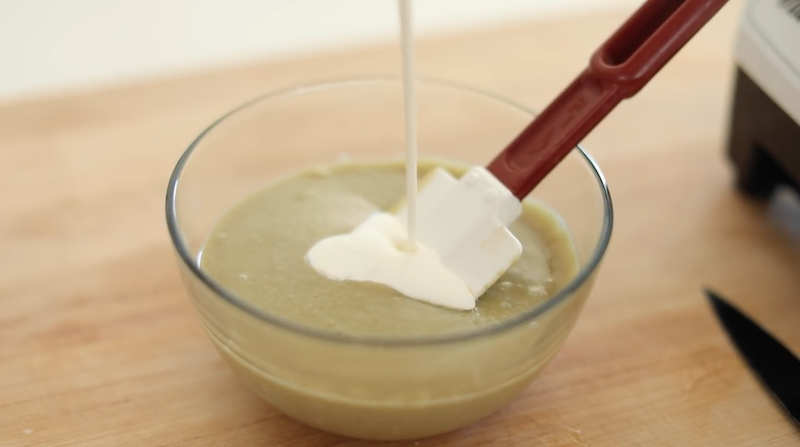
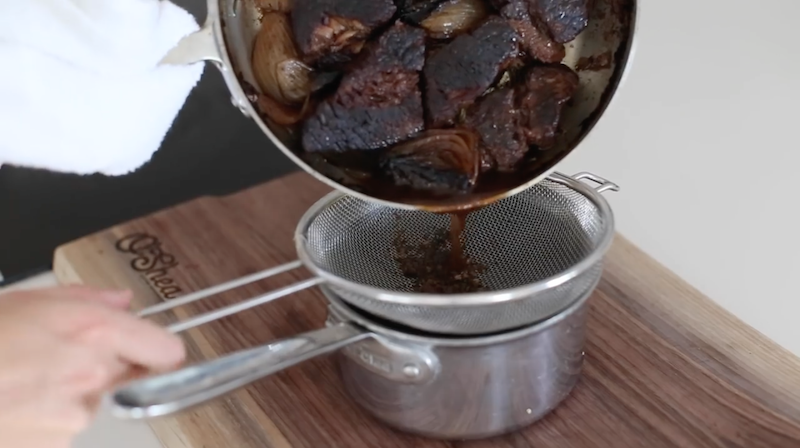
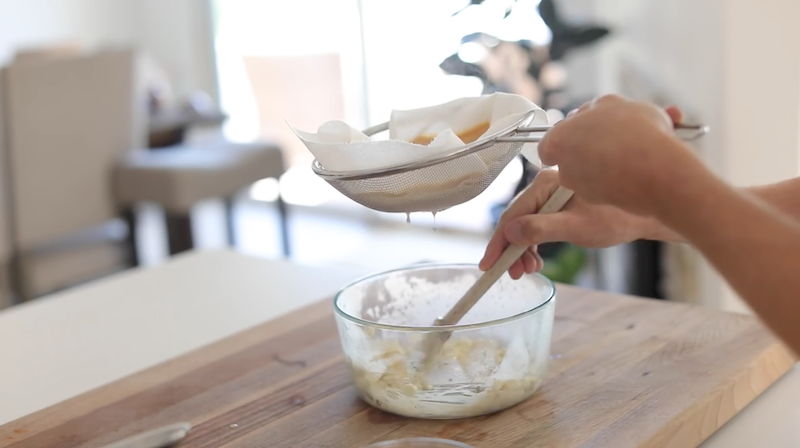
Strain into a bowl using a fine strainer.

screen-shot-2016-11-11-at-4-54-09-pm

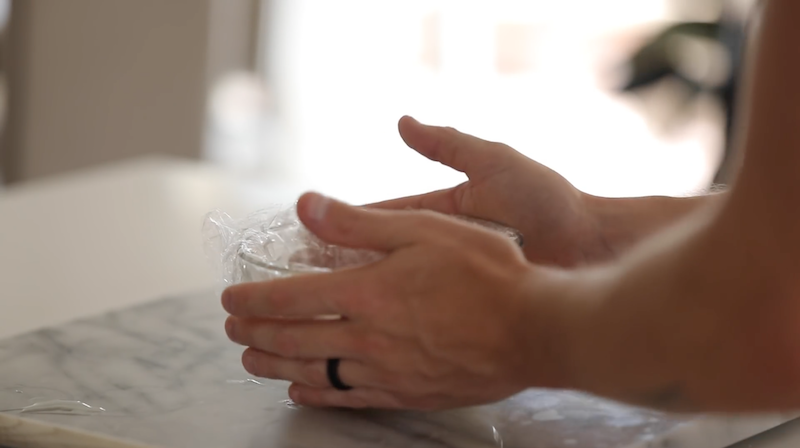
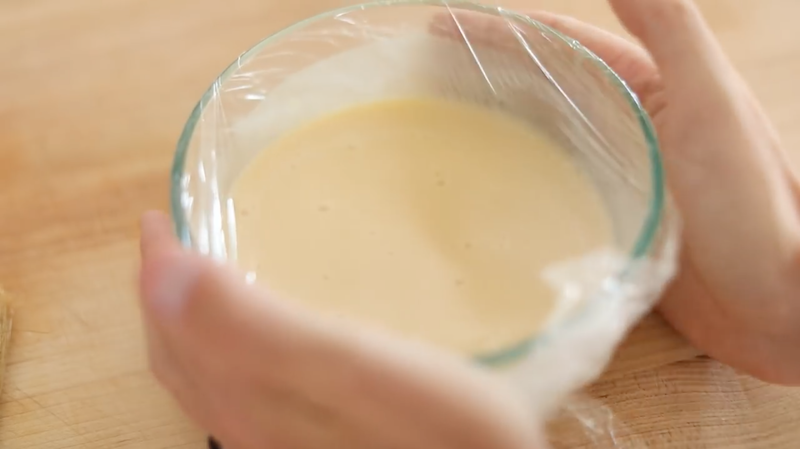
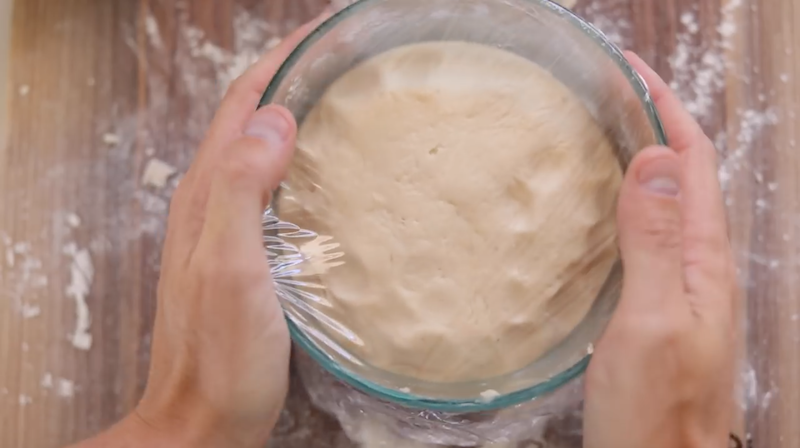
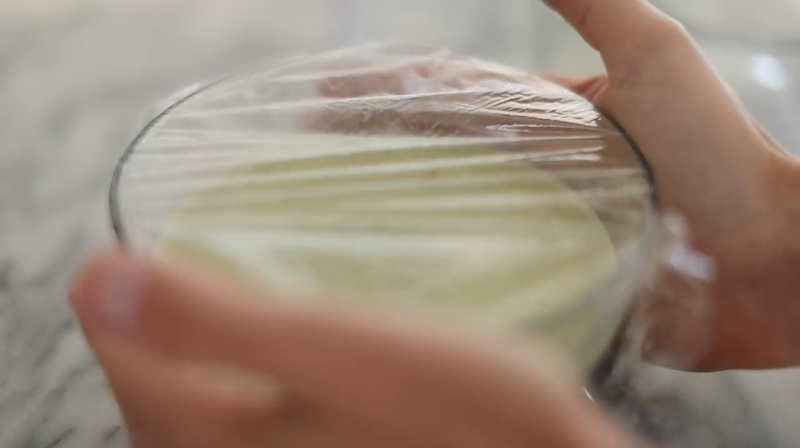
Cover in plastic wrap (making sure the wrap is touching the top layer of the glaze—prevents a top skin from forming), and transfer to the fridge until needed.

screen-shot-2016-11-11-at-4-54-38-pm

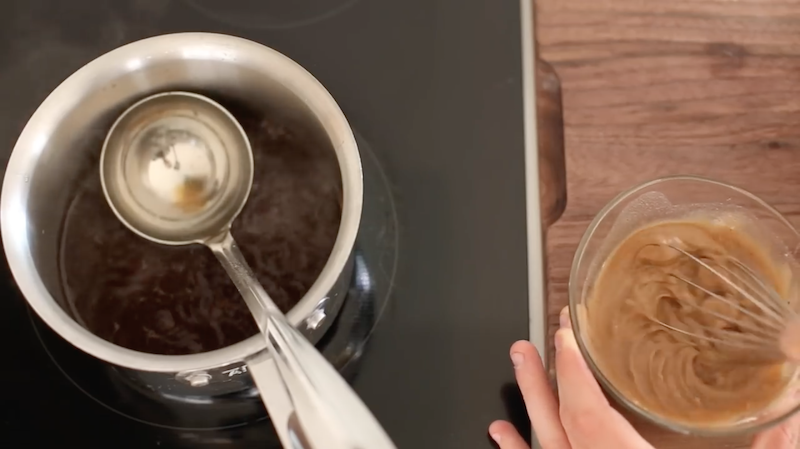
Once ready to glaze, transfer most of the glaze to a sauce pan on low heat and bring up to 75°F—reserving a small amount for an optional decorative finish.

screen-shot-2016-11-11-at-4-56-14-pm

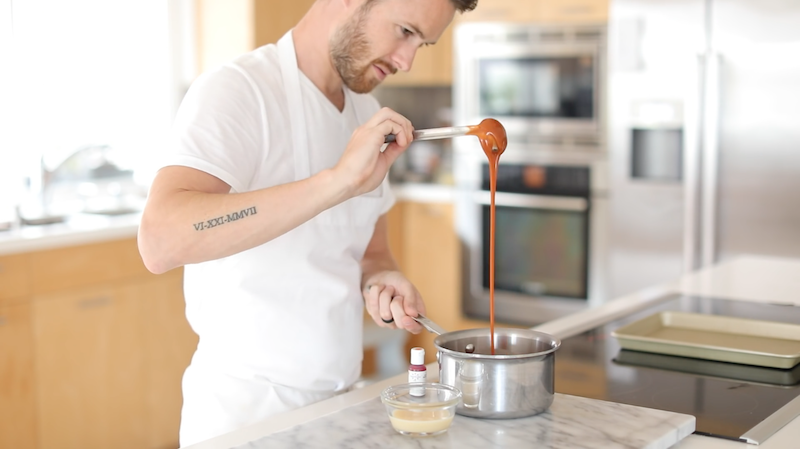
Food coloring is also optional.

screen-shot-2016-11-11-at-4-57-31-pm

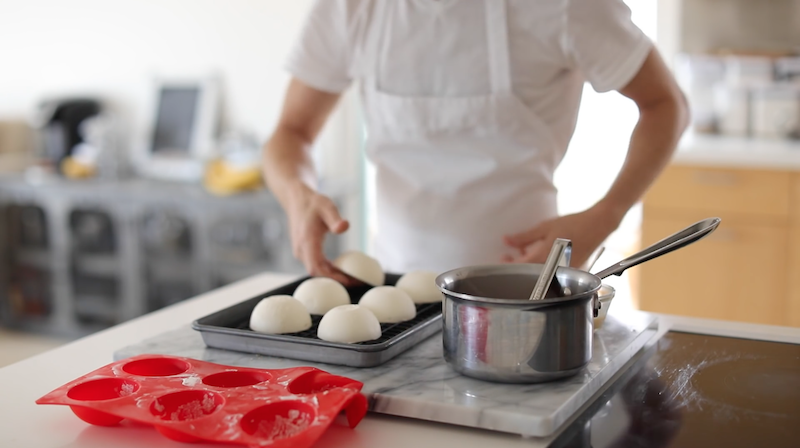
Pop the frozen apple pies out of the molds and place them over a baking sheet topped with a wire cooling rack.

screen-shot-2016-11-11-at-4-58-25-pm

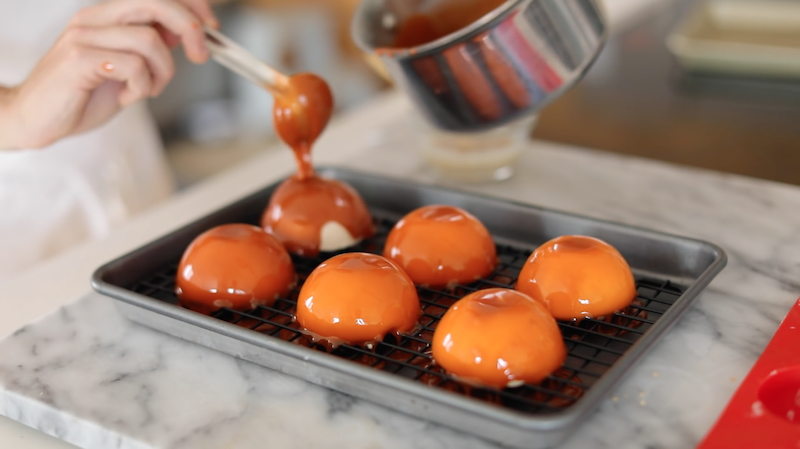
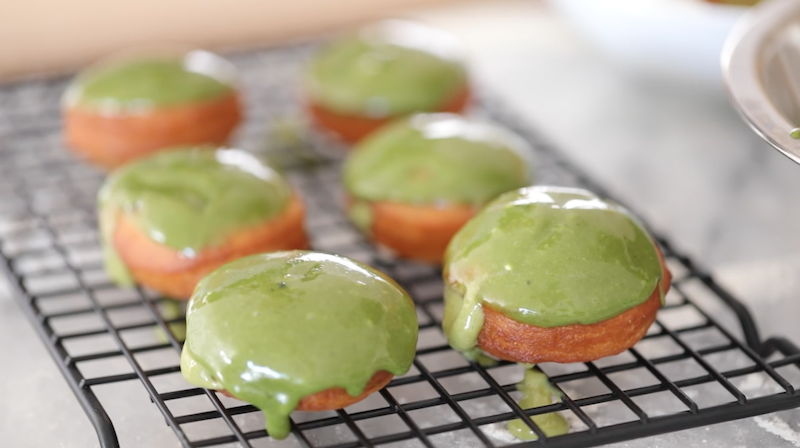
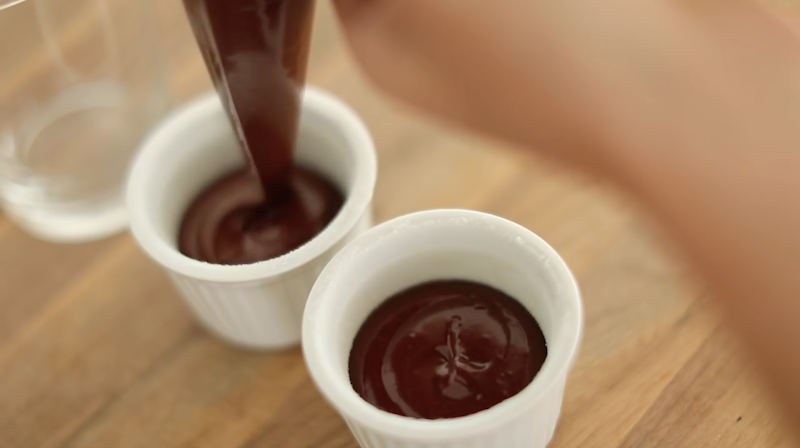
Pour a small amount of glaze onto each half sphere.

screen-shot-2016-11-11-at-4-58-55-pm

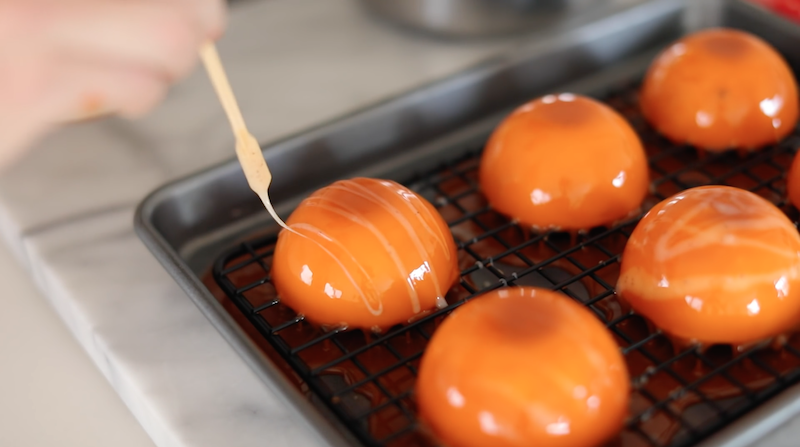
I played around with a drizzle of uncolored glaze, but this is entirely optional and purely cosmetic.

screen-shot-2016-11-11-at-4-59-14-pm

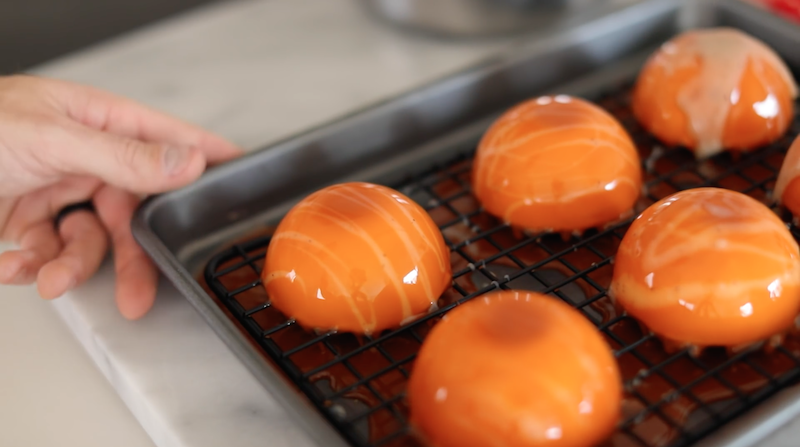
When they’re all coated with the glaze, transfer them to the freezer to set up for 1 hour.

screen-shot-2016-11-11-at-5-00-01-pm

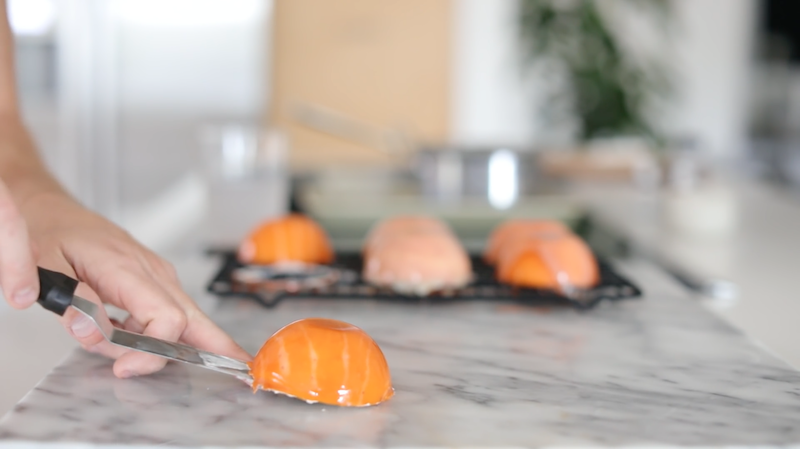
When you’re ready to dig in, remove them from the freezer and transfer them to a cool work surface.

screen-shot-2016-11-11-at-5-00-21-pm

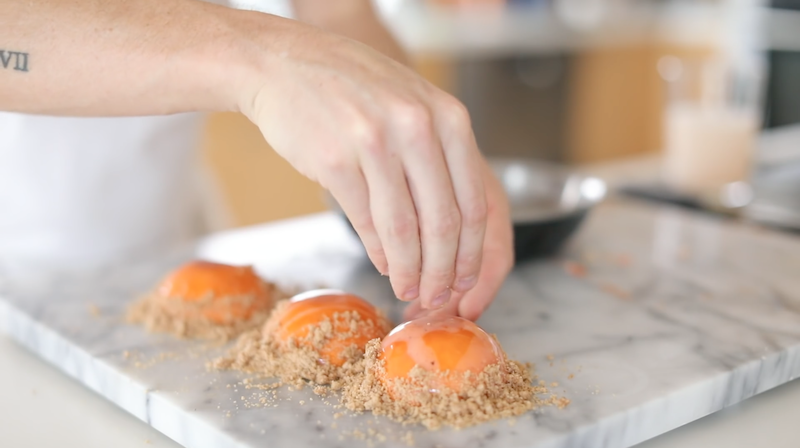
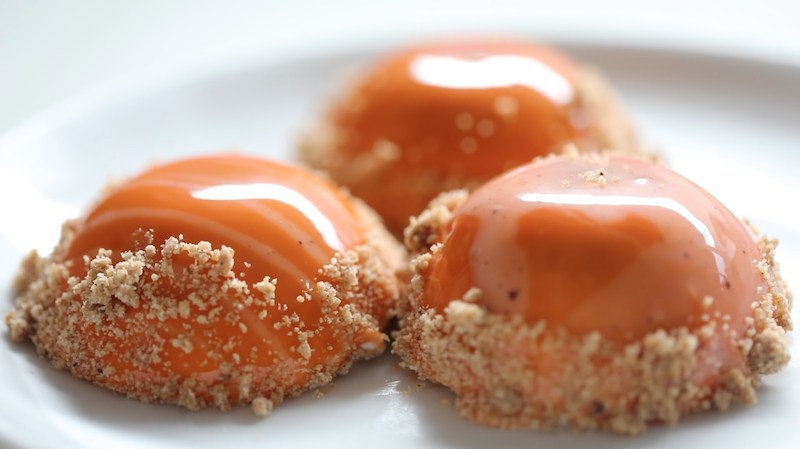
Coat the outside of the glazed apple pie domes with a little bit of the cinnamon crumble and ENJOY! 

screen-shot-2016-11-11-at-5-01-32-pm

[amd-zlrecipe-recipe:97]
screen-shot-2016-11-14-at-12-44-47-pm

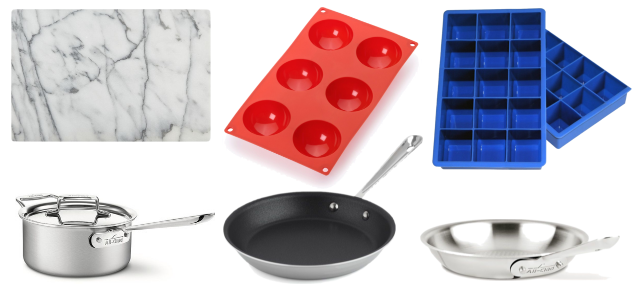
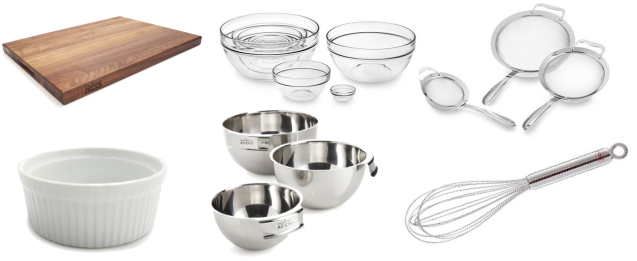
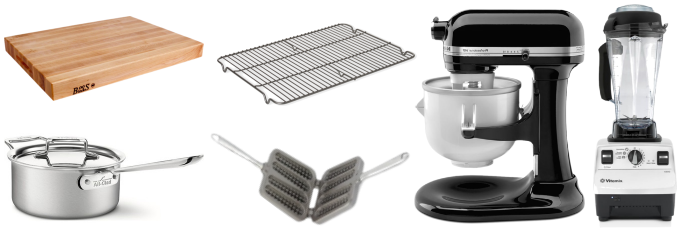
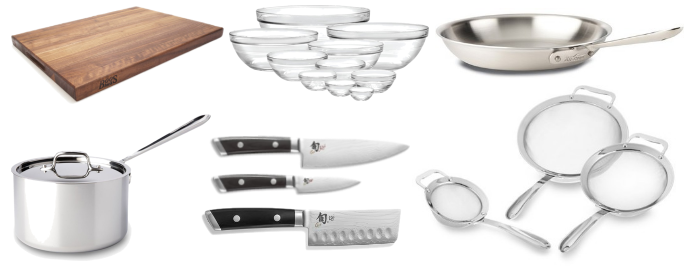
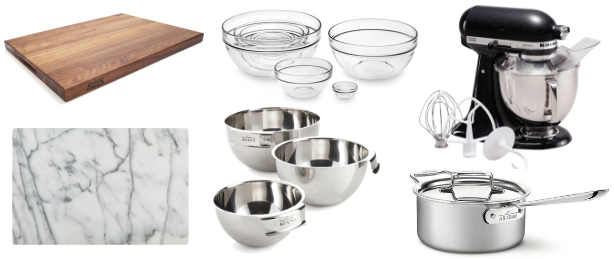
| Top Left: Marble Pastry Slab | Top Middle: Silicone Half -Sphere Mold | Top Right: Silicone Cube Mold |

| Bottom Left: All-Clad Sauce Pan | Bottom Middle: All-Clad Non Stick Fry Pan | Bottom Right: All-Clad Fry Pan |

Main Course

Red Wine Braised Short Ribs

November 2, 2016

This is the type of dish that you tend to want to have seconds, thirds, and if you’re a champ, maybe even a fourth round. I could have this for breakfast, I could have this for lunch, I could even have this for a late night munch! Sorry, I was feeling a little Dr. Seuss rhyme and couldn’t help myself…. Anyways, this recipe is one of my all-time favorites and it always manifests itself in a few different ways, but it is perfect for the fall/winter and basically all year round if you’re down for a hearty meal.

screen-shot-2016-11-02-at-10-39-48-am

In a large sauté pan on medium to high heat, add a drizzle of olive oil…

screen-shot-2016-11-02-at-10-40-19-am

…1 quartered white onion…

screen-shot-2016-11-02-at-10-40-45-am

…and 1 clove of garlic. Let caramelize while you begin to season the beef.

screen-shot-2016-11-02-at-10-41-21-am

Season 2lbs of boneless short ribs with salt and pepper.

screen-shot-2016-11-02-at-10-41-39-am

Transfer to the hot pan.

screen-shot-2016-11-02-at-10-41-59-am

Add 3 bay leaves…

screen-shot-2016-11-02-at-10-42-18-am

…1 tbsp coriander seeds, 1 tbsp fennel seeds…

screen-shot-2016-11-02-at-10-42-49-am

…and 1 sprig rosemary.

screen-shot-2016-11-02-at-10-43-10-am

Let the meat sear for about 5-7 minutes and then turn them over.

screen-shot-2016-11-02-at-10-43-54-am

Top with 1 cup of red wine…

screen-shot-2016-11-02-at-10-44-11-am

…and 3-4 cups beef stock.

screen-shot-2016-11-02-at-10-44-34-am

Remove from the heat, cover in foil, and transfer to an oven at 400°F for 3 hours.

screen-shot-2016-11-02-at-10-45-27-am

About 30-40 minutes before the meat is finished cooking, place 5-6 yukon gold potatoes on a sheet of foil.

screen-shot-2016-11-02-at-10-46-01-am

Drizzle with olive oil…

screen-shot-2016-11-02-at-10-46-56-am

…and season with salt.

screen-shot-2016-11-02-at-10-47-31-am

Wrap in foil and transfer to the same oven and cook for 45-60 minutes, or until the potatoes are tender.

screen-shot-2016-11-02-at-10-47-50-am

When the short ribs are done braising, remove them from the oven.

screen-shot-2016-11-02-at-10-48-31-am

Strain the braising liquid from the pan into a medium sauce pot. Place the sauce pot on medium heat and bring to a simmer.

screen-shot-2016-11-02-at-10-49-45-am

In a separate bowl add 2 tbsp of all-purpose flour…

screen-shot-2016-11-02-at-10-49-56-am

…and a ladle of the braising liquid.

screen-shot-2016-11-02-at-10-50-23-am

Whisk vigorously, or until it becomes very smooth.

screen-shot-2016-11-02-at-10-50-51-am

 Transfer the mixture back into the simmering braising liquid and give it a good whisk to remove any clumps.

screen-shot-2016-11-02-at-10-52-25-am

Place the braised short ribs into the sauce pan and continue to simmer.

screen-shot-2016-11-02-at-10-53-03-am

Remove the fork tender potatoes from the oven and transfer them to a separate pan.

screen-shot-2016-11-02-at-10-53-34-am

Give them all (or in my case one since I’m making a single serving) a good mash with the bottom of a fork.

screen-shot-2016-11-02-at-10-54-15-am

Take a large bunch of asparagus and quarter each piece.

screen-shot-2016-11-02-at-10-55-40-am

Add them to the pan along with a drizzle of olive oil, salt and pepper to taste. Transfer to the oven and broil for 5-7 minutes, or until cooked to your preference.

screen-shot-2016-11-02-at-10-56-17-am

Once everything has finished cooking begin to plate—starting with the crispy potatoes…

screen-shot-2016-11-02-at-10-57-06-am

…roasted asparagus…

screen-shot-2016-11-02-at-10-57-21-am

…super tender braised short rib…

screen-shot-2016-11-02-at-10-57-52-am

…and a few spoonfuls of the red wine gravy.

screen-shot-2016-11-02-at-10-59-44-am

Top with some julienned radishes and chives (optional).

screen-shot-2016-11-02-at-10-59-00-am

Another spoonful of gravy and all that’s left to do is enjoy!  

screen-shot-2016-11-02-at-10-59-18-am  

[amd-zlrecipe-recipe:96]

screen-shot-2016-11-02-at-11-23-44-am

| Top Left: Cutting Board | Top Middle: Glass Bowl Set | Top Right: All-Clad Pan |

| Bottom Left: All-Clad Sauce Pan | Bottom Middle: Shun Kaji Knives | Bottom Right: Strainers |

Breakfast, Desserts

Matcha Glazed & Filled Donuts

November 2, 2016

I had so many of you ask me to play around with some matcha and donuts are my first casualty. These have to be one of the most vibrant, unique flavored donuts that have ever come out of my kitchen and they’re just too good to be true…but not…because they are true and delicious and you have to make them. If you whip up some of these for your friends and family (especially the matcha lovers) they will flip out. Go and matcha everything you see in sight, then report back to me. Sound good?

screen-shot-2016-10-24-at-5-50-28-pm

In a stand electric mixer, or large bowl, add 1/2 cup almond milk…

screen-shot-2016-10-24-at-5-50-39-pm

…1/2 cup warm water…

screen-shot-2016-10-24-at-5-50-57-pm

…1/4 cup melted brown butter…

screen-shot-2016-10-24-at-5-51-11-pm

…1/4 cup sugar…

screen-shot-2016-10-24-at-5-51-23-pm

…and 1/2 tbsp dry active yeast.

screen-shot-2016-10-24-at-5-51-52-pm

Give this a quick stir and let sit for 10-15 minutes, or until it becomes frothy.

screen-shot-2016-10-24-at-5-52-15-pm

Next add 2 cups bread flour and begin to kneed on low to medium speed for 5-7 minutes, or until it forms into a very stretchy ball of dough.

screen-shot-2016-10-24-at-5-53-27-pm

Transfer the dough to a lightly floured work surface.

screen-shot-2016-10-24-at-5-54-25-pm

Kneed the for 1 minute, forming the shape of a ball.

screen-shot-2016-10-24-at-5-55-01-pm

Place the ball of dough into a medium bowl grease with butter, or vegetable oil, and toss the dough around until you’ve lightly grease each side.

screen-shot-2016-10-24-at-5-55-25-pm

Cover in plastic and allow to double in size (warm spaces work best). It should take about 1 hour.

screen-shot-2016-10-24-at-5-55-40-pm

As the dough is proofing, place a small sauce pan on medium to low heat and add 1 cup almond milk…

screen-shot-2016-10-24-at-5-55-49-pm

…1/2 cup sugar…

screen-shot-2016-10-24-at-5-55-58-pm

…1 tbsp matcha powder…

screen-shot-2016-10-24-at-5-56-14-pm

…and 1 tbsp vanilla extract.

screen-shot-2016-10-24-at-5-56-41-pm

Give this a quick whisk and bring the mixture up to a simmer.

screen-shot-2016-10-24-at-5-57-04-pm

While it rises in temperature, whisk in 3 tbsp corn starch, just a little at a time to avoid lumps. 

screen-shot-2016-10-24-at-5-57-27-pm

In a separate bowl containing 1 whole egg, quickly whisk in 1-2 ladles of the hot custard mixture.

screen-shot-2016-10-24-at-5-57-47-pm

Once the mixture in thoroughly incorporated and the egg is tempered…

screen-shot-2016-10-24-at-5-58-00-pm

…transfer the mixture back into the sauce pot.  

screen-shot-2016-10-24-at-5-58-16-pm

Whisk vigorously and allow to simmer for another 2 minutes before transferring to a mixing bowl…

screen-shot-2016-10-24-at-5-59-05-pm

…covering in plastic, and moving to the fridge to set up.


screen-shot-2016-10-24-at-5-59-41-pm

While that sets up, begin making the matcha glaze by adding 2 tsp matcha powder…

screen-shot-2016-10-24-at-5-59-22-pm
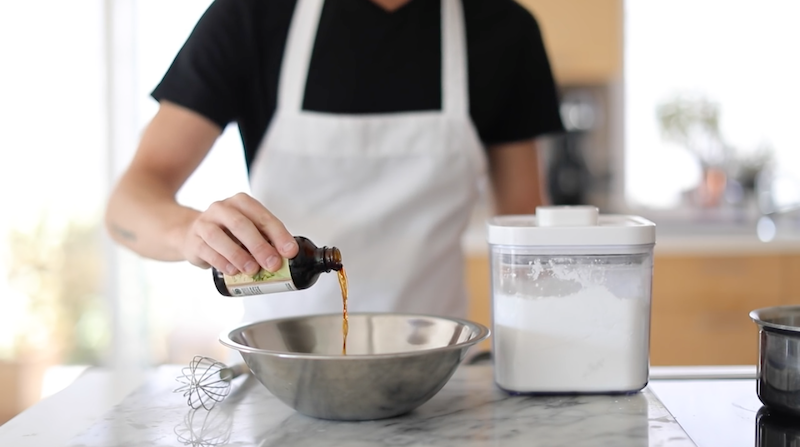
…1 tsp vanilla extract…

screen-shot-2016-10-24-at-5-59-54-pm

…1 cup powdered sugar…

screen-shot-2016-10-24-at-6-00-10-pm

…and 2 tbsp almond milk to a medium mixing bowl.

screen-shot-2016-10-24-at-6-00-36-pm

Whisk until the glaze is thoroughly combined and set aside.

screen-shot-2016-10-24-at-6-01-55-pm

Transfer the yielded dough to a floured work surface and begin to kneed into a ball.

screen-shot-2016-10-24-at-6-02-20-pm

Dust with flour as needed and lightly flatten the dough with your hands.

screen-shot-2016-10-24-at-6-02-51-pm

Using a roller, roll out to about 1/4” thickness…

screen-shot-2016-10-24-at-6-03-08-pm

…cover with a damp towel…

screen-shot-2016-10-24-at-6-03-21-pm

…and let it rise for 20 minutes.

screen-shot-2016-10-24-at-6-03-43-pm

Once the dough has proofed, lightly flour the end of a ring cutter and begin punching out your donuts.

screen-shot-2016-10-24-at-6-04-01-pm

Place each dough round in a pot of canola oil heated to 350°F.

screen-shot-2016-10-24-at-6-04-16-pm

Fry for 2-3 minutes on each side, or until they’re a medium golden brown (if you overcook it will be more difficult to fill the doughnuts).

screen-shot-2016-10-24-at-6-04-41-pm

Transfer to a paper towel to drain and cool.

screen-shot-2016-10-24-at-6-05-01-pm

When the doughnuts are cool enough to handle, use a piping bag filled with the matcha custard to carefully inject each donut with the delicious filling. 

screen-shot-2016-10-24-at-6-06-13-pm

Lastly dip each filled donut into the matcha glaze, let sit for about a minute to set up, and ENJOY!

screen-shot-2016-10-24-at-6-06-37-pm

[amd-zlrecipe-recipe:95]

screen-shot-2016-10-24-at-6-16-55-pm

| Top Left: Cutting Board | Top Middle: Glass Mixing Bowls | Top Right: KitchenAid Mixer |

| Bottom Left: Marble Pastry Slab | Bottom Middle: Metal Mixing Bowls |Bottom Right: All-Clad Sauce Pan |

Desserts

Pumpkin Spice Chocolate Lava Cake

November 2, 2016

Pumpkin spice latte who? This is where all my pumpkin spice efforts are going to be focused this fall because this is one amazing and decadent little treat. Who in for Pumpkin Spice Chocolate Lave Cake? Let’s dive in!

screen-shot-2016-10-24-at-5-08-51-pm

In a sauce pot on medium heat add in 1/3 cup cream…

screen-shot-2016-10-24-at-5-09-08-pm

…pumpkin pie spices (1 tsp ground clove, 1 tsp ground cinnamon, 1 tsp ground all spice, 2 tsp ground ginger, 1 tsp ground nutmeg)…

screen-shot-2016-10-24-at-5-09-33-pm

…and 2 tbsp pumpkin puree.

screen-shot-2016-10-24-at-5-10-05-pm

Give this a good mix and cook until it begins to simmer. Once it simmers remove it from the heat.

screen-shot-2016-10-24-at-5-10-20-pm

In a separate bowl add 1 cup white chocolate chips.

screen-shot-2016-10-24-at-5-10-33-pm

Cover with an extra fine strainer (I used a paper towel since mine wasn’t very fine).

screen-shot-2016-10-24-at-5-10-52-pm

Begin to pour the pumpkin cream over the white chocolate chips.

screen-shot-2016-10-24-at-5-11-31-pm

If you want a stronger pumpkin flavor, feel free to add a spoonful or two of pumpkin puree pulp left over from straining.

screen-shot-2016-10-24-at-5-12-02-pm

Give this a good mix until the chocolate chips are melted.

screen-shot-2016-10-24-at-5-12-16-pm

Once the chocolate is incorporated add 1 egg yolk…

screen-shot-2016-10-24-at-5-12-42-pm

…and 2 tbsp of all purpose flour.

screen-shot-2016-10-24-at-5-13-32-pm

Give this a quick mix before placing it in the freezer for 3-4 hours, or until it’s completely frozen.

screen-shot-2016-10-24-at-5-24-50-pm

When the filling is almost frozen, begin making the lava cake batter by combing 2 whole eggs, 2 egg yolks, and 1/3 cup sugar in a large mixing bowl.

screen-shot-2016-10-24-at-5-25-18-pm

Mix for 5 minutes or until it’s fluffy and pale.

screen-shot-2016-10-24-at-5-25-35-pm

Add in 1/2 cup melted dark chocolate (I microwaved mine for about 2 minutes at half power).

screen-shot-2016-10-24-at-5-26-05-pm

Next add 3 tbsp all purpose flour and a pinch of salt.

screen-shot-2016-10-24-at-5-27-07-pm

Mix until the ingredients are thoroughly combined.

screen-shot-2016-10-24-at-5-27-58-pm

Next up, butter up a few ramekins…

screen-shot-2016-10-24-at-5-28-40-pm

…and coat in sugar to prevent the cake from sticking to the dish.

screen-shot-2016-10-24-at-5-29-15-pm

Transfer the molten lava cake batter to a piping bag and fill the ramekins about halfway up the sides.

screen-shot-2016-10-24-at-5-29-44-pm
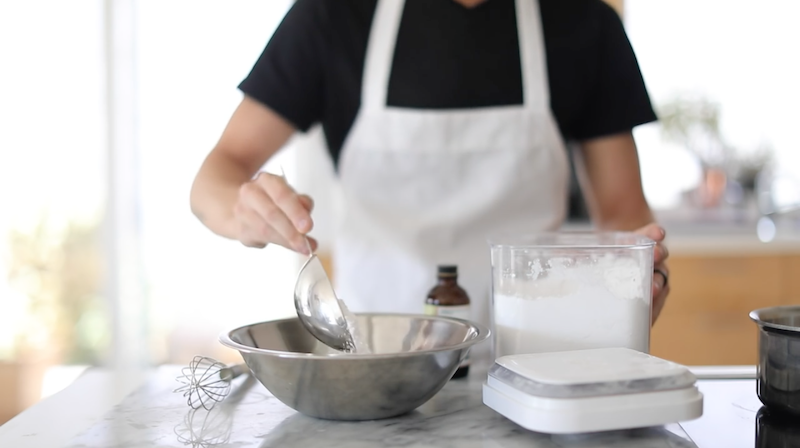
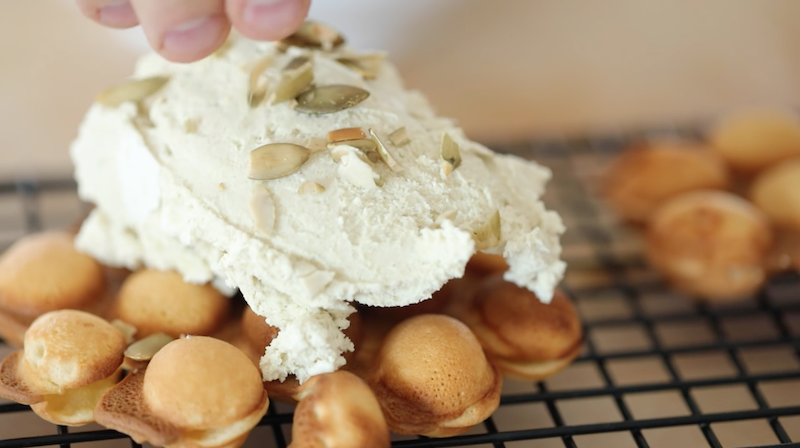
Take a small scoop of the frozen pumpkin spice filling and place in into the center of the batter.

screen-shot-2016-10-24-at-5-30-11-pm

Top with a bit more cake batter and pop these in a 375ºF oven for 10-15 minutes.

screen-shot-2016-10-24-at-5-30-54-pm

The lower end of the spectrum will result in more of a molten cake and the higher end a firmer, fully bake cake. It’s all about preference!

screen-shot-2016-10-24-at-5-31-33-pm

Once the cakes are finished baking take them out of the oven and let them cool for 3-4 minutes.

screen-shot-2016-10-24-at-5-32-00-pm

Flip them over and out of the ramekin or eat them straight from the dish. Either way, dig in and ENJOY!

screen-shot-2016-10-24-at-5-32-21-pm

[amd-zlrecipe-recipe:94]

screen-shot-2016-10-24-at-5-41-44-pm

| Top Left: Boos Cutting Board | Top Middle: Glass Mixing Bowls | Top Right: All-Clad Strainer |

| Bottom Left: Ramekin | Bottom Middle: All-Clad Mixing Bowls | Bottom Right: Whisk |

Main Course

$1 Spicy Zucchini Salad

November 2, 2016

My Spicy Zucchini Salad is a super FRESH addition to my meals for a buck series! If you’re looking for something that is light, but full of zesty flavor and goodness, not to mention less than $1 to make…this one’s for you and it takes almost no time at all to make! Let’s dive in.

screen-shot-2016-10-24-at-4-39-35-pm

Using a mandolin or chef’s nice, slice half of a large zucchini (ends trimmed) into very thin sheets.

screen-shot-2016-10-24-at-4-40-43-pm

Then take those slices and had them lengthwise.

screen-shot-2016-10-24-at-4-41-22-pm

Repeat this process with a halved Persian cucumber and then add the sliced veggies to a large bowl.

screen-shot-2016-10-24-at-4-42-18-pm

Add 1/2 of a chopped jalapeño…

screen-shot-2016-10-24-at-4-42-48-pm

…and 1 tbsp chopped cilantro.

screen-shot-2016-10-24-at-4-43-29-pm

Top with 1 tbsp lime juice…

screen-shot-2016-10-24-at-4-43-55-pm

…a few pinches of salt…

screen-shot-2016-10-24-at-4-44-11-pm

…and fresh cracked pepper.

screen-shot-2016-10-24-at-4-44-29-pm

Drizzle with 2 tbsp olive oil…

screen-shot-2016-10-24-at-4-45-43-pm

…and give this a good toss.

screen-shot-2016-10-24-at-4-46-34-pm

Transfer the salad to a serving bowl.

screen-shot-2016-10-24-at-4-46-55-pm

Top with an extra squeeze of lime…

screen-shot-2016-10-24-at-4-47-39-pm

…and add another dash of pepper.

screen-shot-2016-10-24-at-4-47-58-pm

All that’s left to do is ENJOY this zesty and thrifty salad!

[amd-zlrecipe-recipe:93]

screen-shot-2016-10-24-at-4-58-53-pm

| Top Left: Walnut Cutting Board | Top Middle: Glass Bowl Set | Top Right: Mandoline |

| Bottom Left: Pinch Bowl | Bottom Middle: Mixing Bowls | Bottom Right: Shun Kaji Knives |

Breakfast, Desserts

Bubble Waffles & Pumpkin Seed Ice Cream

November 2, 2016

This is a bubbly one!! Sweet, crispy, chewy morsels of waffle cone-like bubbles topped with creamy pumpkin seed ice cream that will make you look at the inside of a pumpkin a whole lot different this fall…maybe just a little, but different none the less…Anyways, PUMPKIN SEEDS ARE AWESOME!! Sorry for my culinary nerdiness, but i’m a little obsessed over them and there are about to be zillions of these little crisp buttery seeds everywhere for fall. Take full advantage it while you can!

screen-shot-2016-10-24-at-3-38-56-pm

Starting with the toasted pumpkin seed ice cream, in a small sauce pot on low to medium grease the pan with a pad butter…

screen-shot-2016-10-24-at-3-39-21-pm

…and add in 1/4 cup shelled pumpkin seeds. Roast the seeds for 3-4 minutes and reduce to low heat.

screen-shot-2016-10-24-at-3-39-55-pm

Once the heat is reduced add in 1 1/2 cups cream…

screen-shot-2016-10-24-at-3-40-15-pm

…1/3 cup sugar…

screen-shot-2016-10-24-at-3-40-46-pm

…and a pinch of salt. Bring to a simmer.

screen-shot-2016-10-24-at-3-42-08-pm

In a separate bowl containing 1 egg, whisk in 1-2 ladles of the simmering cream.

screen-shot-2016-10-24-at-3-43-51-pm

Whisk quickly to avoid cooking the egg.

screen-shot-2016-10-24-at-3-44-19-pm

Once incorporated transfer the tempered egg mixture back into the simmering cream.

screen-shot-2016-10-24-at-3-45-00-pm

Give this a good mix and continuing cooking for 2-3 minutes on medium heat.

screen-shot-2016-10-24-at-3-45-20-pm

Transfer the heated mixture to a blender.

screen-shot-2016-10-24-at-3-45-46-pm

Blend on high speed until perfectly smooth.

screen-shot-2016-10-24-at-3-46-06-pm
Pour the ice cream mixture into a bowl.

screen-shot-2016-10-24-at-3-46-31-pm

Mix in the remaining 1/2 cup of cream and transfer to the refrigerator to cool to 40ºF.

screen-shot-2016-10-24-at-3-47-36-pm

Once the mixture has cooled, transfer to an ice cream maker and churn accordingly (my KitchenAid takes about 15 minutes).

screen-shot-2016-10-24-at-3-50-20-pm

After the mixture is whipped, transfer it to the freezer to set up for about 45 minutes.

screen-shot-2016-10-24-at-3-50-50-pm

Begin making the waffles by adding the ingredients to a medium mixing bowl—starting with 1 whole egg…

screen-shot-2016-10-24-at-3-51-05-pm

…2/3 cup water…

screen-shot-2016-10-24-at-3-51-20-pm

…2 tbsp evaporated milk…

screen-shot-2016-10-24-at-3-51-35-pm

…a pinch of salt…

screen-shot-2016-10-24-at-3-51-58-pm

…1 tbsp tapioca flour…

screen-shot-2016-10-24-at-3-52-09-pm

…2/3 cup sugar and 3/4 cup all purpose flour…

screen-shot-2016-10-24-at-3-52-27-pm

 …1 tbsp custard powder…

screen-shot-2016-10-24-at-3-52-38-pm

…and 1 tsp baking powder.

screen-shot-2016-10-24-at-3-53-07-pm

Whisk until smooth.

screen-shot-2016-10-24-at-3-53-36-pm

Cover in plastic, and transfer to the fridge to rest for 1 hour.

screen-shot-2016-10-24-at-3-54-18-pm

Once batter is rested, remove it from the fridge and give it a good mix.

screen-shot-2016-10-24-at-3-54-43-pm

Give your pre-heated bubble waffle iron (electric or analog like mine) a good brush of canola or vegetable oil to grease the iron.

screen-shot-2016-10-24-at-3-55-16-pm

Then add 1-2 ladles of batter (depending on the waffle size you prefer) to the center of the iron.

screen-shot-2016-10-24-at-3-55-32-pm

Close the iron and immediately flip it to the other side.

screen-shot-2016-10-24-at-3-55-49-pm

Cook for 2 minutes, flip again, and cook for 3 minutes.

screen-shot-2016-10-24-at-3-56-02-pm

Once the waffles are golden brown…

screen-shot-2016-10-24-at-3-56-50-pm

…remove them from the iron and repeat.

screen-shot-2016-10-24-at-3-57-38-pm

When the waffles are all cooked up, simply top with a scoop or two of the toasted pumpkin seed ice cream…

screen-shot-2016-10-24-at-3-58-22-pm

…a sprinkle of pumpkin seeds to garnish and simply ENJOY this festive and unique treat!  

screen-shot-2016-10-24-at-3-58-36-pm

[amd-zlrecipe-recipe:92]

screen-shot-2016-10-24-at-4-27-45-pm

| Top Left: Boos Cutting Board | Top Middle: Baking Rack | Right Middle: KitchenAid Ice Cream Maker |

| Bottom Left: All-Clad Sauce Pan | Bottom Middle: Bubble Waffle Iron | Right: Vitamix |