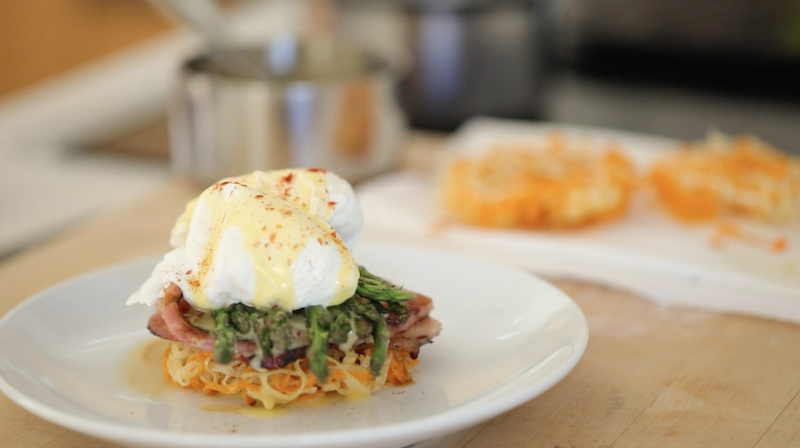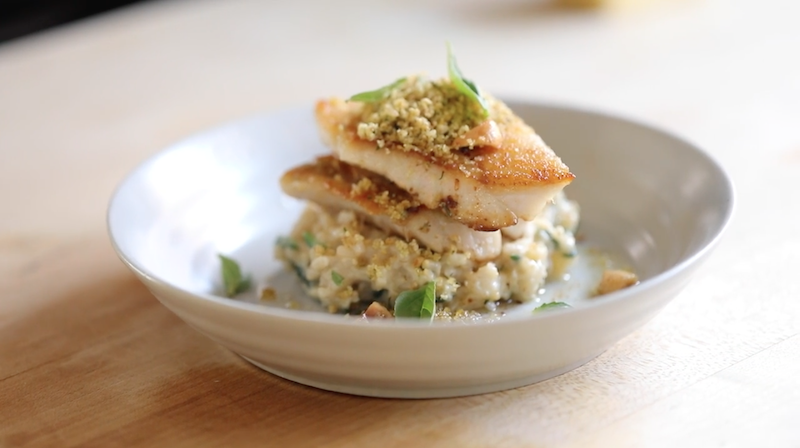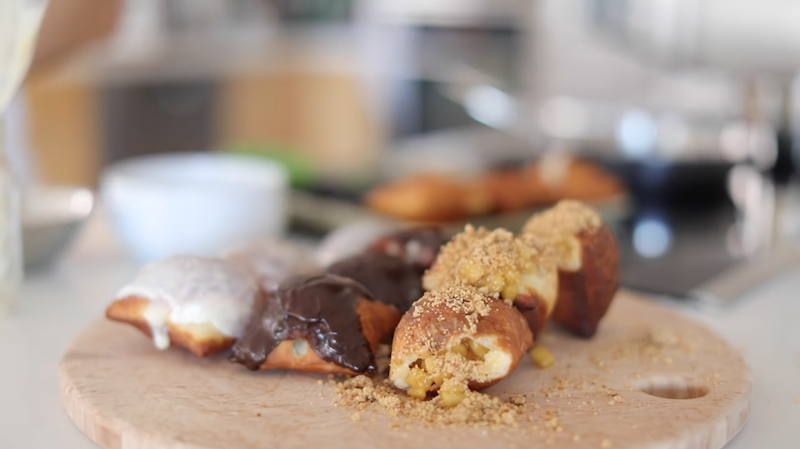

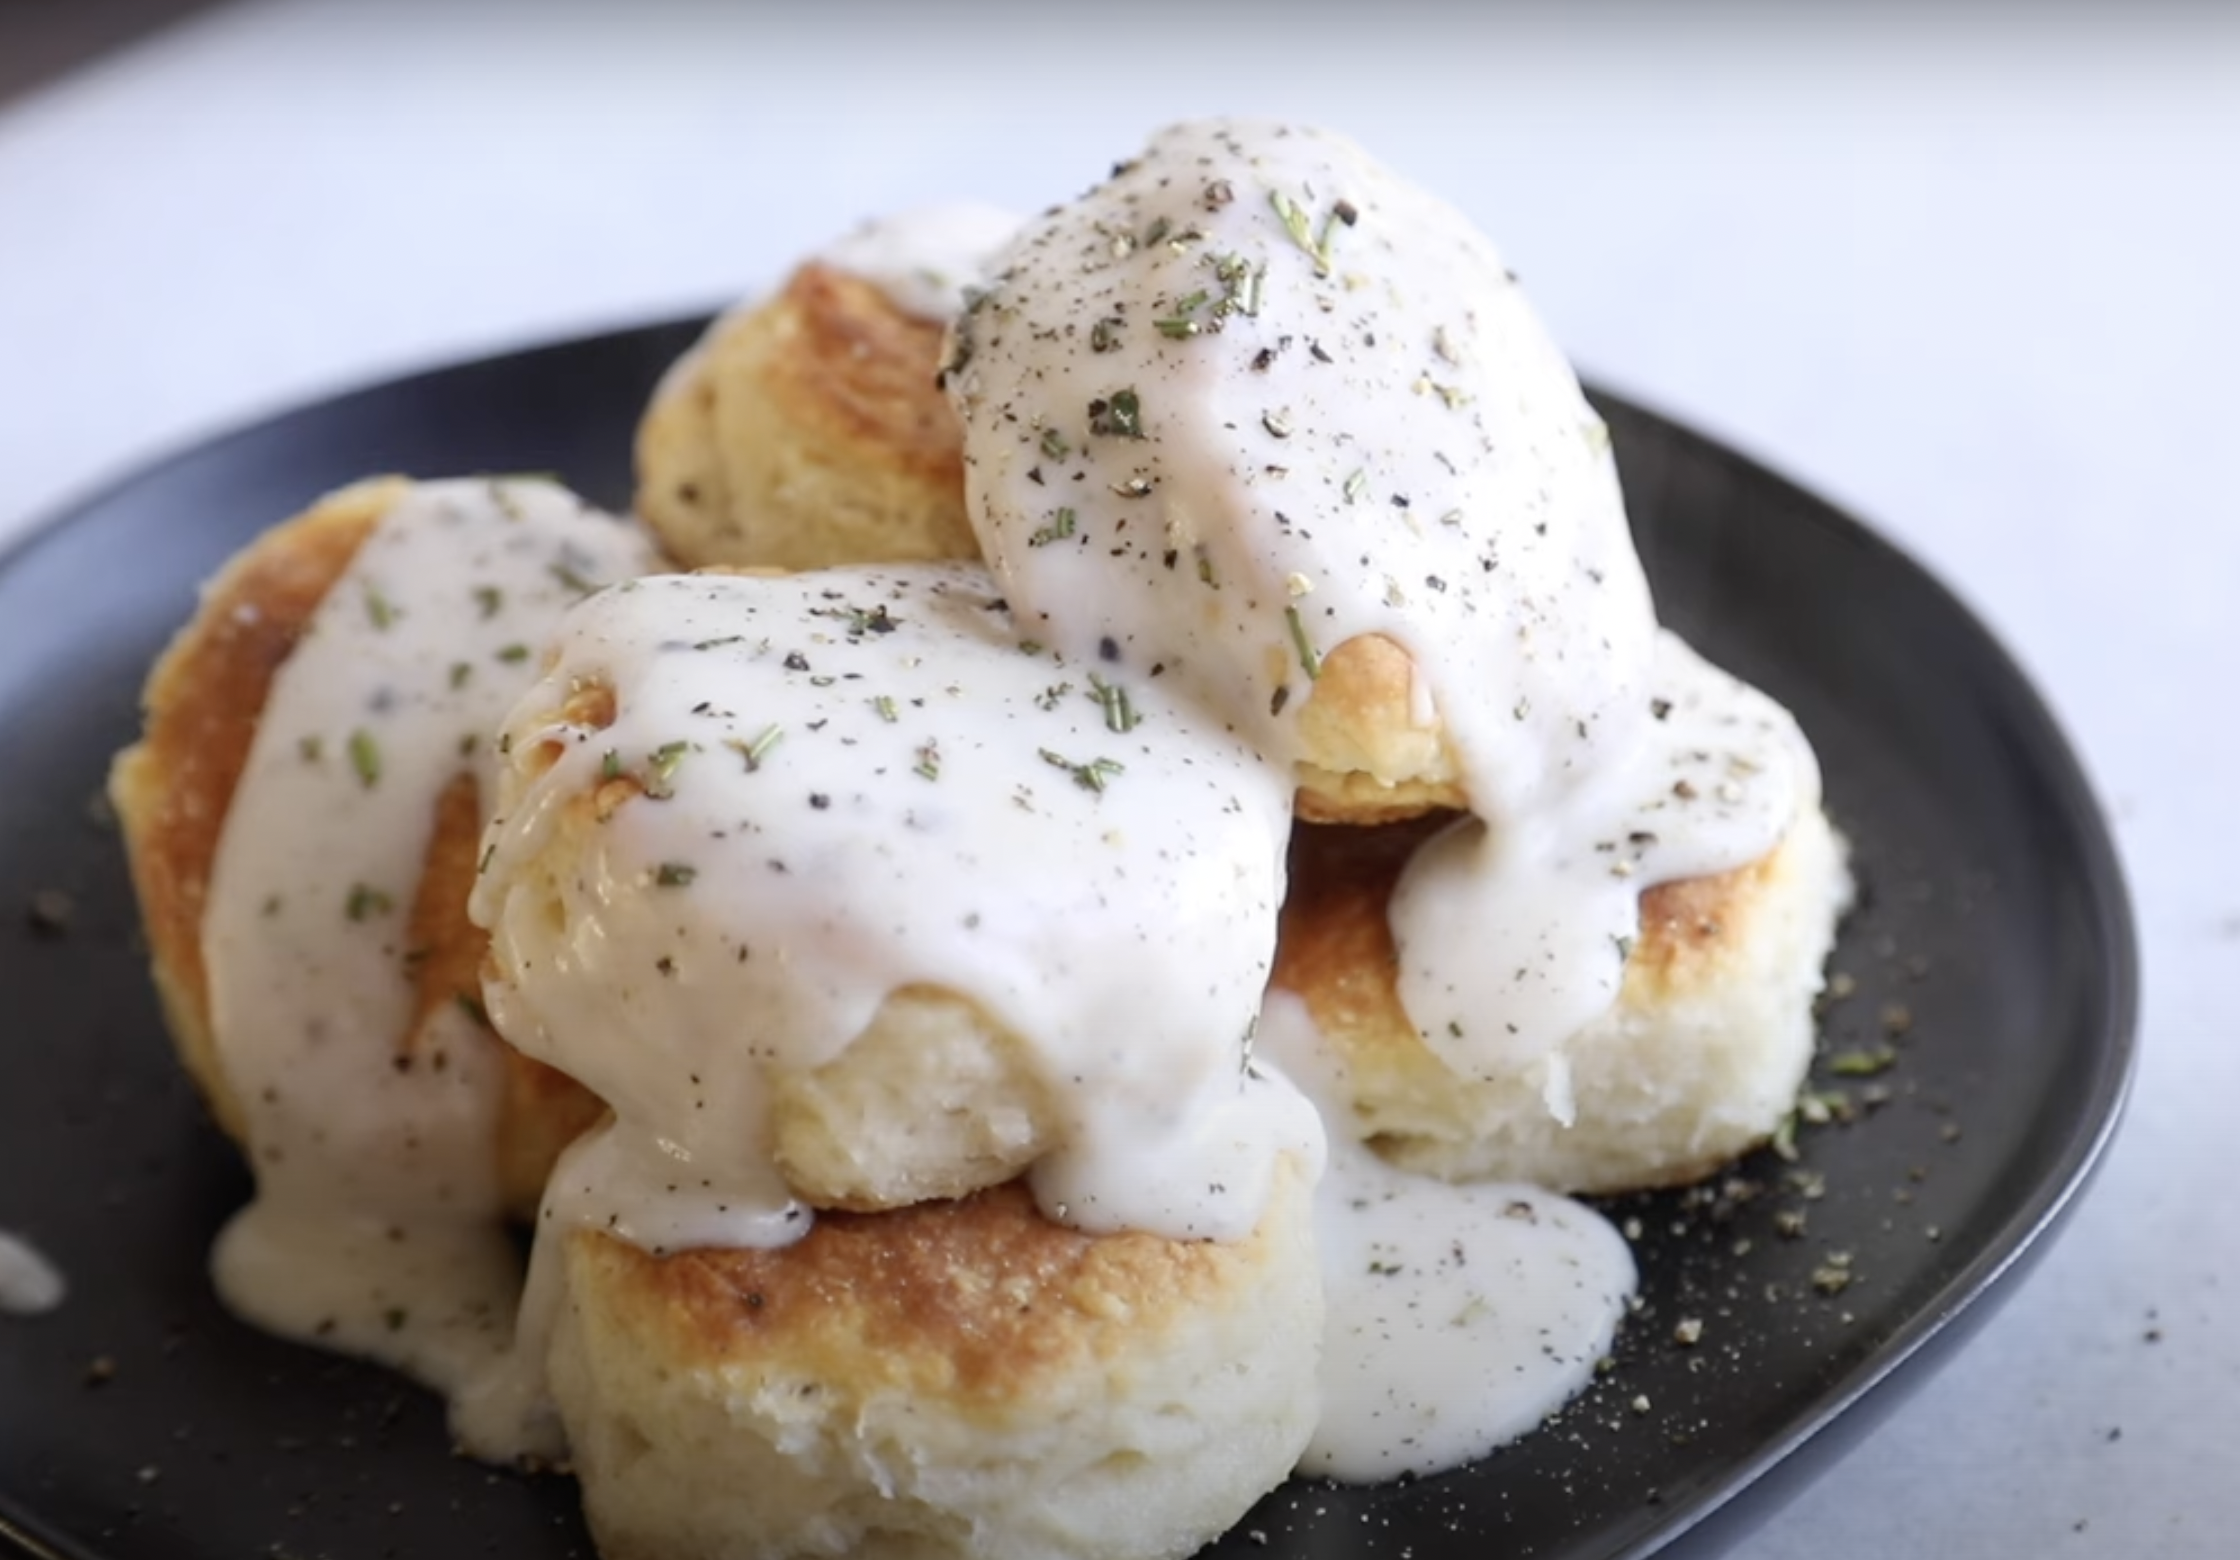
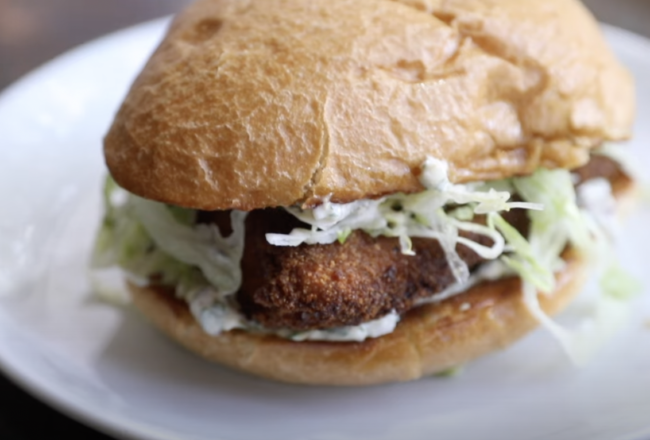
I wanted dessert for breakfast and this is what happened…. Go buy some milk, eggs, sugar and a giant bottle of vanilla paste and make these. They will change breakfast for the better forever!
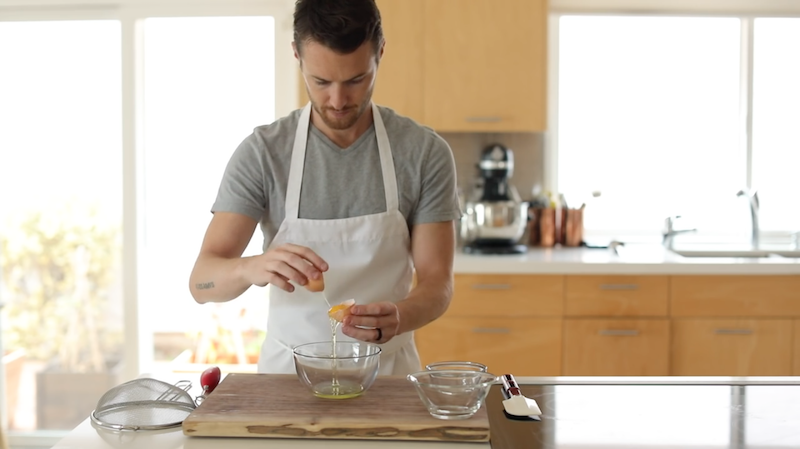
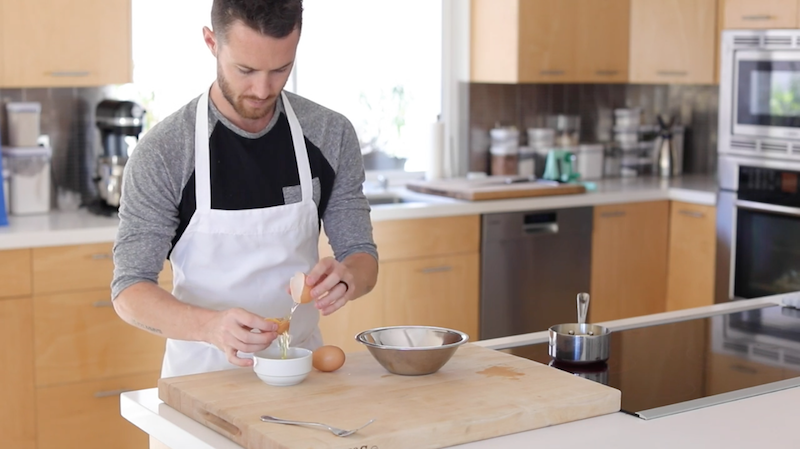
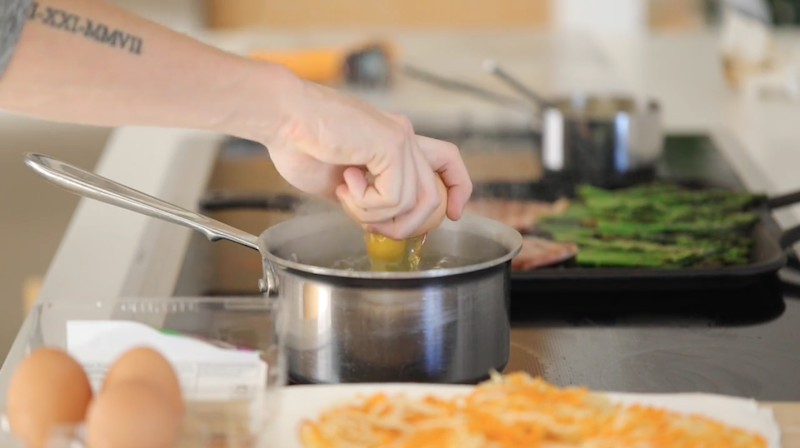
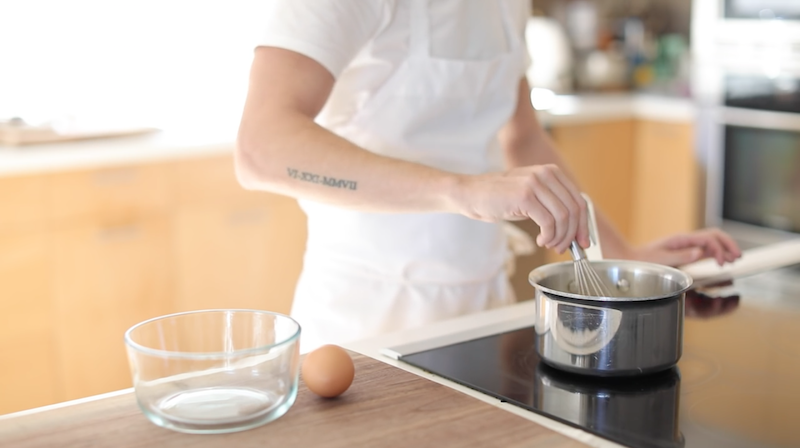
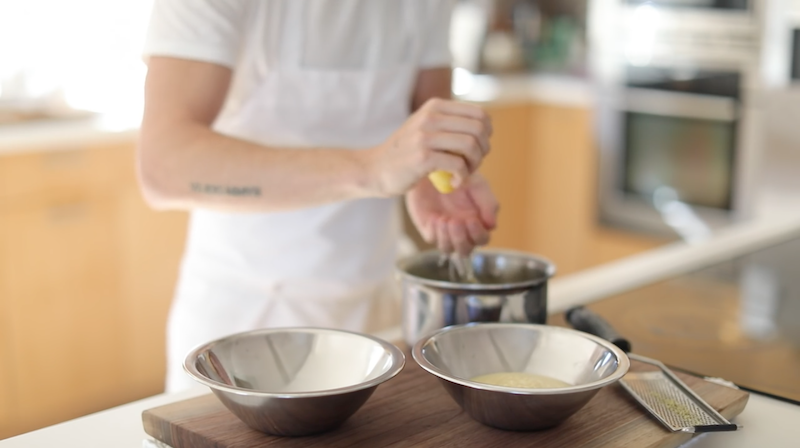
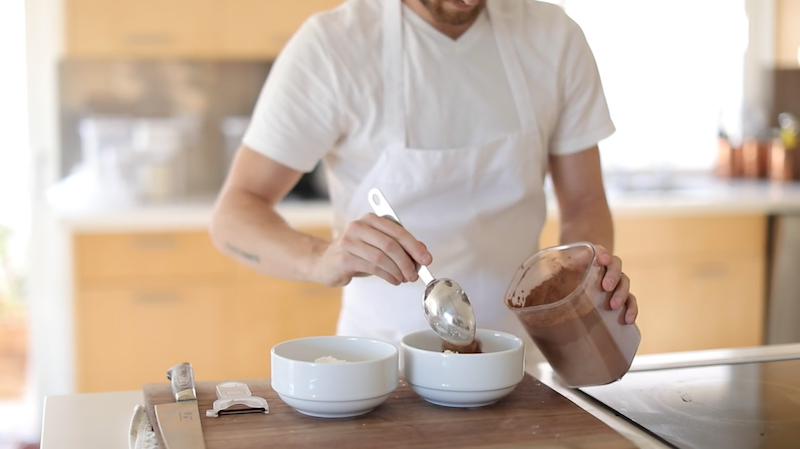
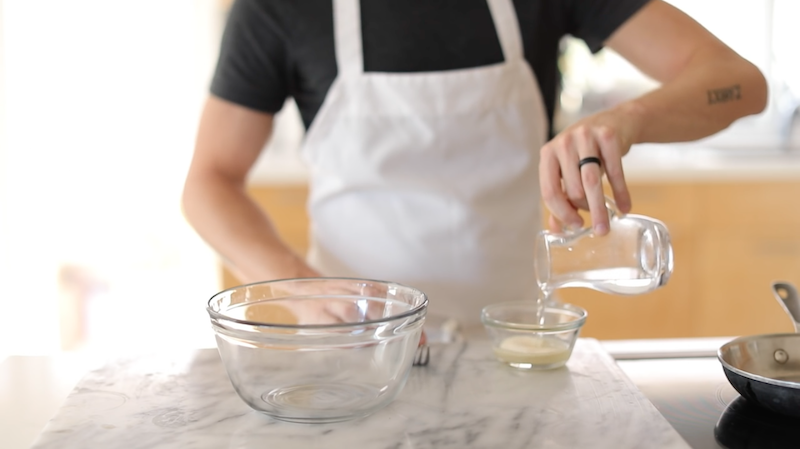
Start by separating 1 whole egg’s yolk and whites into two separate bowls.
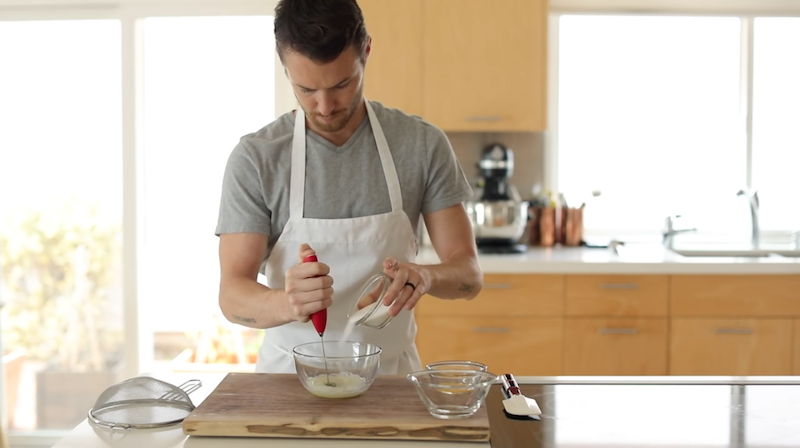
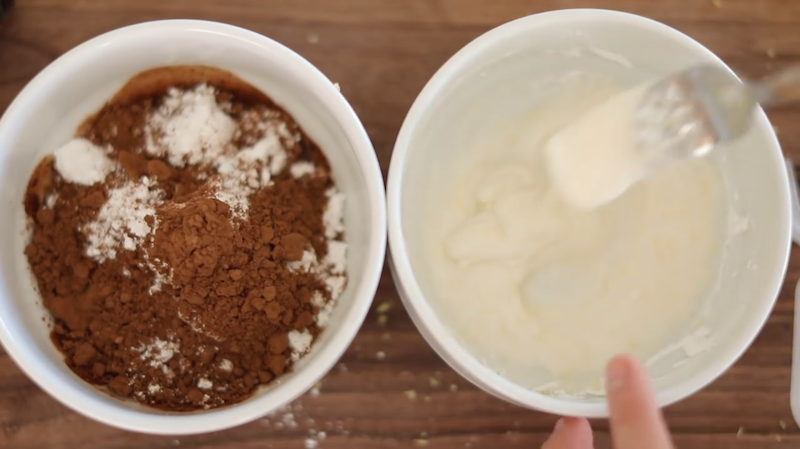
Begin to whip the whites while pouring in 1 tbsp of sugar.
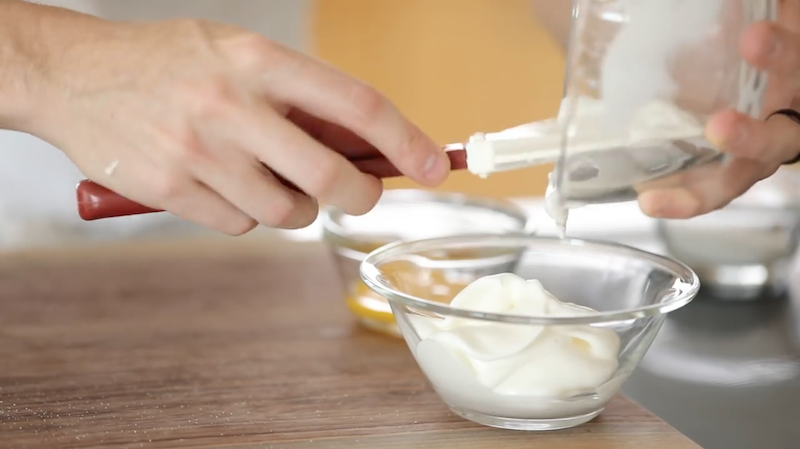
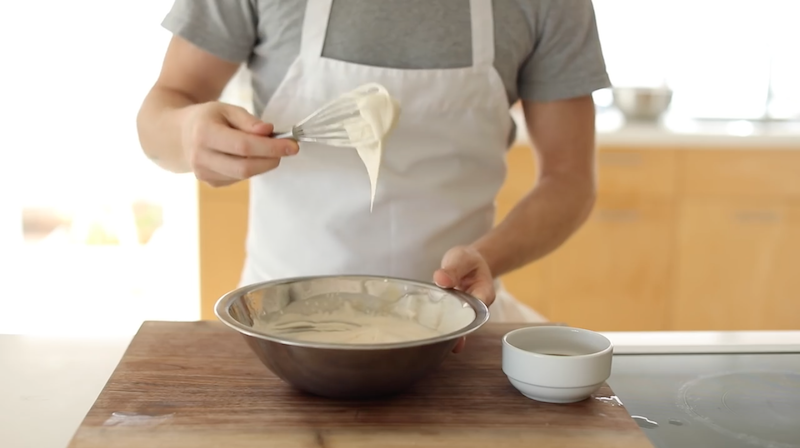
Whip until it becomes glossy with soft peeks—set aside until needed.
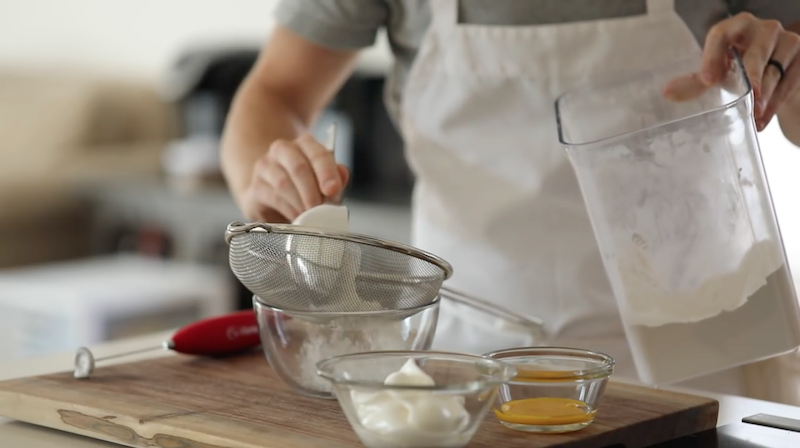
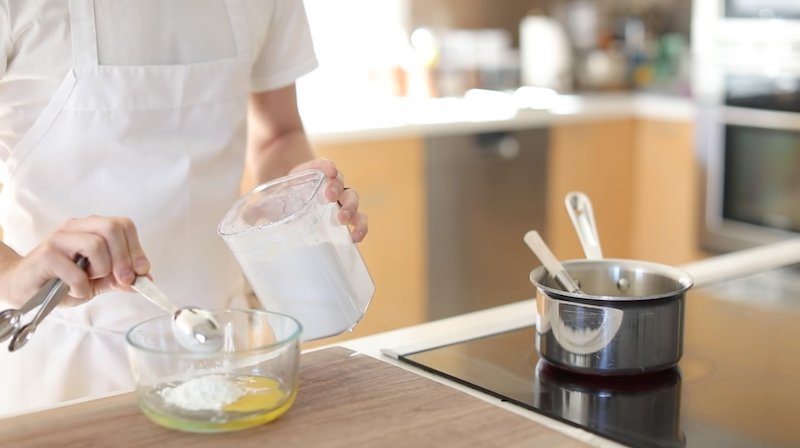
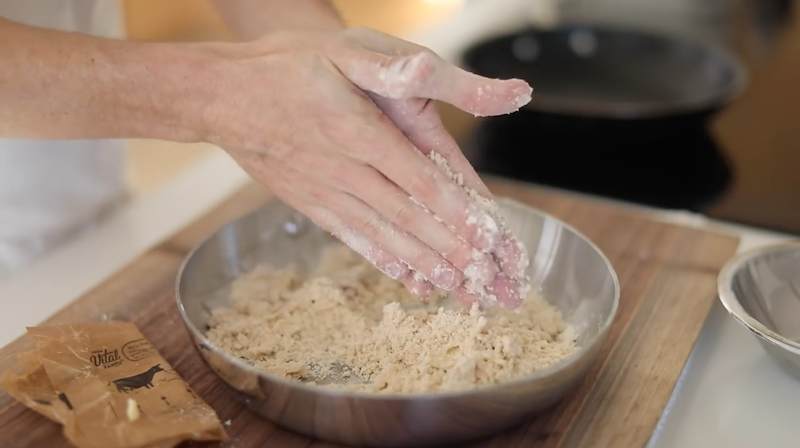
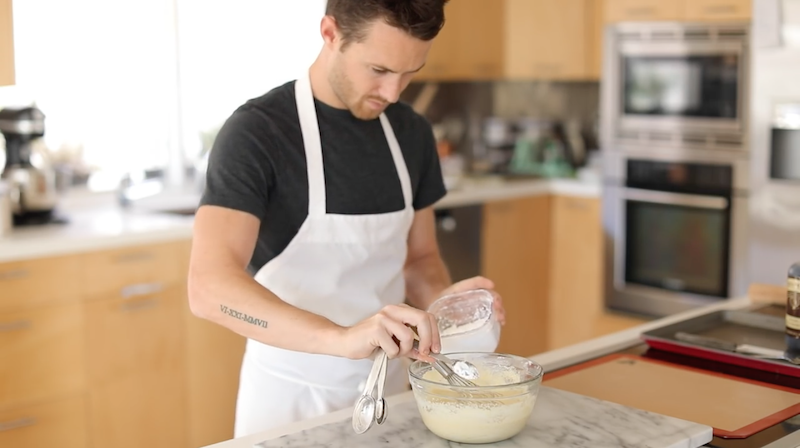
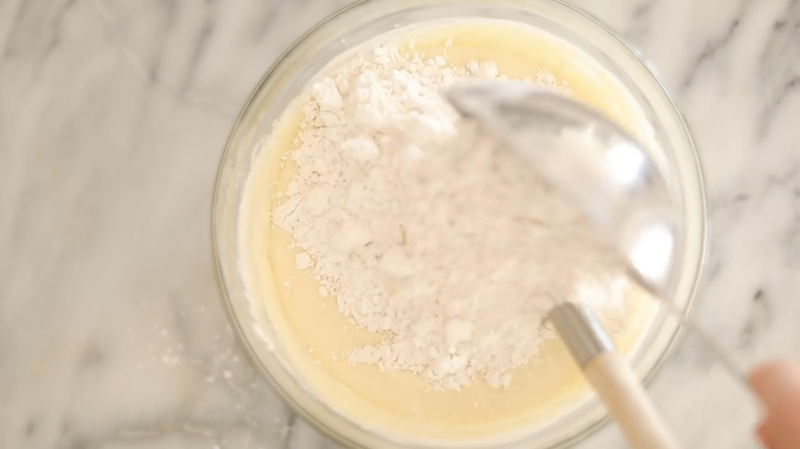
Next sift 1/2 cup of all purpose flour…
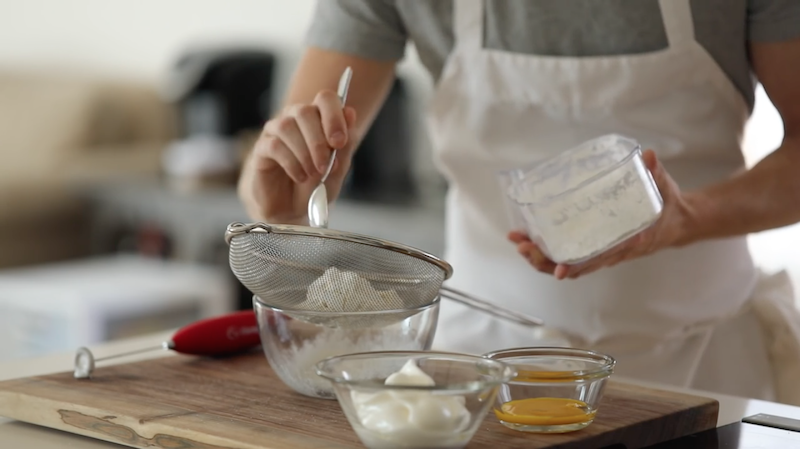
…1 tsp of baking powder…
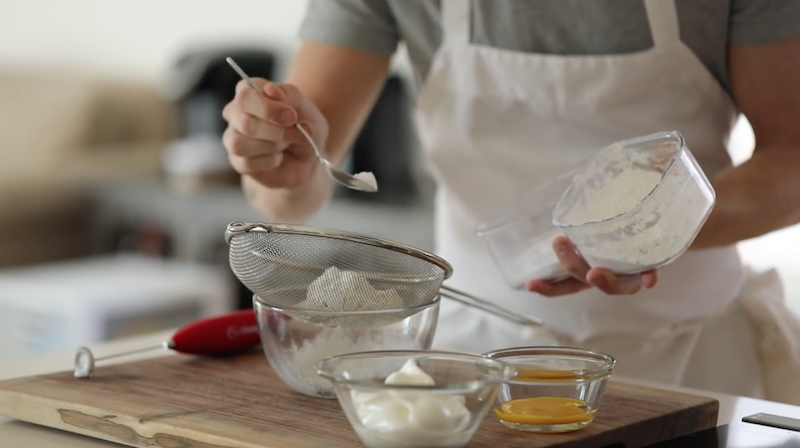
…1 tsp of baking soda…
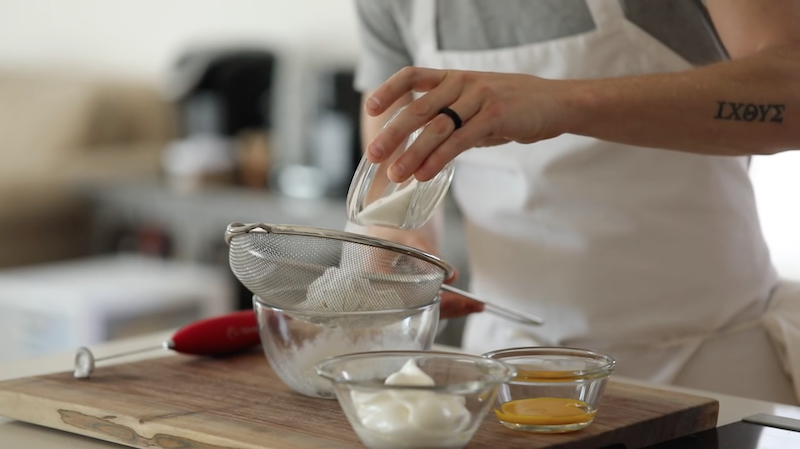
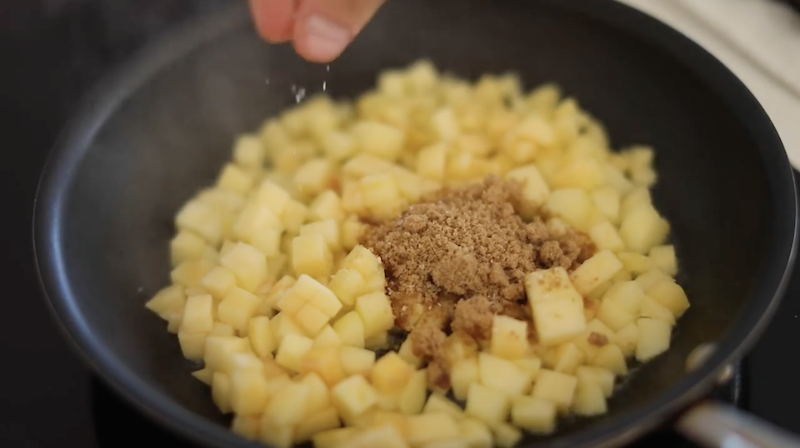
…3 tbsp of sugar and a pinch of salt into a large bowl.
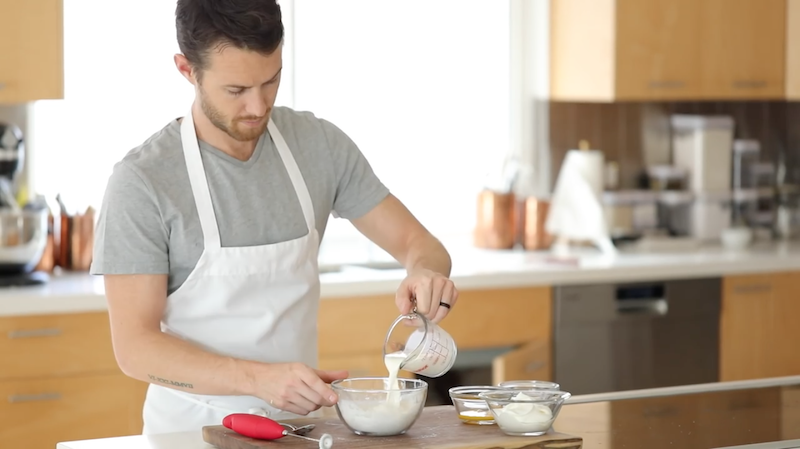
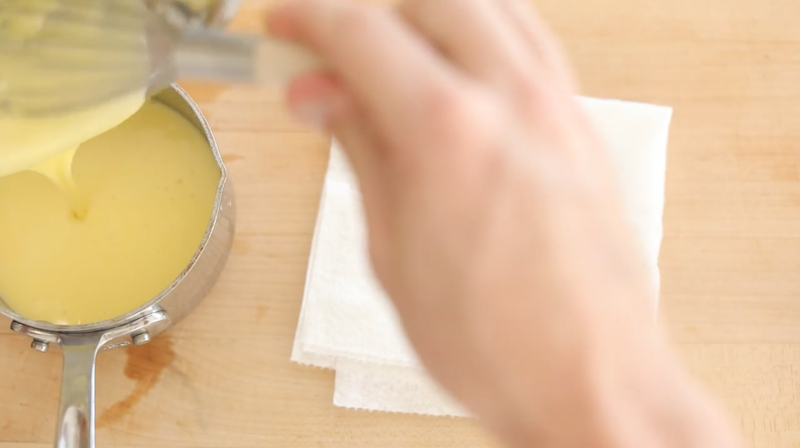
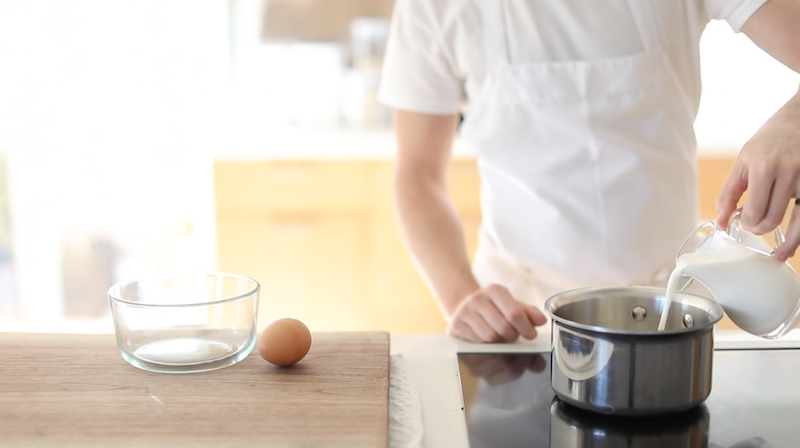
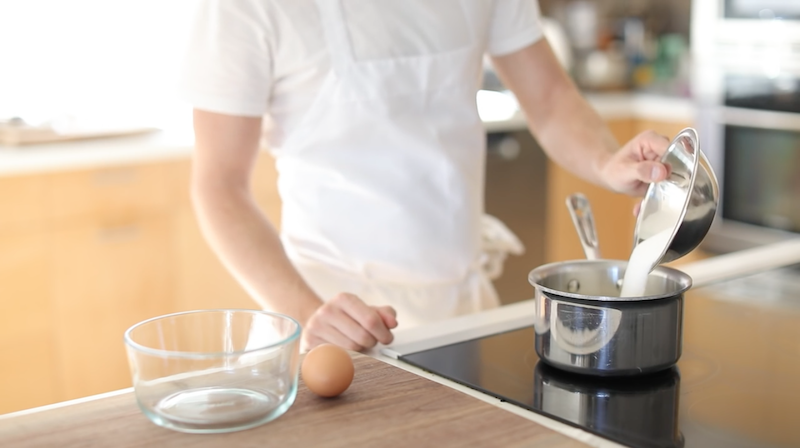
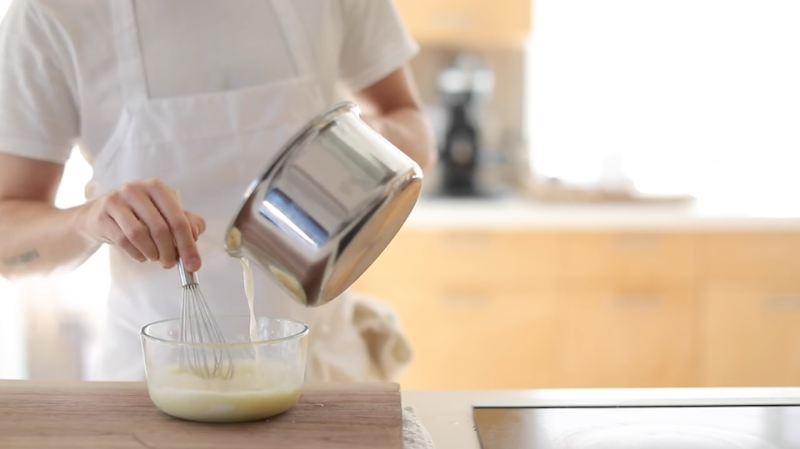
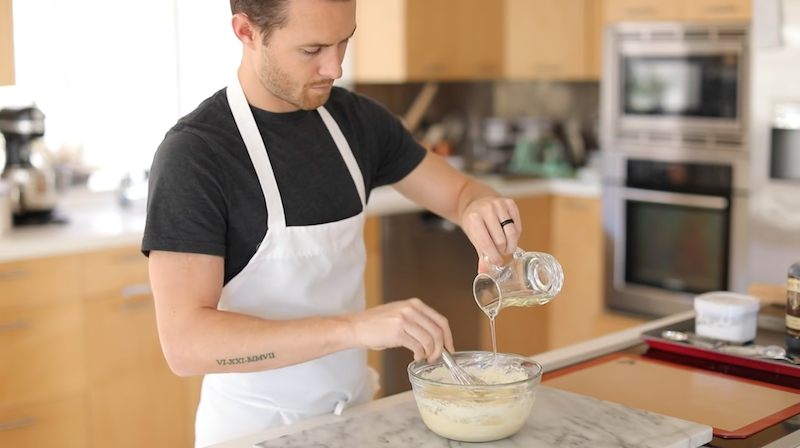
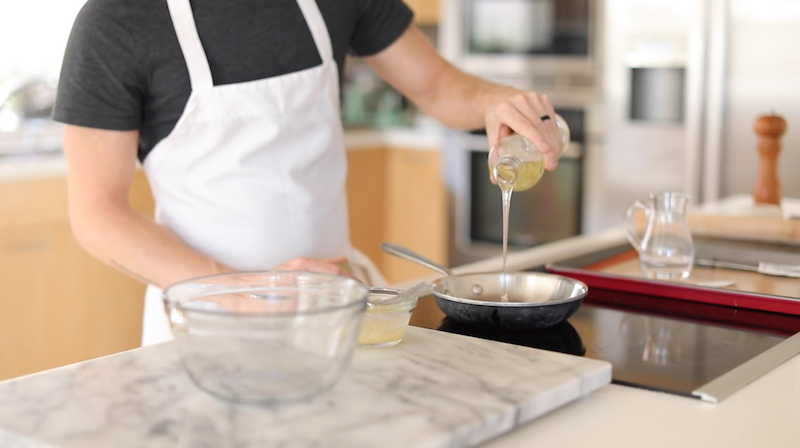
Then add 1/2 cup of milk…
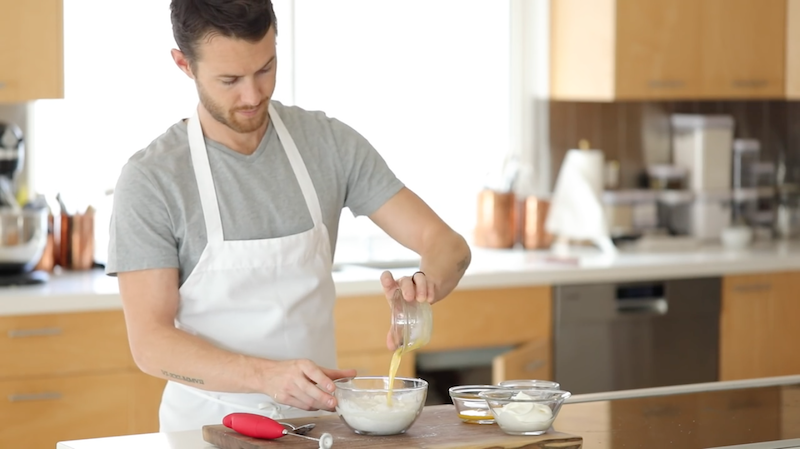
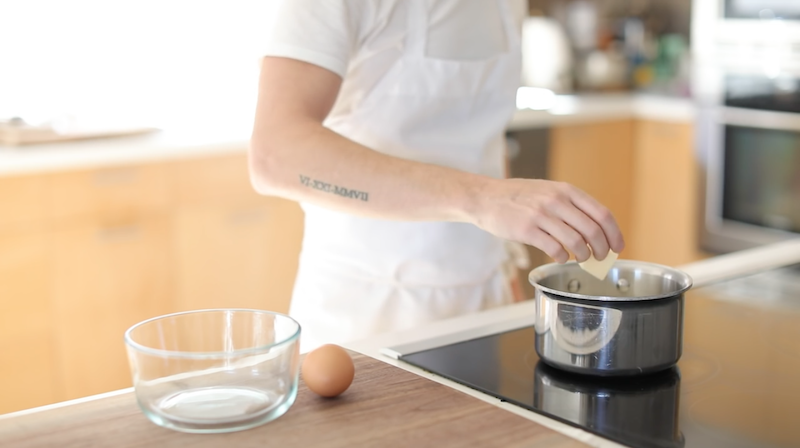
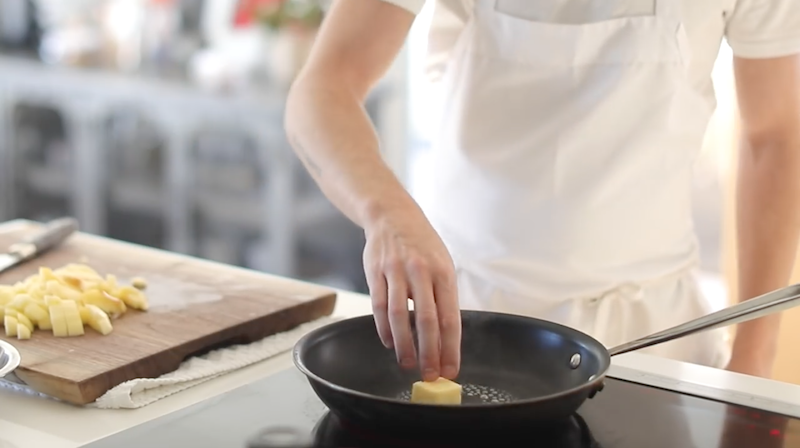
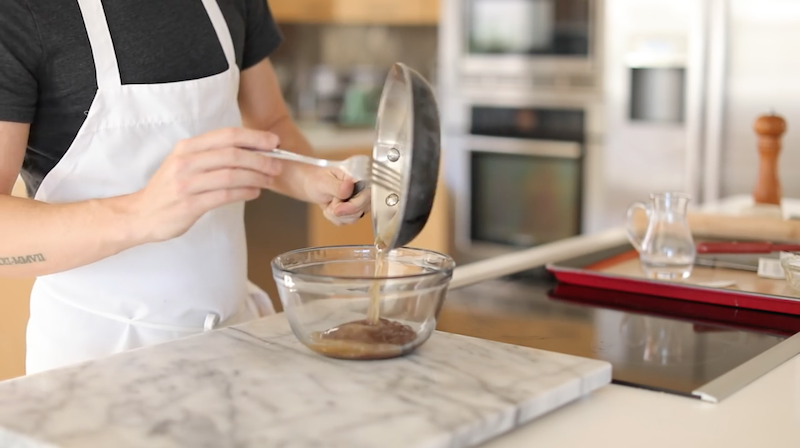
…2 tbsp of melted butter…
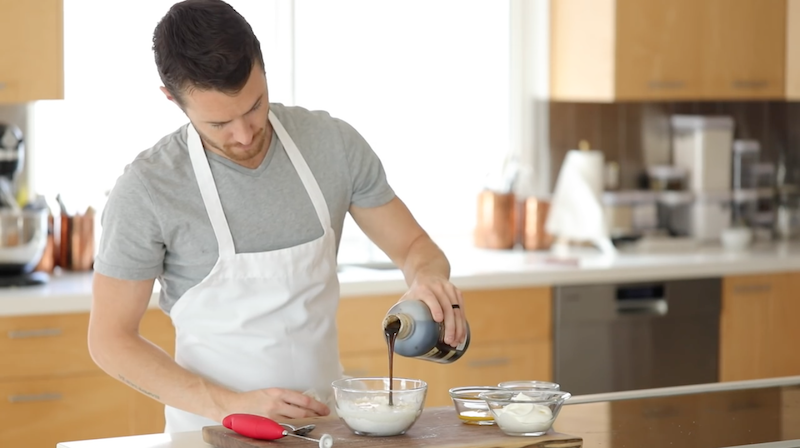
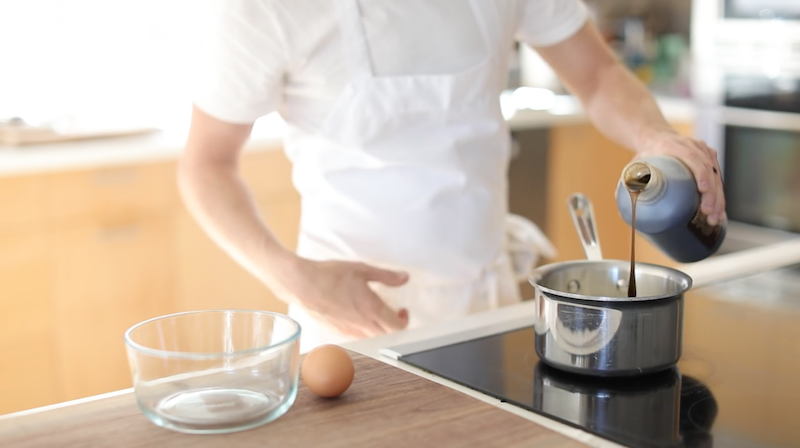
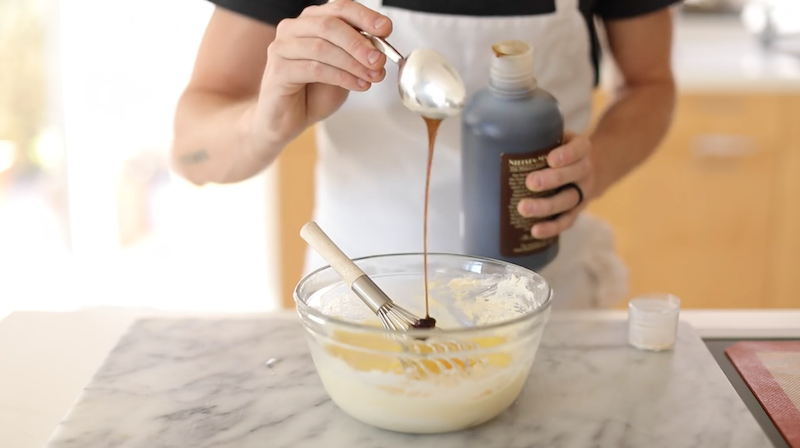
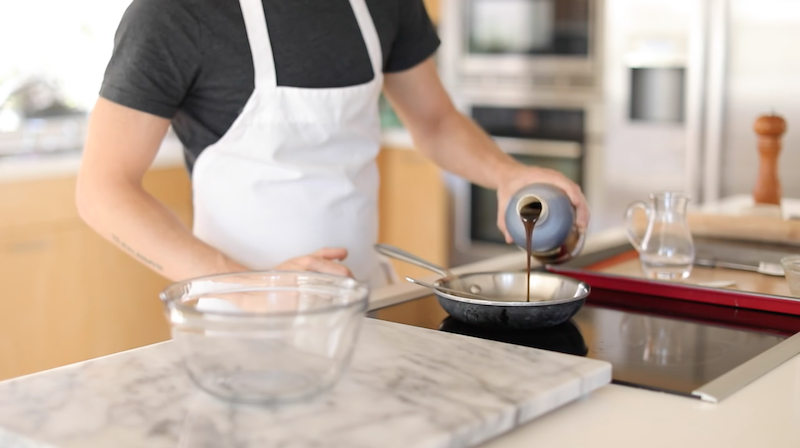
…1 tbsp vanilla paste…
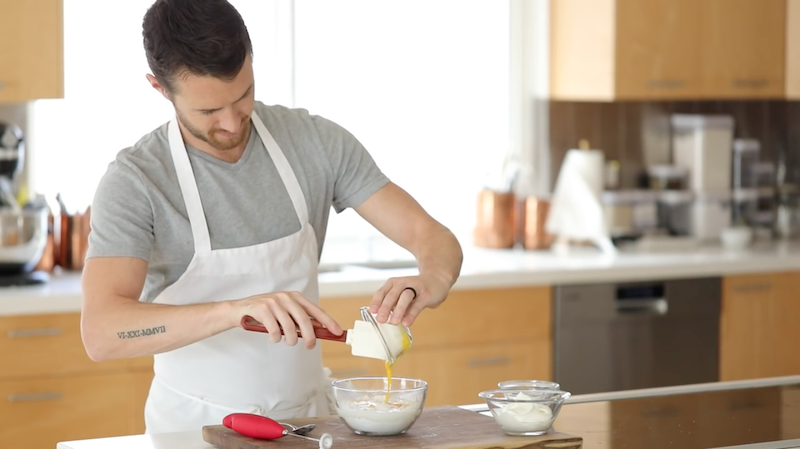
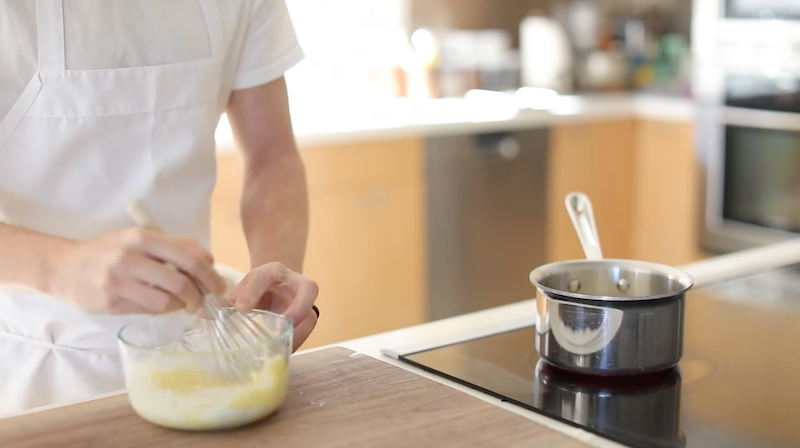
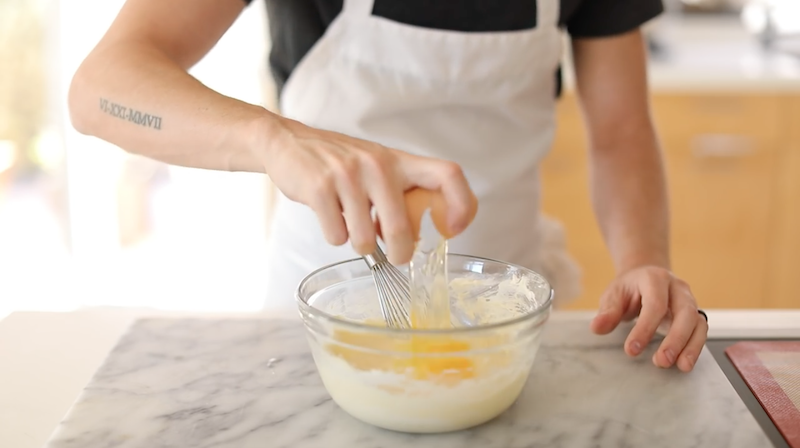
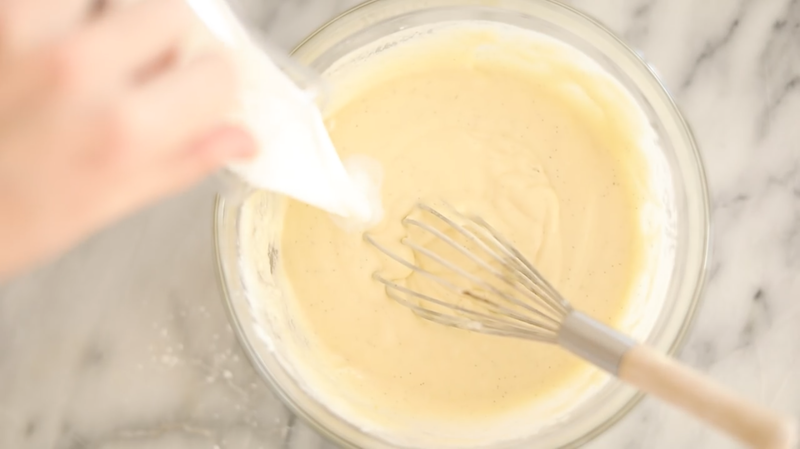
…and the egg yolk.
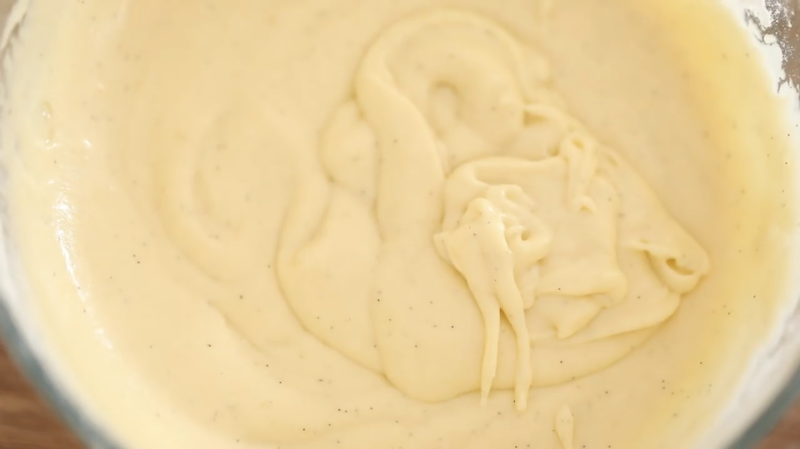
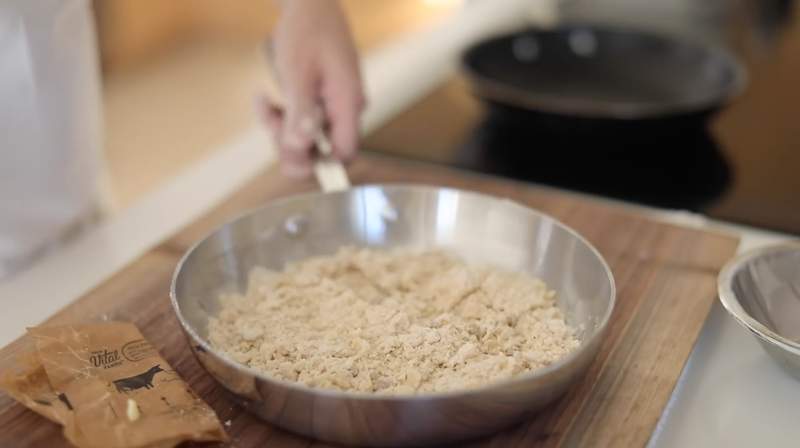
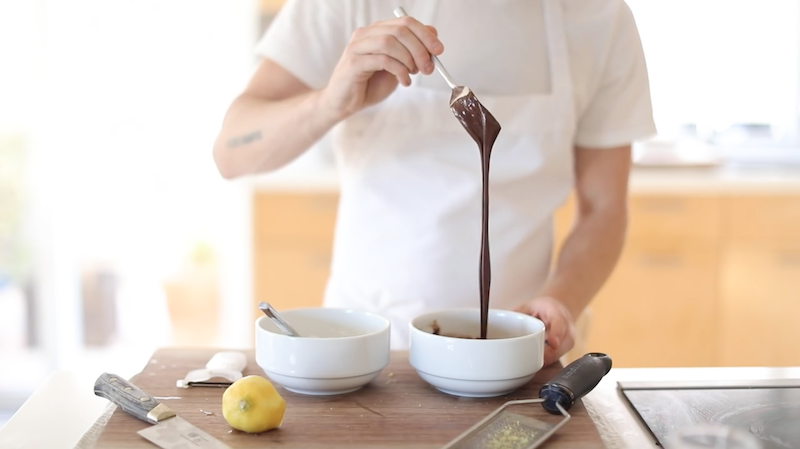
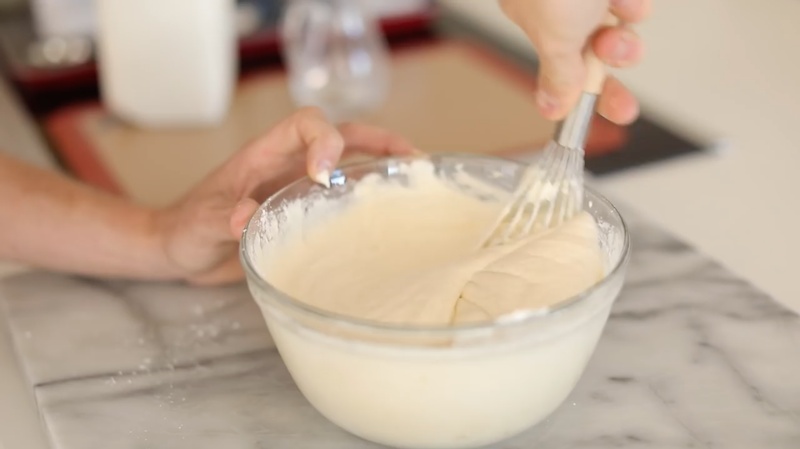
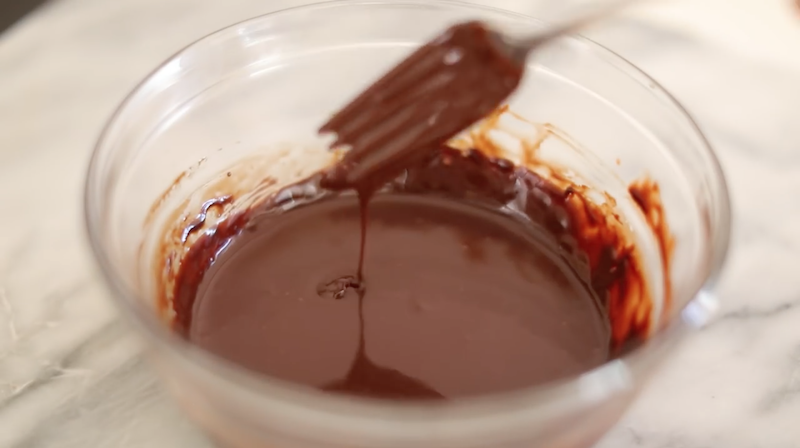
Whisk together for about a minute, or until it’s free of lumps.
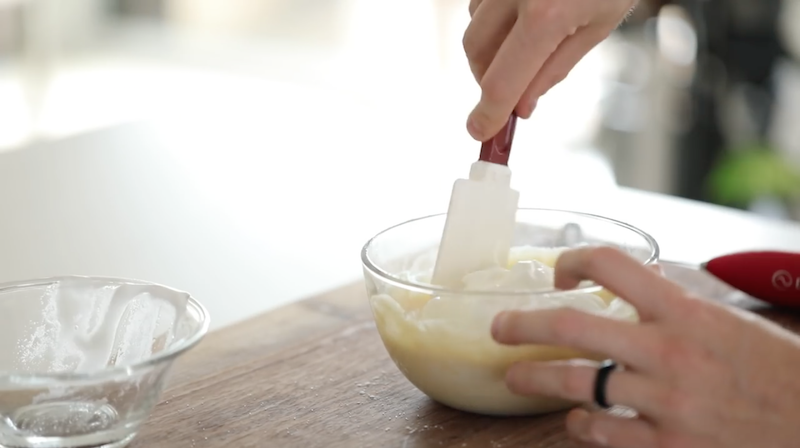
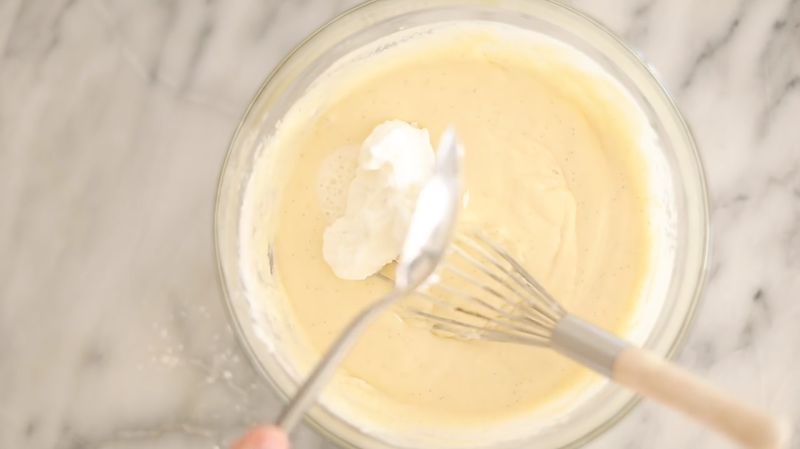
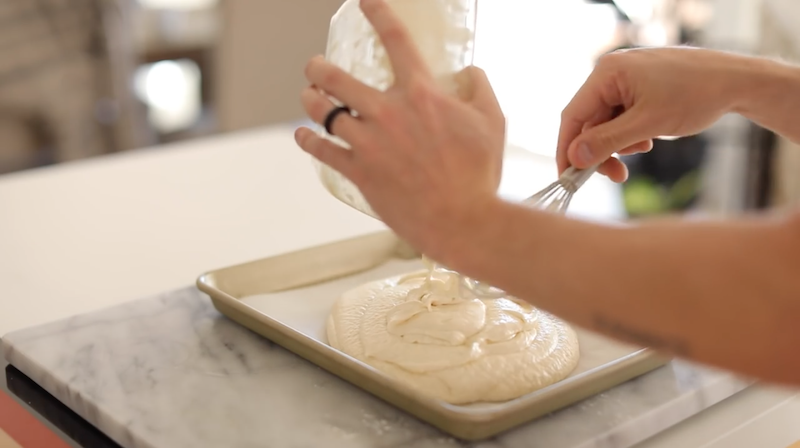
Gently fold in the merengue, being careful not to over mix and deflate the batter.

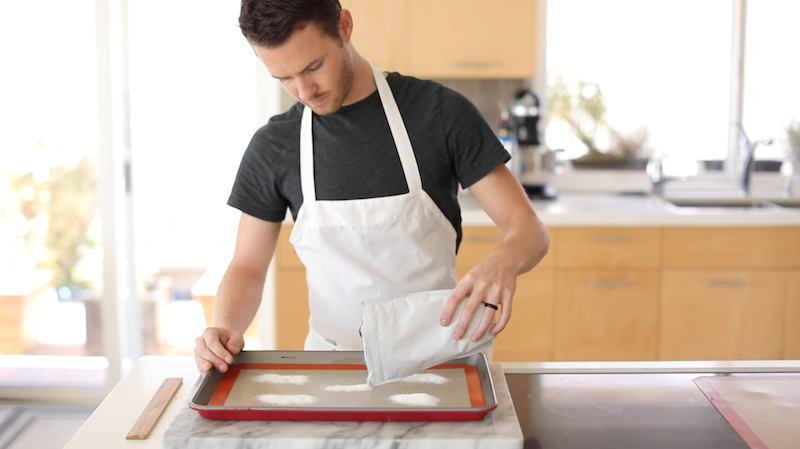
Prepare a ramekin by buttering the walls of the dish and coating them in a thin layer of granulated sugar.
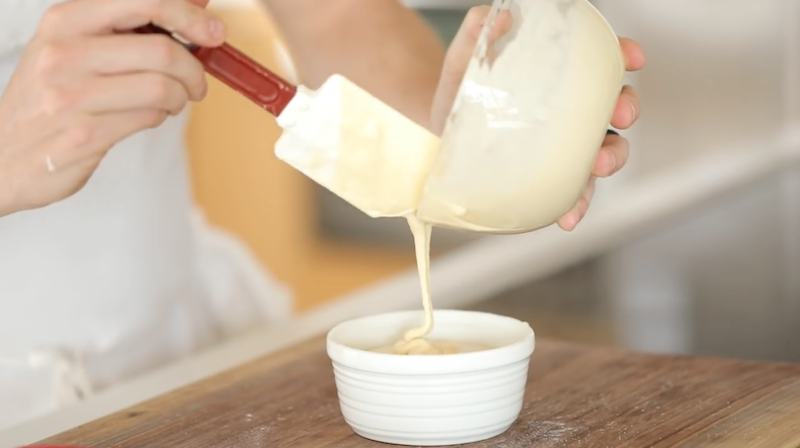
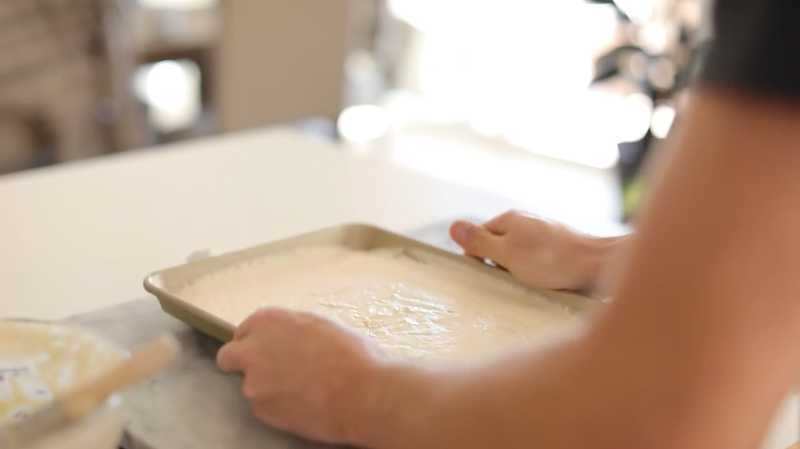
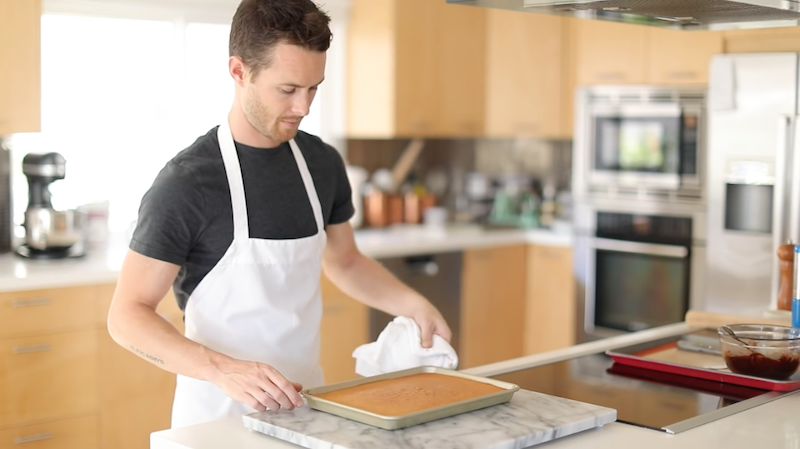
Pour in the batter until the ramekin is about 3/4th way filled up. Bake in a 375°F oven for 15-20 minutes, or until it passes the toothpick test.
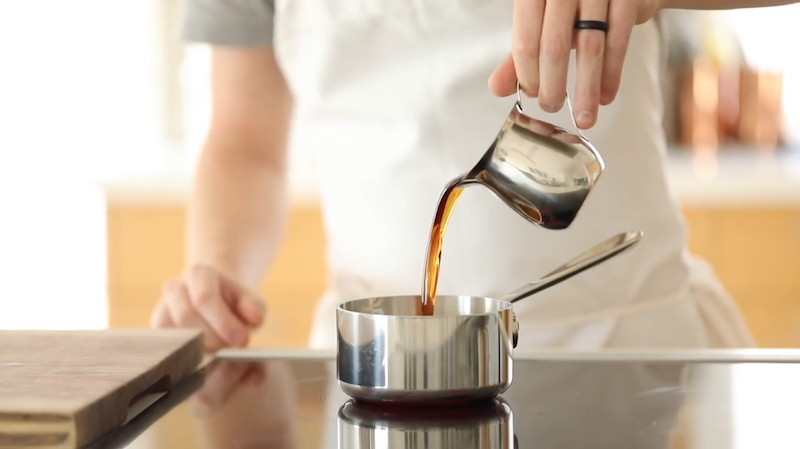
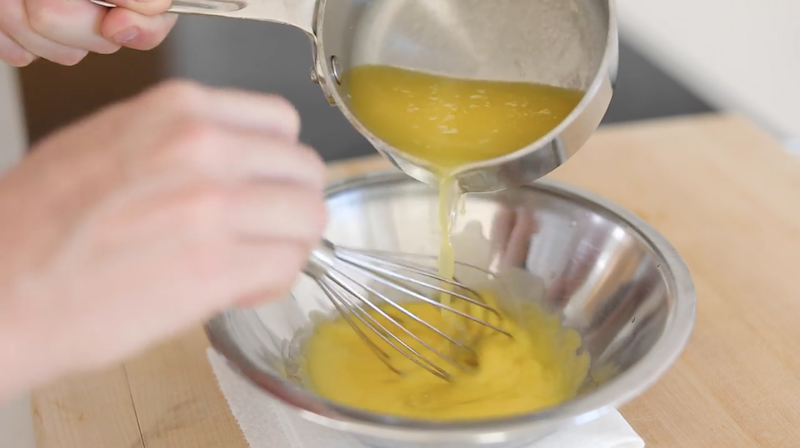
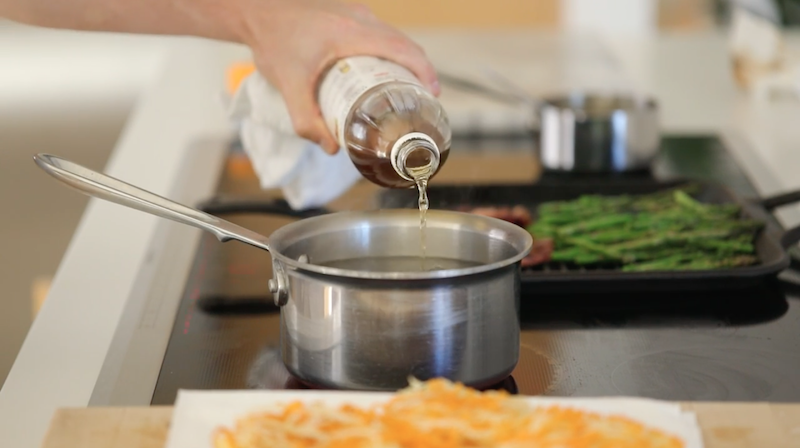
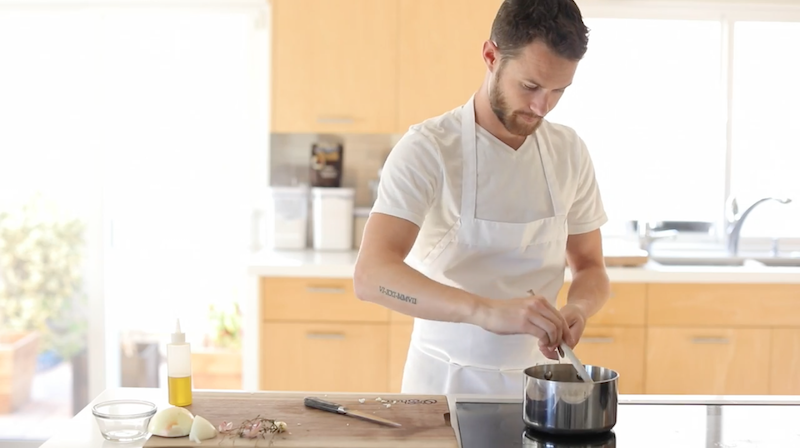
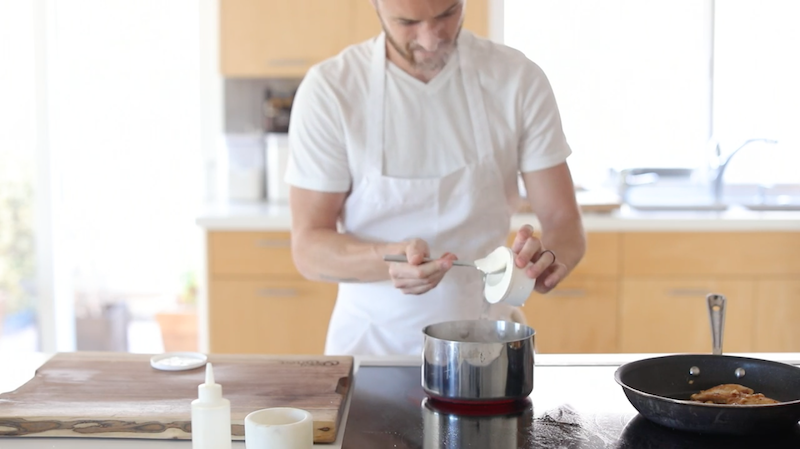
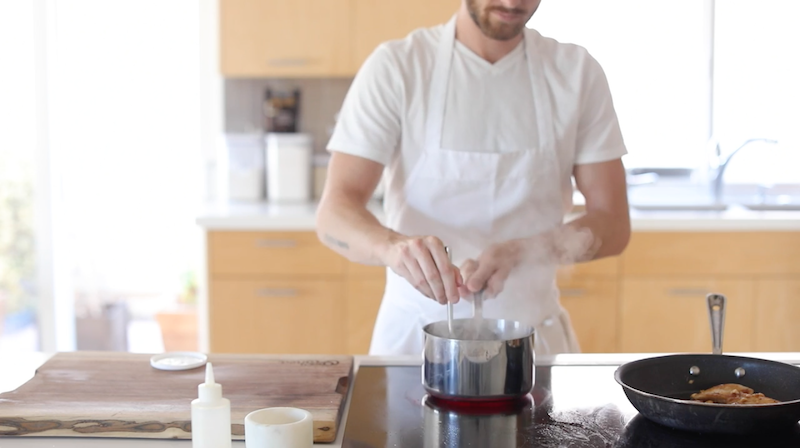
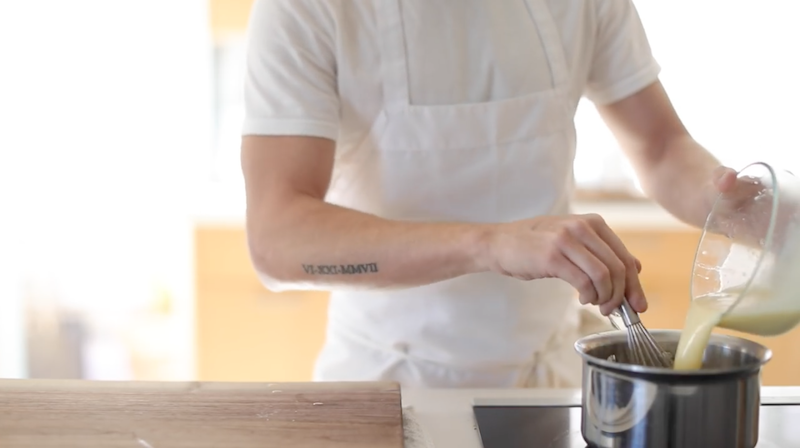
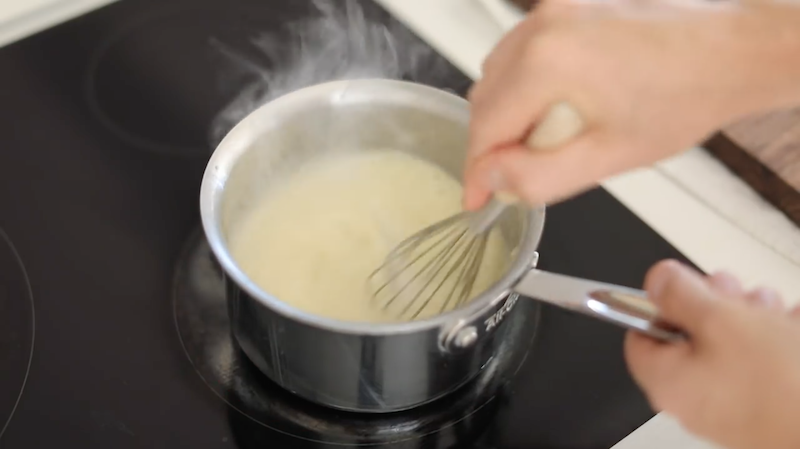
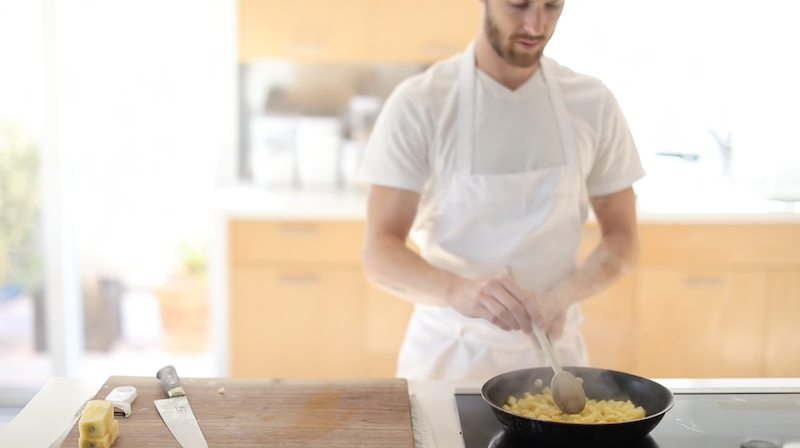
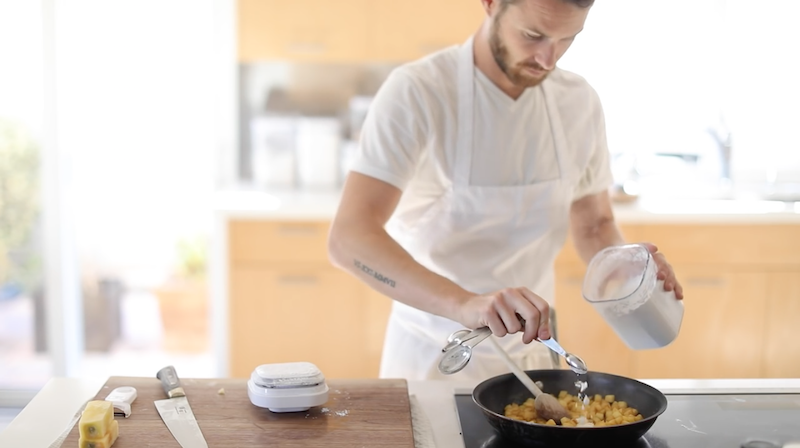
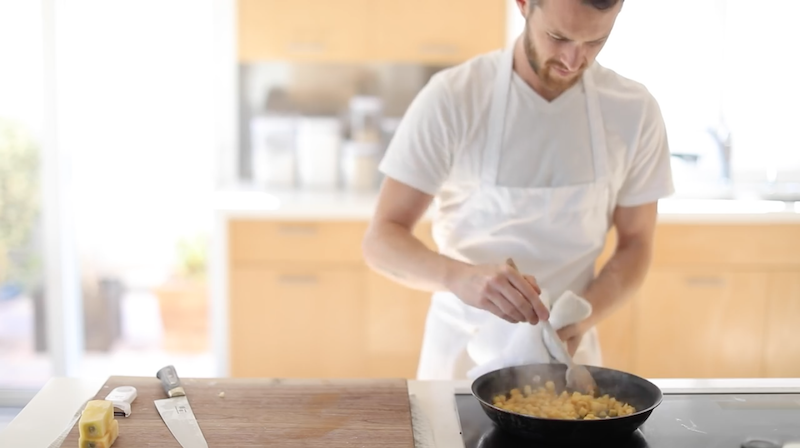
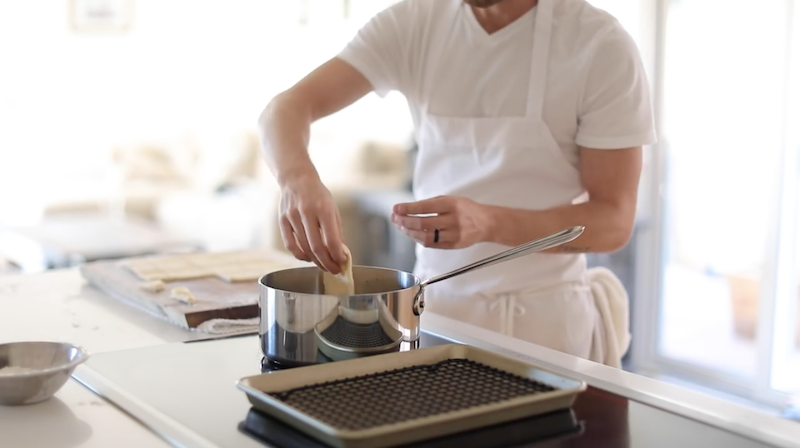
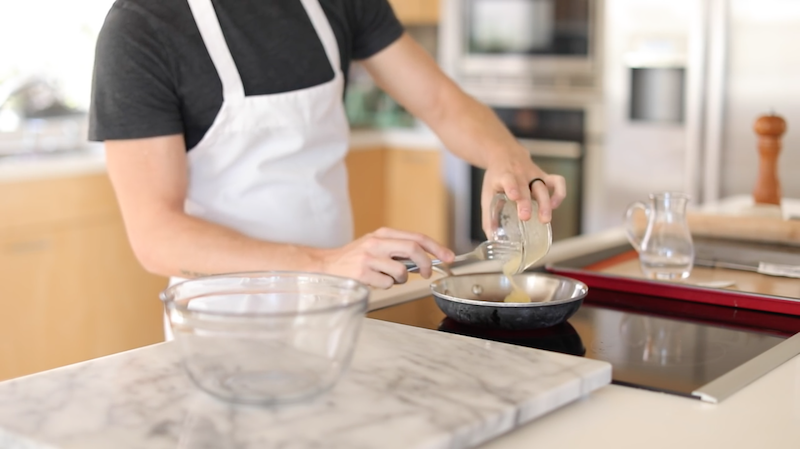
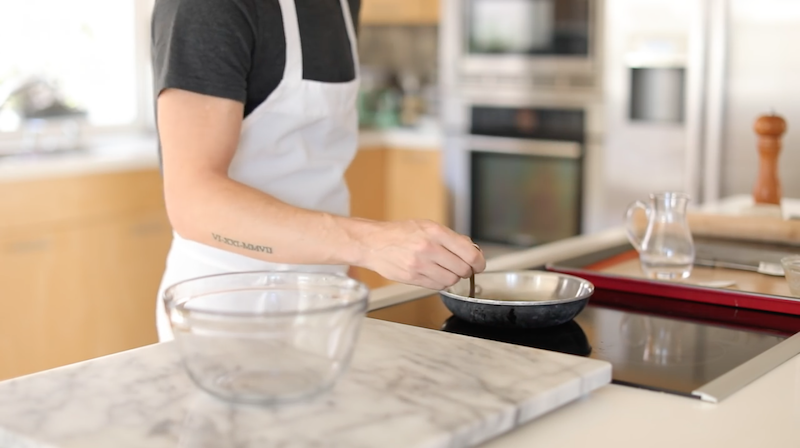
While that bakes, simply reduce 1 cup of maple syrup over medium heat.
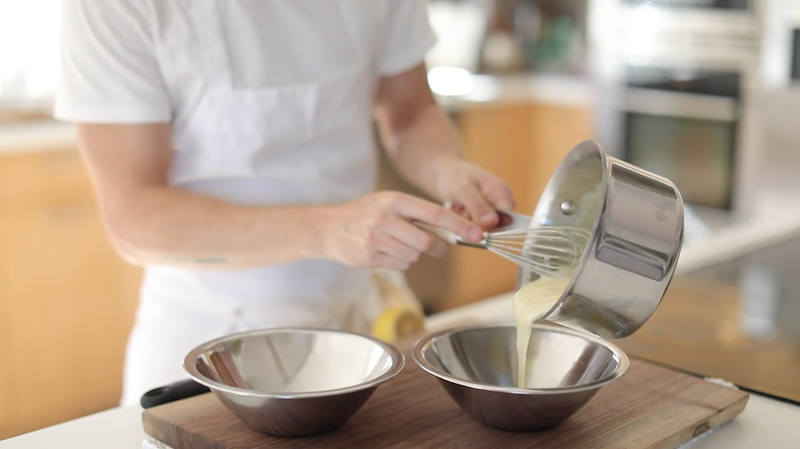
Once it’s reduced by about a quarter, transfer it to an ice bath (as pictured) to cool.
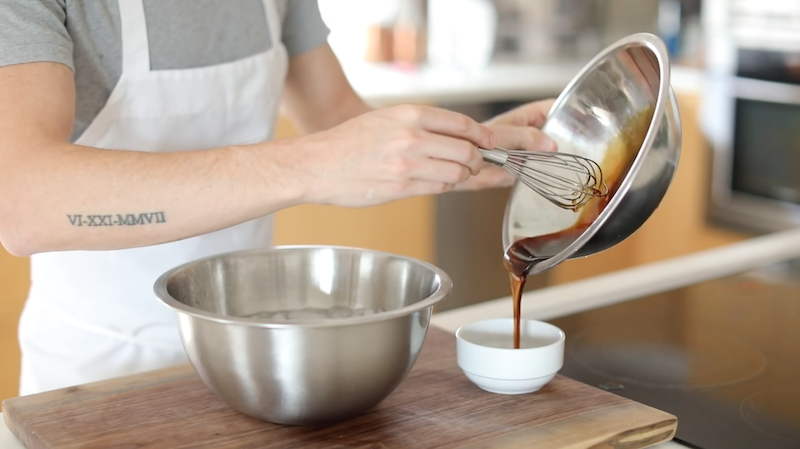
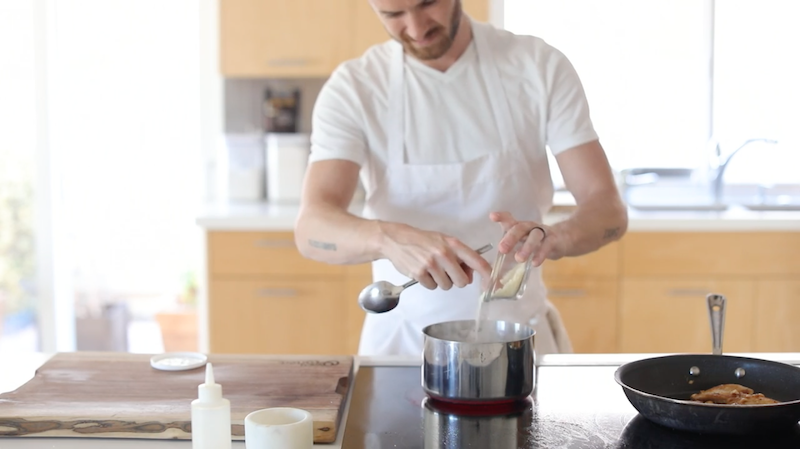
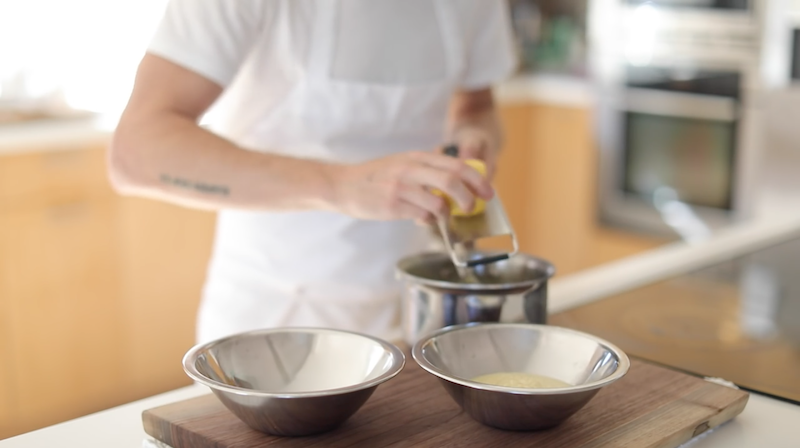
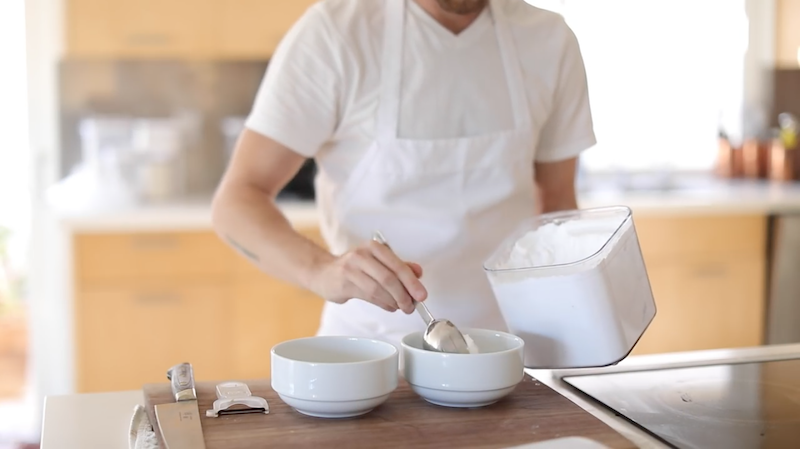
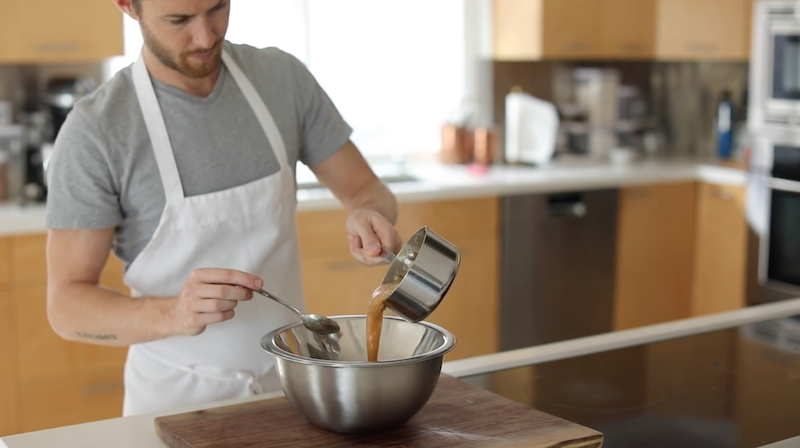
Divide half of the maple into a separate bowl and the other half into a mixing bowl.
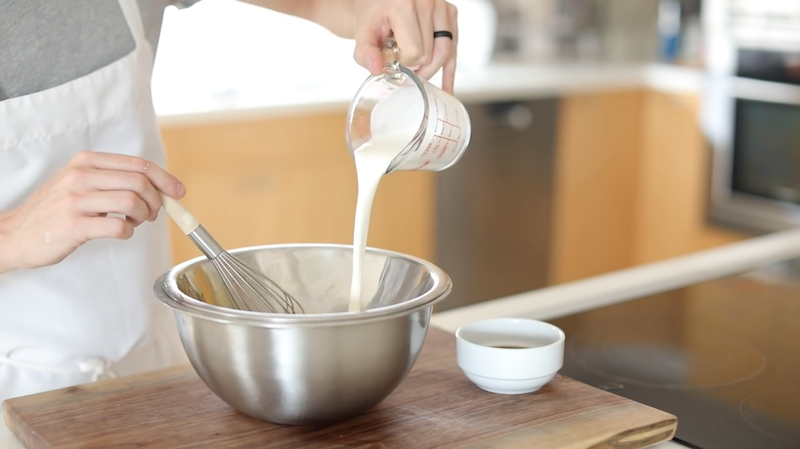
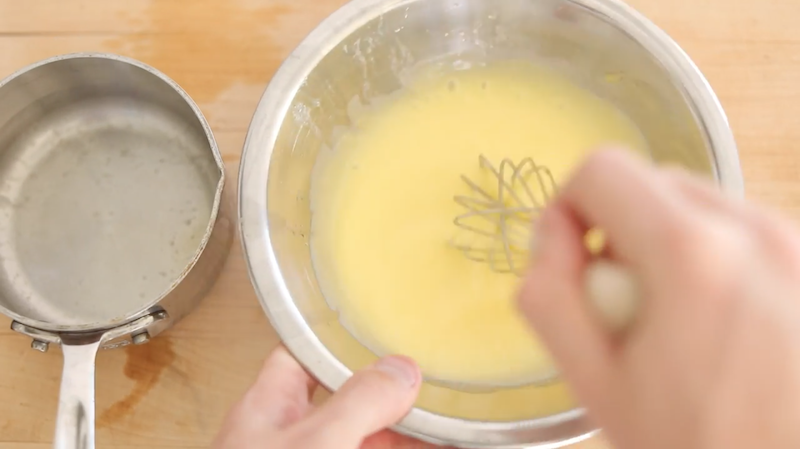
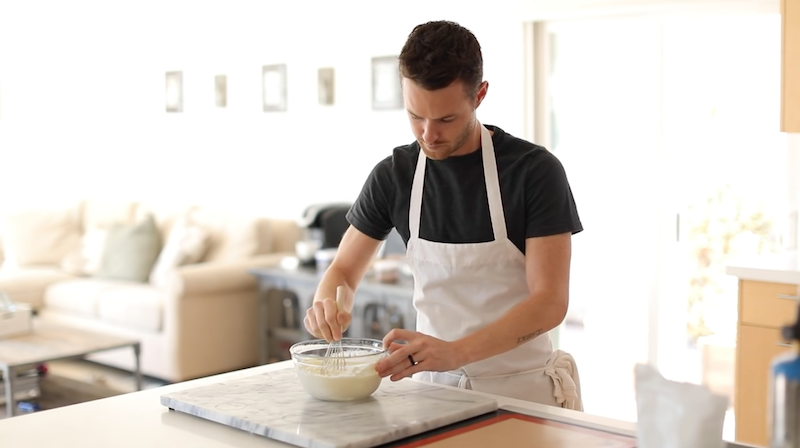
Add in 1 cup of cream to the bowl.
Thoroughly whisk for about 5 minutes, or until it has soft peeks.
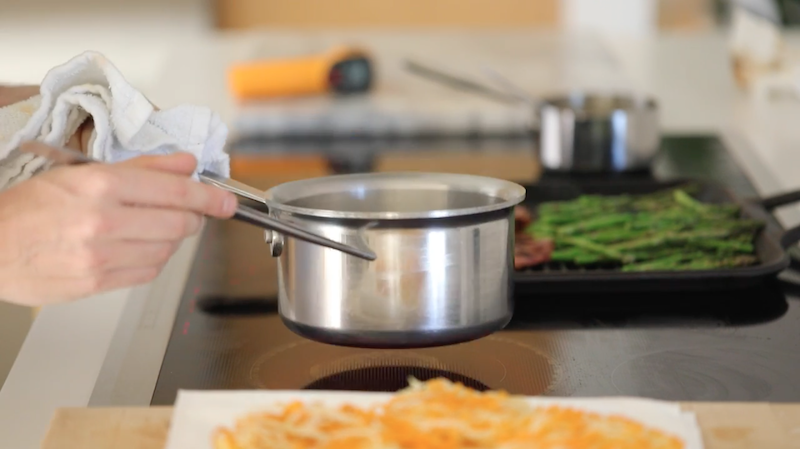
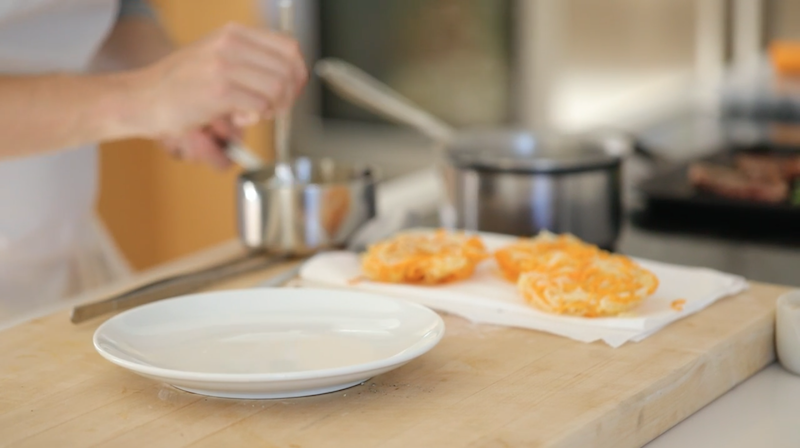
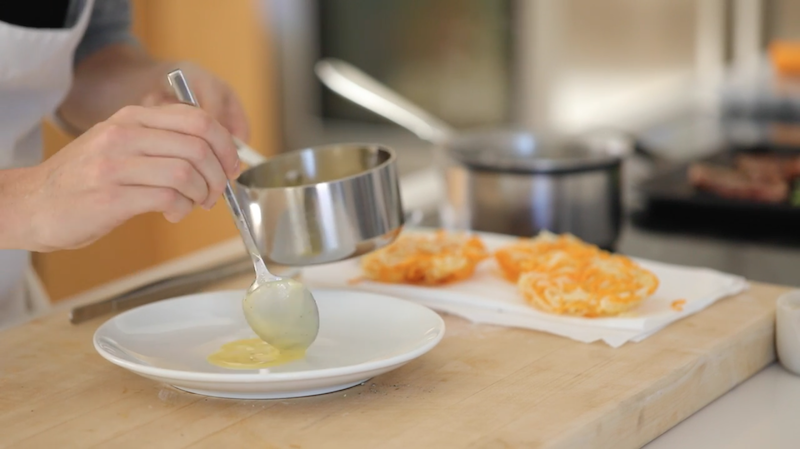
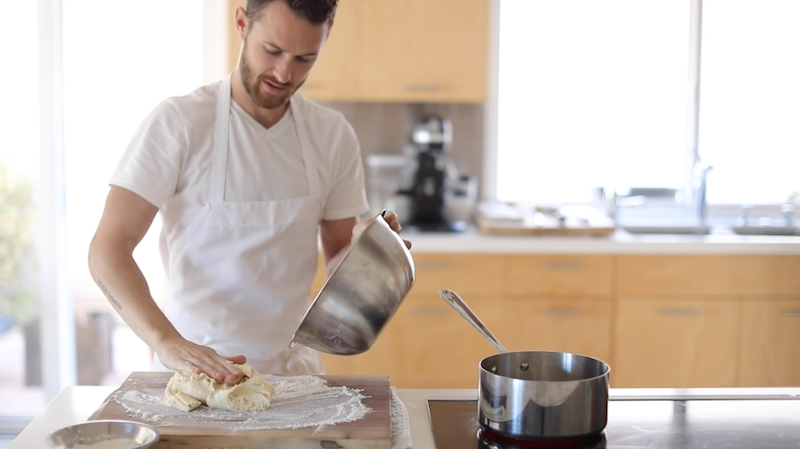
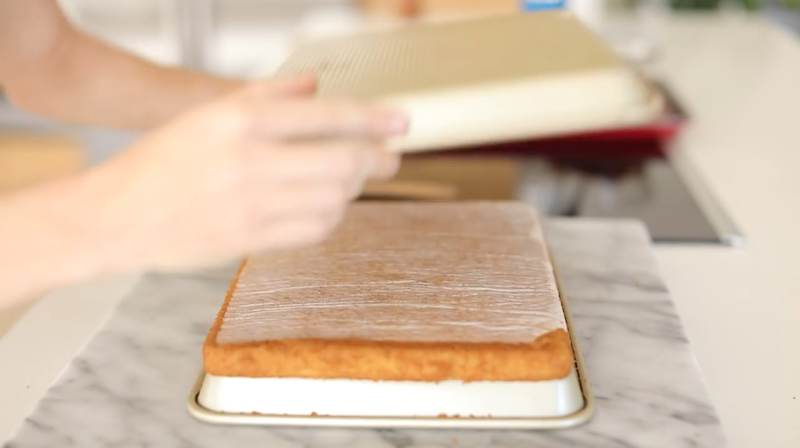
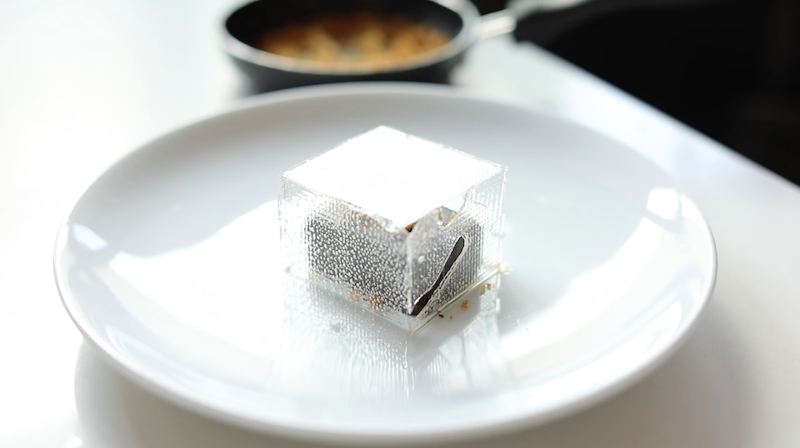
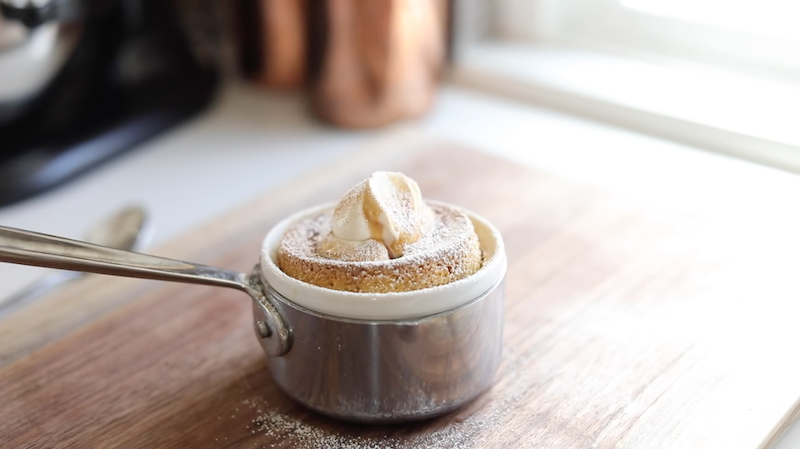
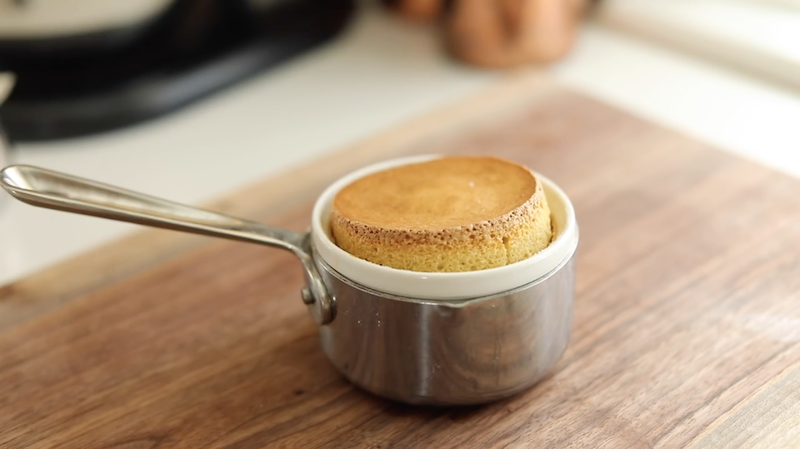 Remove the soufflé from the oven and it’s ready to plate. I used a warmed sauce pan to keep the soufflé warm, but that entirely optional.
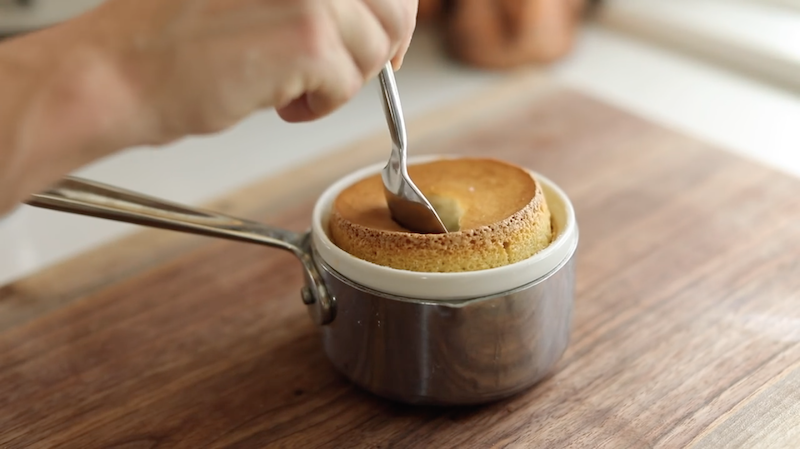
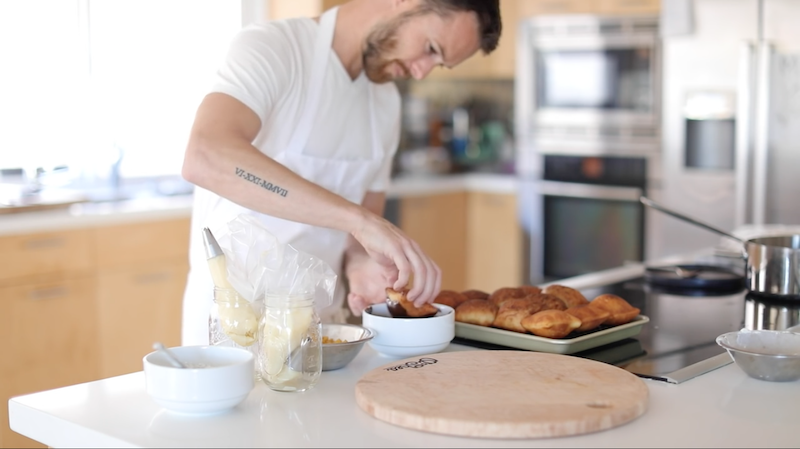
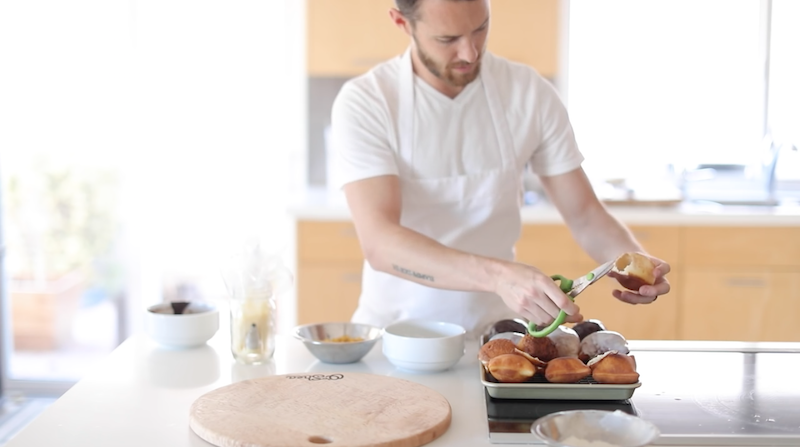
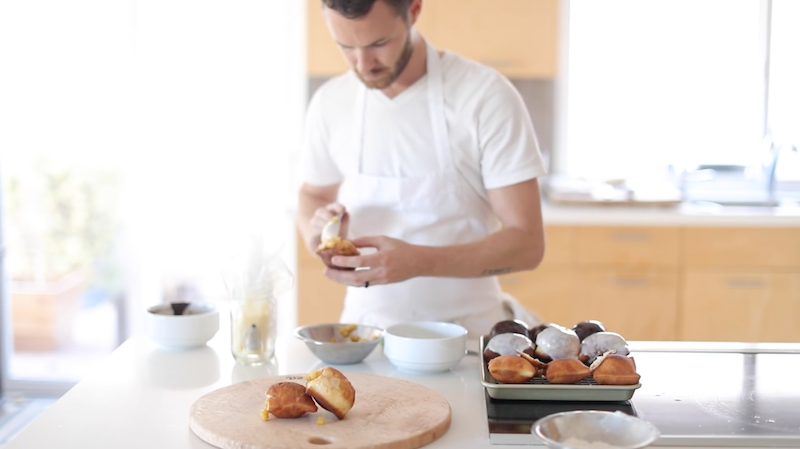
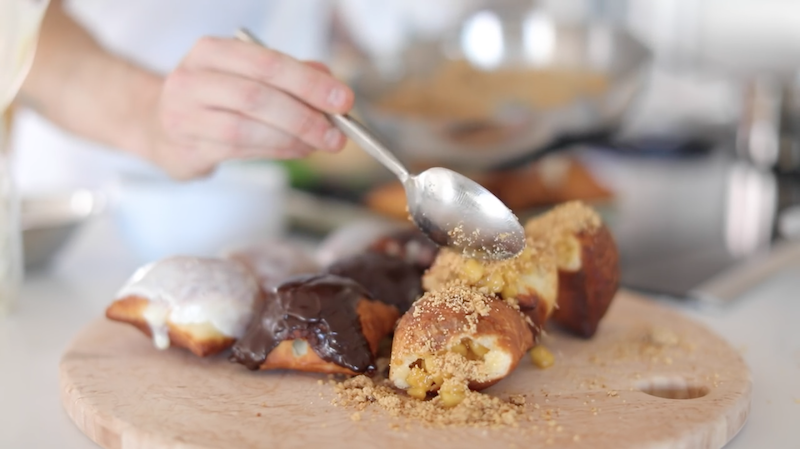
Start by creating a small opening in the top of the soufflé.
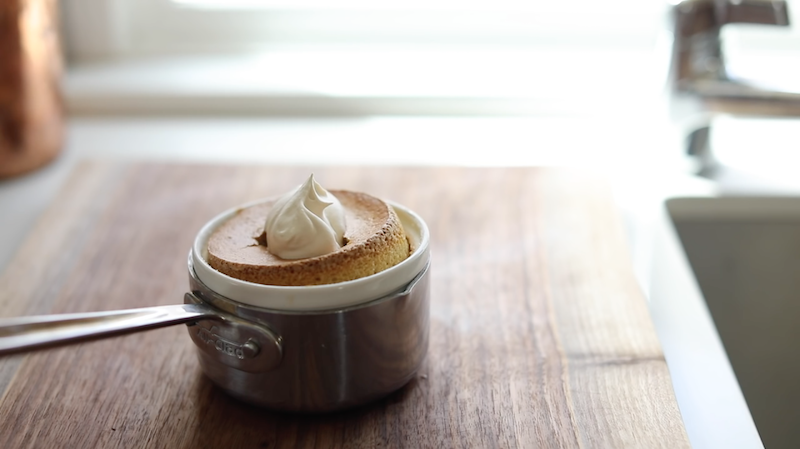
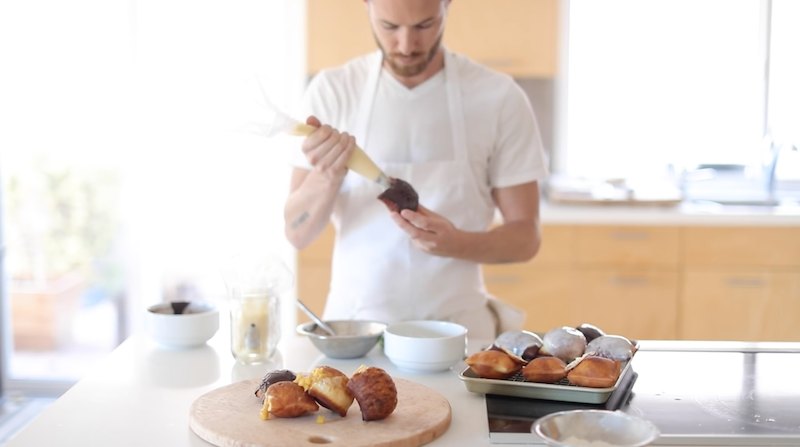
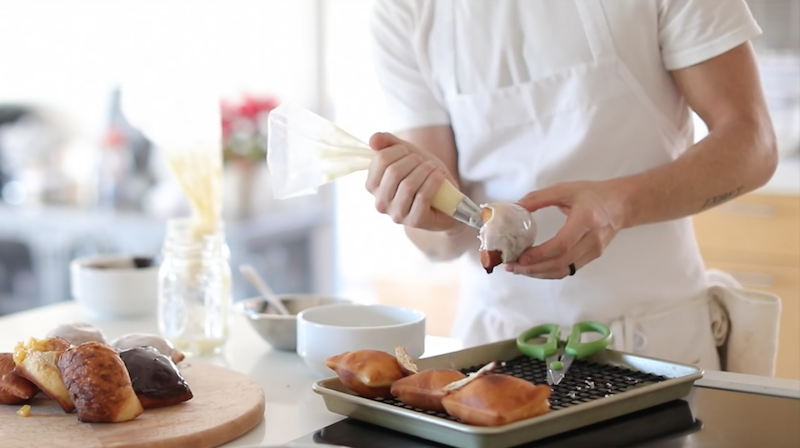
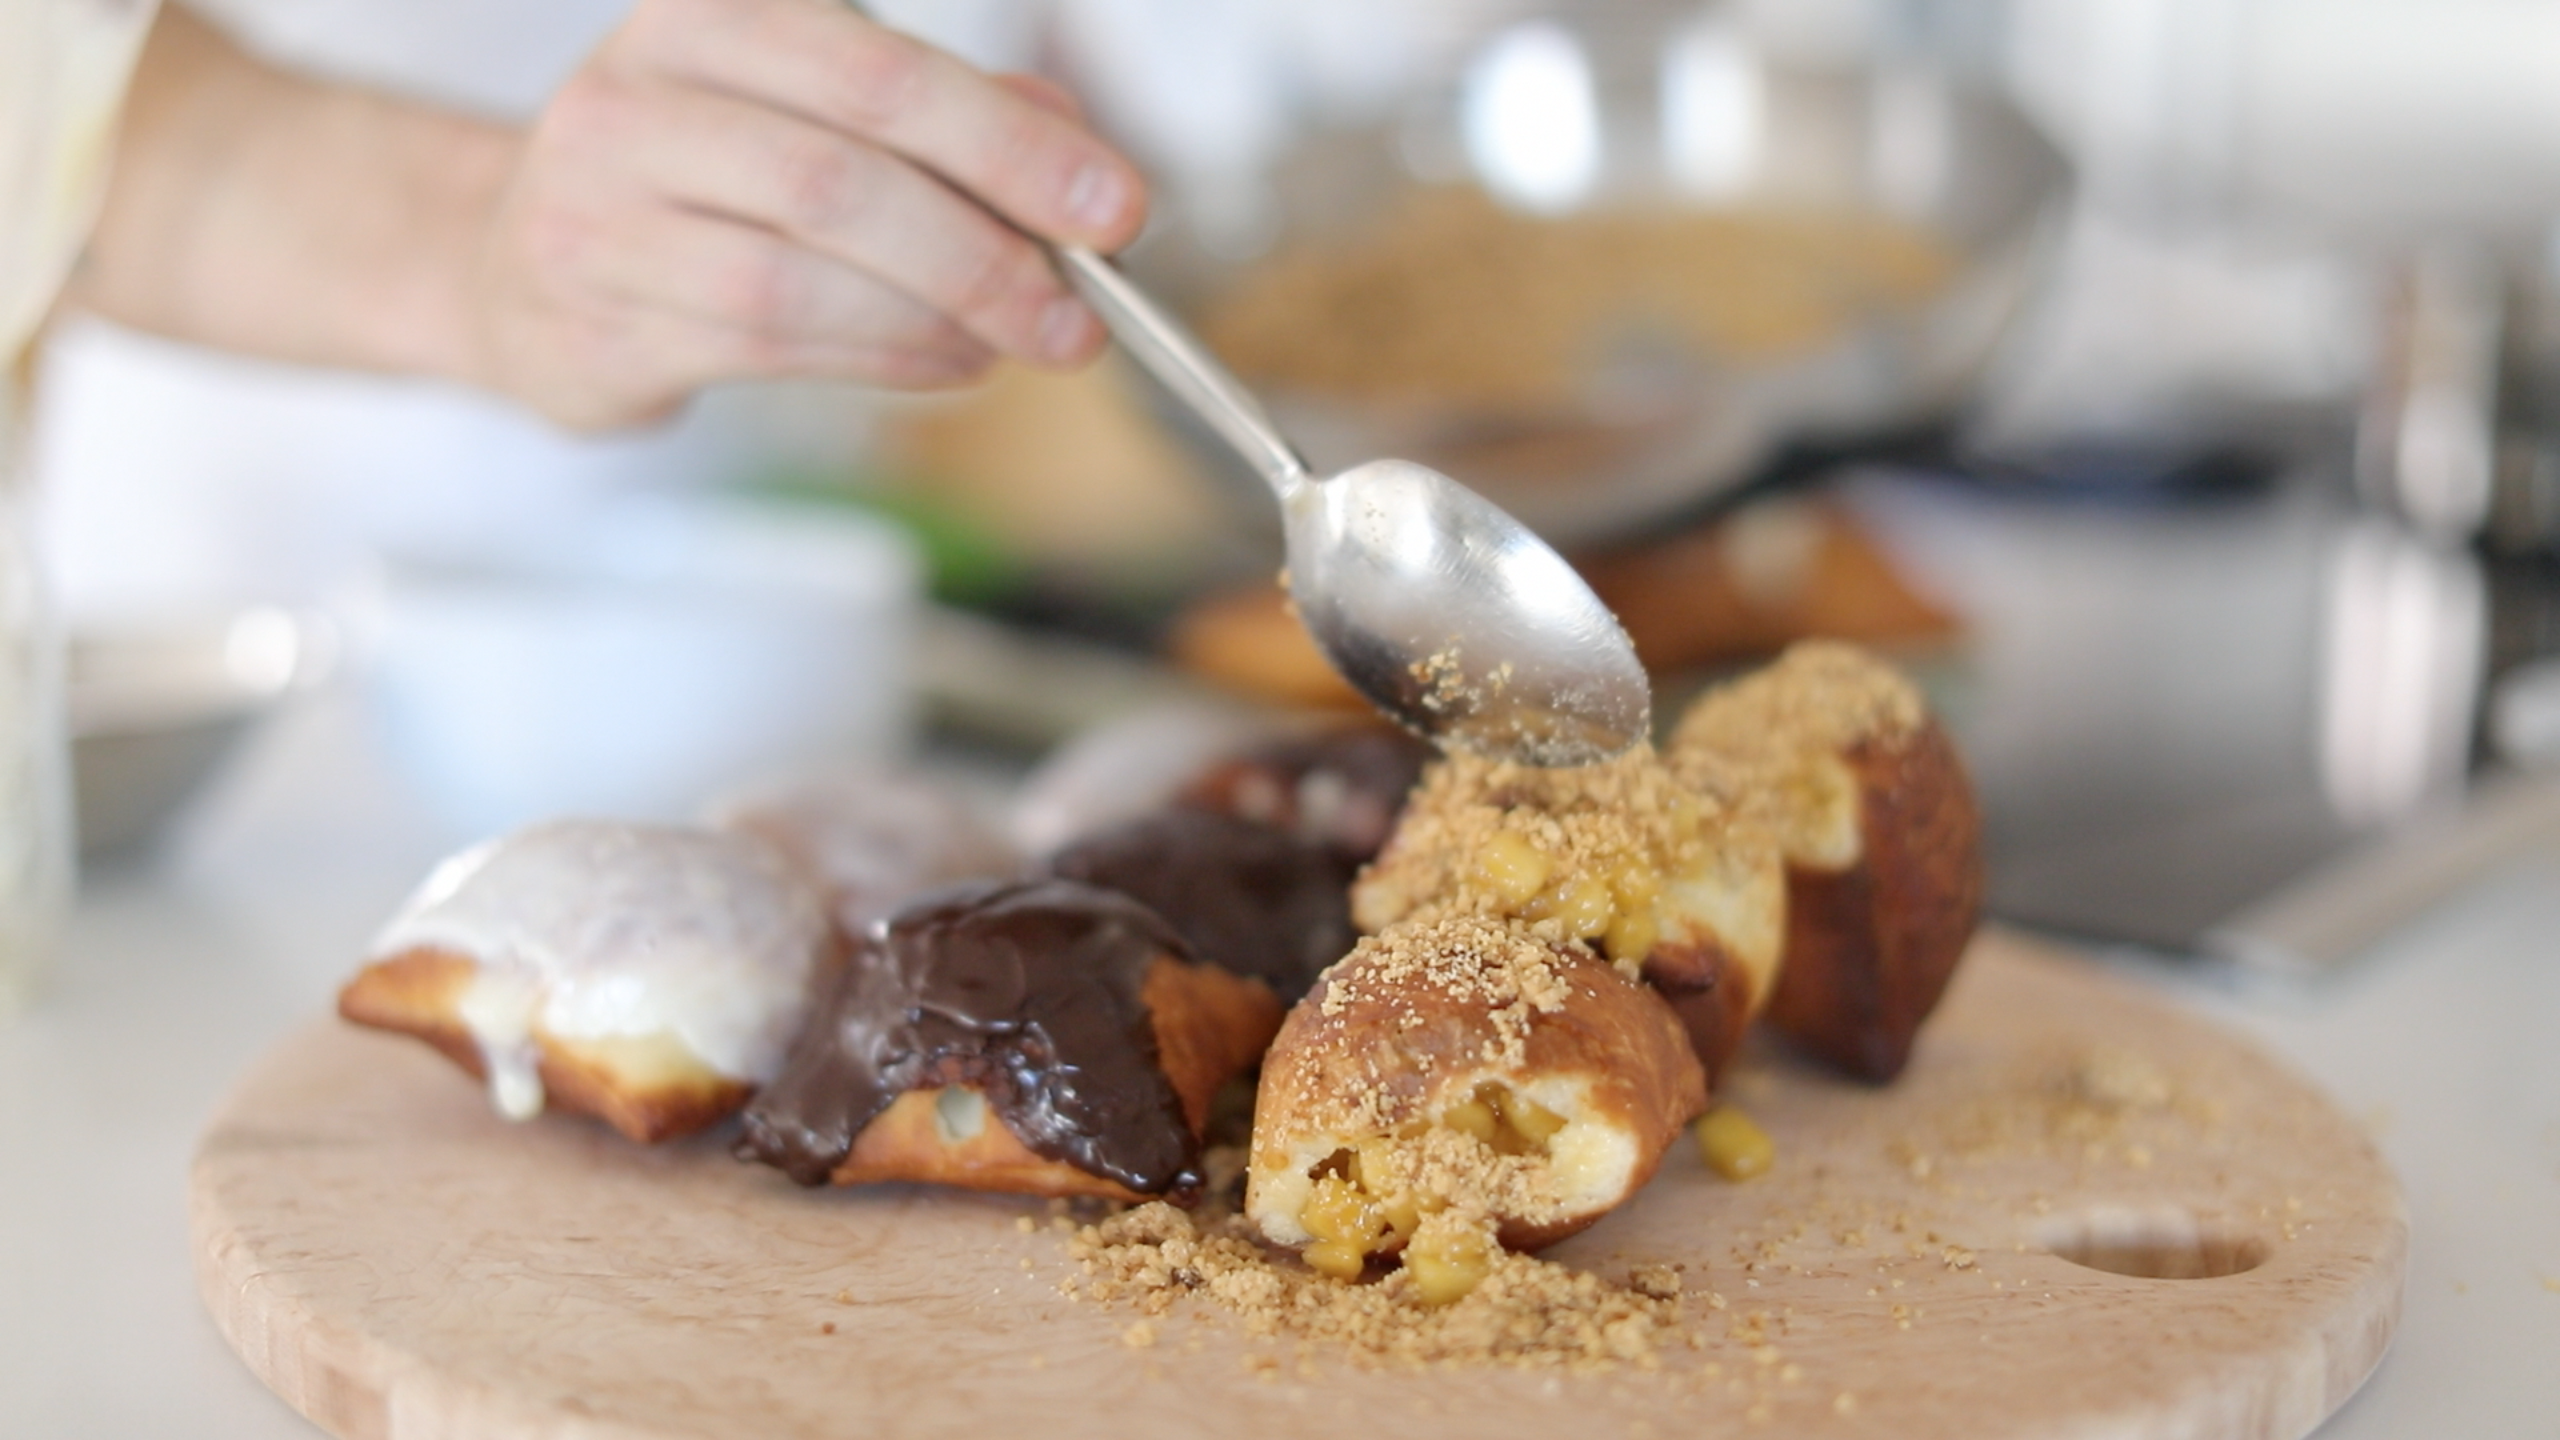
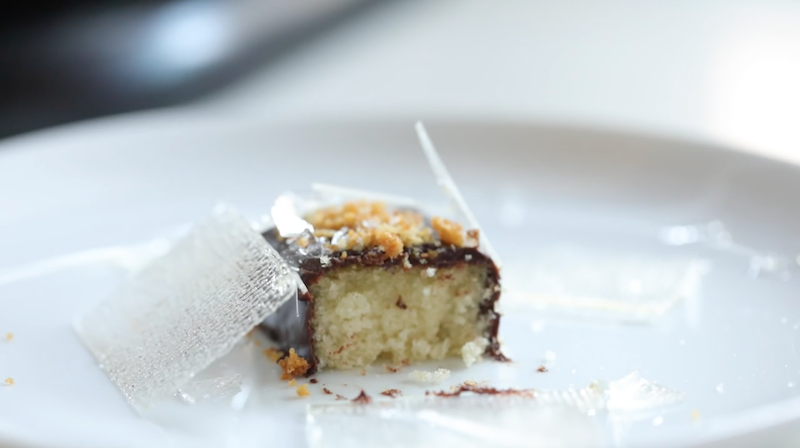
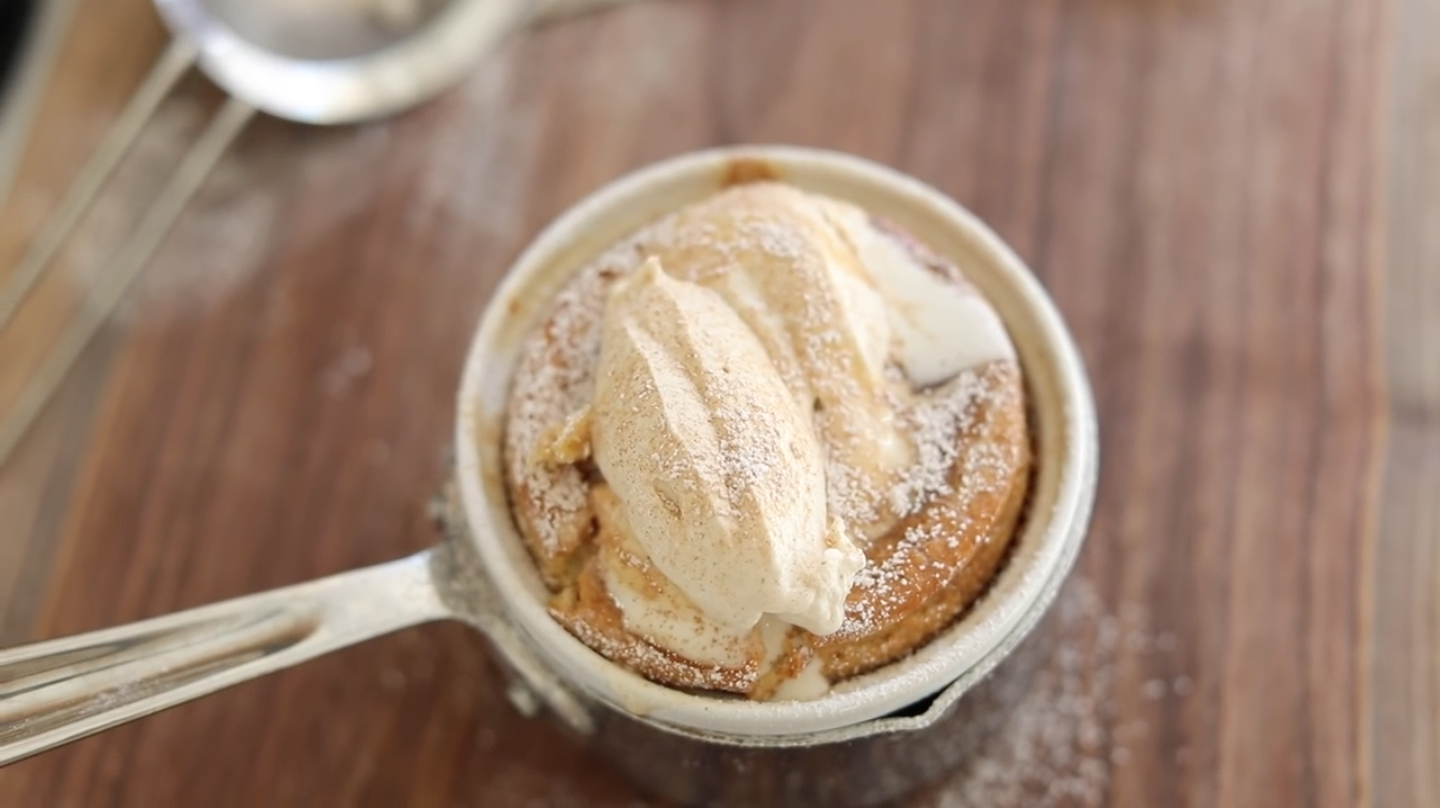
Add a few spoonfuls of the maple whipped cream…
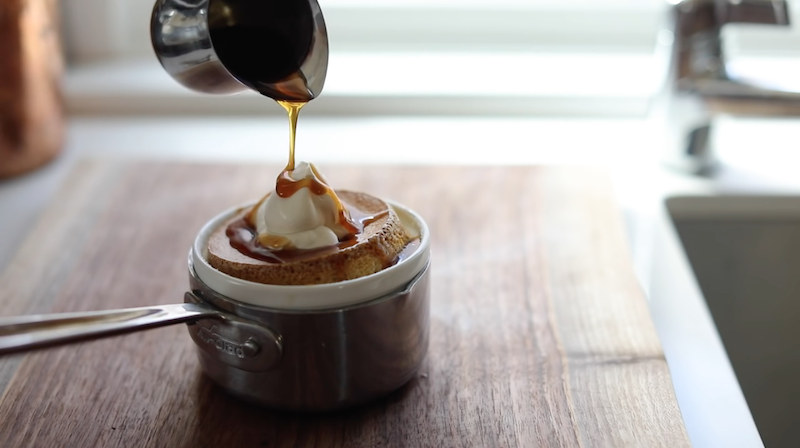
…a drizzle of the reduced maple syrup…
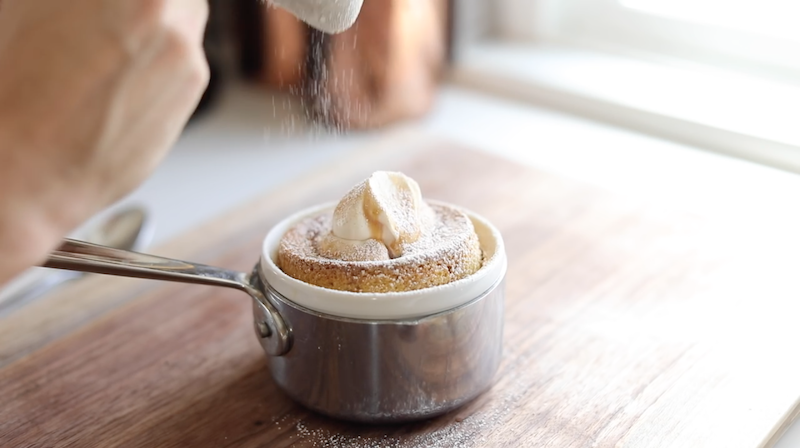
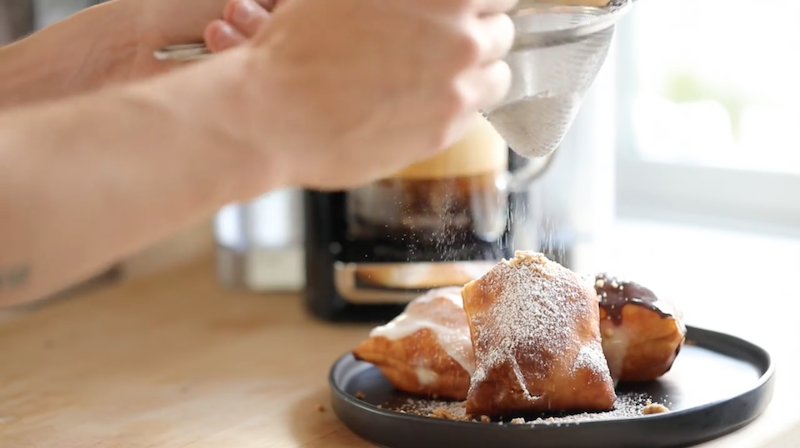
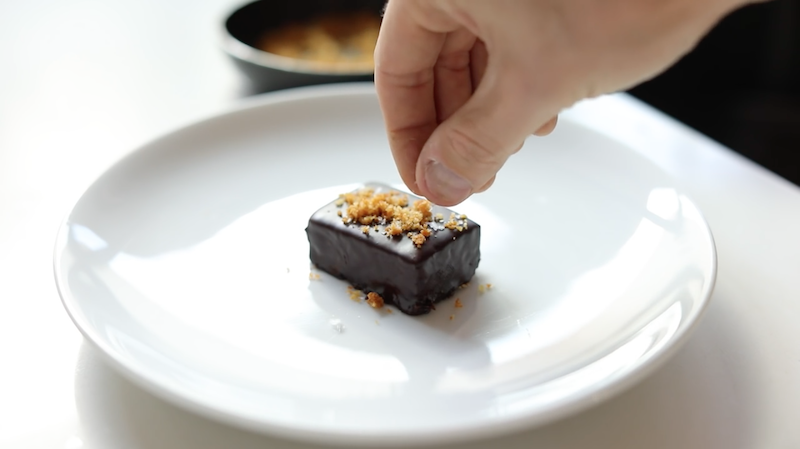
…and a dusting of cinnamon powdered sugar.
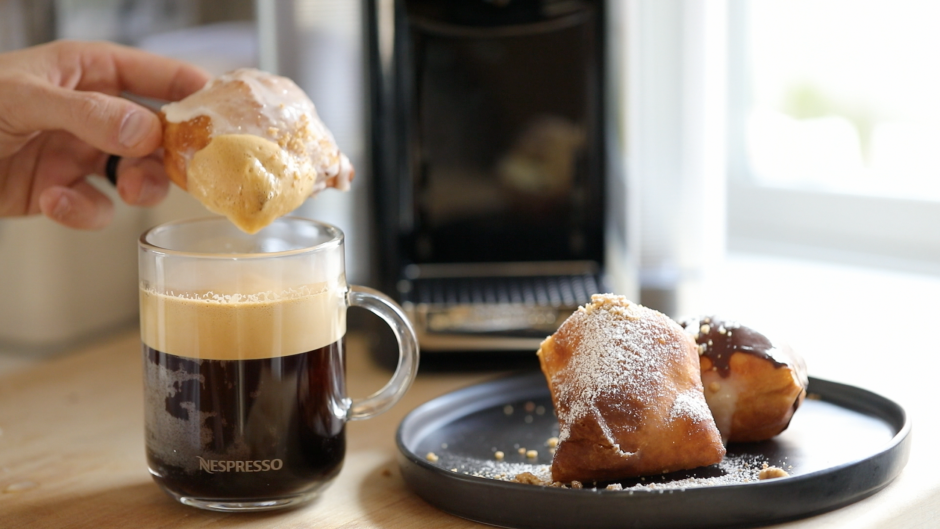
All that’s left to do is enjoy!
[amd-zlrecipe-recipe:104]
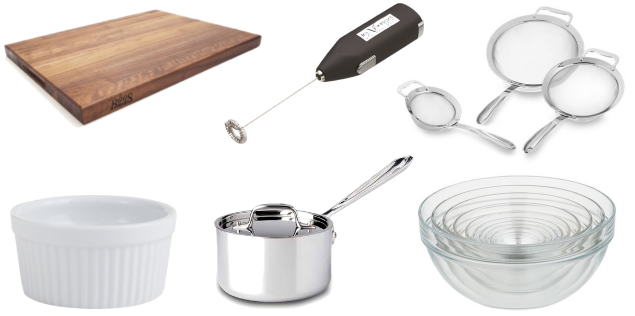
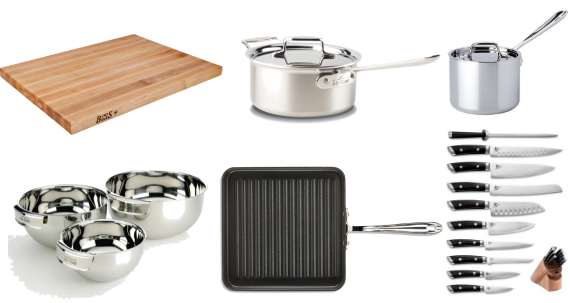
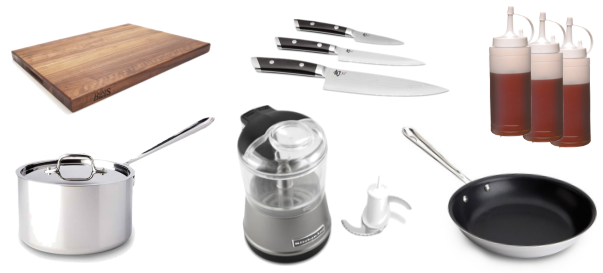
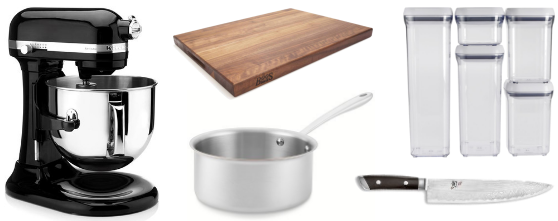
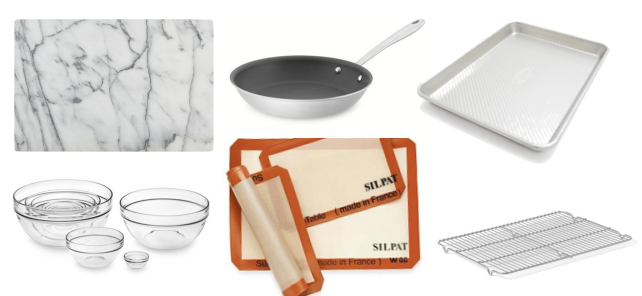
Top Right: Boos Cutting Board | Top Middle: Frother | Top Right: Sifter/Strainer |
| Bottom Left: Ramekin | Bottom Middle: All-Clad Sauce Pan | Bottom Right: Mixing Bowls |