


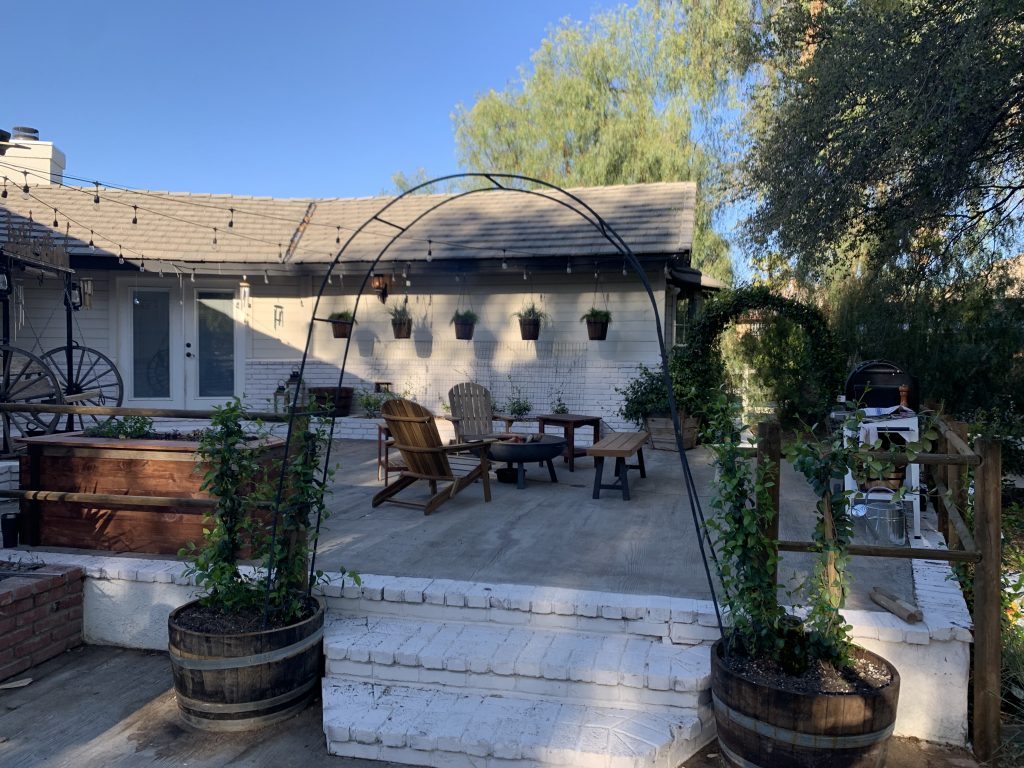
Well, spring is in full bloom here in beautiful SoCal and one of the best ways for me to get the spring cleaning bug going is to start outside while the weather is just about as perfect as could be. Unfortunately the days will get much much hotter and hotter (last years high was 118f!! crazy) as the season grows slowly into summer I eventually find myself cleaning, organizing, and fixing my way back into the cool air conditioned spaces, but for now It’s time to take full advantage of some much needed work to get done. Of course the driving force behind this idea of “Garden To Grill” with my project is hospitality, food, hosting, and a good dose of glass half full perspective when observing my current living environment. I wanted to walk you through how I pieced things together as the project progressed and my mindset going into it. Hopefully it will serve as a reminder for anyone reading this post to take another hard look at the spaces around you with a more inviting and comforting vision. I have been wanting to make this awkward sort of space (see below) that’s tucked away towards the garden area of my house into a garden/grill hangout spot instead of the 90’s red brick jacuzzi area (jacuzzi was removed years before we bought the house) and I new it was going to need to some serious love and attention from me and a my good friends over at The Home Depot…they’re basically my second home and are helping me out BIG TIME for this one. Time to strap in for a stick-to-your-bones hardy blog post cause I got a lot to go through, so as usual, lets dive into it!

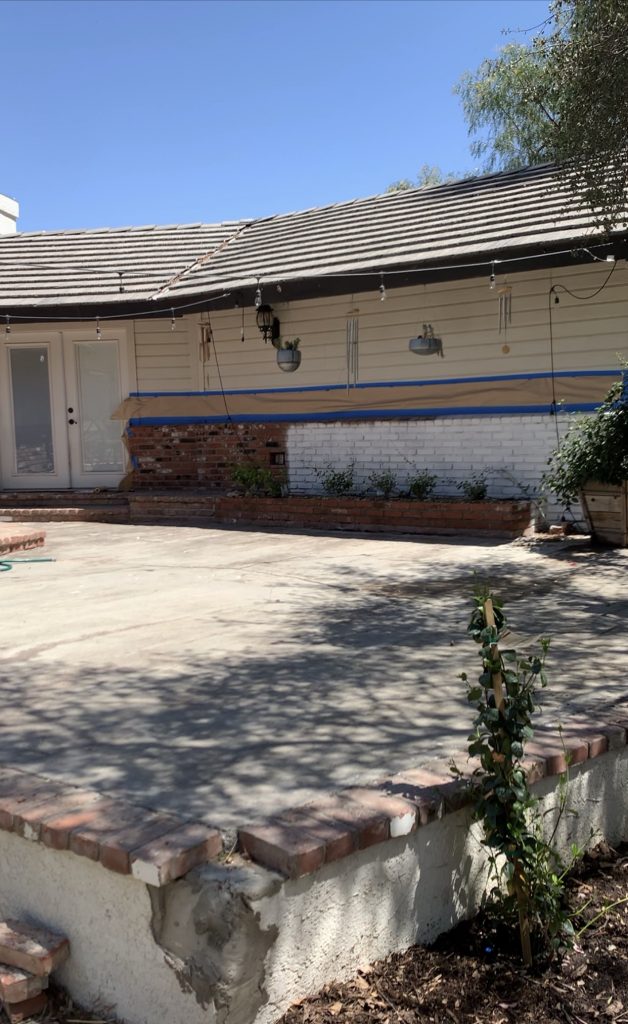
I started this project a few months back with a half painted white brick wall that I just never ended up finishing for various reasons, but it gave me the base idea for what I wanted the bricks to look like overall. This was too white for me so I decided to add in a 1/3 cup of dark brown masonry paint to the white masonry paint to tone down the bleached white look. Plus I’ve been needing to put some fresh concrete and new bricks on the corner…minor details, but they have such a big impact on the finish.
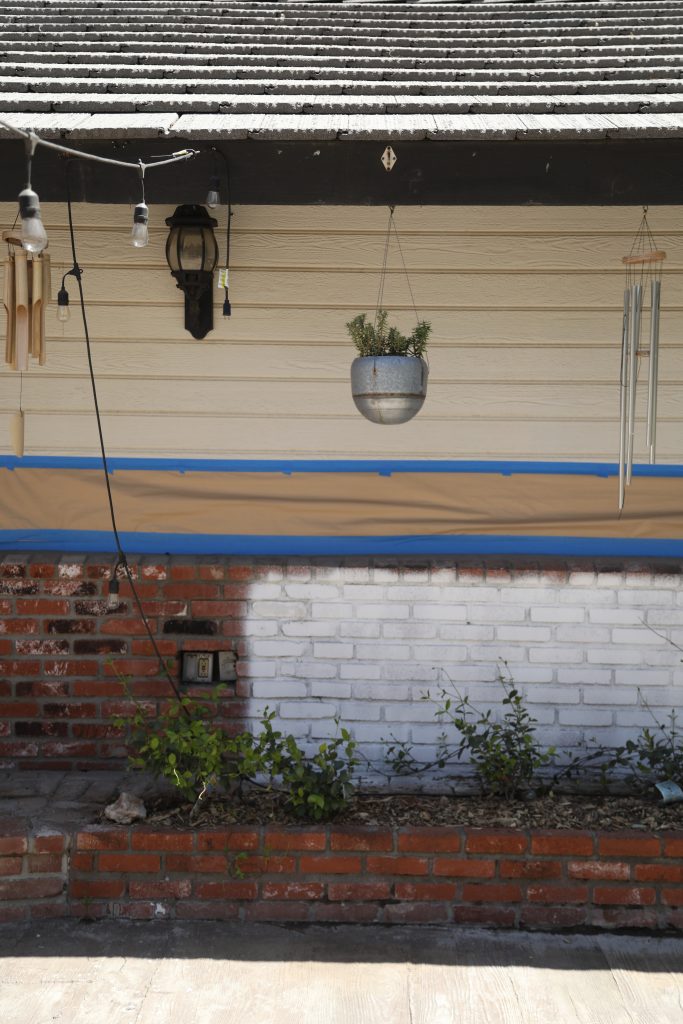
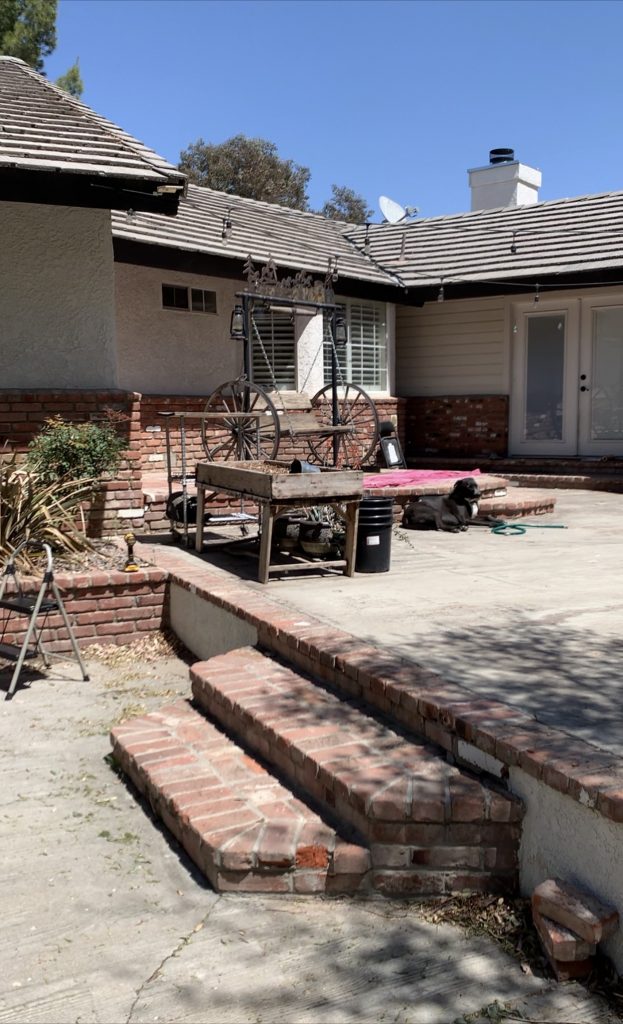
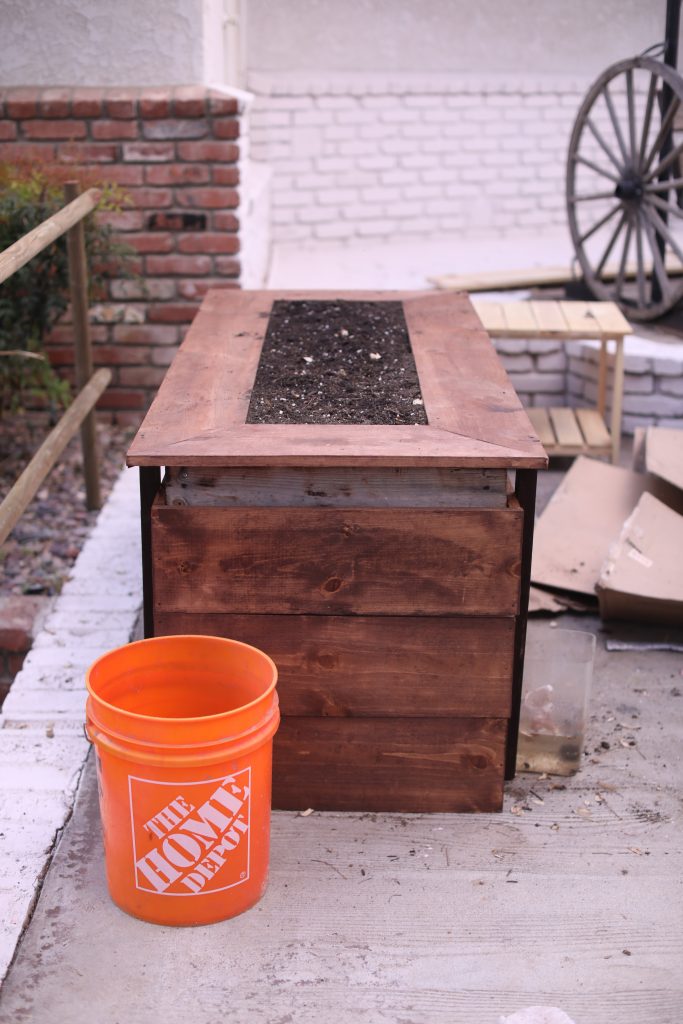
This old garden table needed a fresh look and some straightening along with the string lights that have fallen several times because I didn’t tie up proper cables to hold them… I swear I live and work by the saying “never enough time to do it right, but always enough time to do it again”. One day I’ll learn to do it right the first time as much as possible instead of repeat work, but bad habits do indeed die hard.

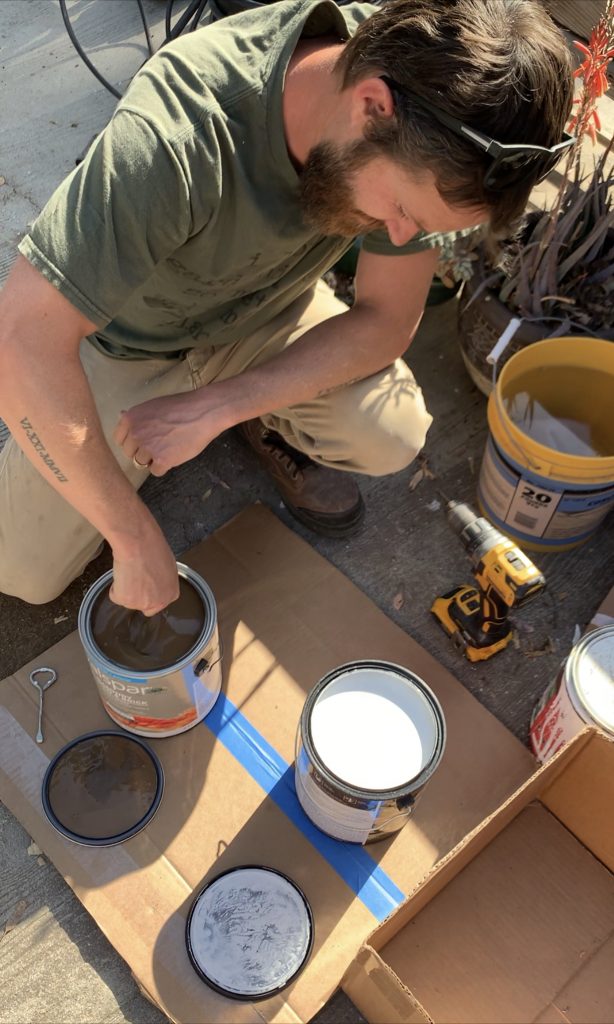
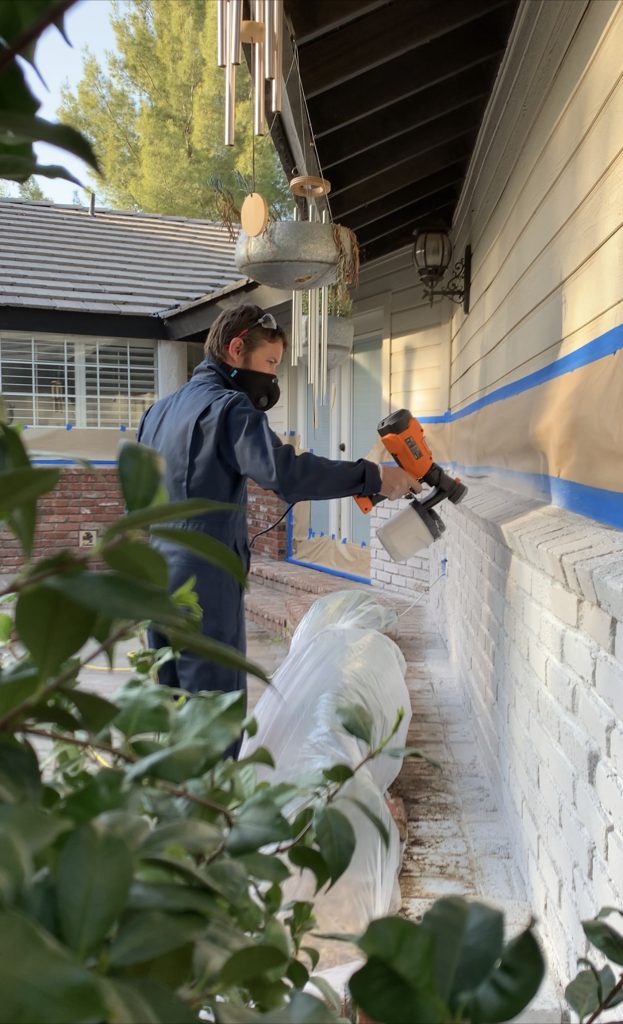
like most folks, I’m not the cleanest of painters in the world, so making sure to majorly overlap surfaces with masking tape/paper (the wider the tape the better) makes life a whole lot easier for me when it comes to spray painting. Especially when there’s a slight breeze working against you which there always seems to be. I gave myself at least 12+ inches of coverage for areas I didn’t want spatter, but just make sure to focus on straight clean tape lines that come directly in contact to the desired painting area and undesired painting area for a clean finish. *Preferred paint sprayer for future painting projects.
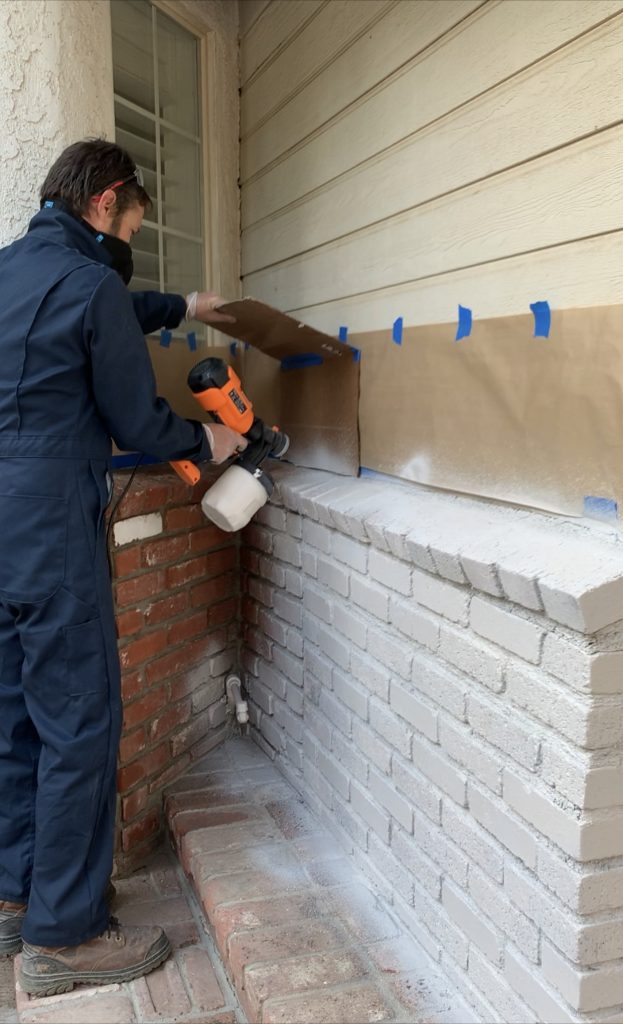
I even had a piece of cardboard on hand that I could use in awkwardly tight spaces to try and avoid misting paint spatter which really worked out better than I expected. Another good tip when painting large surfaces it to always have a pale of fresh water with a rag on standby in case the project gets a little (or a lot) out of hand and mine did from time to time. A little fresh wipe up after a misting mistake makes all the difference in the end. Fresh paint cleans up fairly easy as long as you get to it before the initial drying stage so having everything ready beforehand is key to successful painting.

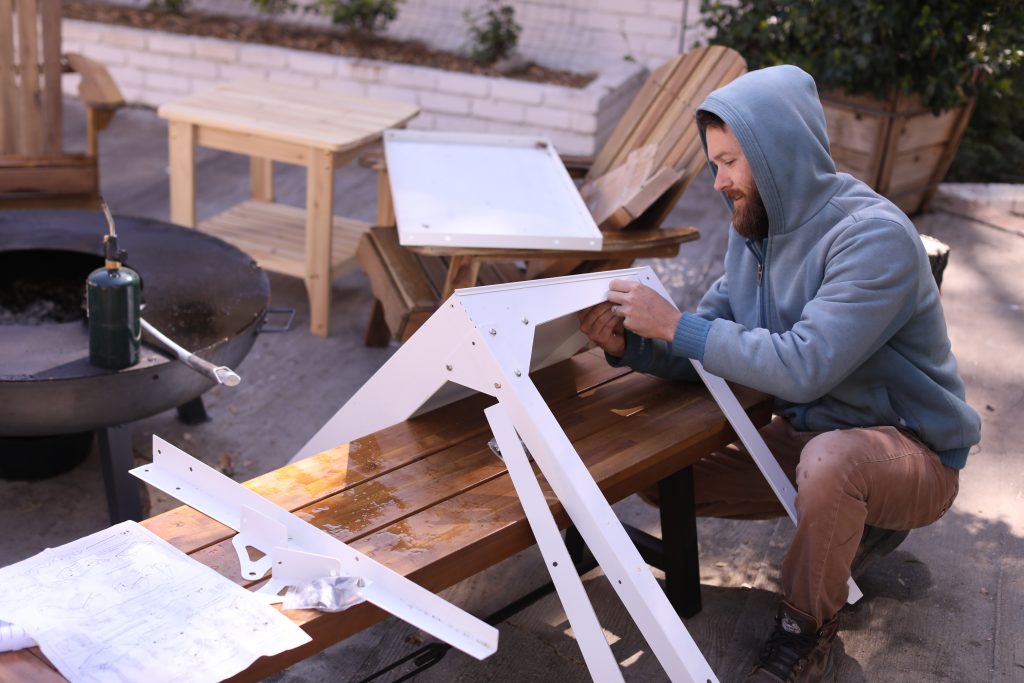
Next Phase of the project was putting everything together (30+ items in total) with all the joy of instructions and extra hardware that always makes me second guess my build…lol
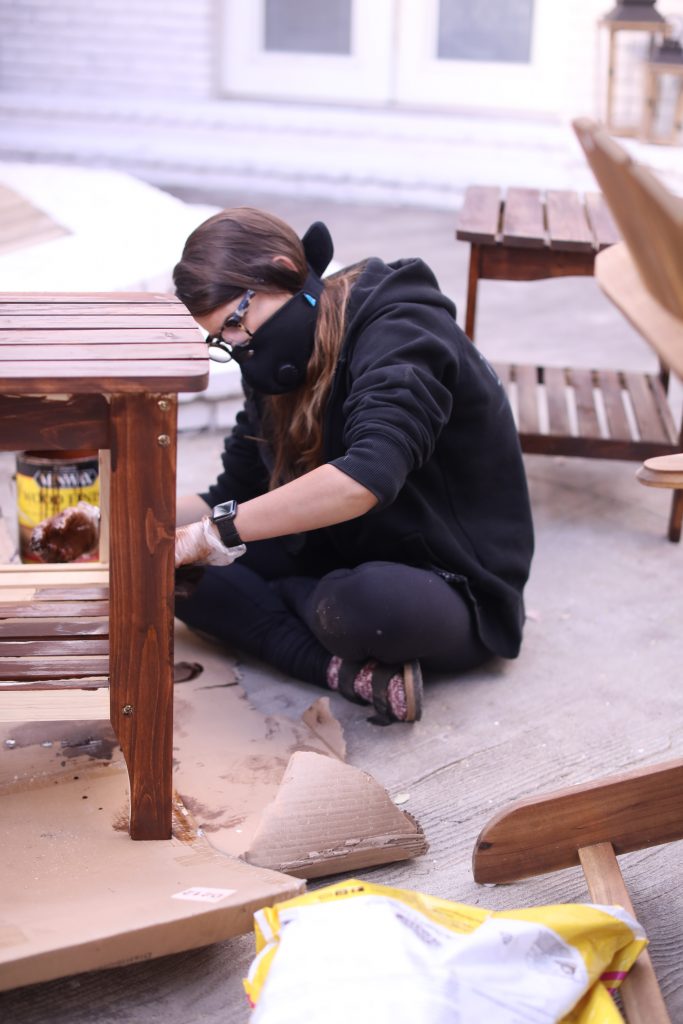
Can I just say I LOVE when my wife gets involved with these projects! I ordered some unfinished wood side tables from Home Depot that needed a little bit of love and she got right to it. The wood stain was literally the perfect match to compliment the other wood tones in the chairs, bench, and planters. Teamwork makes the dreamwork baby!
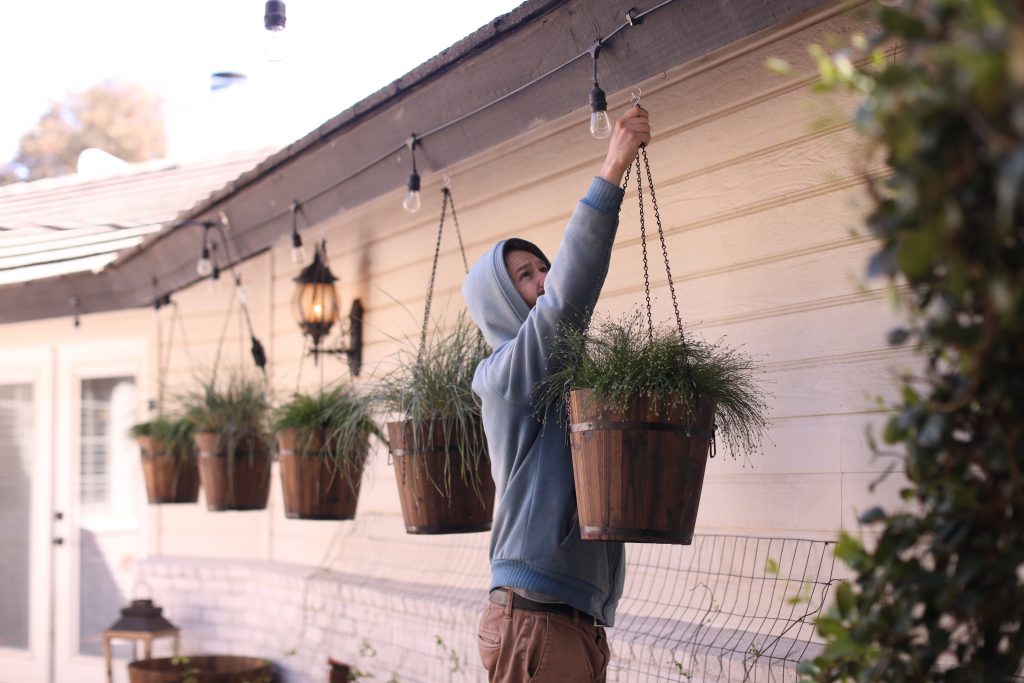
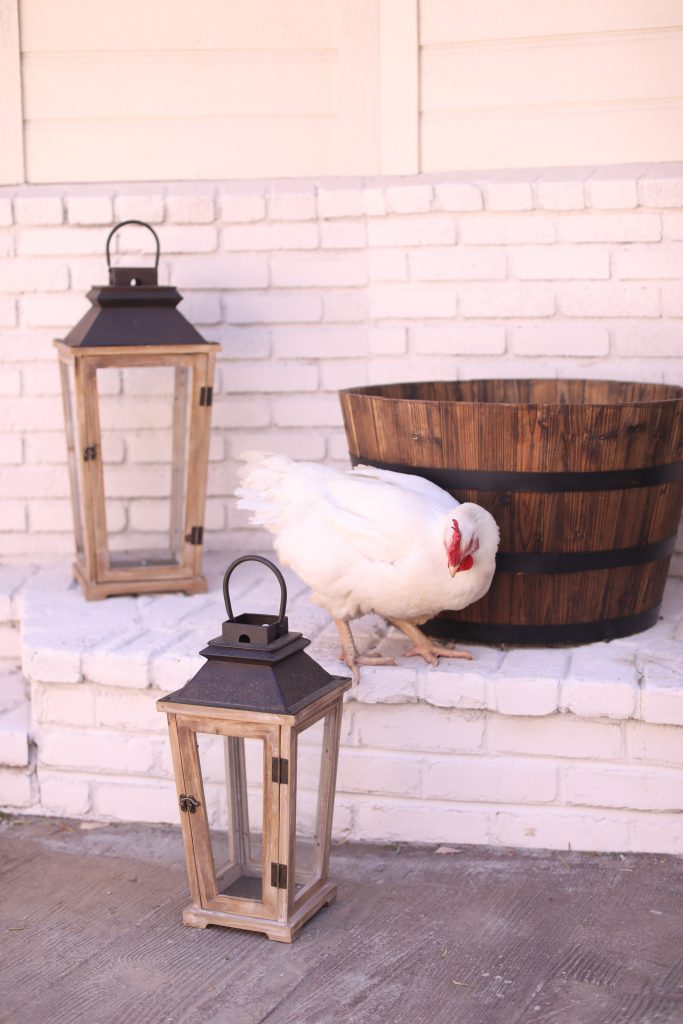
I also got a few funky old world style lanterns that I might end up hanging, but for now they’ll be used with an artificial candle as a flickering background piece that ads a pop of character to the space along with some soft light. Also, I’ll be using that mini half wood barrel for some incredible succulents that need a permanent place to live from my front yard. On a side-note Our family chicken nicknamed ‘Fluff Butt” by our kids was seriously considering using them as a nest box. She’s an absolute character of a bird that quite possibly was a person in her past life…lol!

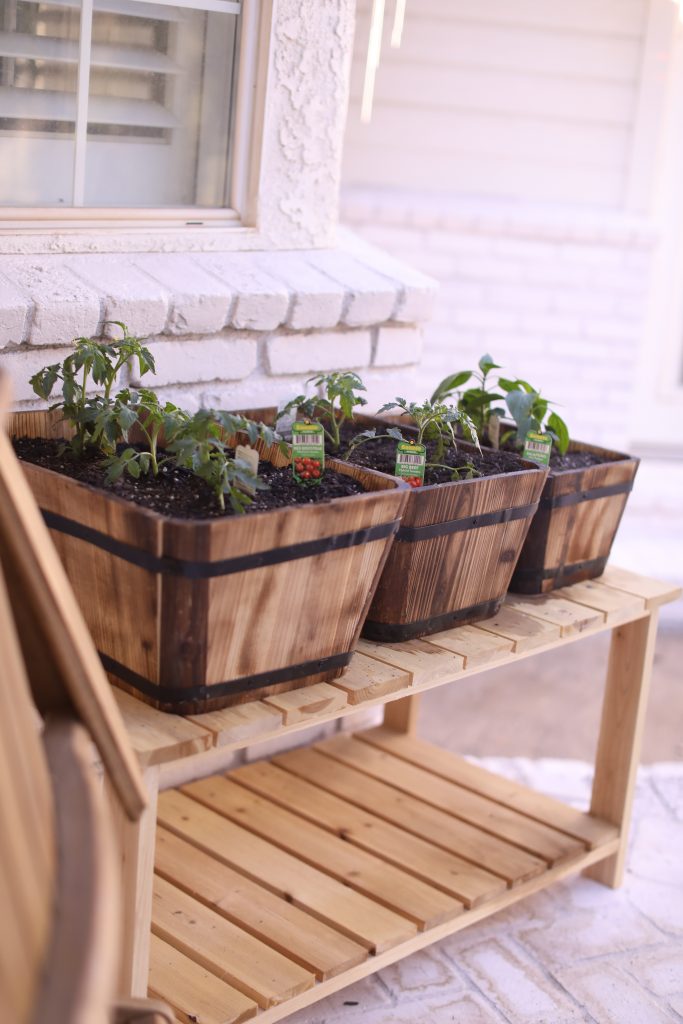
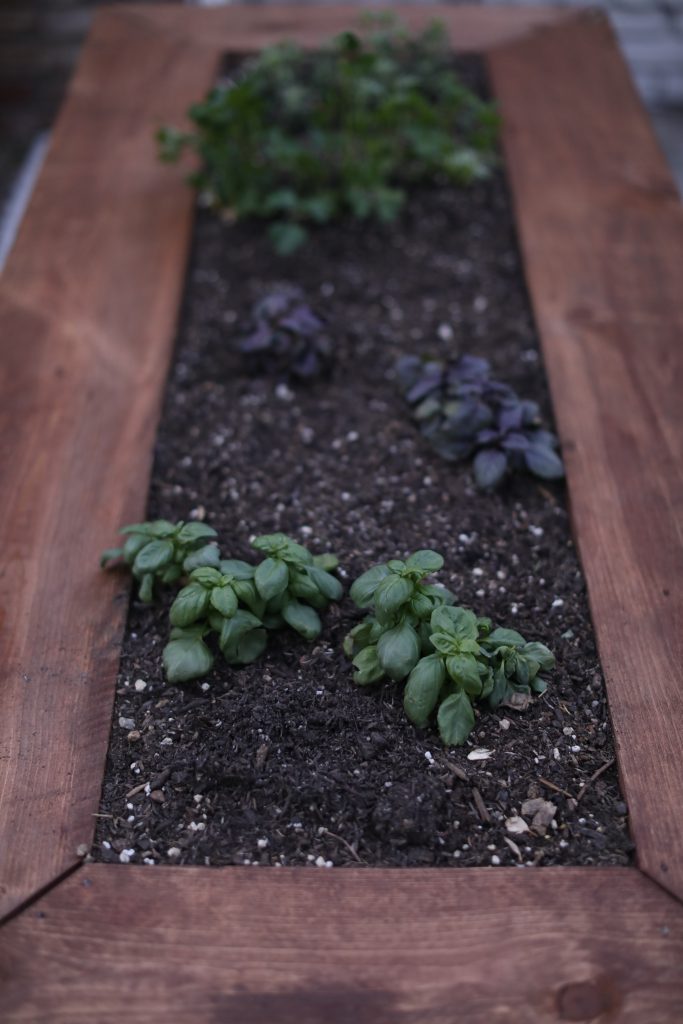
As most of you know that follow me on social media I can’t live without my fresh grown veggies, herbs, and fruit whenever possible, so for me this patio needed a few additions from Bonnie via Home Depot to make it a little more green and cozy for my taste. Don’t get me wrong, I’m all about decorative plants here and there, but peppering in a few fruitful plants that are useful in the kitchen can add a serious sense of life and vigor to your seasons. These rectangle wood planters were the perfect sizes for varying plant growth too!
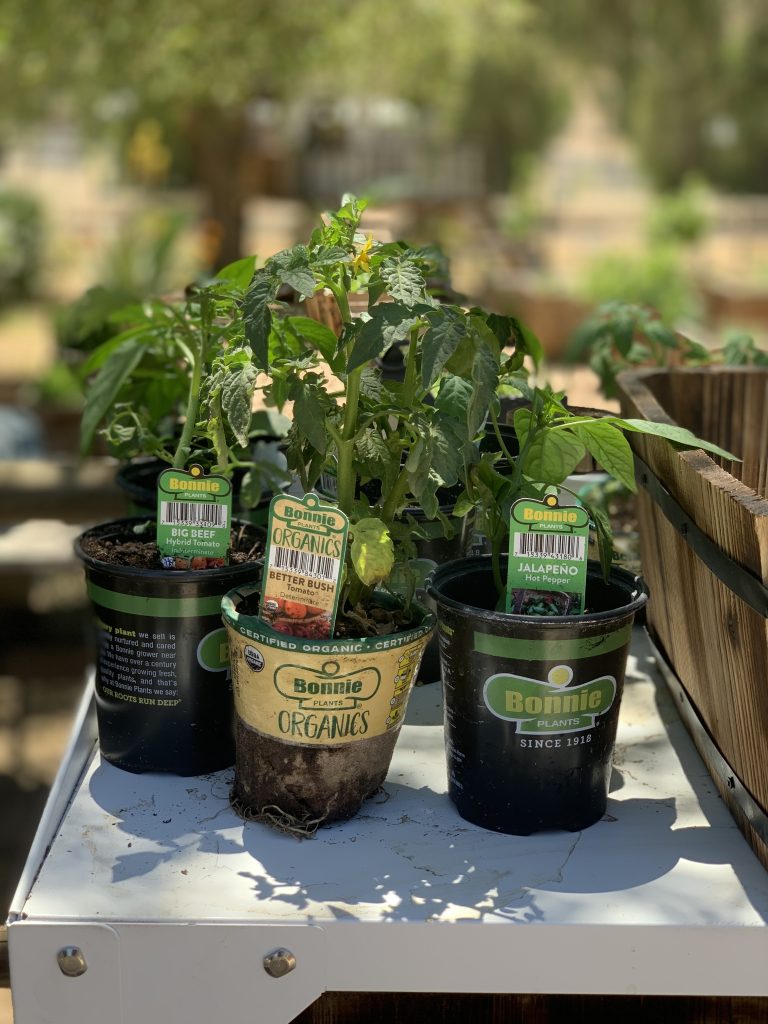
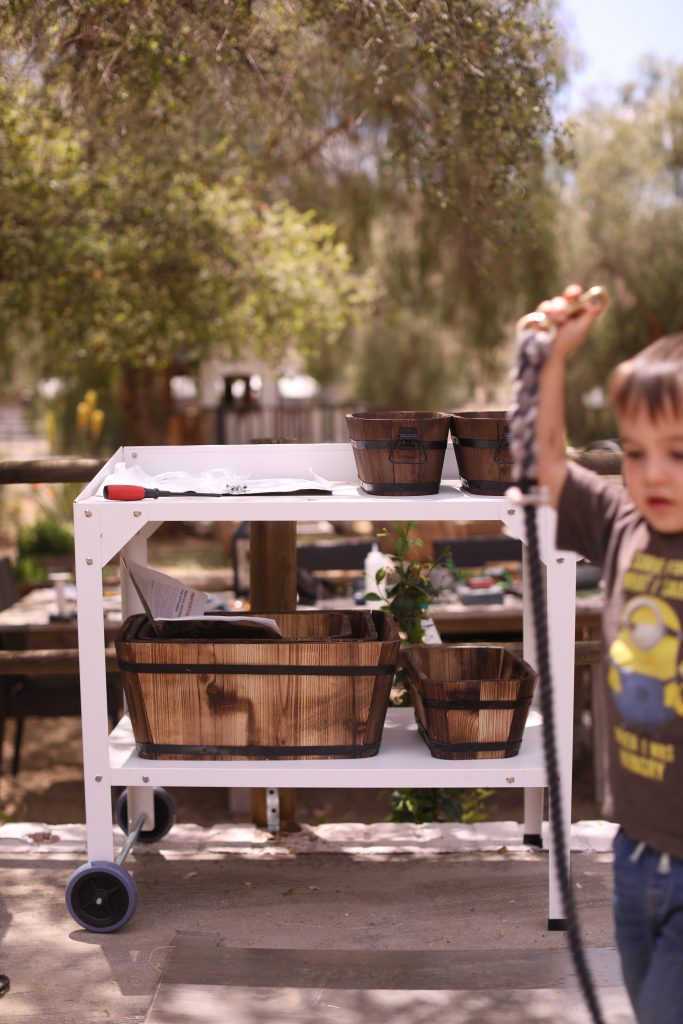
My main focus for this back patio area was Jalapeños, Beefsteak tomatoes, and a medley of herbs. I use Jalapeños in a wide array of things including the red sweet ones for dried red pepper and chicken feed later in the season. I usually NEVER have enough chilies on hand, so the more the merrier. Plus the white garden cart is a MUST HAVE. It’s super lightweight and can be used as a bar/grill cart after a good wipe down
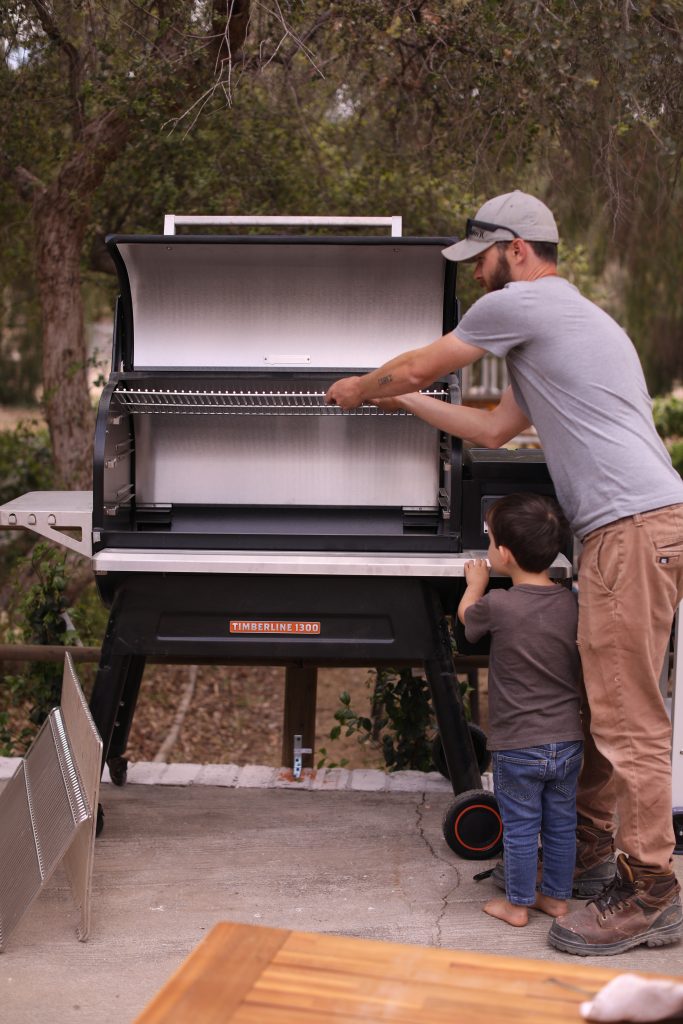
Last but definitely not least in the assembly process was buidling this incredibly gorgeous and beast of a cooking machine the Timeberline 1300 Traeger grill from Home Depot. Super easy to put together, but just make sure you have a helping hand for a few of the heavy lifting parts. My little boy was seriously into building this thing so we could get lunch started and boy did we have a good lunch….AND dinner. Keep reading and you’ll see what we came up with and you’ll start to get a real feel for why I really wanted this “Garden To Grill’ area done right.

The two favorite methods I really like to take advantage of with Traeger grills are smoking and long cooking times since its so consistent with temperature and smoke. Here I wanted to lightly cold smoke this cured salmon that has equal parts sugar and salt along with fresh lemon zest and chopped dill. I cured it in the morning for about 4 hours before smoking.
- 1/2 cup kosher salt
- 1/2cup sugar
- 2 tbsp chopped dill
- 2 tbsp sliced lemon zest
- 2-3lb Salmon filet
*Mix everything in a bowl until aromatic then cover the salmon filet and let it sit in the fridge covered for around 4hours. The longer it cures, the saltier it gets.
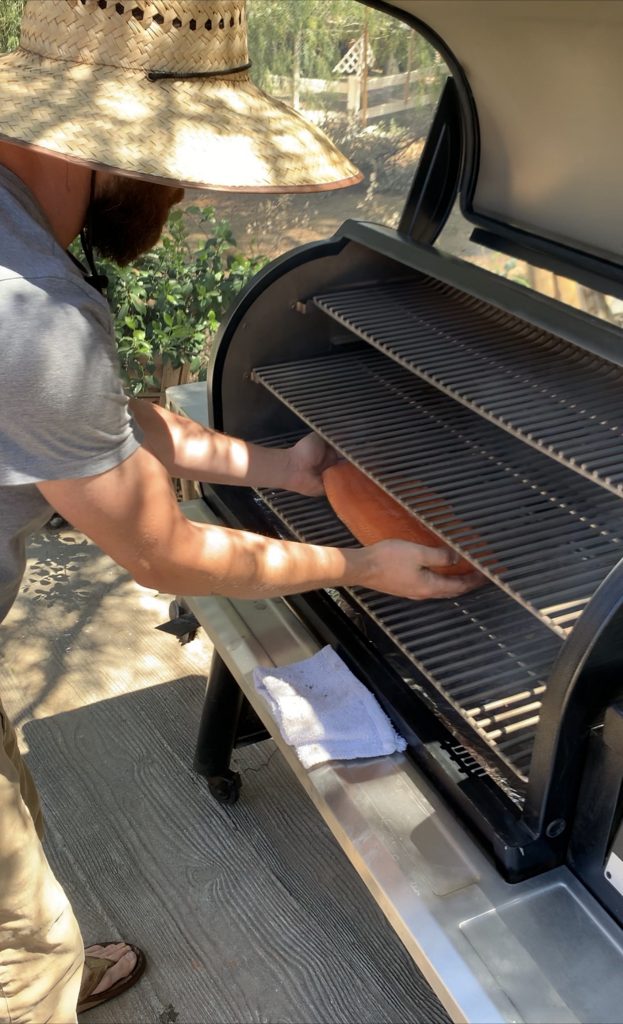
After its cured, I smoked it at 175f on Traegars‘ “super smoke” mode for 30-40 minutes to give it a kiss of smoke flavor without affecting the texture of the salmon. I wanted to avoid cooking the fish AT ALL in order to get clean thin slices for this particular recipe. If you do attempt this, just make sure that the salmon has a solid chill on it from the fridge before you put it on the grill otherwise you’ll risk cooking the exterior of the salmon filet.

Cream Cheese Spread:
- 1/2 cup cream cheese
- 1/4 cup sour cream
- 2 tbsp chopped dill
- 2 tbsp minced red onion
- Juice from half a lemon
Candied Lemon:
- 4 tbsps thinly sliced lemon zest
- 2 tbsp sugar
Pickled Red Onions:
- 3 cups thinly sliced red onion
- 1/2 cup red wine vinegar
- 1 tbsp kosher salt
- 1tbsp sugar
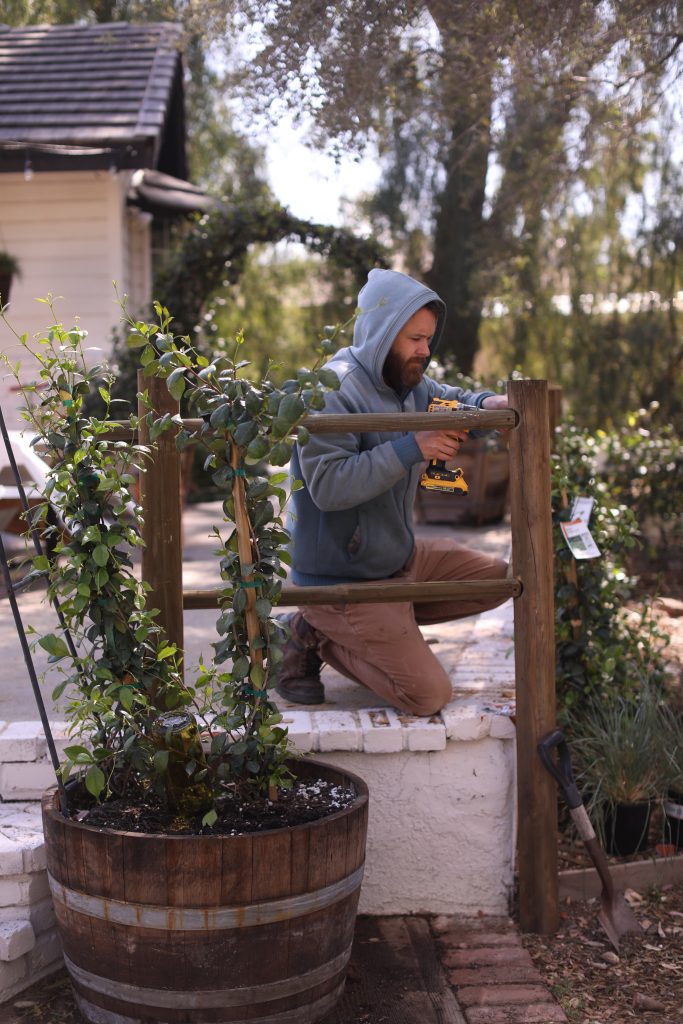
Now that lunch is out of the way it’s time to keep pushing on to the finish line. I planted a bunch of jasmine around the border of the patio and needed a trellis/fence line to help support them as they’ll hopefully grow out of control over the next few years. These round wood fence posts and wood garden stakes worked out so well I’m considering doing this elsewhere on my property for some of my roses.

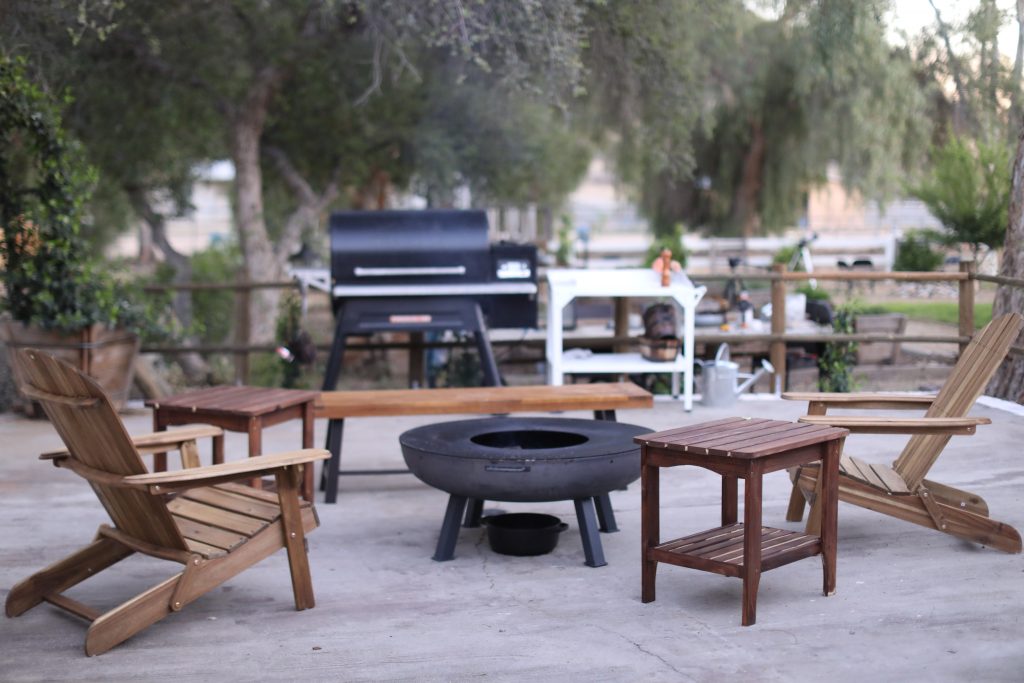
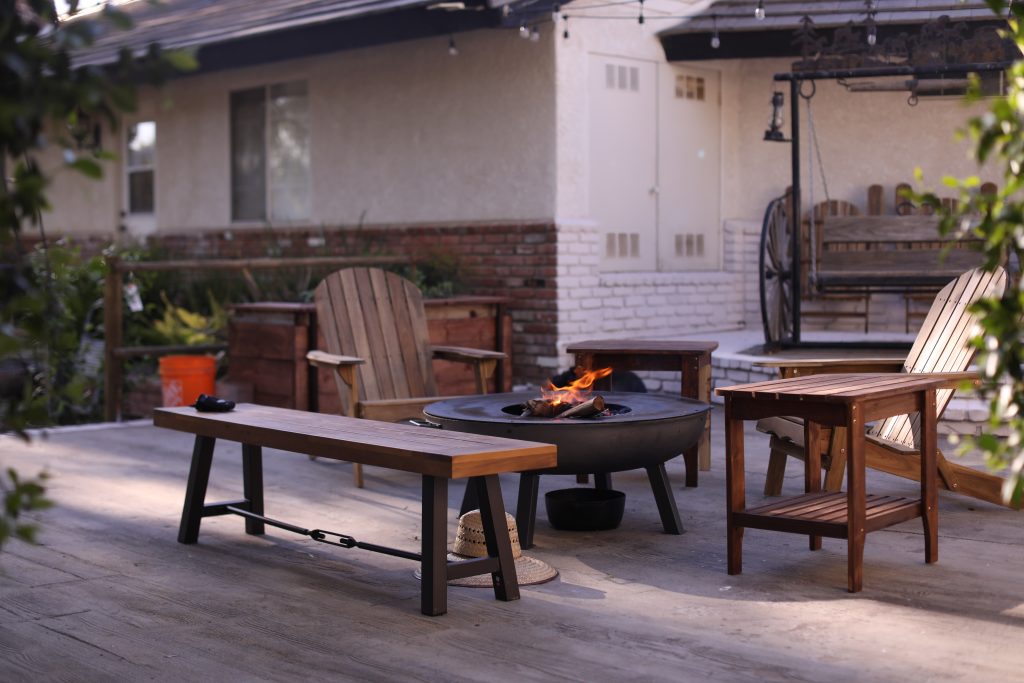
For the most part everything is built, painted, stained, washed, and organized the way I envisioned and it is time to put this “Grill to Garden” patio to good use! I have two extra of these lounge chairs that I’m storing behind the wagon wheel swing for when there’s more guests. They fold up PERFECTLY for storage. I love it!

Traeger time baby. I know tomahawk ribeyes are very very trendy, but I just had to shell out the cash for this one to christen my new Traeger Timberline 1300 the way I imagined. I seasoned it with salt, fresh cracked black pepper, rosemary, and thyme then its going into the Traeger at 375f for 20 minutes to break the initial chill and give it a good rare-medium rare internal temp.
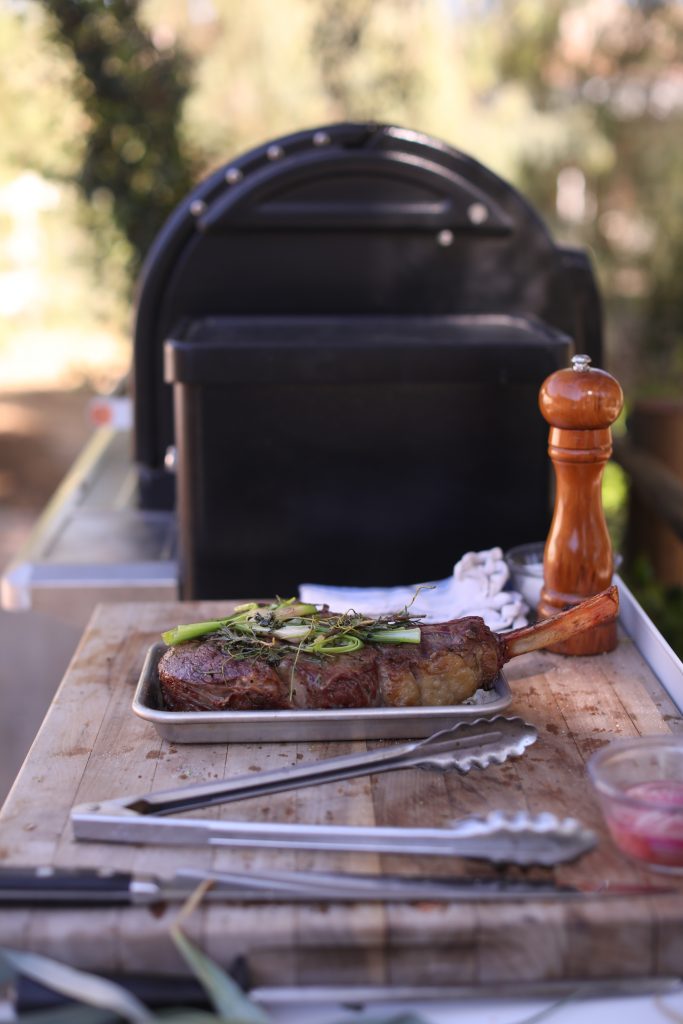
Once its to the proper temp, I remove it from the grill and let it rest for about 20 minutes with butter, spring garlic (from the garden), thyme, and rosemary. After that I turn the grill to 500f and cook it for another 2-3 minutes on each side for a really nice caramelization then back to the resting tray again and its ready to slice.
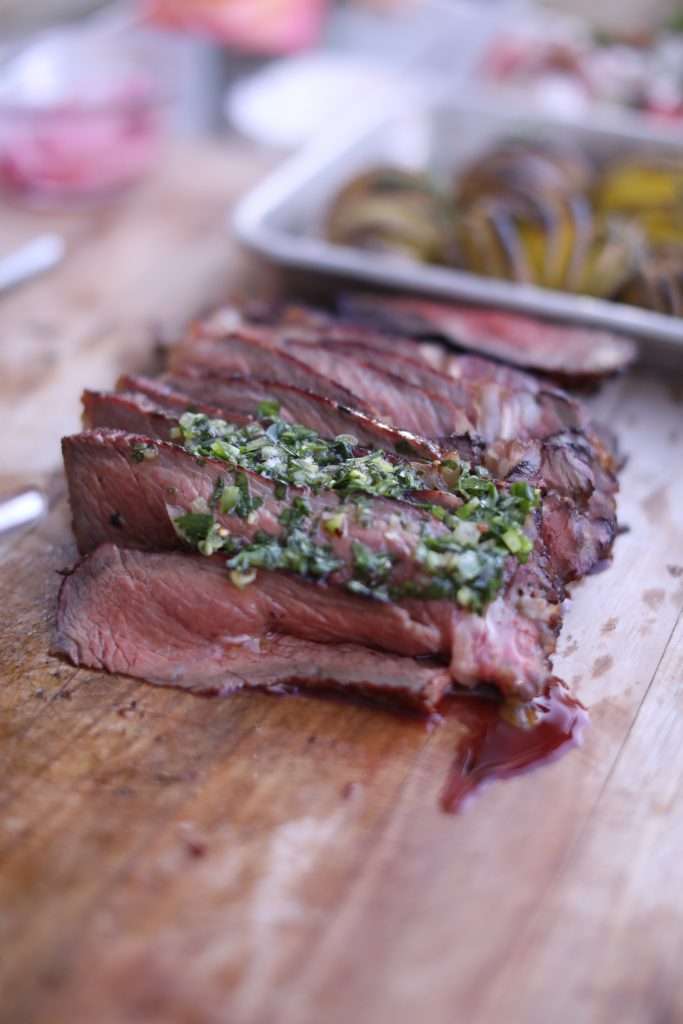
Chimichurri:
- 1 cup olive oil
- 2 tbsp minced red onion
- 3 tbsp chopped cilantro
- 1 tbsp minced garlic
- 1 tbsp chopped jalapeno
- 1 tsp chili flakes
- 1 tsp chopped lemon zest
- 1 tbsp lime juice


This might be one of my favorite salads in the entire world and is such a great fit to this meal. Crispy wedges of iceberg lettuce, juice slices of beefsteak tomatoes, crumbly smoked bacon, pickled red onions, and a homemade “ranch” dressing that beats any store bought brand by 10 miles. This is my kind of meal to finish off a long outdoor project.
Ranch Dressing:
- 1/2 cup mayo
- 1 cup sour cream
- 1 tbsp dijon mustard
- 1 tbsp chopped thyme
- 1 tbsp chopped parsley
- 1 tbsp chopped rosemary
- 1 tsp garlic powder
- 1 tsp onion powder
- 3 tbsp red wine vinegar
- salt and black pepper to taste
Well, that’s it folks! I really hope you enjoyed the process of this backyard “Garden To Grill” update with some MAJOR HELP from my good friends over at Home Depot. They literally had everything I could have wished for and more when I went to HomeDepot.com and started to brainstorm this project. I can’t wait to embark on my next indoor/outdoor project and if you guys enjoyed this post, leave a comment and let me know what you’d like to see me do next! If you want a more visual feel for how this project went, go check out my IG story Home Depot highlights to see how this all went down!


