
There really is an art to tempering chocolate. “Tempering” being the process of melting and cooling pure chocolate in a precise way to maintain the structure of the chocolate’s fat molecules. This allows the chocolate to be melted down, poured, and cooled into a glossy solid, as opposed to remaining melted or overheating the chocolate. When chocolate is tempered properly, it should cool to be smooth and shiny. When you break a piece of tempered chocolate it should have a clean and sturdy snap. The art of tempering lies in the precise way in which you heat and rapidly cool the chocolate. Every degree counts.
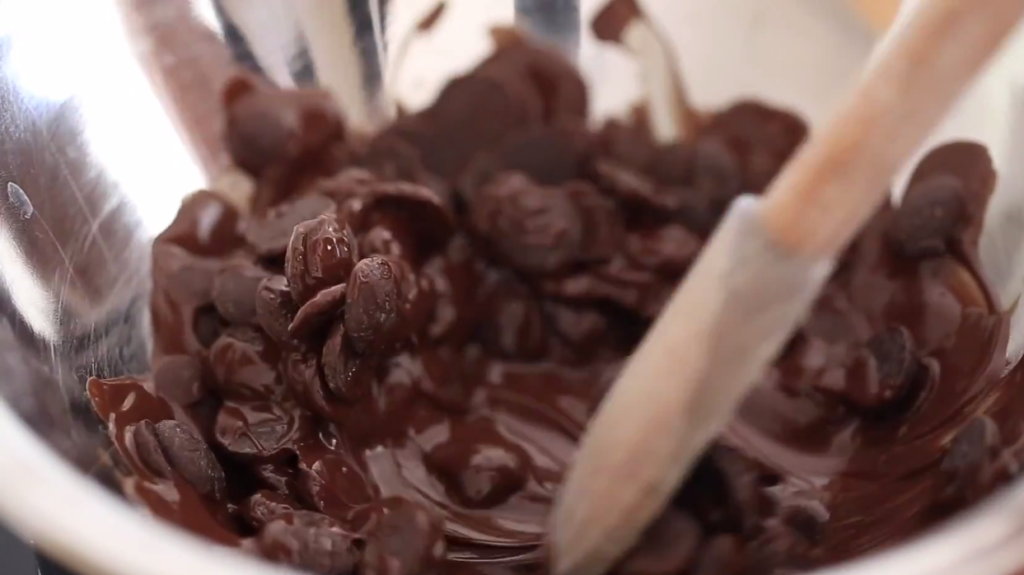
To understand this more fully, understand that chocolate contains a crystalized fat known as cocoa butter. As with most cooking fats, cocoa butter can be a liquid or solid. However, unlike most cooking fats, the cocoa butter in chocolate must be broken down (melted) and rebuilt (cooled) very precisely, or we run the risk of completely altering its crystalline structure. Once chocolate is melted from a solid to a liquid, its crystals separate and its structure is compromised. The goal of tempering is to manipulate these crystals into coming together again, into one stable form. If chocolate isn’t tempered at the right degrees, the re-build of the broken down crystals can can result in a grainy, dull, or permanently liquid chocolate.
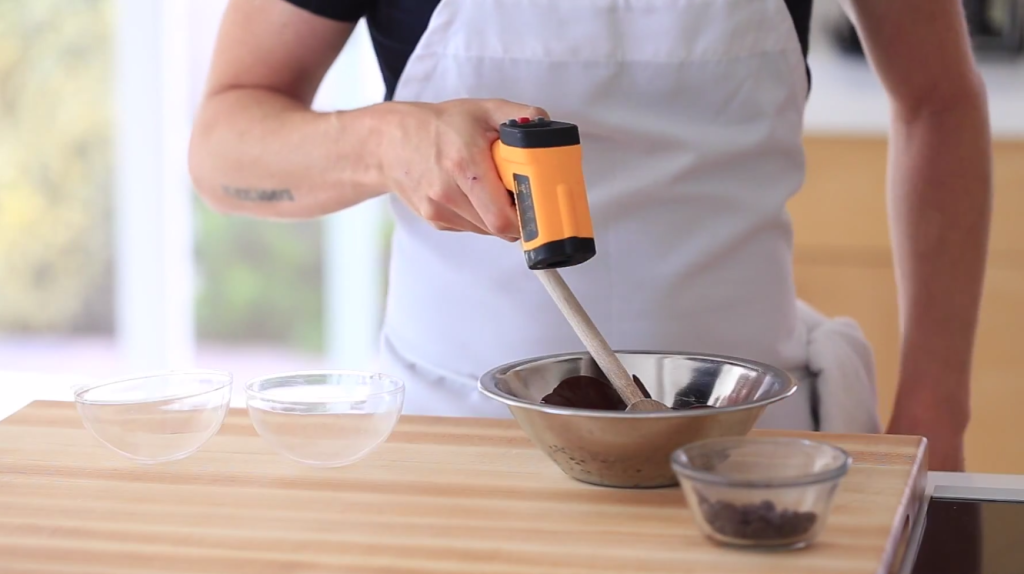
For proper tempering, your goal should be to barely melt the chocolate at all. You simply want to take about 2/3 of the chocolate you wish to temper and slowly melt it over a double boiler, or very low heat source—constantly stirring through out the tempering process. Ideally you would want to hit temperatures between 114-118° F for dark chocolate, 105-113° F for milk chocolate, and 100-110°F for white chocolate. You NEVER want to exceed 120°F, or you risk having to start all over.
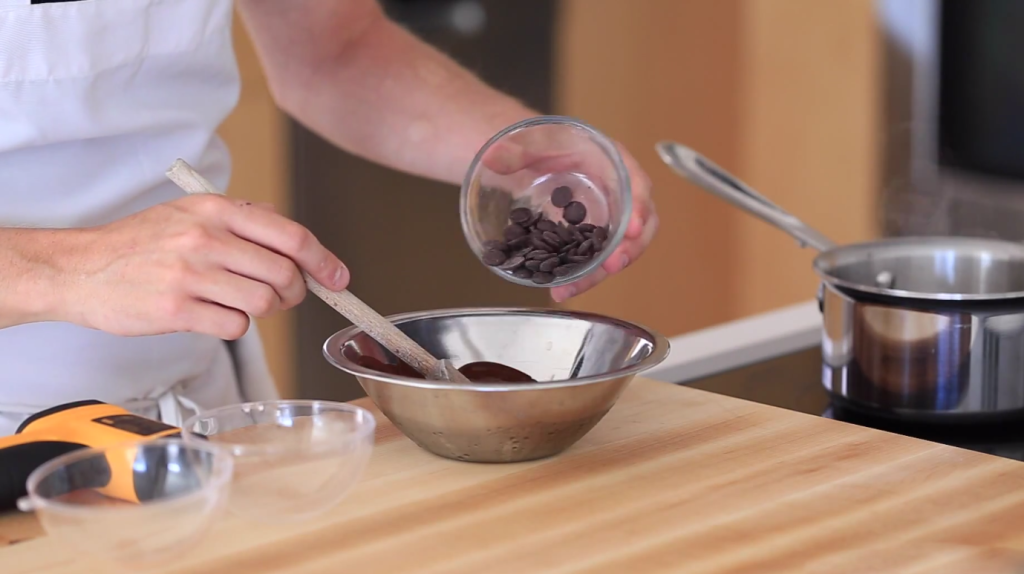
Once you hit the appropriate temperature range, the next step is a rapid cool down. Immediately remove the melting chocolate from the heat source and begin to stir in the remainder of the unmelted chocolate—little by little. The goal is to use the unmelted chocolate to cool the melted chocolate to a precise temperature. For dark chocolate that’s 89-91°F and for milk or white chocolate, that is 87-89° F. Once you hit the corresponding temperature, you are ready to dip, coat, or pour!
Following these tempering guidelines should result in a firm, shiny and smooth chocolate treat! And if ever you don’t succeed, ensure you have an accurate thermometer and keep at it!
As with everything, practice makes perfect and tempering takes practice.


Thanks for the great video! Where do you find those molds??
Thanks!
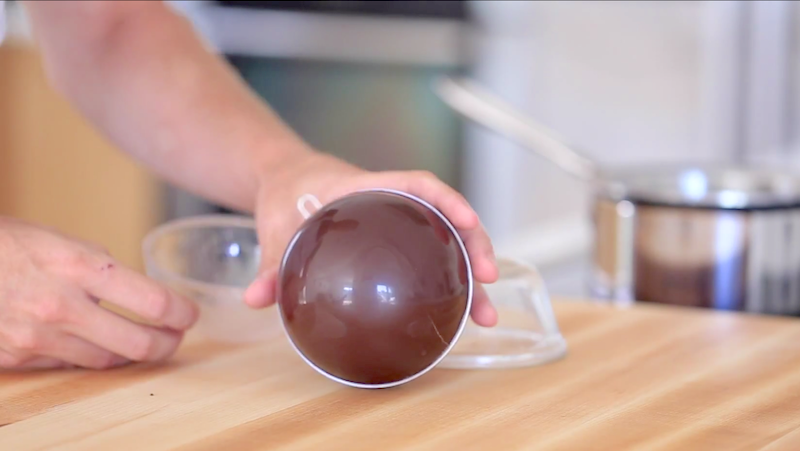
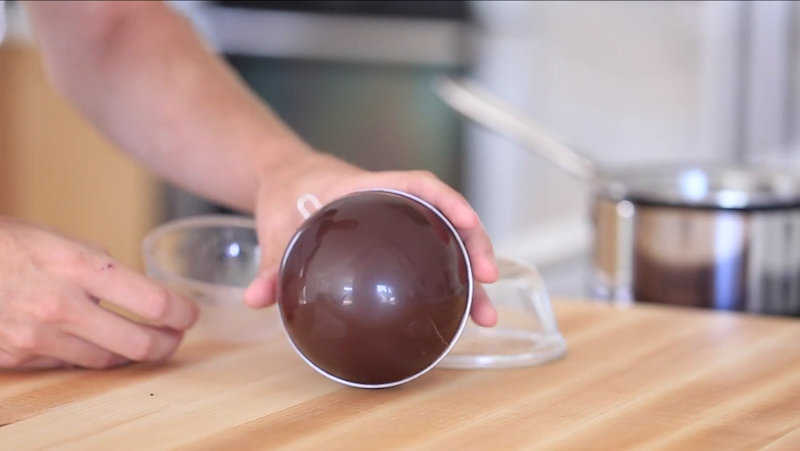
Here’s a link to the mold! It’s actually an ornament that I utilized: http://amzn.to/1ReoWQJ
It actually was this size! http://amzn.to/1VROsus
Excellent video. I, too, would like to know more about how to acquire a mold. I looked on Amazon but there were no products with very good reviews that I could find.]
Thanks.
Here’s a link to the mold! It’s actually an ornament that I utilized: http://amzn.to/1ReoWQJ
It actually was this size! http://amzn.to/1VROsus
Hi Byron,
I attempted to make the chocolate ball today, however it didn’t open to release the ball. What would you advise me to do next time to prevent that?
Hi Byron,
Thanx for the detailed tutorial on tempering chocolate and the sphere dessert. Bought 4 moulds the other day, gonna attemp this tonight. Fingers X they turn out ??. Any chance, is it possible to make the caramel sauce ahead of time and reheat on stove or in microwave when needed?? Or would that spoil the cream in it?