
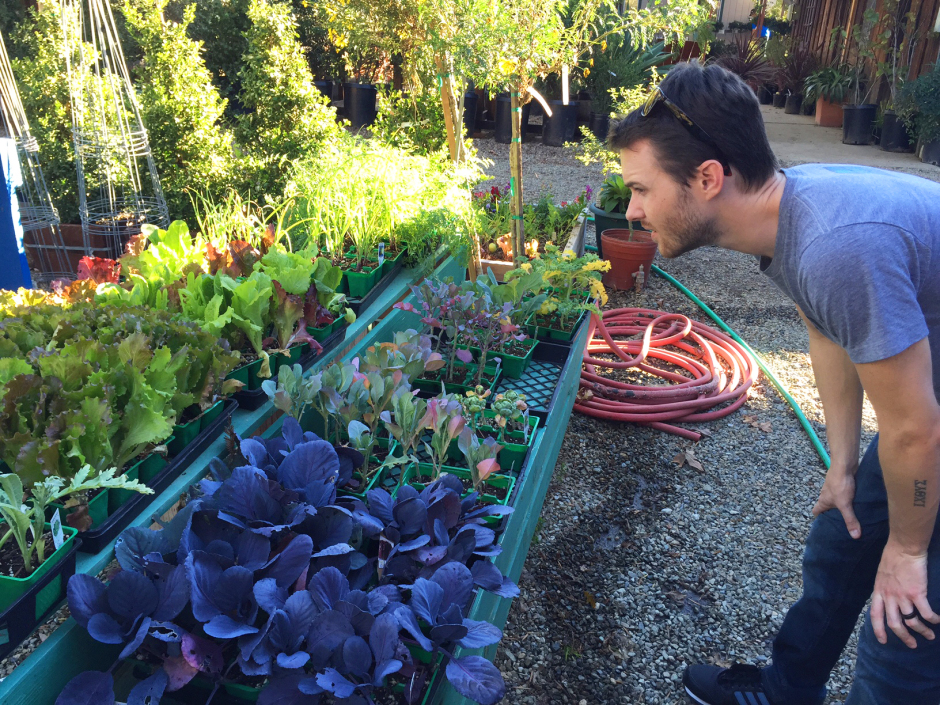

As a chef I’ve wanted my own personal herb garden for years, but never had the room for it. Now that my family and I are in the new house and we have more space to work with, I’m finally able to make that happen.
I’m definitely not a gardening expert, but I did pick up a few tips and tricks that could work for you.
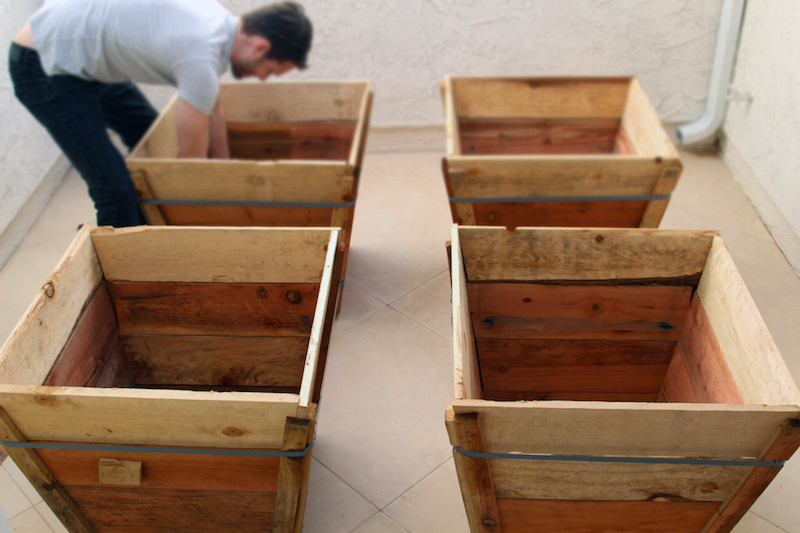
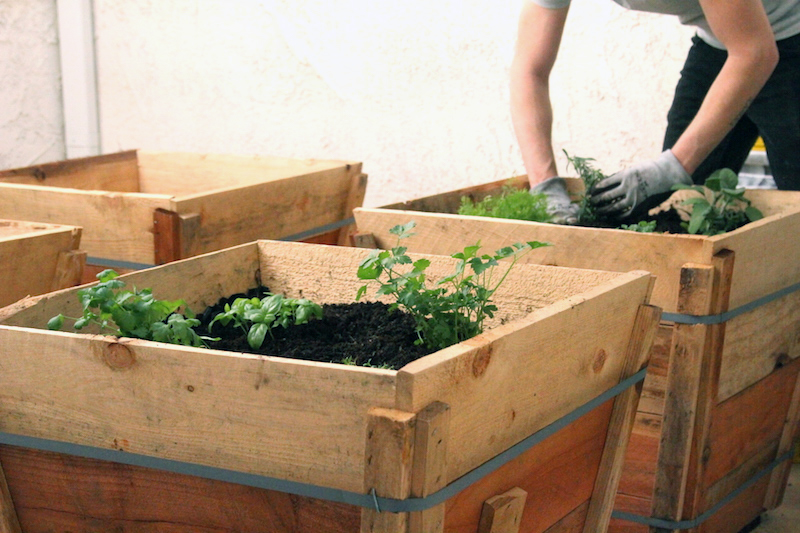
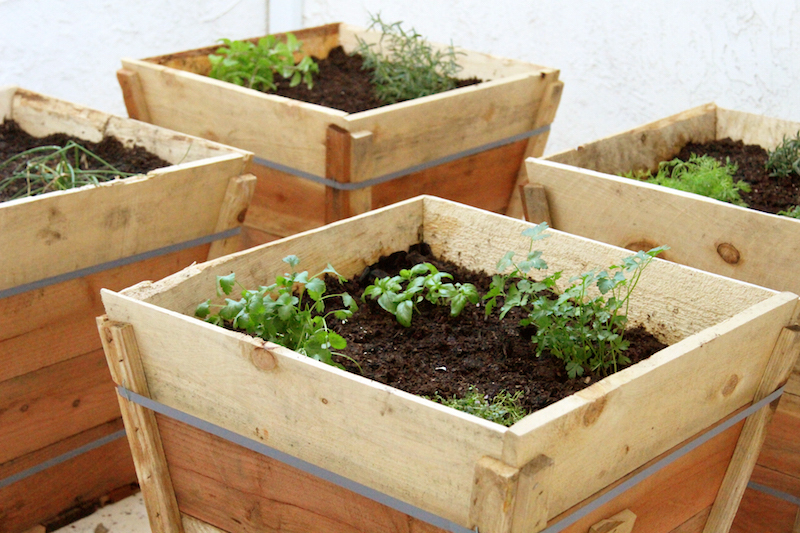
The biggest come up of this whole project were these tree planters I bought at a plant nursery for $12. That’s literally a quarter of the cost that similar sized planters and pots cost everywhere else.

They were a bit deeper that I needed and not completely sealed like a pot would be, but with a fraction of the money I saved and bit of elbow grease I made them into the perfect planters for my atrium.
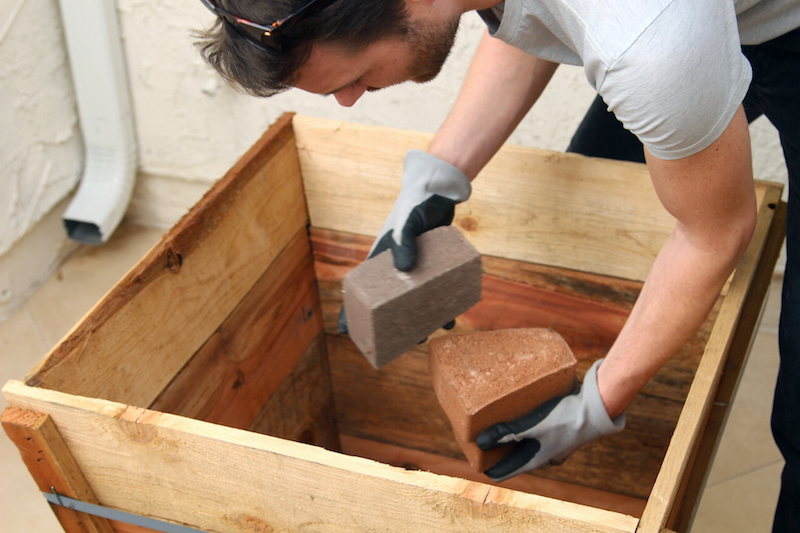
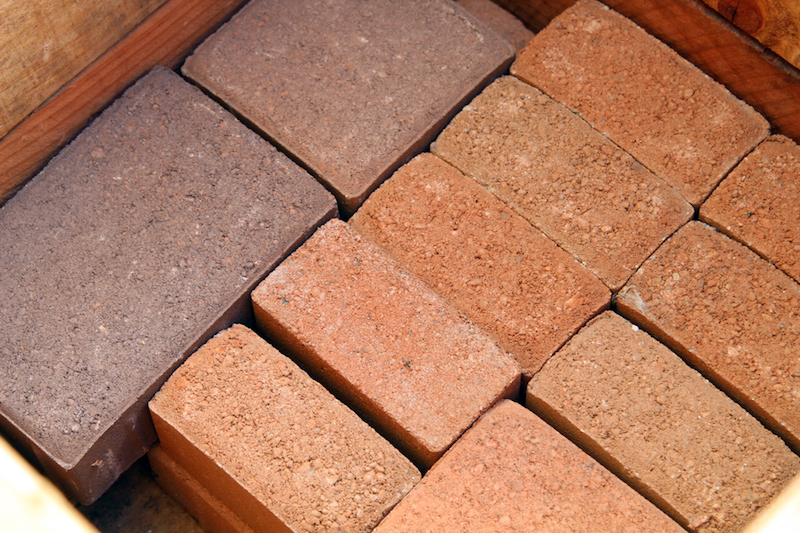
I started by laying bricks at the bottom of each pot.
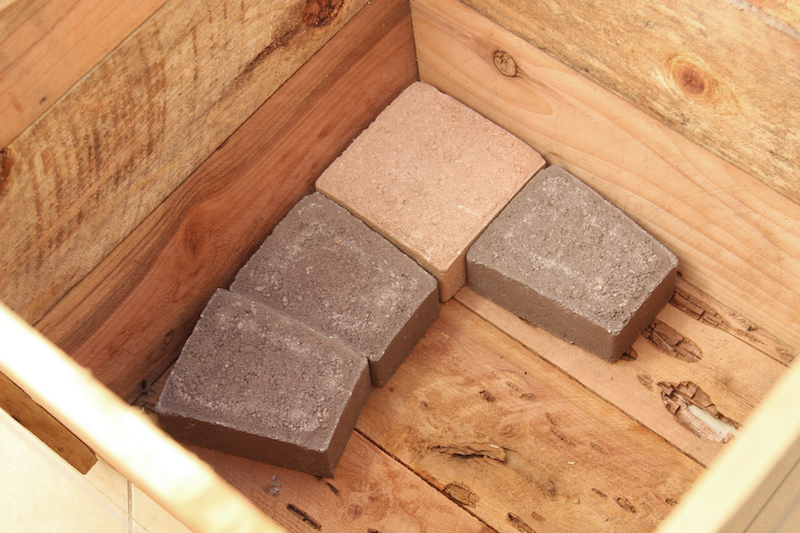
Since I didn’t need as much depth as the planters offered, and I had these bricks lying around, I was able to save on unnecessary soil costs by filling in the bottom of each planter.
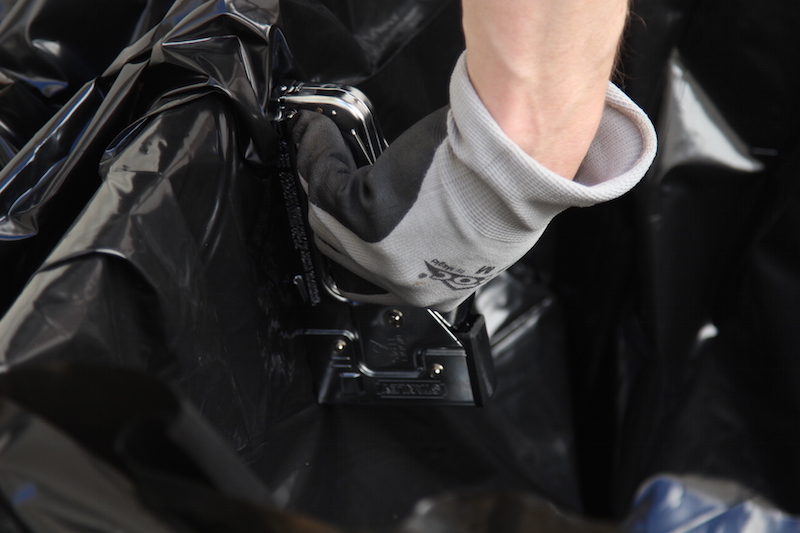
Also, since these planters weren’t completely water resistant, I cut waterproof plastic liner to the size of each planter…

…and secured it with staples, about 3 inches from the rim of the planters.
I used a razor blade to cut off the excess plastic just above the staples and used a screw driver to poke several holes into the very bottom of each planter liner.
The goal was to make the pot mostly water resistant, but you still need drainage for the plants to thrive.
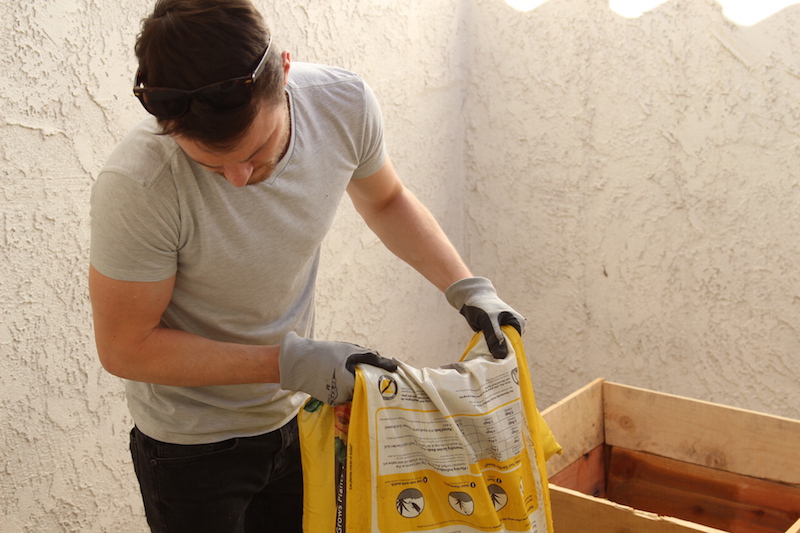
I used a basic garden soil for the base of each planter…
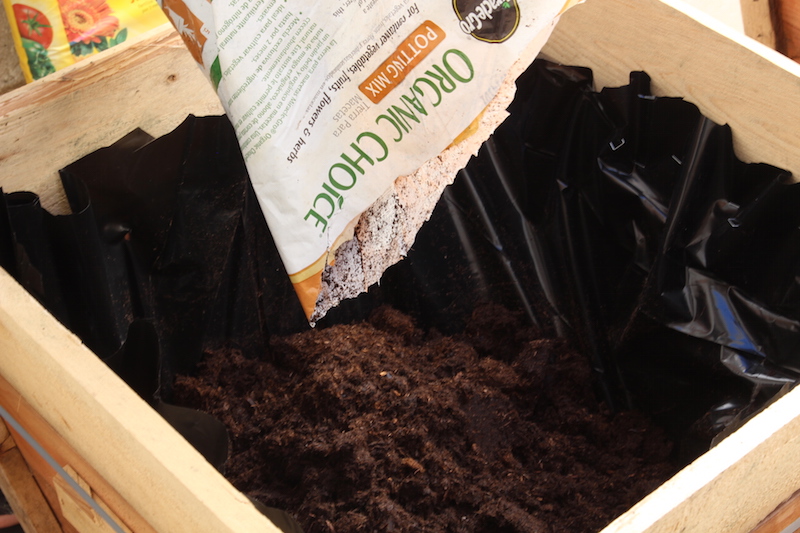
…and topped that off with an enriched potting soil.
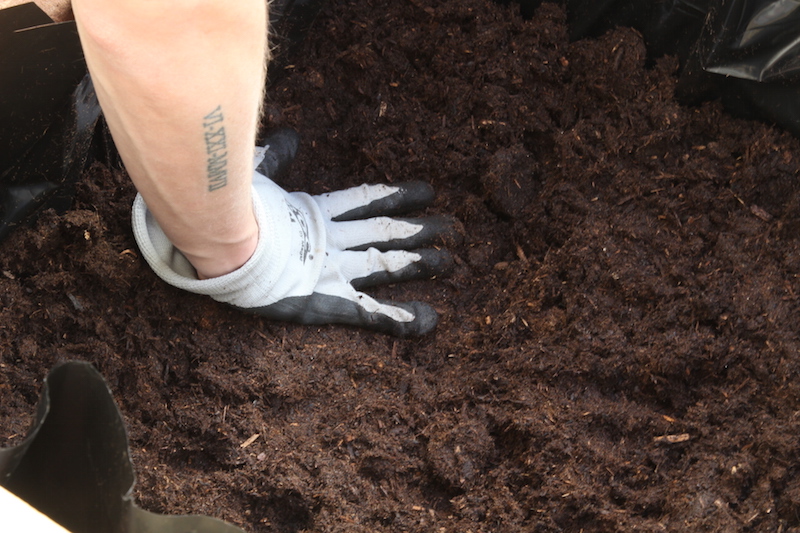
I used my hands to break apart the natural clumps that formed in the soil. I wanted maximum mobility for the roots of each herb to spread and thrive.
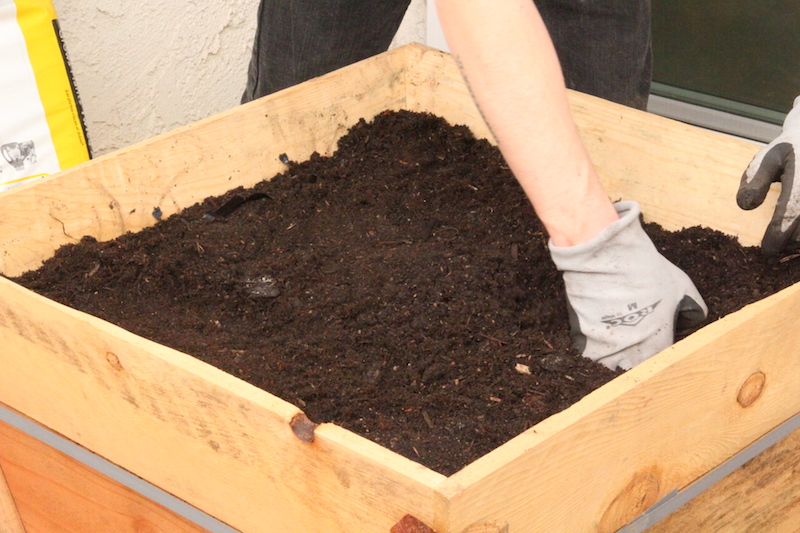
I put in just enough soil to cover up the top of each liner.
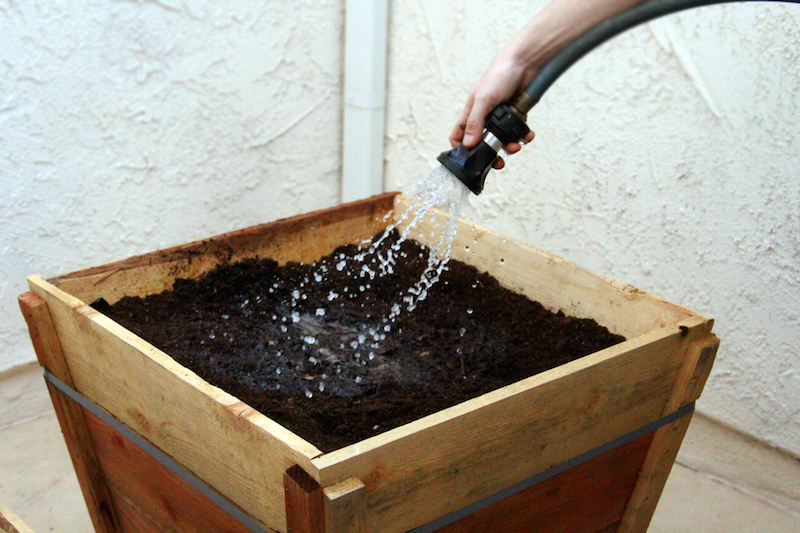
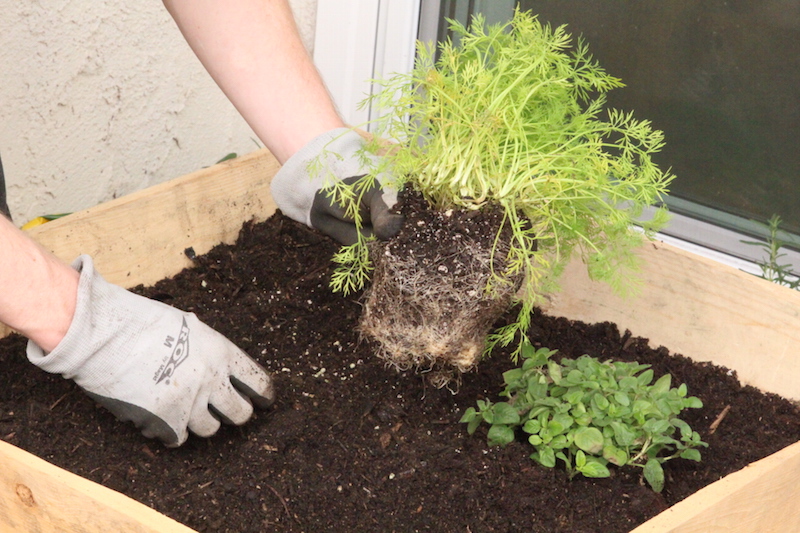
I was sure to water the soil prior to planting. It made potting much easier, and was more gentle on the roots of each herbs and I pressed them into the soil.
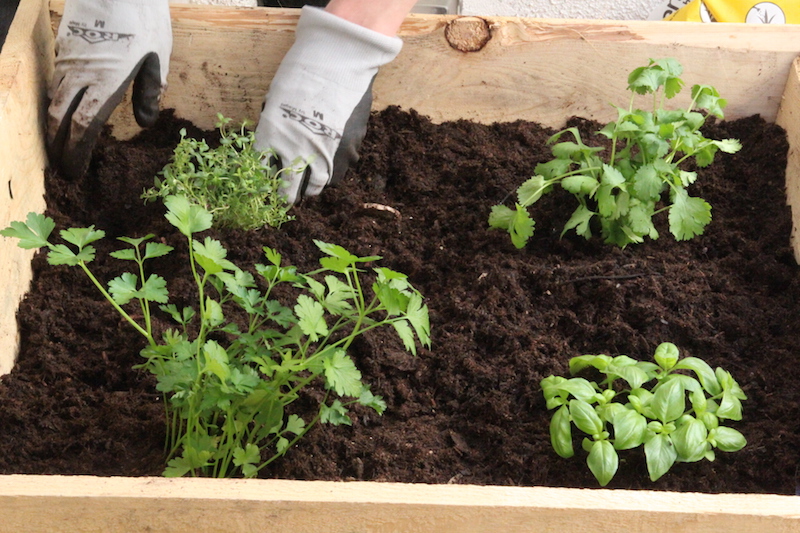
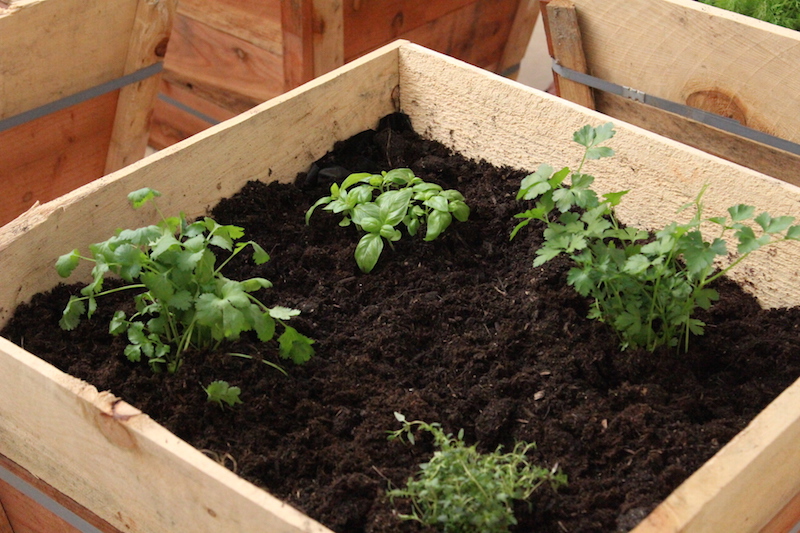
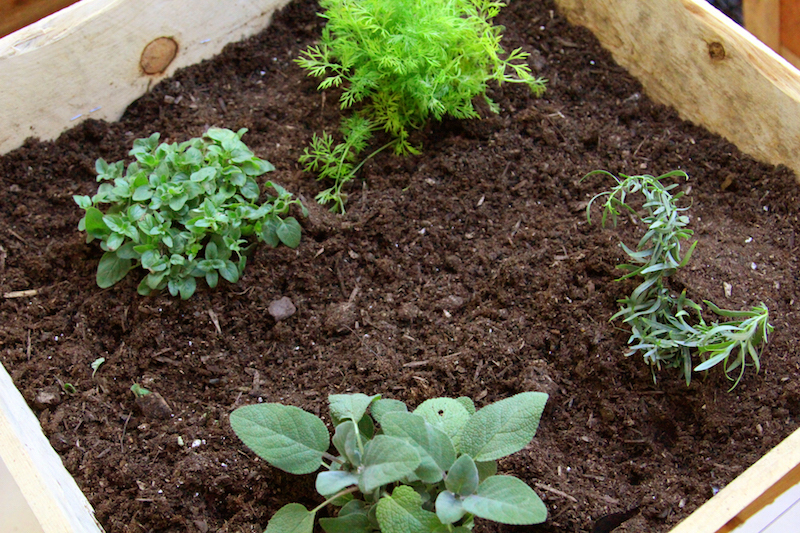
I chose herbs that I use all the time, like: Basil, Oregano, Rosemary, Mint, Thyme, Chives, Sage, etc.
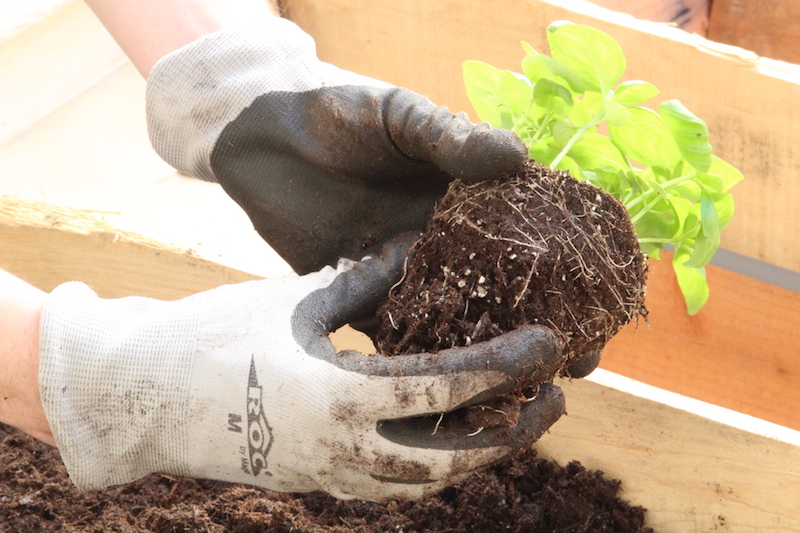
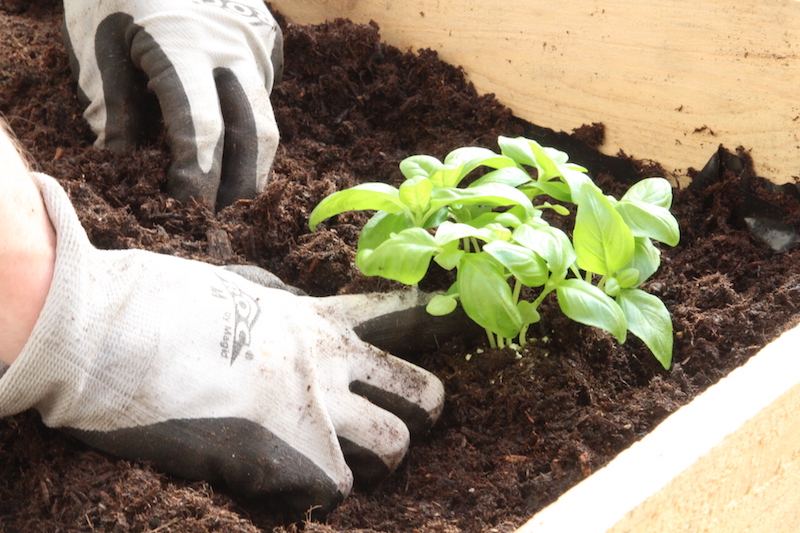
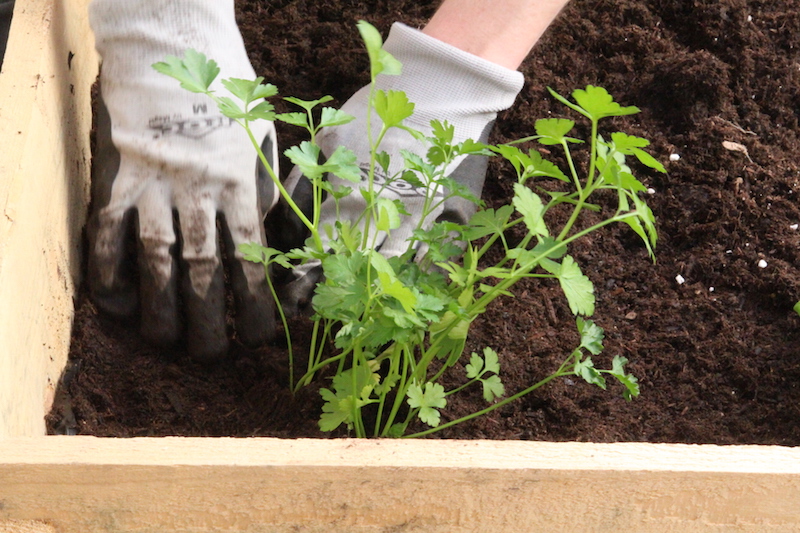
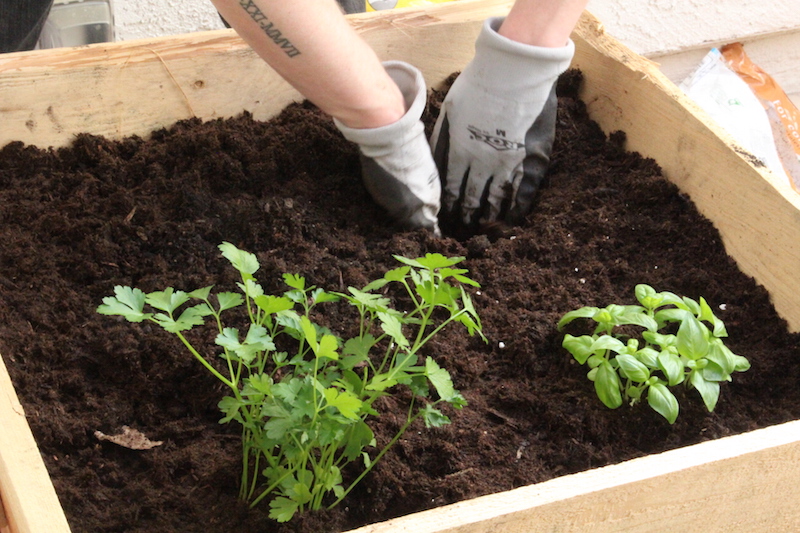
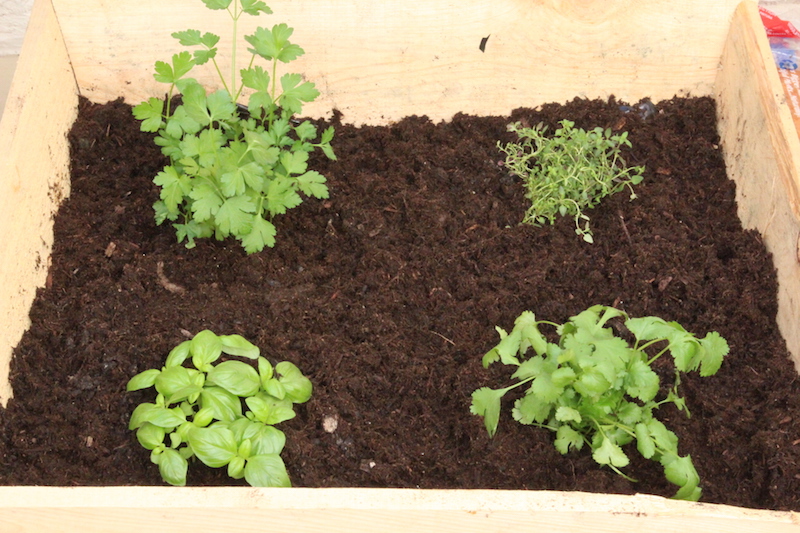
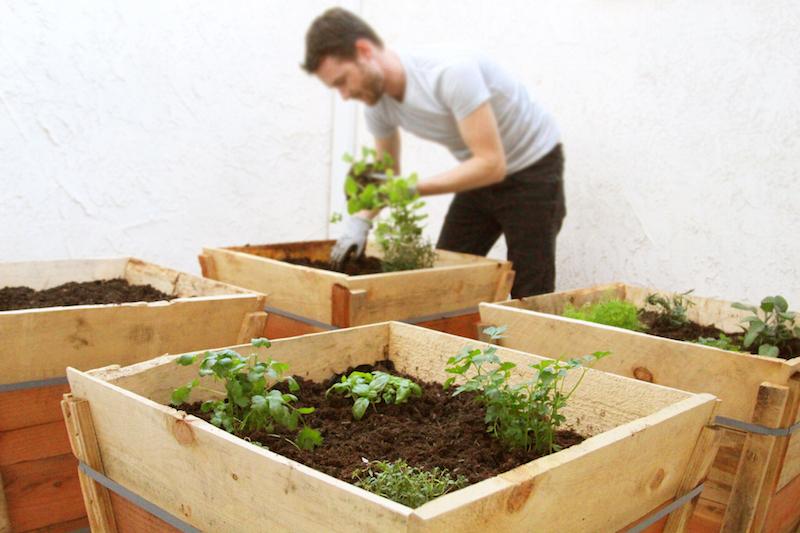
I used my hands to dig holes into the corners of each planter and gently placed the herbs just deep enough to cover the roots and base of each plant.


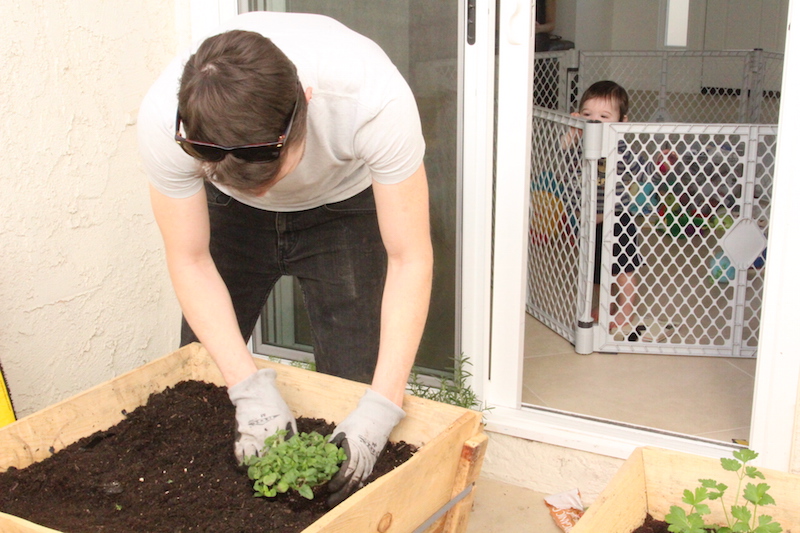
I love how my little buddy looked like Wilson from Home Improvement. “Howdy neighbor!”
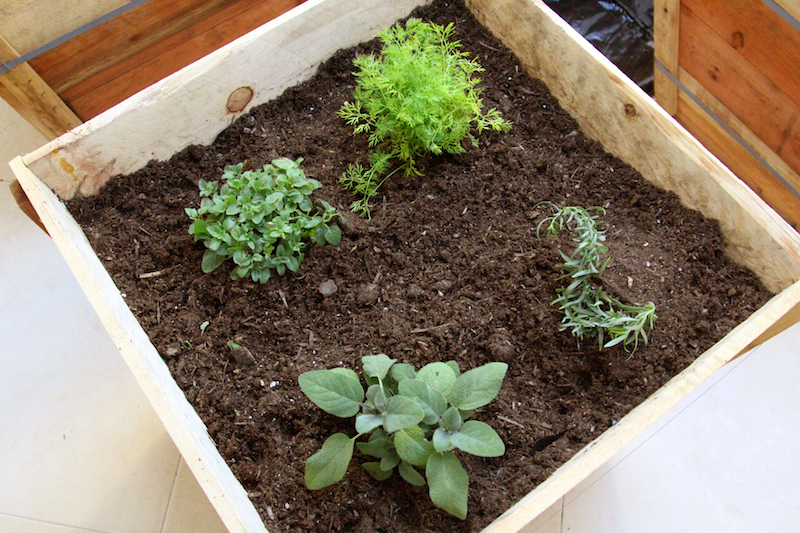
I recommend doing your research on how the herbs you by should be planted, and how often they should be watered.
I was sure to plant my Mint and Rosemary in a pot by themselves as they tend to spread and take over the spaces they occupy.

All-in-all I couldn’t be happier with my atrium project and I can’t want to start using all of my fresh herbs!


Hi Byron
could you make a video for beef carpaccio
thanks
you are the best
The planters are an amazing find! what nursery did you buy them at? I tried growing herbs once and they all died! I wasn’t harvesting cilantro as often as I should’ve to keep the growth coming. I think I’d like to try again with just one or two of my faves.
This is awesome ! I really wanna try it and do my own.
Thank you !
Great luck to you! Good job !! It looks awesome.
I have a suggestion. Hem hem the rosemary I would put in a seperate pot
of its own it will grow huge. Rosemary has a larger root system.
All the others are 4 to 5 inch root systems, max.
If you like chives by organic from produce dpt at market they come with roots so just pop those in the soil and cut as needed.
Oh and hook up a small misting system there simple to put together
Then add a timer and your all set.
Hope that was helpful. :))
And now you have a white and green thumb. Lol