
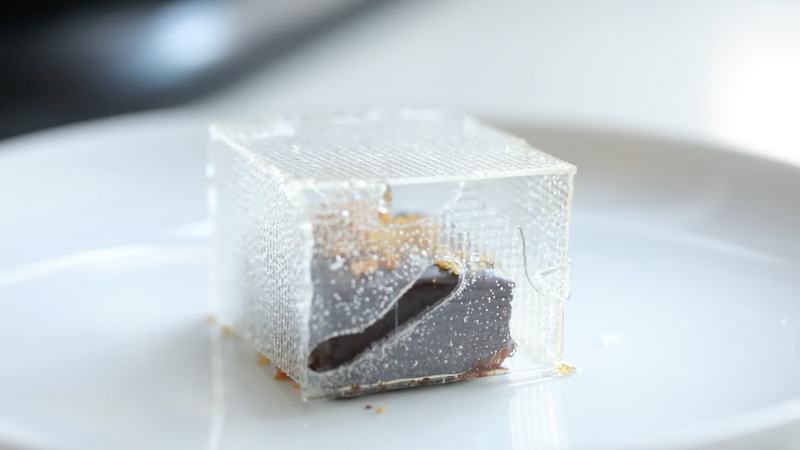
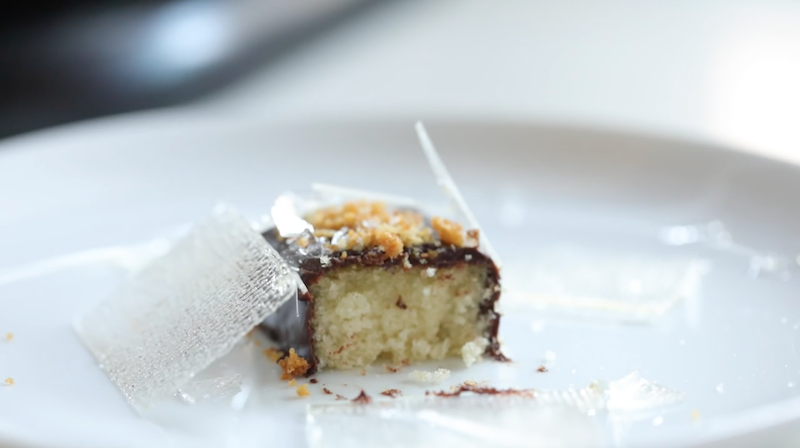
For all you Justin Timberlake, SNL, and chocolate cake lovers out there, this one is for you. I was initially inspired to create this dessert from Dinara Kasko’s instagram and absolutely love her style of cake/pastry creation and recipe development. She has a very keen sense of flavor and aesthetic which is hard to come by, so go give her some love and tell her that I sent you on over if you do end up checking her out. Anyways, hopefully this “Cake In A Box” inspires you to think a little bit differently about dessert garnishing and plating aesthetics the next time you try to tackle some new fancy creation! Now let’s go makes some CAAAKES!!!!! 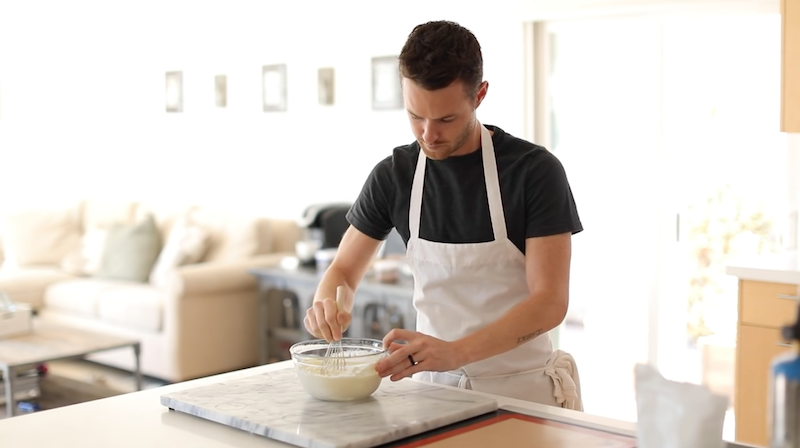
Start by making the yellow cake portion of the dessert. Mix 1/2 cup of room temperature butter, 1 cup of granulated sugar, and 1/2 tsp of salt.
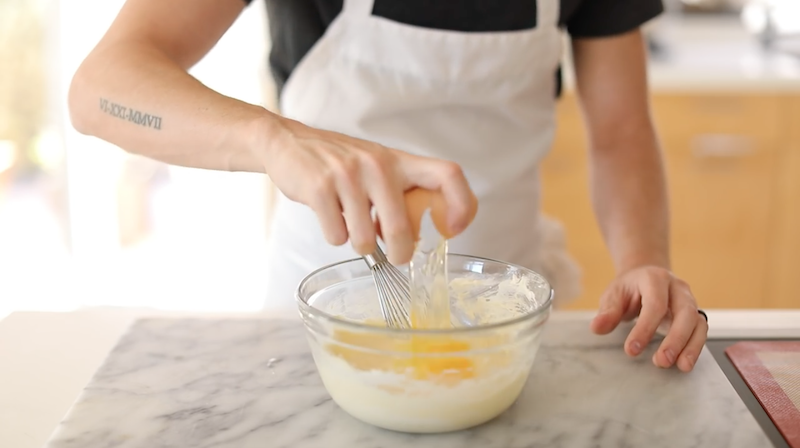
Add 1 whole egg (room temp preferred) and mix thoroughly before incorporating a second egg.
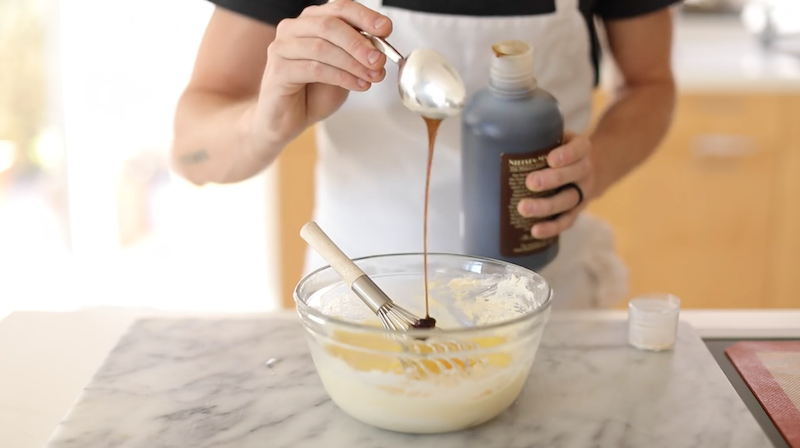
Next mix in 1 tbsp of vanilla extract, or paste…
…and 1 1/2 tsp of baking powder.
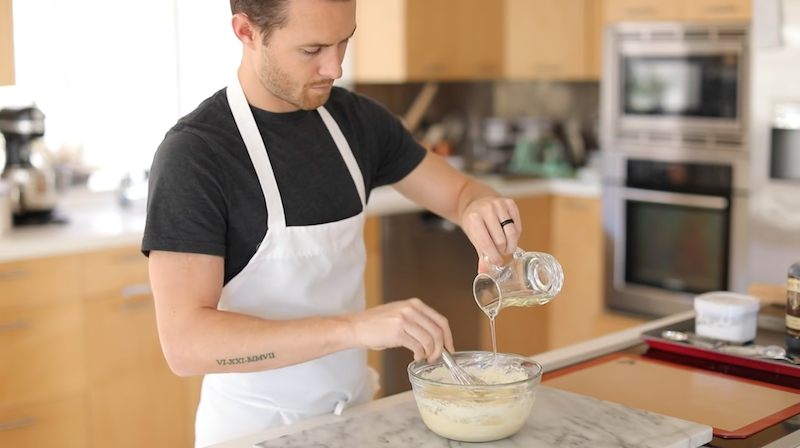
Slowly whisk in 1/4 cup of vegetable oil until the batter is extremely smooth.
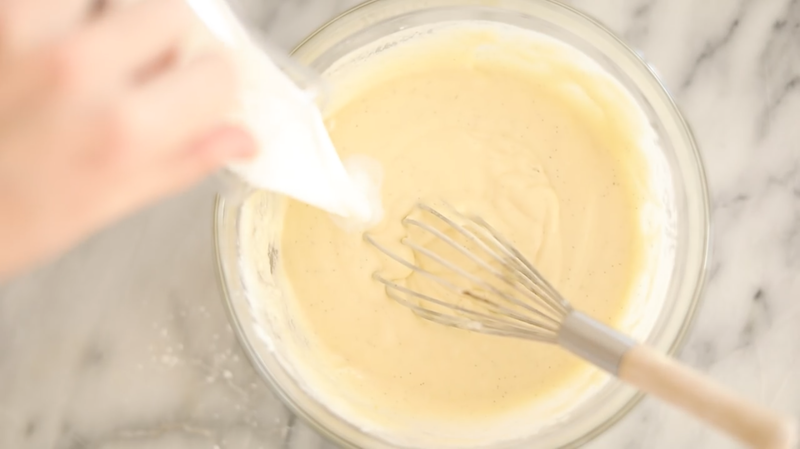
Then mix in 1/2 cup of whole milk…
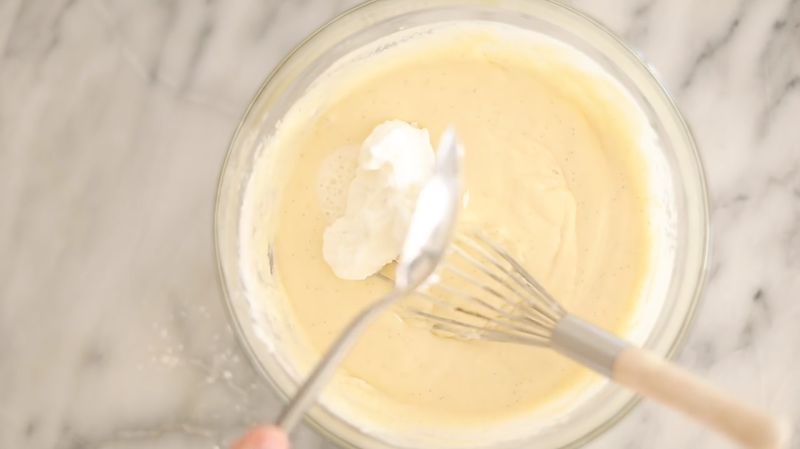
…1/4 cup of sour cream…
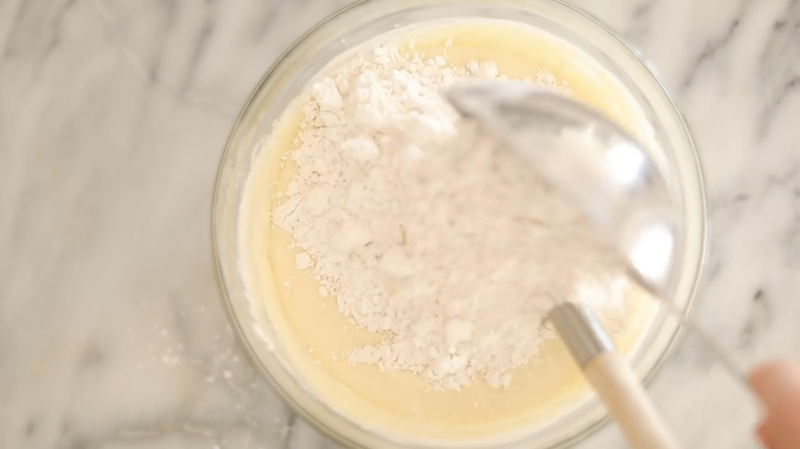
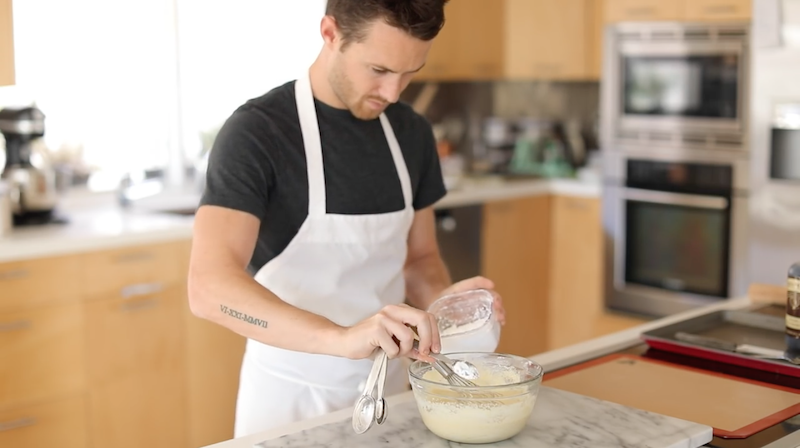
…and 1 1/2 cups of cake flour.
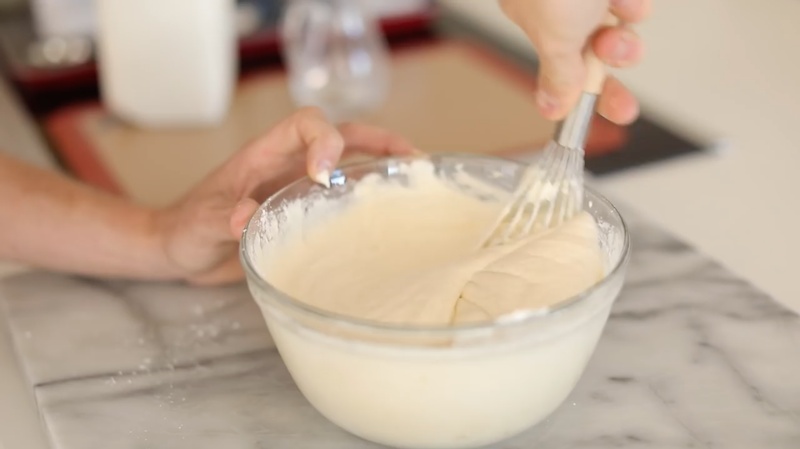
Mix thoroughly, but be cautious not to over-mix. Once the lumps have dissipated the batter is good to go.
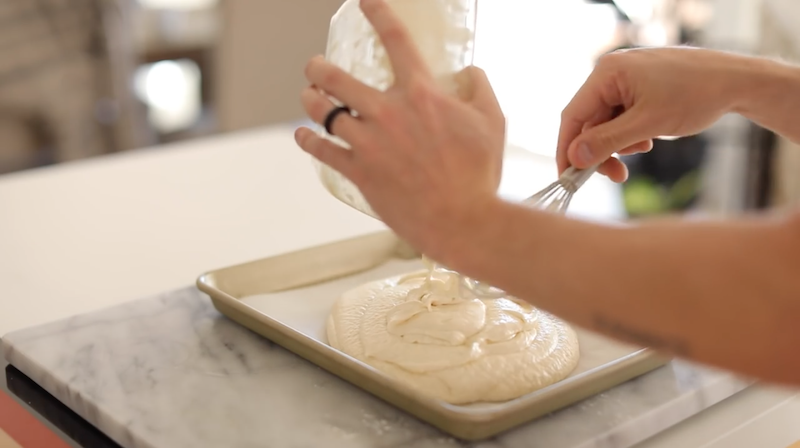
Pour the cake batter into a greased baking pan lined with parchment paper.
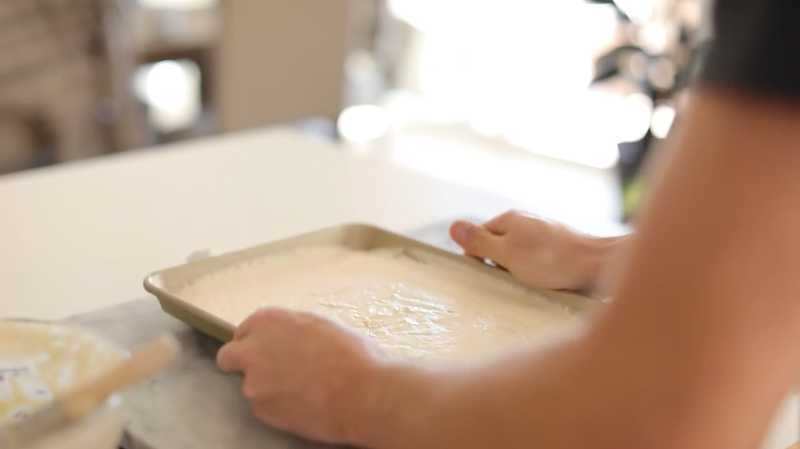
Bake at 375°F for about 25 minutes. Time will vary depending on the size of your pan.
Always use the toothpick trick to see when it’s done baking.

While the caking is baking begin making a very simple chocolate glaze.
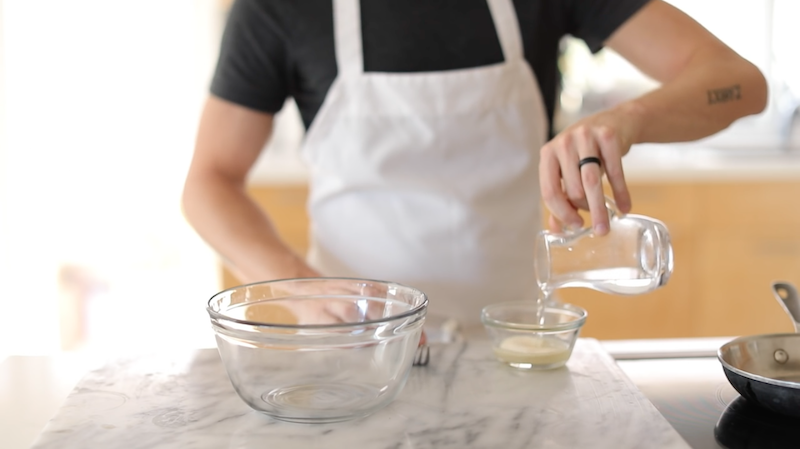
Mix 1 packet of powdered gelatin with 4 tbsp of water until it begins thickens up.
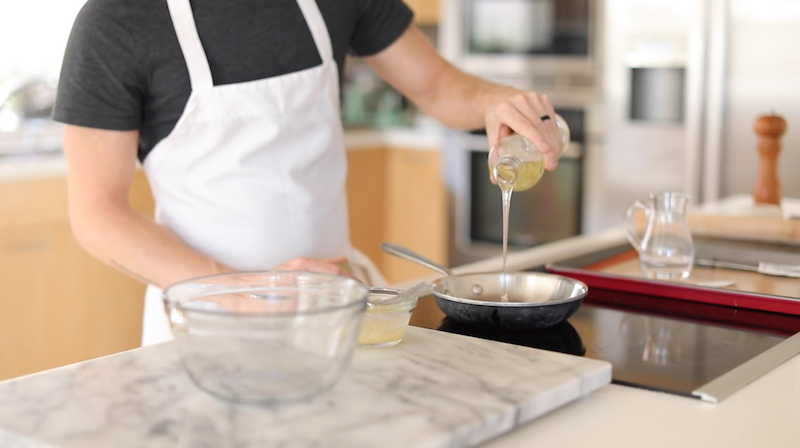
Then add 1/2 cup of corn syrup…
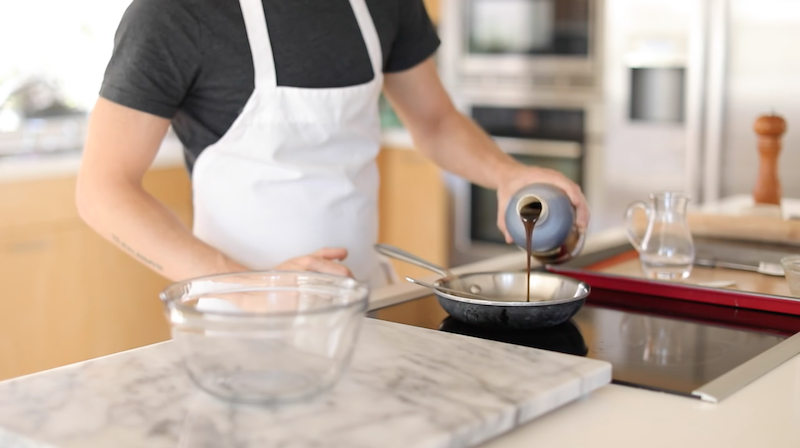
…1 tbsp vanilla extract or paste…
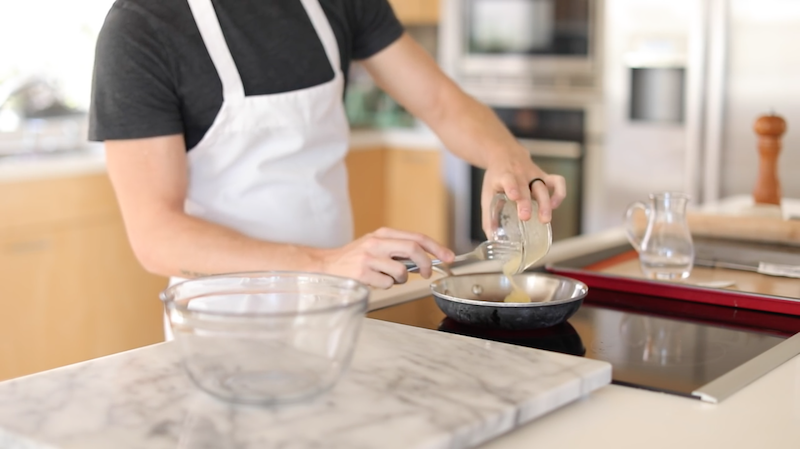
…and the gelatin mixture to a small pan.
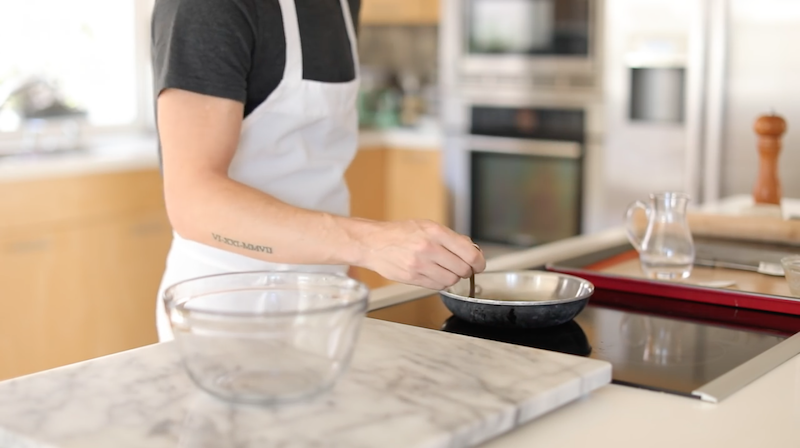
Heat on low until everything has dissolved, and mix together.
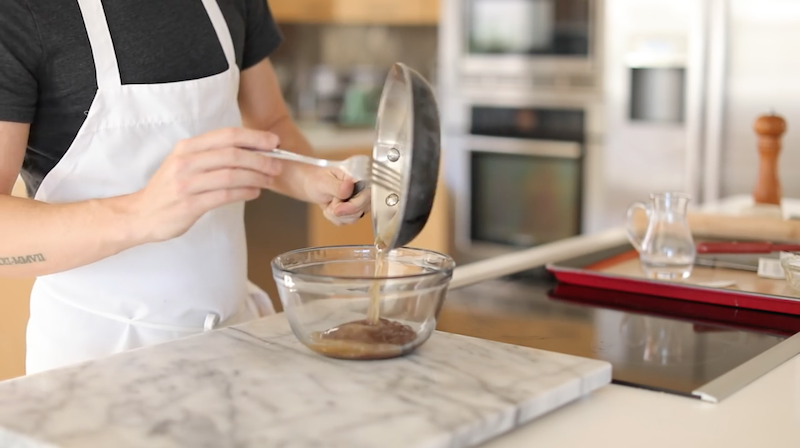
Add the dissolved mixture to 1 cup of melted dark chocolate chips.
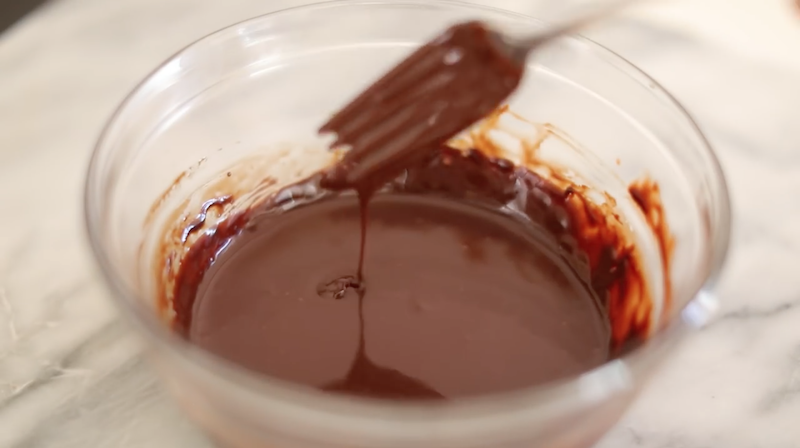
Give that a good whisk until it’s completely smooth and transfer the bowl over a hot pot of water to keep melted.
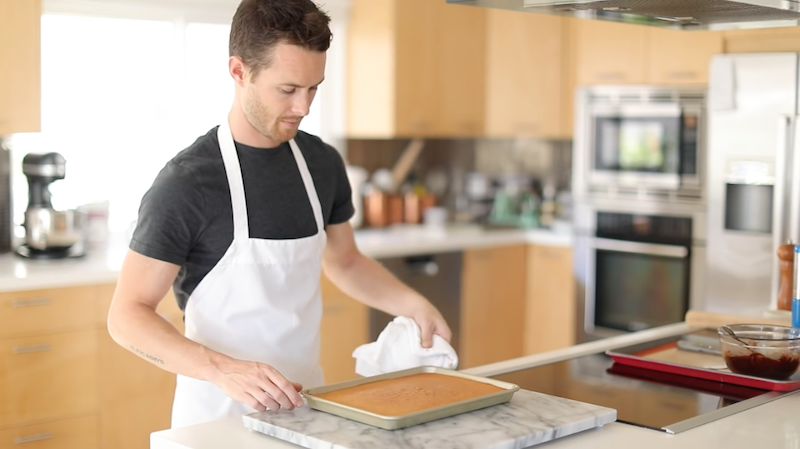
Once baked, pull the cake out of the oven.
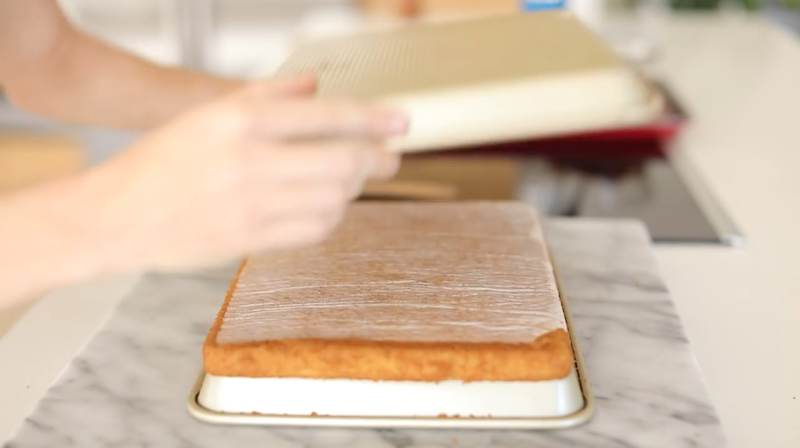
Let cool before carefully removing the cake from the baking pan—top side down.
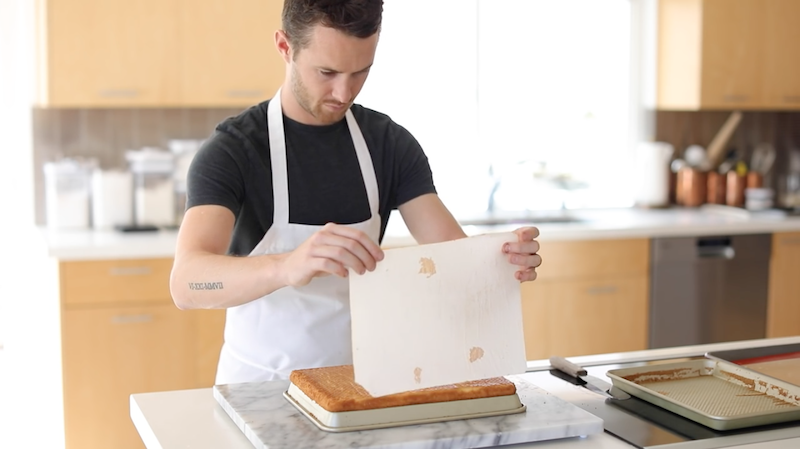
Remove the parchment paper.
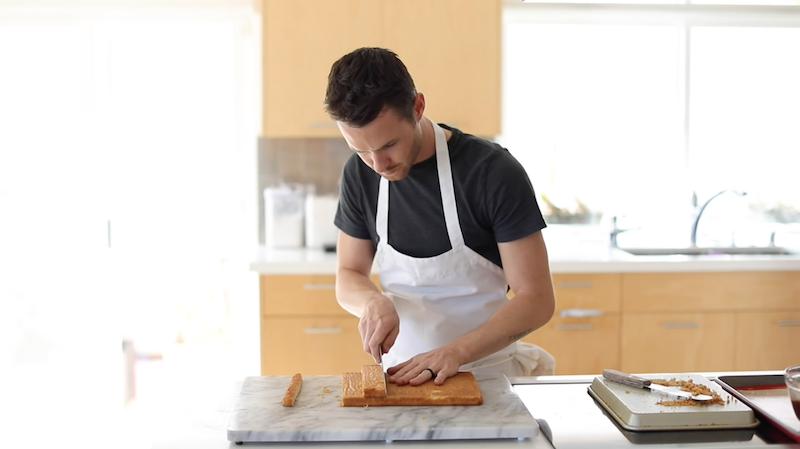
Cut the cake in small rectangles.
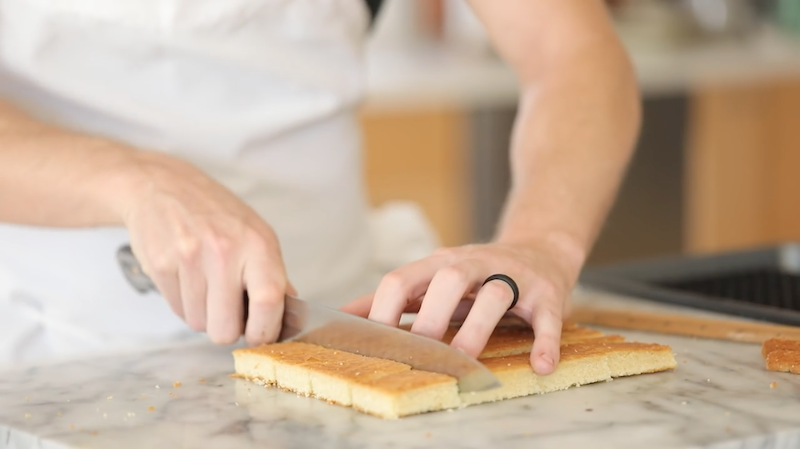
I definitely recommend freezing or refrigerating the cake prior to cutting. It will prevent the cake from crumbling or collapsing while slicing.
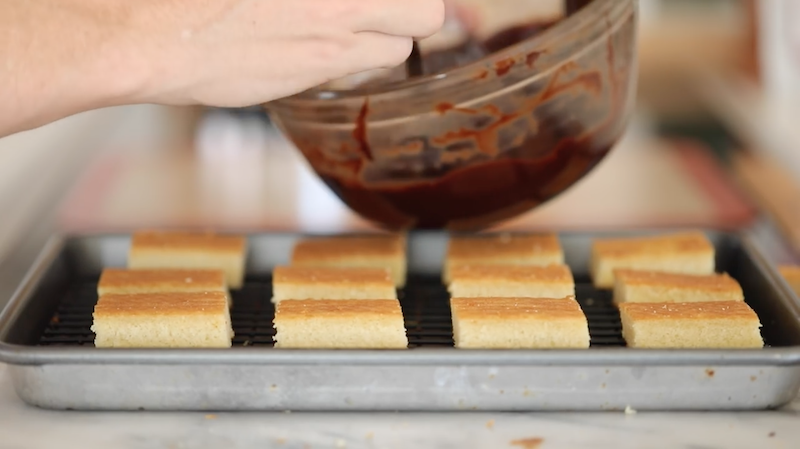
Place the rectangles over a wire cooling rack situated over a baking tray.

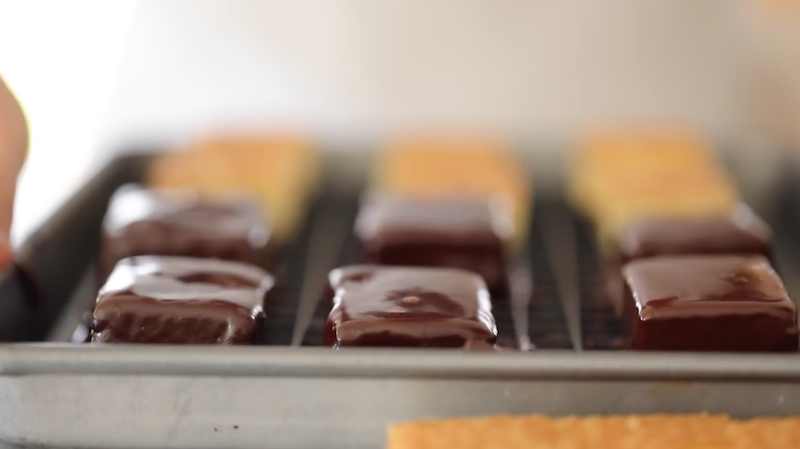
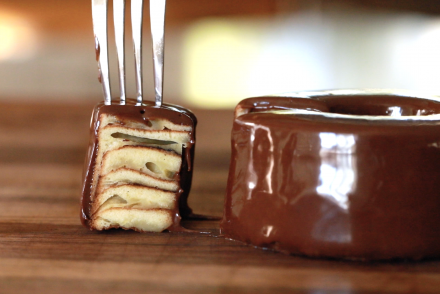
Carefully drizzle the chocolate glaze over the small cakes–covering all sides.
This next part is entirely optional, but spectacularly exciting and fun (see more details below)!
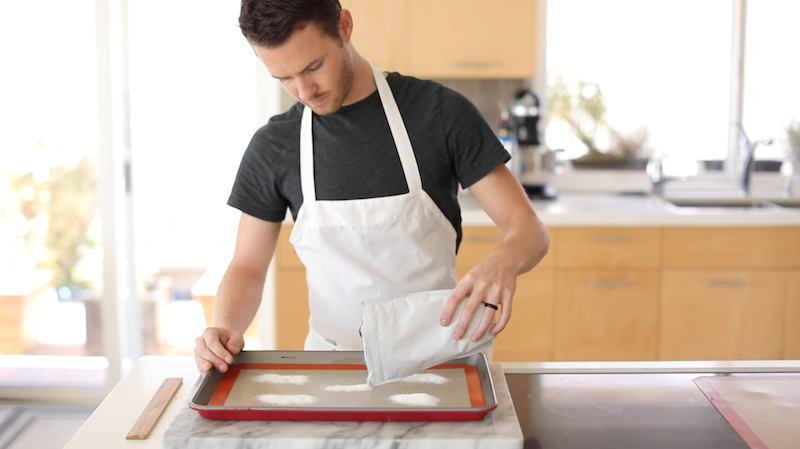
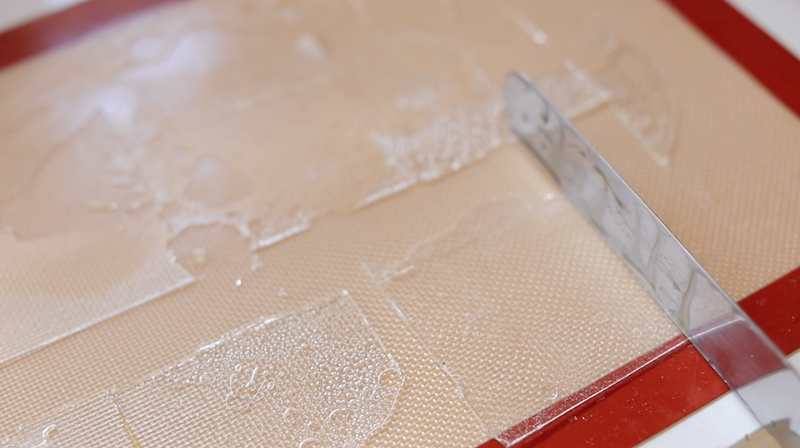
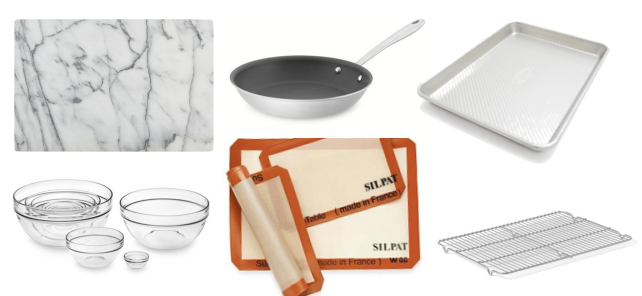
While the cakes are setting up in the fridge pour approximately 1 cup of isolmalt sugar into evenly divided rectangles over a silpat.
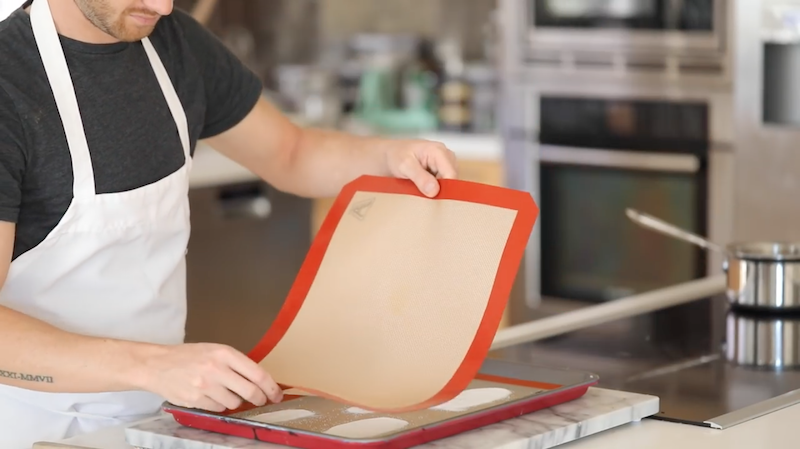
Cover the sugar with an additional silpat,
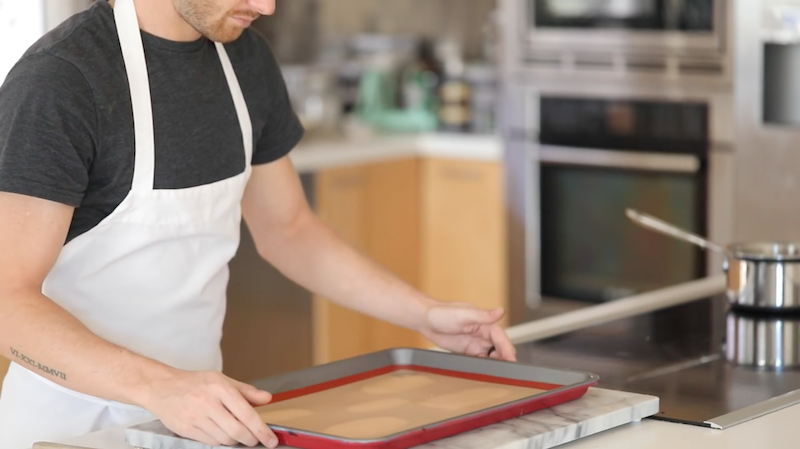
Transfer to a 350°F oven to cook for 15 minutes, or until the sugar has completely melted.
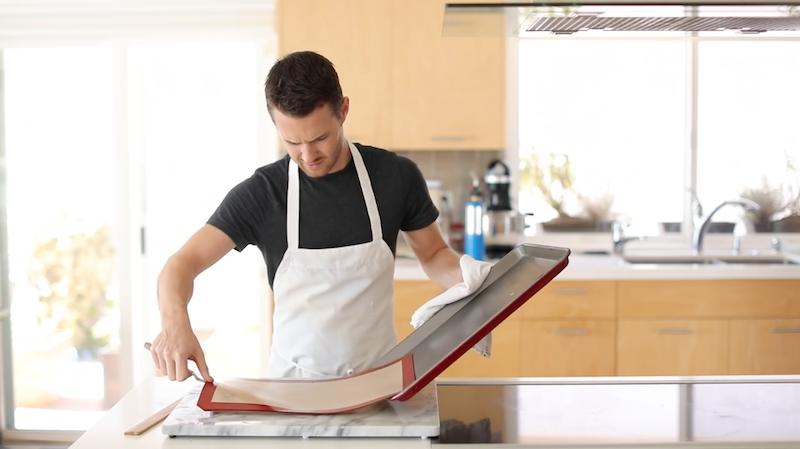
Remove the silpats from the baking sheet and use a damp cloth to press the silpats together to remove air bubbles.

Carefully peel off the top silpat.
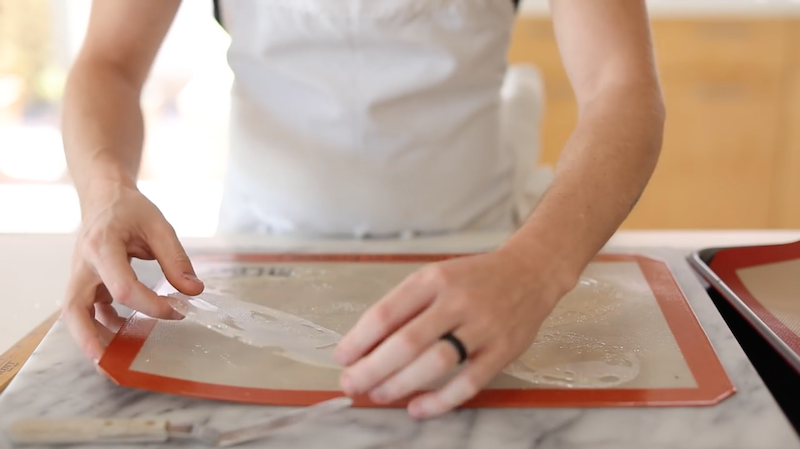
Let the sugar walls cool before removing then from the pan.
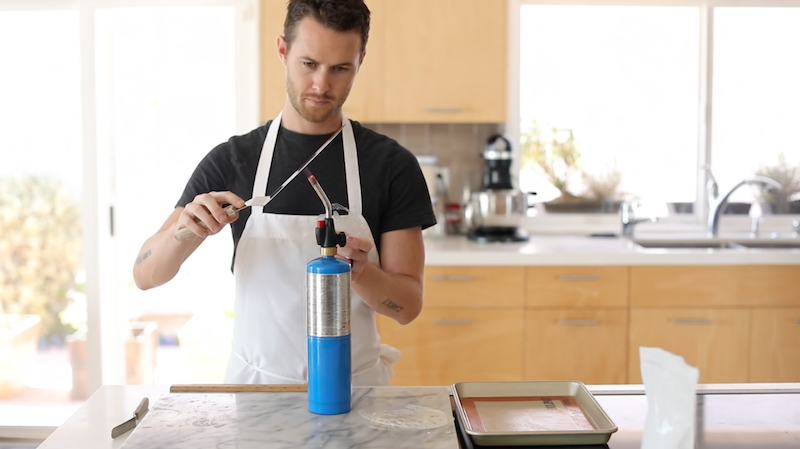
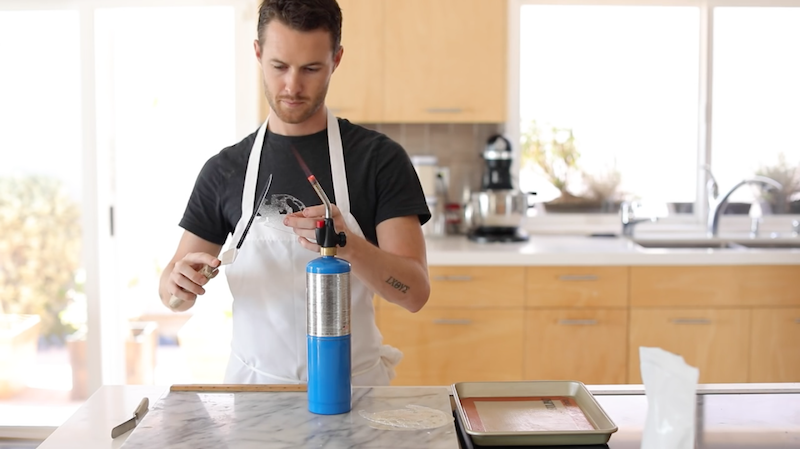
Using a hot torch (or stovetop flame) heat a straight edge spatula.
Carefully cut and shape the walls of the box.
DO NOT let the sugar melt down onto your hand.
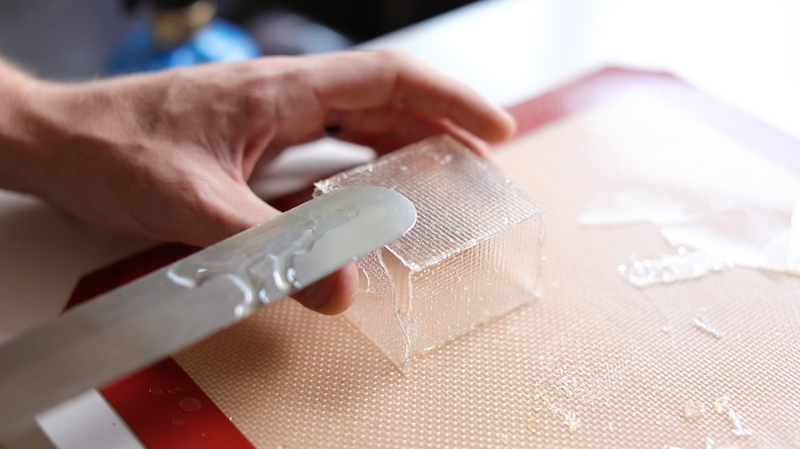
Carefully construct the walls of the box using the hot spatula to melt the edges together.
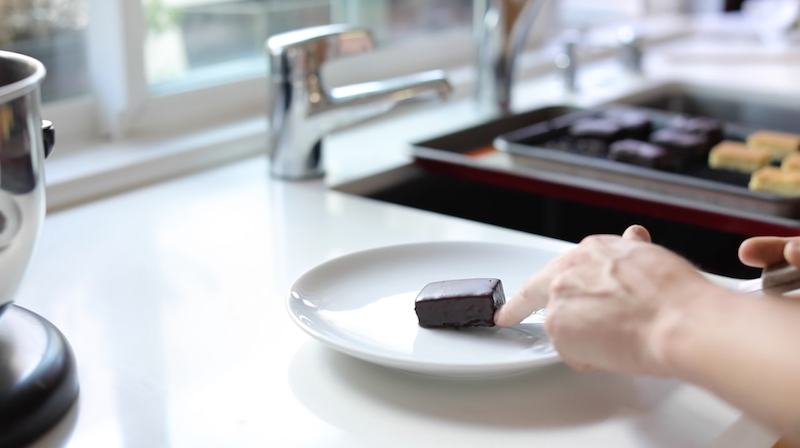
Once the glazed cakes have set up and can be handled…
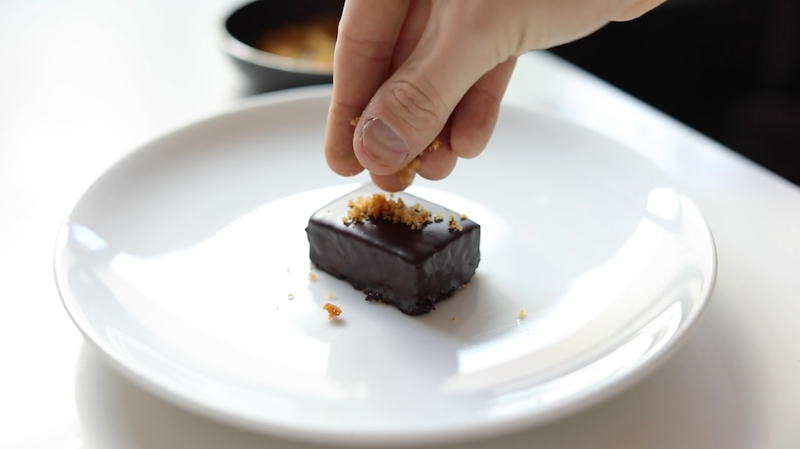
…top with a few toasted cake crumbles…
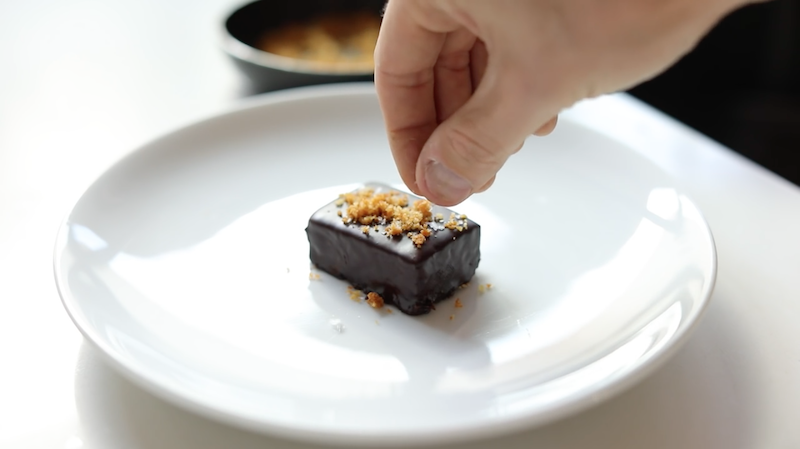
…and a little pinch of sea salt.

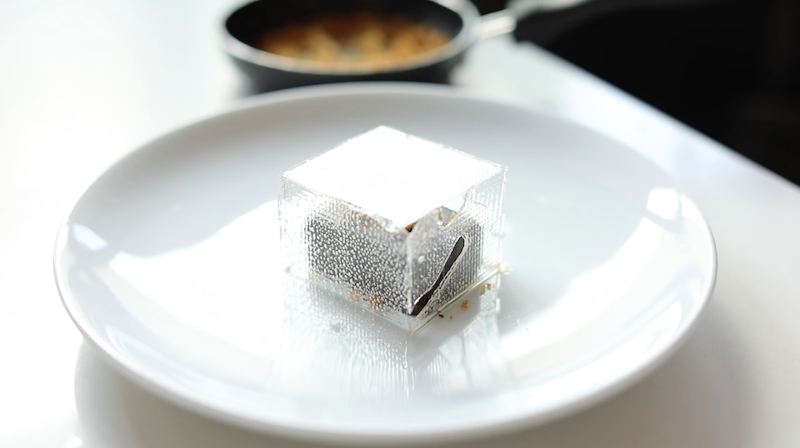
Carefully top with the sugar “glass” box and ENJOY!
FUN FACT: What is Isomalt Sugar? Isomalt is the popular name for Isomaltitol which is a sugar substitute made from beet sugar. Over the past twenty years chefs, sugar artists, and confectioners have found that Isomalt has many advantages over sugar especially when making showpieces, cake decorations, dessert garnishes and candy.
It has an excellent taste and has an appearance and texture very similar to sugar. It is heat stable and ph stable and is suitable for cooking and for processed foods. It does not absorb water and so it does not become ‘sticky’. This makes it excellent as a coating for hard sweets and candies.
[amd-zlrecipe-recipe:98]
