
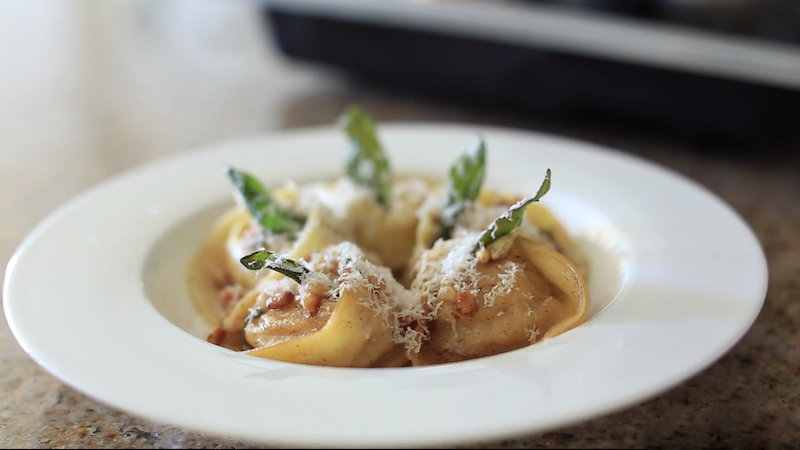
#PumpkinWeek continues with a savory Brown Butter Pumpkin Tortellini!
If you’ve never made pasta from scratch I highly recommend it, and I have a past video entirely dedicated to the process.
This is a mouth watering recipe, perfect for the holidays and an all around crowd pleaser. Enjoy!!
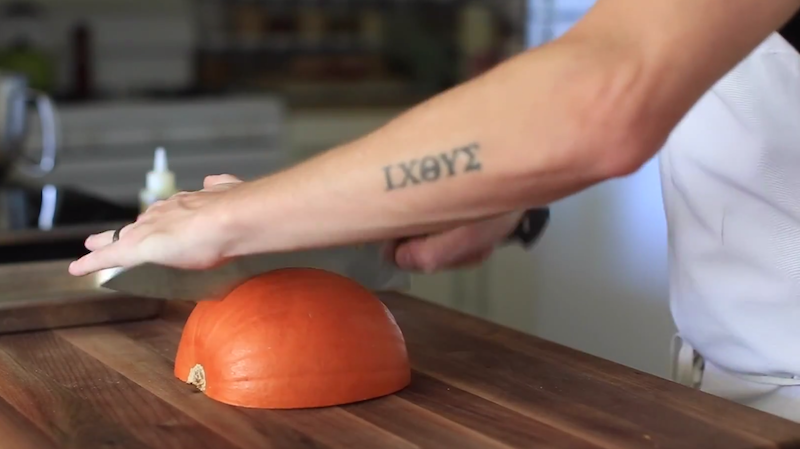
Start by quartering a medium sized (3-4lb) pumpkin.
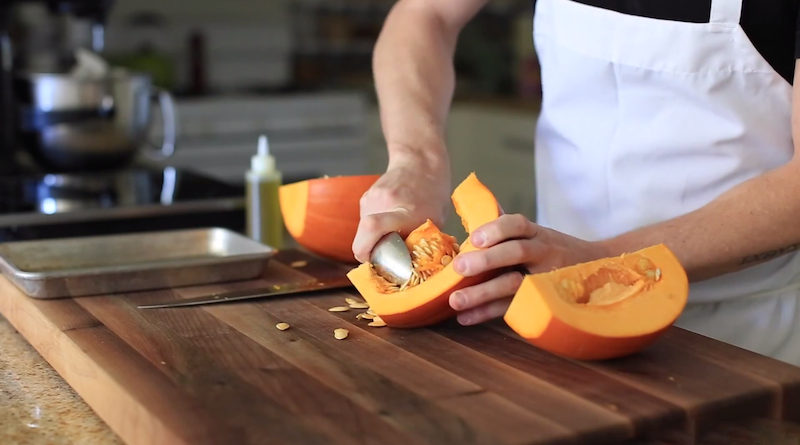
Remove the seeds.
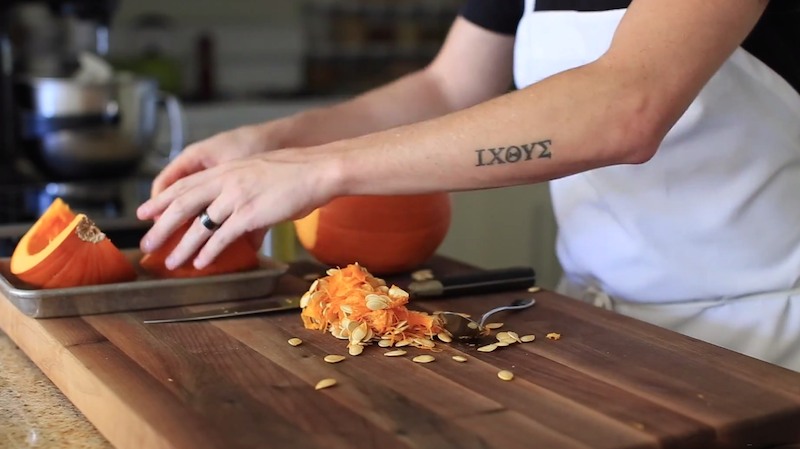
Place the quartered pumpkin onto a baking tray.
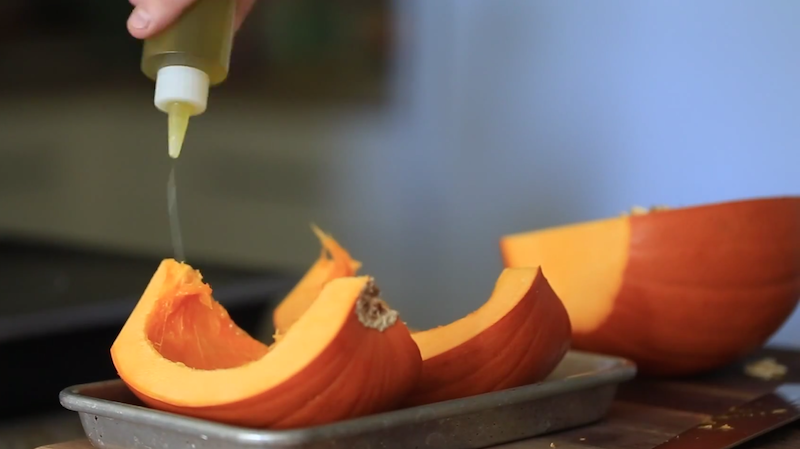
Drizzle 1-2 Tbsp of olive oil over the top…
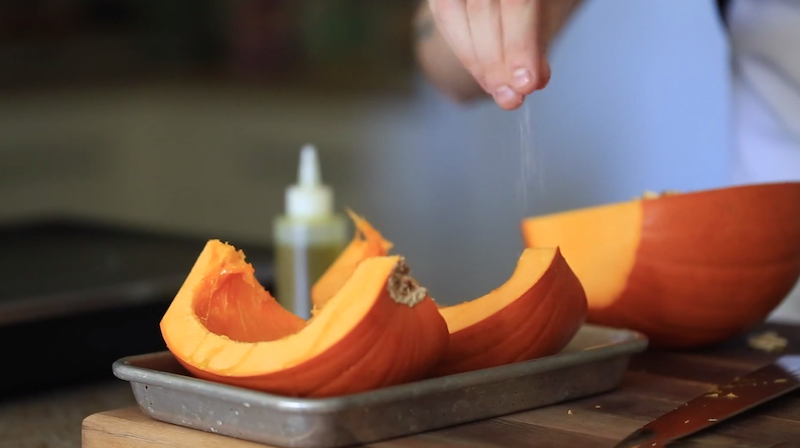
…and season with a pinch of salt and fresh cracked black pepper.
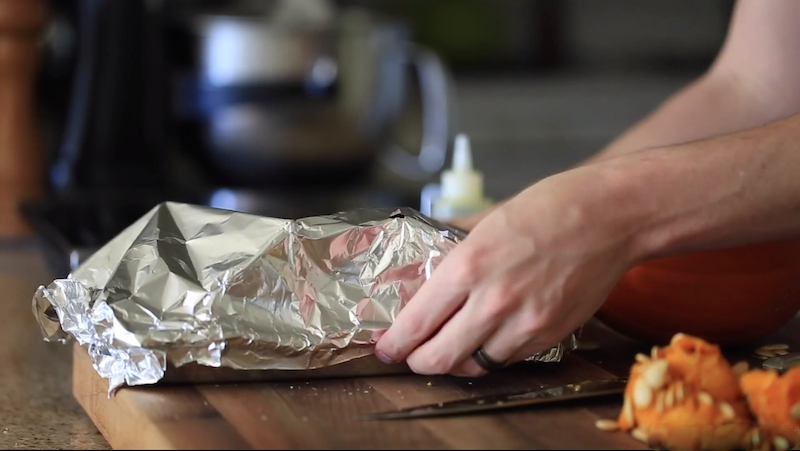
Cover with aluminum foil and bake in a 450f oven for 1-2 hours.
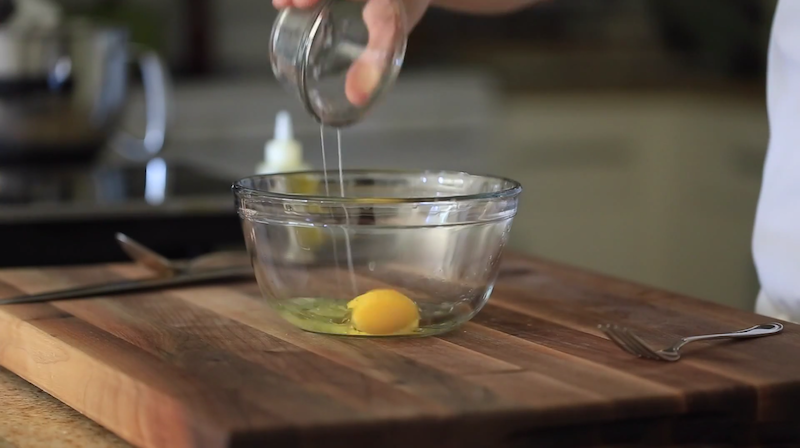
In a medium size mixing bowl whisk together 4 egg yolks…
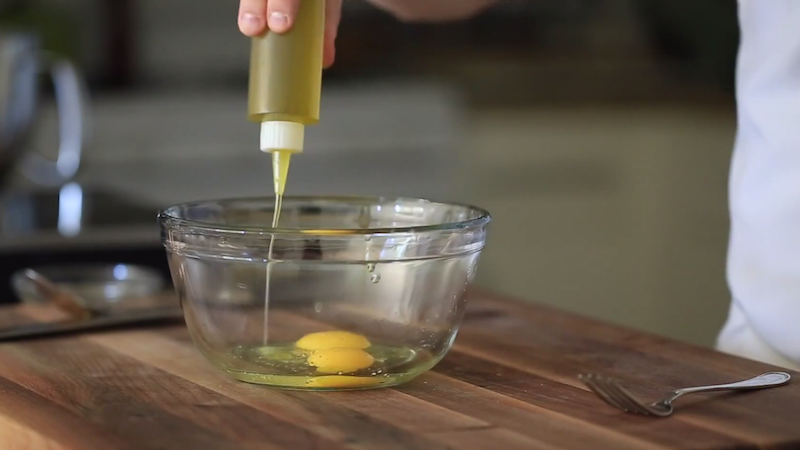
…1 Tbsp of olive oil…
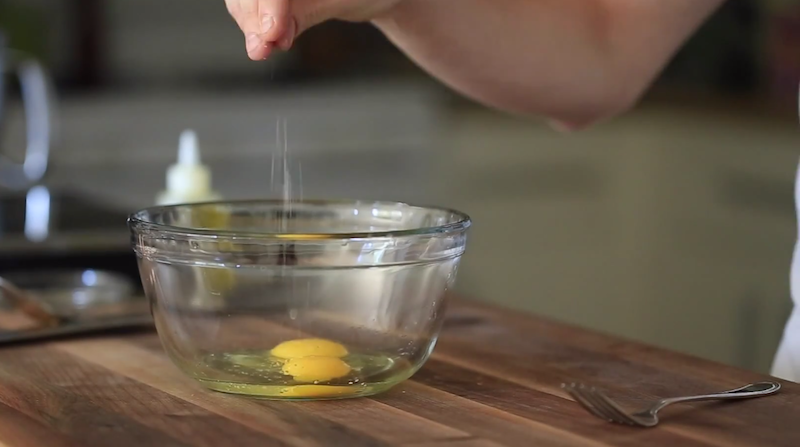
…and a pinch salt.
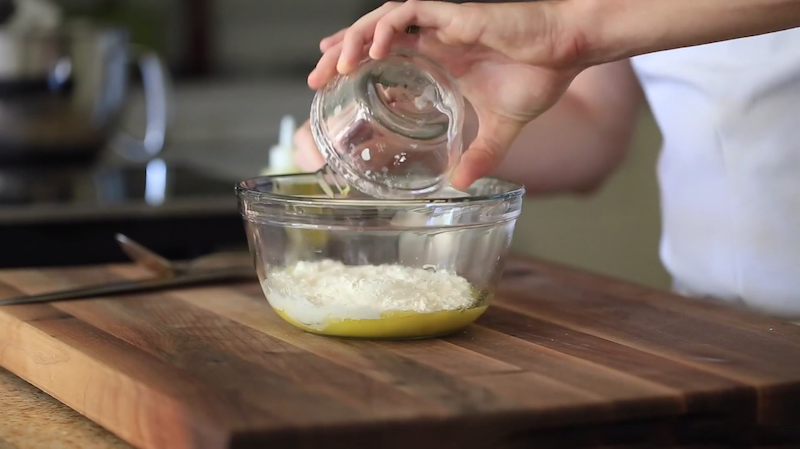
Add the flour to the egg mixture, one cup at a time, until the mixture is slightly tacky, but not sticky.
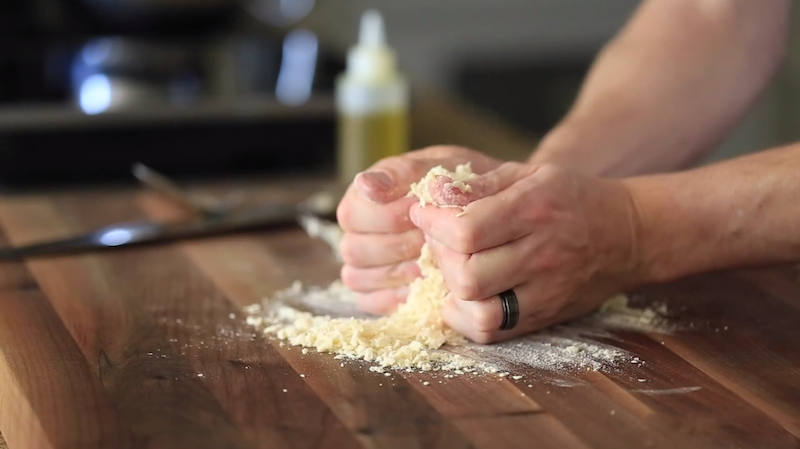
Pour the loose dough onto a counter top and begin working it together with your hands.
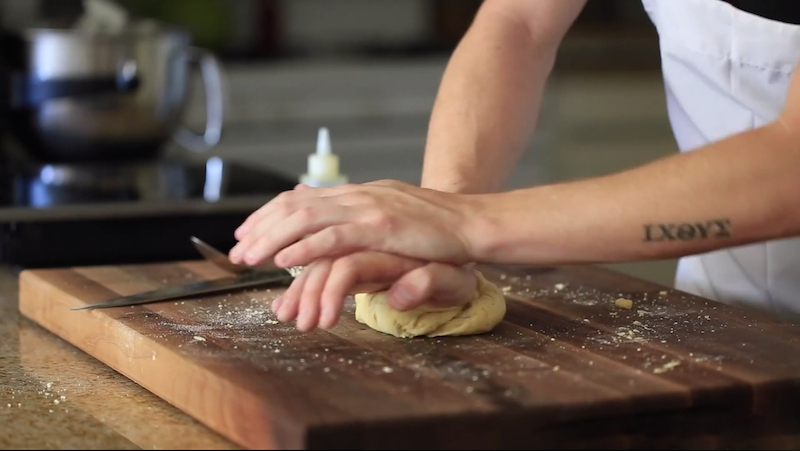
Vigorously knead the dough for 5 minutes.
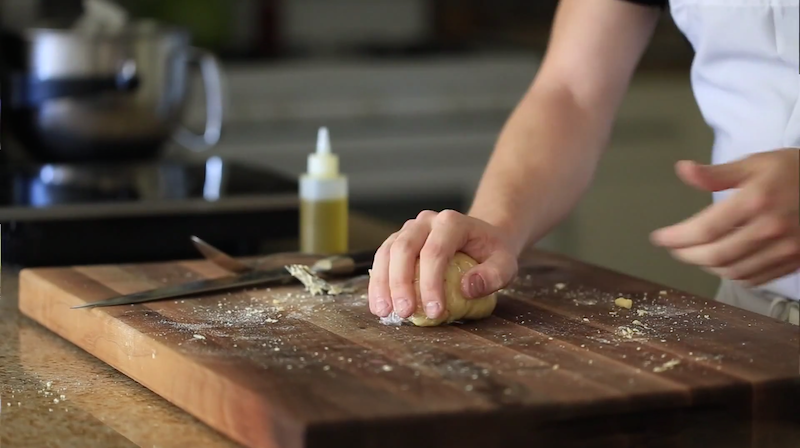
Then, cover with plastic and set aside until ready to use.
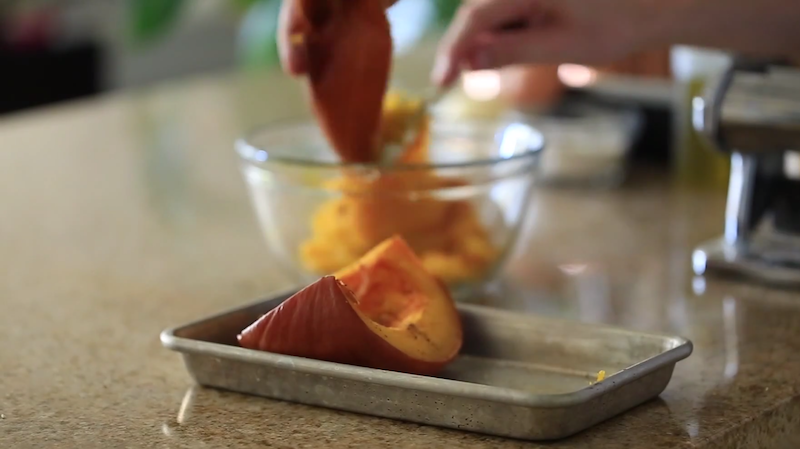
Once the quartered pumpkin is very tender and the outside of the skin has a deep roasted color, pull it out of the oven.
Remove the meat from the skin and place it into a large mixing bowl.
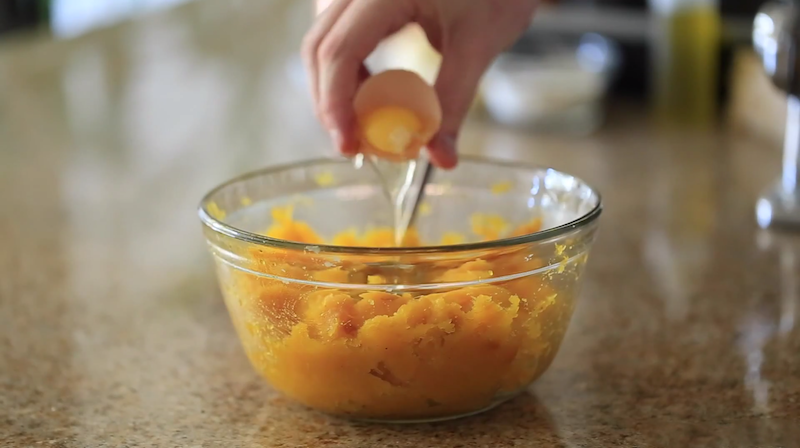
Add 2 egg yolks…
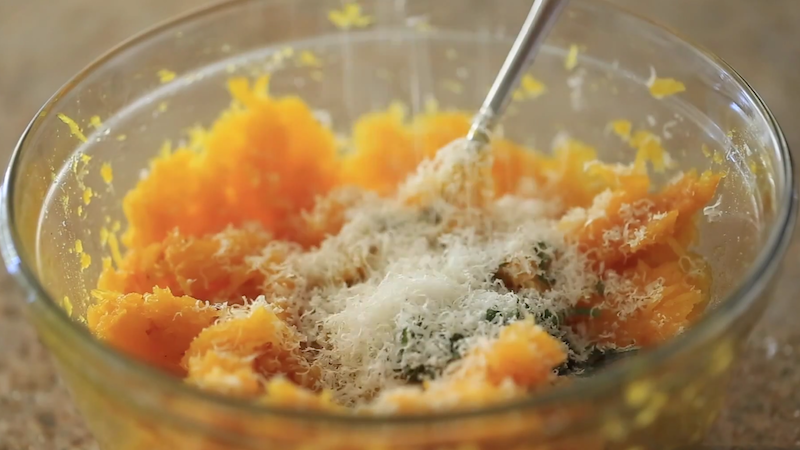
…1 tbsp sliced sage and 1/4 cup of grated parmesan.
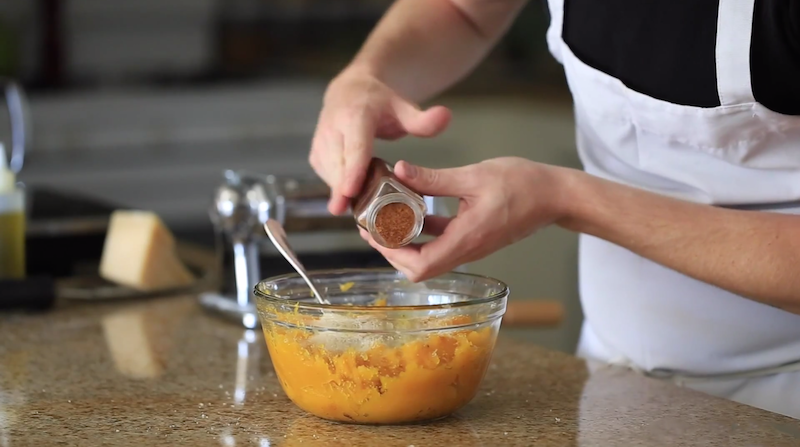
Add 1 tsp ground nutmeg…
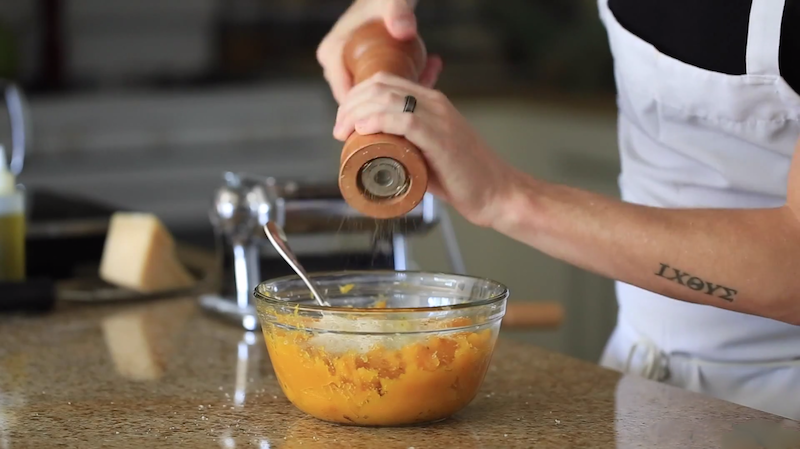
…and a pinch of salt and pepper.
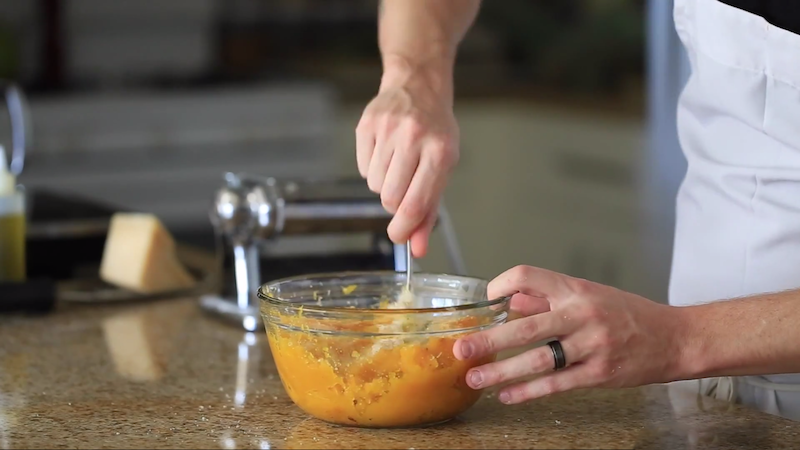
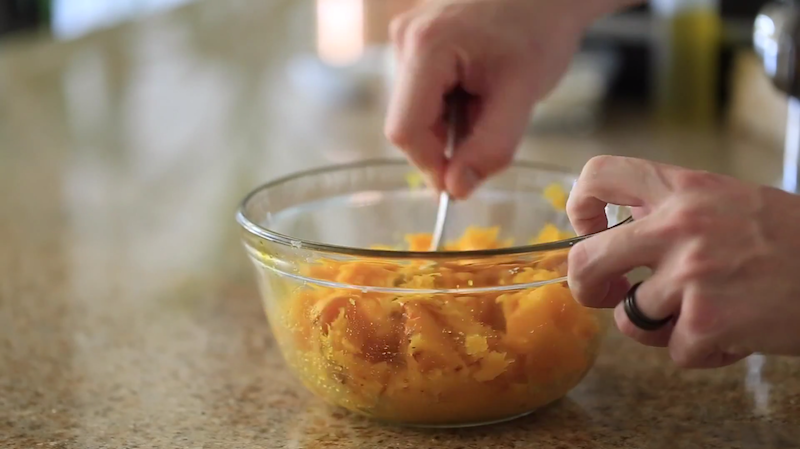
Mix until the all of the ingredients are thoroughly combined and the mixture is relatively smooth.
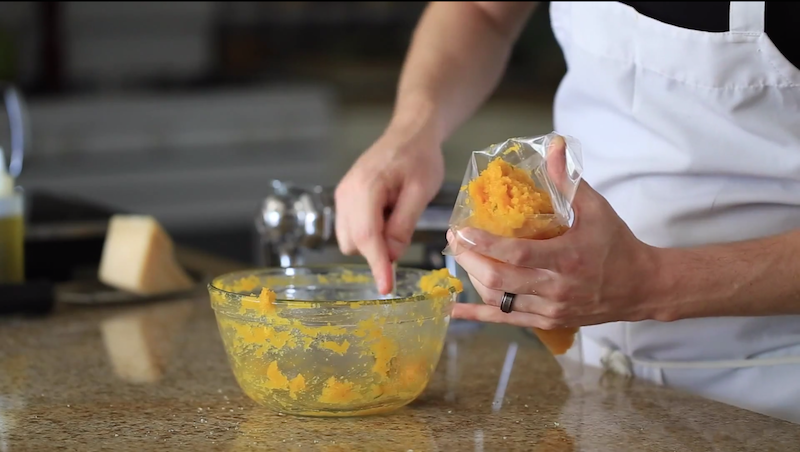
Transfer the filling into a piping bag and reserve until ready to use.
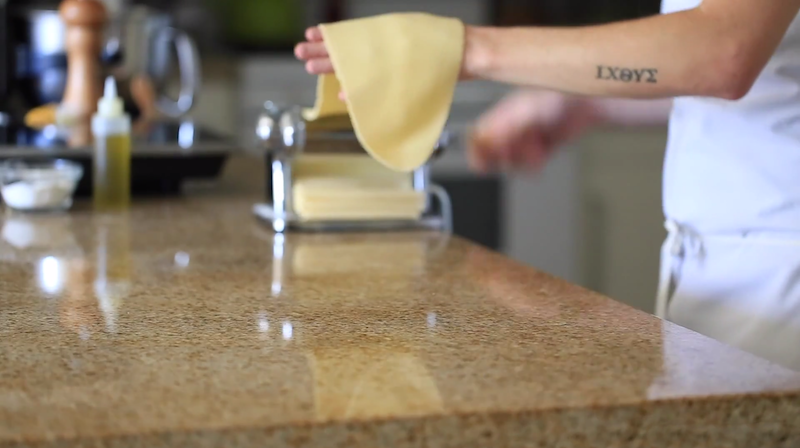
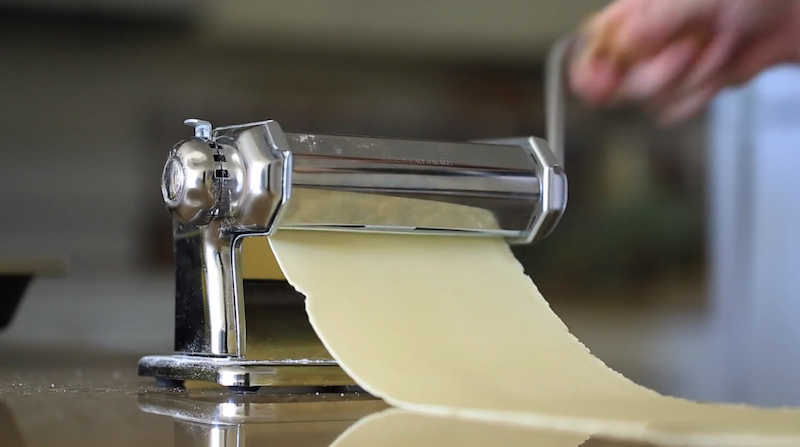
Roll the pasta dough into very thin sheets with a pasta machine and/or rolling pin.
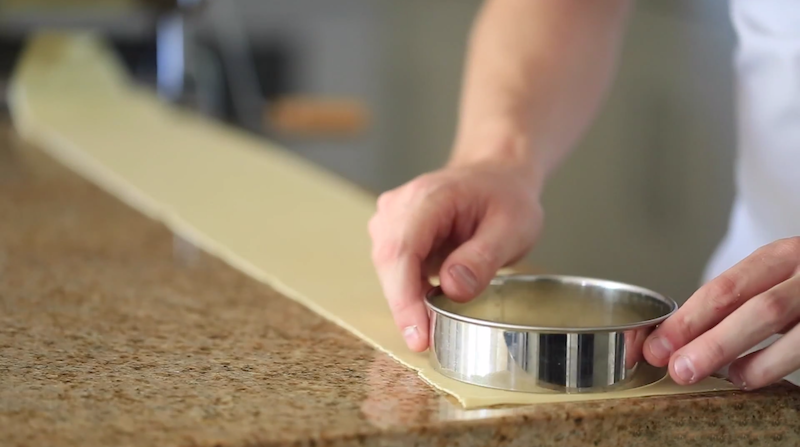
Cut out 4-5 inch circles from the sheets with a ring cutter and remove the excess dough.
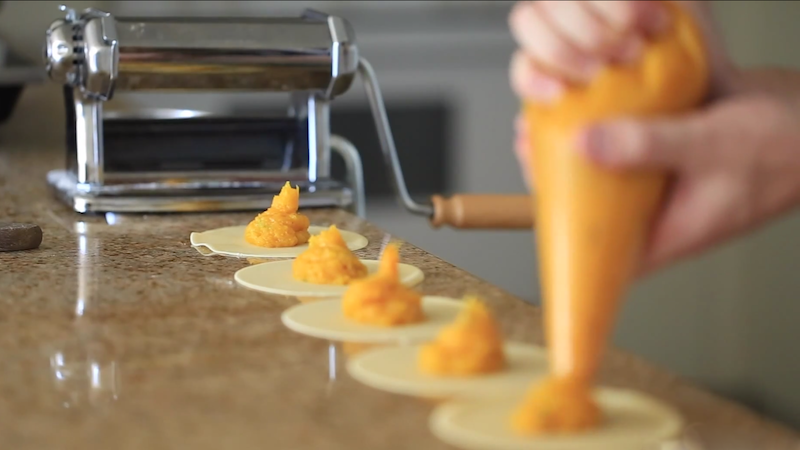
Dollop 2 Tbsp of pumpkin filling into the center of the pasta rounds.
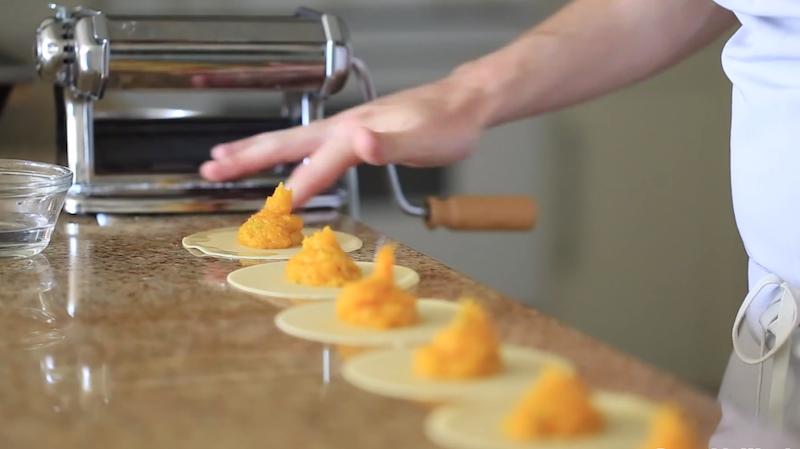
Rub a small amount of water around the edges of the pasta.
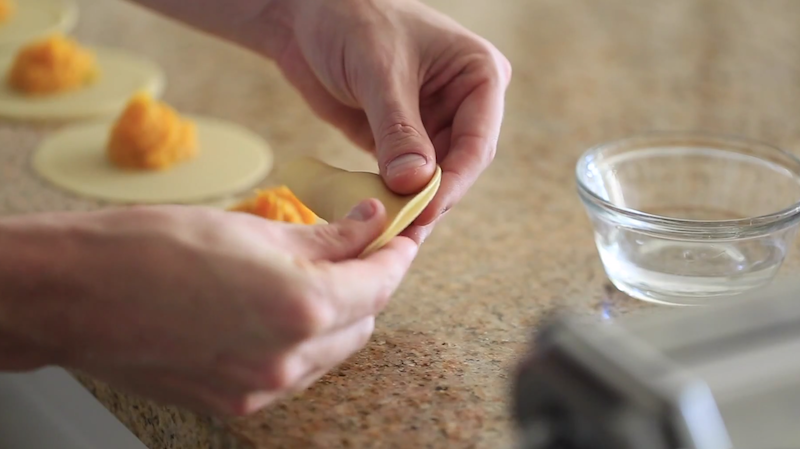
Fold the pasta over the filling into a half moon shape and seal the edges of the pasta so that no filling can escape.
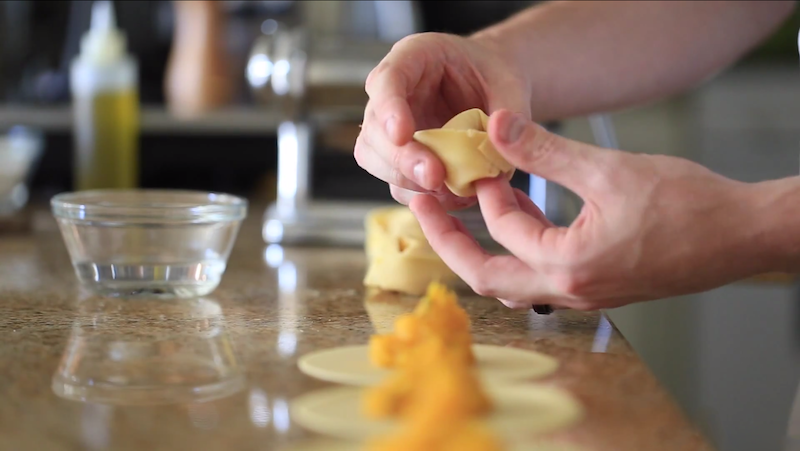
Wrap one edge of the pasta around your index finger creating a plump center bulge. Press the ends together and repeat until all of the tortellinis are formed.
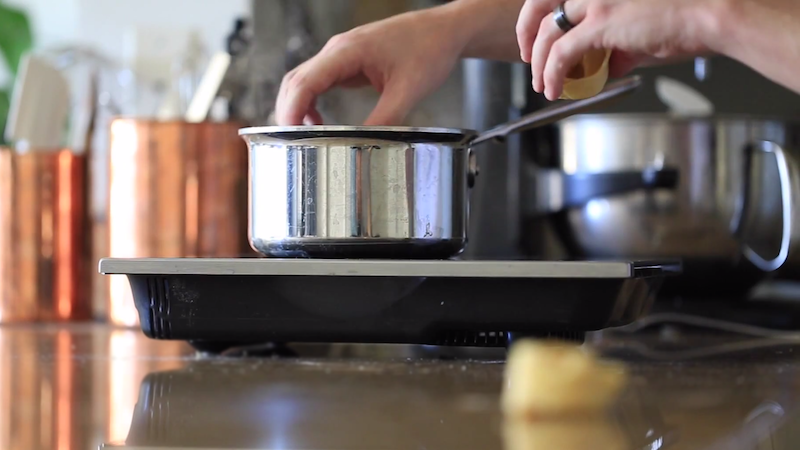
Get a pot of boiling salted water going and cook the tortellinis for 5-7 minutes.
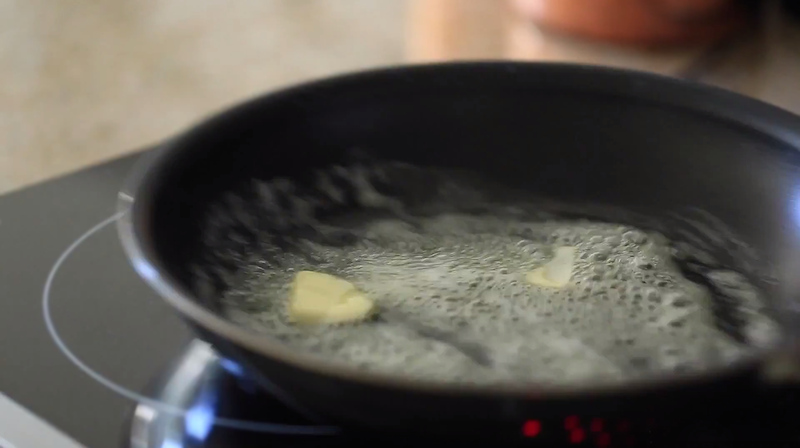
Add 3 Tbsp of butter to a large nonstick sauté pan on medium-high heat and begin browning the butter.
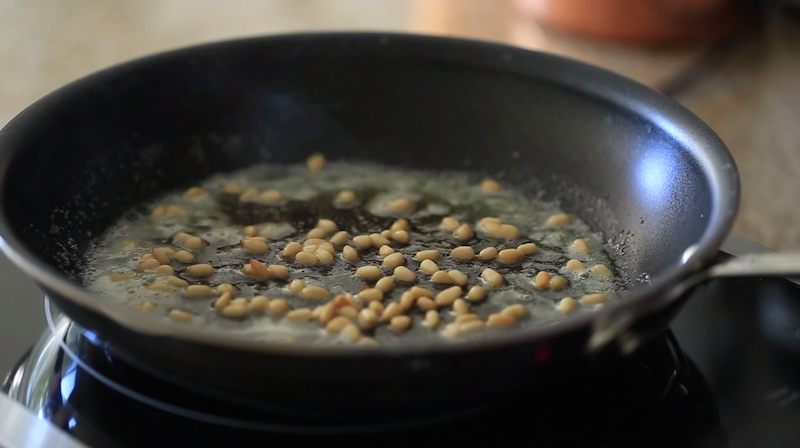
Next toast 2 Tbsp of pine nuts in the brown butter.
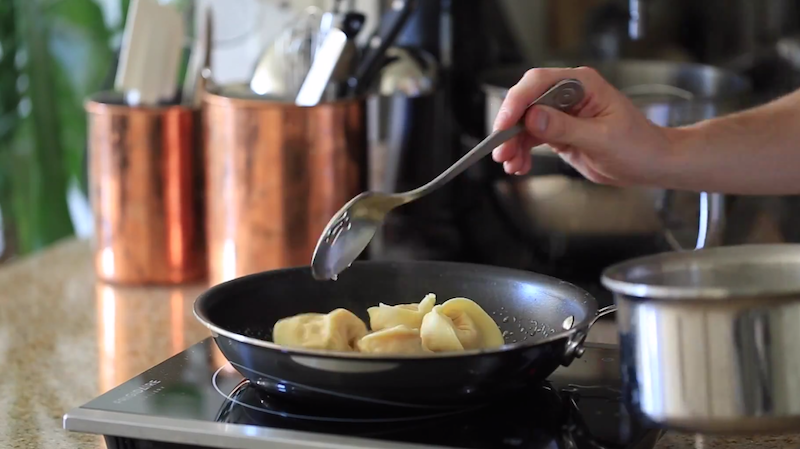
Add the cooked/strained tortellinis…
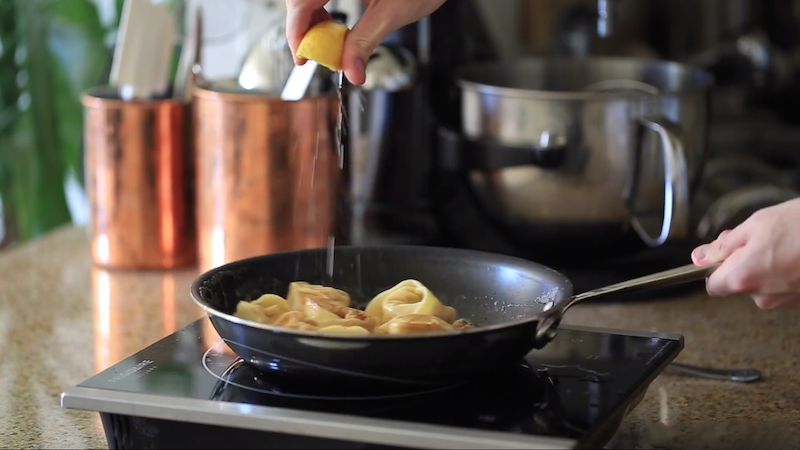
…the juice of half a lemon…
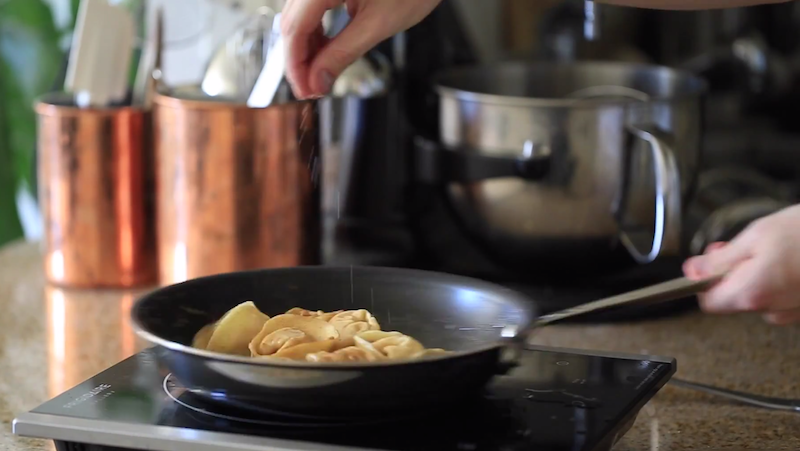
…and a pinch of salt and pepper.
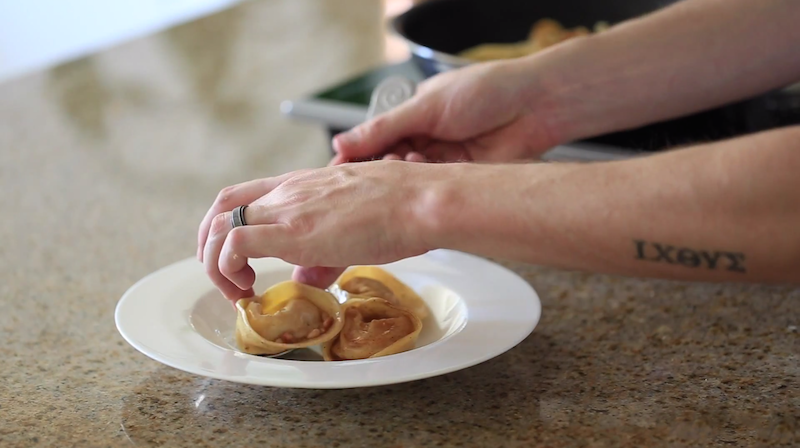
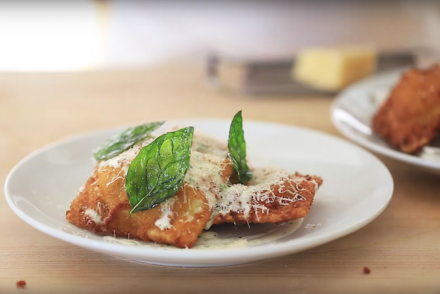
Plate the tortellinis in a small shallow bowl.
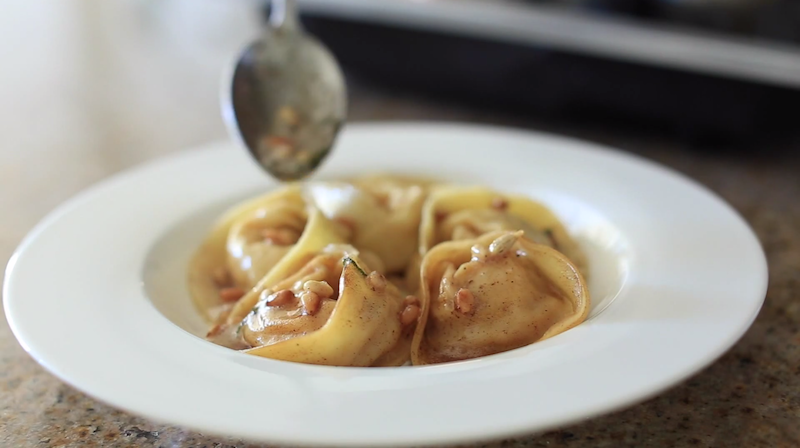
Top with a spoonful of the brown butter and toasted pine nuts.
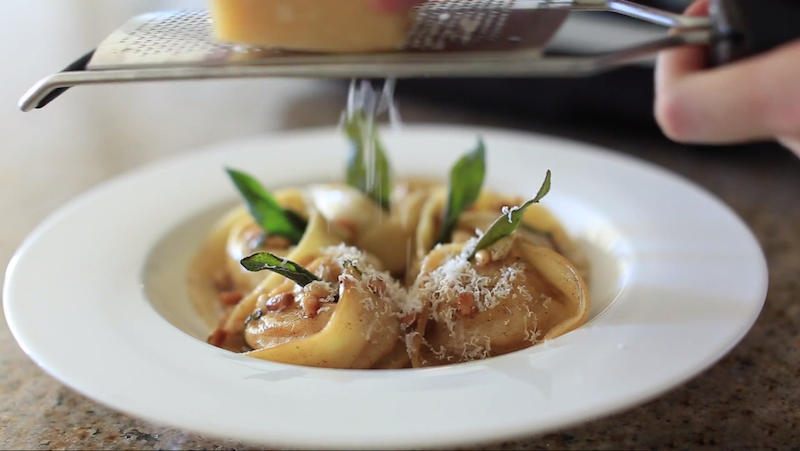
Add some freshly grated parmesan cheese…

…and top with fried basil for a tasty garnish.
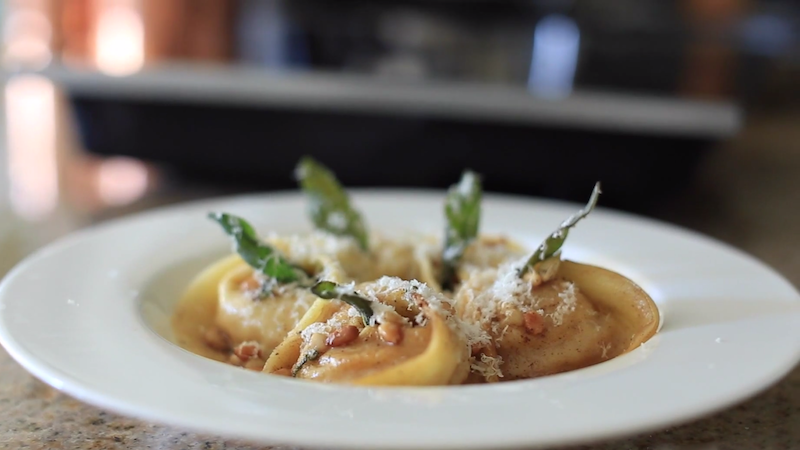

All that’s left to do is to ENJOY!!
[amd-zlrecipe-recipe:10]
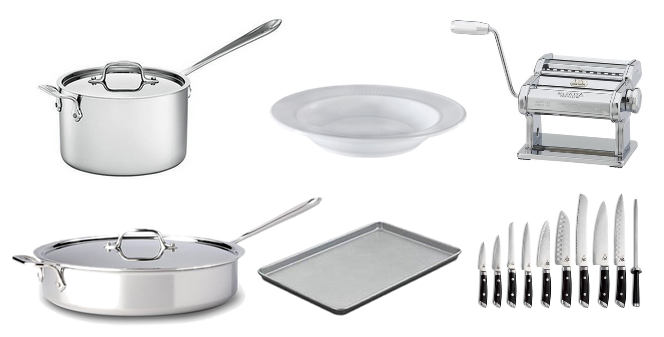
| Top Left: All-Clad Sauce Pan | Top Middle: Shallow Bowl Set | Top Right: Pasta Maker | | Bottom Left: All-Clad Saute Pan | Bottom Middle: Baking Sheet | Bottom Right: Shun Kaji Knife Set |

